
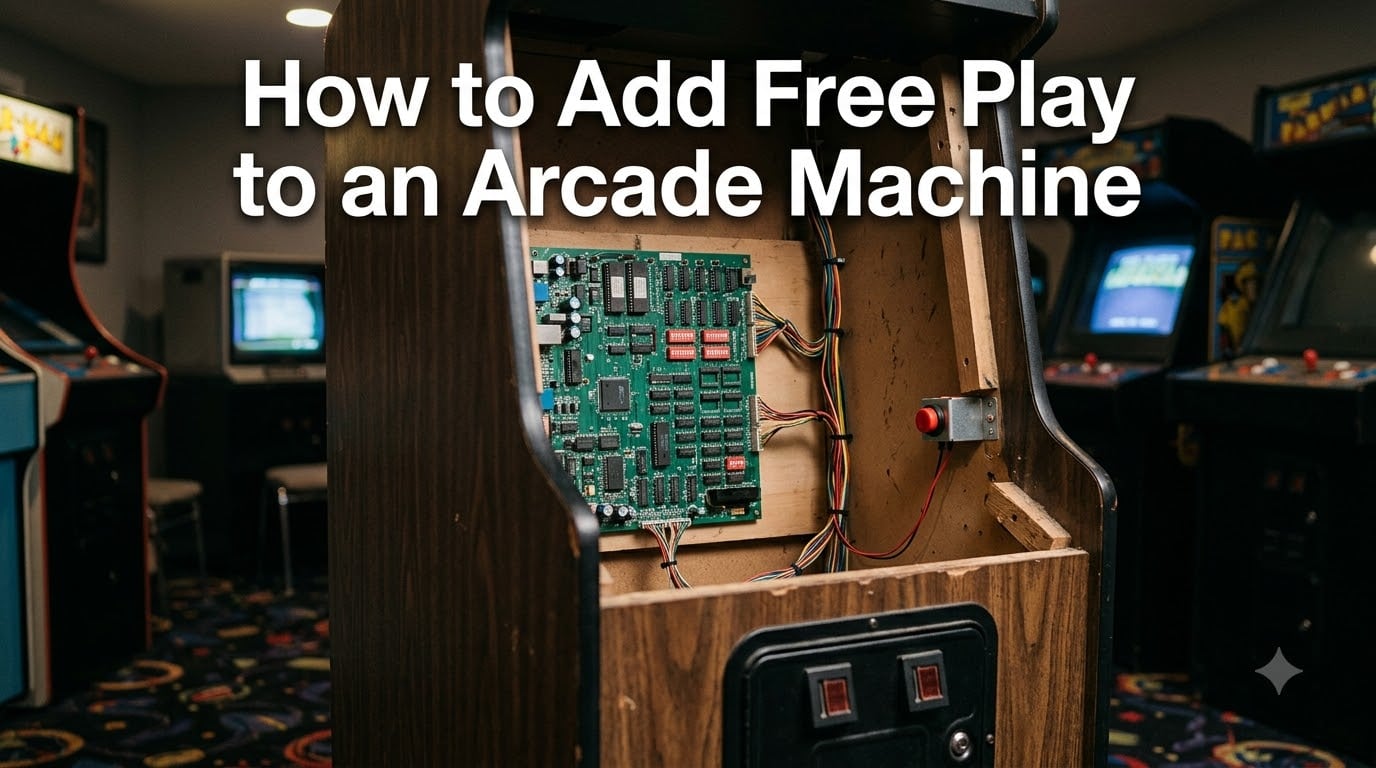
If you own an arcade machine at home, you already know the magic of hearing those power-up chimes in your own gameroom. But fumbling for quarters every time you want to play gets old fast. Learning how to add free play to an arcade machine is the single best upgrade you can make for home use.
In this guide, I will walk you through every method I have used across dozens of cabinets, from simple DIP switch flips to full hardware button installations. Whether you have a vintage Neo Geo, a JAMMA cabinet, or an Arcade1Up, you will find the exact steps you need below.
Table of Contents
- What Is Free Play Mode on an Arcade Machine?
- Three Ways to Add Free Play to an Arcade Machine
- Method 1: DIP Switch Configuration
- Method 2: Service Menu and Operator Menu Access
- Method 3: Adding a Free Play Button (Hardware Mod)
- Arcade1Up Free Play Instructions
- Safety Precautions When Working with Arcade Electronics
- Troubleshooting Common Free Play Problems
- Frequently Asked Questions
- Conclusion
What Is Free Play Mode on an Arcade Machine?
Free play mode is a built-in setting on most arcade machines that bypasses the coin mechanism entirely, letting you start games without inserting quarters or tokens. Instead of feeding coins to register credits, you simply press the start button and play.
Most arcade boards from the 1980s onward shipped with this feature hidden inside the hardware. Arcade operators used it at trade shows, for testing, and for flat-rate play scenarios. The setting was always there in the background, just waiting to be activated.
Free play works in one of three ways. The game board may have a DIP switch that toggles it on. The operator service menu may include a software toggle. Or you can wire an external button that sends a coin credit pulse directly to the game board, simulating a quarter drop without actually needing one.
Understanding which method your machine supports is half the battle. The other half is executing it safely, which I cover step by step in the sections below.
Three Ways to Add Free Play to an Arcade Machine
Before diving into detailed instructions, here is a quick overview of the three main approaches. Each method works better for certain machine types, so pick the one that matches your cabinet.
- DIP switch configuration: Flip a physical switch on the game board. Works on Neo Geo, CPS1, and many classic boards. Non-destructive and reversible.
- Service menu access: Use the built-in operator menu to toggle free play in software. Works on CPS2, CPS3, most JAMMA boards, and newer machines.
- Hardware button installation: Wire a credit button to the coin circuit. Works on almost any machine and is the go-to method when no built-in free play option exists.
Methods 1 and 2 are non-destructive, meaning you can always revert to coin operation. Method 3 involves light wiring but is still reversible if done correctly.
Method 1: DIP Switch Configuration
The DIP switch method is the most common way to add free play to classic arcade machines from the 1980s and 1990s. DIP switches are small physical toggle switches on the game board (PCB) that control settings like difficulty, lives, and coin operation.
I have used this method on everything from Pac-Man boards to Street Fighter II cabinets. It is fast, reversible, and requires no tools beyond a small screwdriver or your fingernail.
Step 1: Open the Cabinet
Unplug the machine from the wall. This is non-negotiable for safety. Remove the back panel or open the coin door to access the game board inside.
On most cabinets, the PCB sits on a shelf or mounted panel inside the lower body. Follow the wiring harness from the control panel down to locate it.
Step 2: Locate the DIP Switch Bank
Look for a row of small toggle switches on the game board. Most boards have one or two banks of 4, 6, or 8 switches. They are usually labeled SW1, SW2, or DIP on the PCB silkscreen.
If your board has a label printed near the switches indicating each switch function, you are in luck. Many do not, which means you will need to consult the manual.
Step 3: Find the Correct Free Play Setting
This is where you need the specific DIP switch settings for your game. Here are the most common ones I reference:
- Neo Geo MVS: DIP switch 1 bank, switch 7 ON for free play.
- CPS1 (Capcom): DIP switch bank C, switch 4 ON for free play. Some titles vary.
- Classic Midway boards (Pac-Man, Galaga): DIP switch 1, switch 5 and 6 in specific combinations.
- Konami boards: Varies by title, but usually one of the DIP switch bank 1 positions.
If your game is not listed here, check the KLOV (Killer List of Videogames) database for scanned manual PDFs. That site has been my go-to reference for years, and it contains DIP settings for thousands of arcade titles.
Step 4: Flip the Switch
Use a small flathead screwdriver or your fingernail to toggle the correct switch to the ON position. The switches are delicate, so apply gentle pressure.
Step 5: Test and Reassemble
Plug the machine back in and power it on. The attract screen should now display “FREE PLAY” instead of “INSERT COIN.” Press the start button to confirm credits register without coins.
If it works, power down, reassemble the cabinet, and you are done. If not, double-check that you flipped the correct switch for your specific board revision.
Method 2: Service Menu and Operator Menu Access
Many arcade machines from the mid-1990s onward use software menus instead of physical DIP switches. Capcom CPS2 and CPS3 boards, most JAMMA boards with BIOS menus, and many newer machines handle free play through an operator or service menu.
This method is completely non-destructive. You are simply changing a software setting, which you can always change back.
Step 1: Locate the Service Button
Most cabinets have a small service or test button inside the coin door area. It is usually a small red or black pushbutton mounted on a bracket near the coin mechanism.
On some machines, you access the menu by holding the service button while powering on. On others, you press it once while the game is running to enter the operator menu.
Step 2: Enter the Operator Menu
With the machine powered on, press the service button. On most JAMMA boards, this brings up a main setup menu with options like game settings, coin settings, bookkeeping, and test modes.
Navigate using the joystick and the service button to select. On some boards, the player 1 start button acts as the confirm button inside menus.
Step 3: Find the Coin Settings
Look for a menu option labeled “Coin Settings,” “Coinage,” “Game Assignment,” or “System Settings.” This is where free play typically lives.
Within the coin settings, you should see an option for “Free Play” or “Free Play Mode.” Select it and change the setting to ON.
Step 4: Save and Exit
Most boards auto-save when you exit the menu. Navigate to “Exit” or press the service button to return to the main menu, then select “Game Mode” or “Return to Game.”
The machine should reboot or return to the attract screen showing “FREE PLAY.”
CPS2 and CPS3 Specifics
Capcom CPS2 and CPS3 boards use a battery-backed RAM for settings. Access the menu by pressing the test button on the CPS2 board itself (a small button on the PCB) or through the cabinet service switch.
Navigate to “Configuration” then “Game” and set “Coinage” to “Free Play.” These boards are well documented in the Capcom service manuals available online.
Method 3: Adding a Free Play Button (Hardware Mod)
When your arcade machine has no built-in free play option at all, you can add a physical button that sends a credit pulse to the game board. This simulates a coin drop every time you press it.
This is the most versatile method because it works on virtually any machine. I have installed free play buttons on machines ranging from 1980s classics to custom multi-game cabinets.
What You Need
- A momentary pushbutton (normally open, any arcade-style button works)
- Two lengths of wire (18-22 AWG)
- Wire connectors or soldering iron
- Heat shrink tubing or electrical tape
- Basic tools (drill, screwdriver, wire strippers)
Step 1: Identify the Coin Wire on the JAMMA Harness
If your machine uses a JAMMA harness, the coin mechanism connects through specific pins on the edge connector. The coin 1 signal is on pin S6 (player 1 side) and coin 2 is on pin T6 (player 2 side). Ground is on any of the ground pins in the harness.
Trace the wires from your coin mechanism back to the JAMMA edge connector to confirm which wires carry the coin signal.
Step 2: Connect the Button
Wire one terminal of your pushbutton to the coin signal wire and the other to ground. When the button is pressed, it shorts the coin line to ground, which is exactly what the coin microswitch does when a quarter passes through.
You can splice into the existing coin wires or connect directly to the JAMMA harness pins. I prefer using quick-disconnect connectors so the modification is easily reversible.
Step 3: Mount the Button
Drill a hole in a discreet location on the cabinet. The coin door area, the lower front panel, or inside the coin door itself are popular spots. Mount the button and connect your wires.
Many collectors mount the button inside the coin door so it stays hidden but accessible. This keeps the cabinet looking original from the outside.
Step 4: Test
Power on the machine and press your new button. Each press should add one credit to the game. If it does not work, check your ground connection and verify you spliced into the correct coin wire.
Arduino Credit Pulse Option
For a more automated approach, some builders use an Arduino microcontroller to send periodic credit pulses. This effectively puts the machine in permanent free play by adding a credit every few seconds automatically.
The 8-bit Guy documented a version of this hack using an Arduino Uno connected to the coin line. It sends a ground pulse at regular intervals, keeping credits topped up without any button pressing.
Arcade1Up Free Play Instructions
Arcade1Up cabinets work differently from full-size arcade machines. These consumer cabinets run on custom emulator-based hardware rather than original arcade PCBs, so the free play process is unique.
Most Arcade1Up cabinets come with free play enabled by default. If yours is asking for coins, there is usually a menu setting that got toggled off.
Accessing the Settings Menu
On standard Arcade1Up cabinets, hold the player 1 and player 2 start buttons simultaneously for a few seconds. This typically opens a settings menu where you can toggle free play mode on or off.
If that does not work, check the specific instructions for your cabinet model. Arcade1Up has used several different hardware revisions, and the menu access method varies between them.
Arcade1Up Modding Caveats
Many Arcade1Up owners want to add additional games beyond what shipped on the cabinet. This requires more advanced modding, often involving replacing the stock board with a Raspberry Pi running RetroPie or a Pandora’s Box multi-game board.
Those modifications are separate from the free play question. If you keep the stock hardware, free play is a simple menu toggle. If you replace the board, free play is handled by whatever emulation software you install.
Safety Precautions When Working with Arcade Electronics
No competitor in the arcade guides space covers safety, and that is a real oversight. Arcade cabinets carry voltages that can hurt you if you are careless.
Always unplug the machine before opening it. This is the most important rule. Arcade monitors carry high voltage (up to 25,000 volts in CRT displays) that can persist even after unplugging. Never touch the monitor chassis or flyback transformer.
Work on the game board only. If you are flipping DIP switches or wiring a free play button, stay in the lower cabinet area where the PCB lives. Do not go near the monitor or power supply.
Use insulated tools. A plastic-handled screwdriver is safer than a bare metal one when working near circuitry.
Ground yourself. Static electricity can damage arcade PCBs. Touch a grounded metal surface before handling the board, or wear an anti-static wrist strap.
Double-check your wiring. Before powering on after any hardware mod, verify that nothing is shorted and all connections are secure. A wrong connection can fry a game board.
Troubleshooting Common Free Play Problems
Sometimes things do not go according to plan. Here are the most common issues I have encountered and how to fix them.
The Game Still Shows “Insert Coin”
You flipped a DIP switch or changed a menu setting but nothing changed. The most common cause is flipping the wrong switch or editing the wrong menu option.
Double-check the DIP settings against a verified source like KLOV or the original manual. Some boards have multiple switch banks, and the numbering can be confusing. Power cycle the machine after making changes, as some boards only read DIP settings at boot.
No Service Button on My Machine
Some cabinets do not have an external service button. In these cases, look for a test switch directly on the game board PCB inside the cabinet. It is often a small tactile button labeled TEST or SERVICE on the board.
If no test button exists, some boards enter test mode when you hold specific button combinations during power-on. Check your game’s manual for the exact combination.
Free Play Button Adds Multiple Credits
If your hardware mod button registers multiple credits per press, you may have a bounce issue. Momentary switches can send multiple rapid signals when pressed.
Add a small capacitor (0.1 microfarad) across the switch terminals to debounce the signal. This filters out the rapid pulses and ensures one press equals one credit.
Settings Reset After Power Off
If your free play setting reverts to coin mode after the machine is powered off, the battery on your game board is likely dead. CPS2 boards are notorious for this.
Replace the battery (or the entire CPS2 battery module) and reconfigure your settings. Note that on CPS2 boards, a dead battery can trigger the infamous “suicide” condition that kills the encryption keys, so address this proactively.
My Machine Is Too Old for DIP Switches or Menus
Pre-1980s electromechanical arcade games and very early solid-state boards may not support free play at all. For these machines, the hardware button method (Method 3) is your only option.
Wire a button to the coin microswitch terminals and press it to add credits. This works on virtually every coin-operated machine ever made.
Frequently Asked Questions
How to set an arcade machine to free play?
To set an arcade machine to free play, either flip the free play DIP switch on the game board, toggle free play in the operator service menu, or wire a credit button to the coin circuit. Most machines from the 1980s onward support at least one of these methods.
Can you put more games on Arcade1Up?
Yes, but it requires replacing the stock board with a Raspberry Pi running RetroPie or a Pandora’s Box multi-game board. This is a separate modification from free play, which is built into Arcade1Up cabinets through a settings menu toggle.
How do I turn on free play on a pinball machine?
Most solid-state pinball machines from the 1980s onward have a free play setting in the operator menu. Open the coin door, press the interior menu button, and navigate to the coin or pricing settings to toggle free play on. Electromechanical pinball machines require wiring a free play button to the coin circuit.
How does freeplay arcade work?
Free play bypasses the coin mechanism so credits are given without inserting quarters. It works through DIP switch settings, software menu configuration, or an external button that sends credit pulses to the game board. The game treats each method as a valid coin signal.
Conclusion
Adding free play to an arcade machine is one of the simplest and most rewarding modifications you can make for home use. Whether you flip a DIP switch on a Neo Geo, navigate the service menu on a JAMMA cabinet, or wire a credit button on an older machine, the process is achievable for anyone with basic tools and patience.
The three methods I covered in this guide cover virtually every arcade machine type you will encounter. Start with the non-destructive methods first (DIP switches and service menus) before attempting any wiring. Always unplug your machine before opening it, and never touch the monitor chassis.
Once you add free play to your arcade machine, you will wonder how you ever lived without it. No more hunting for quarters, no more game interruptions, just endless retro gaming on your own terms.