
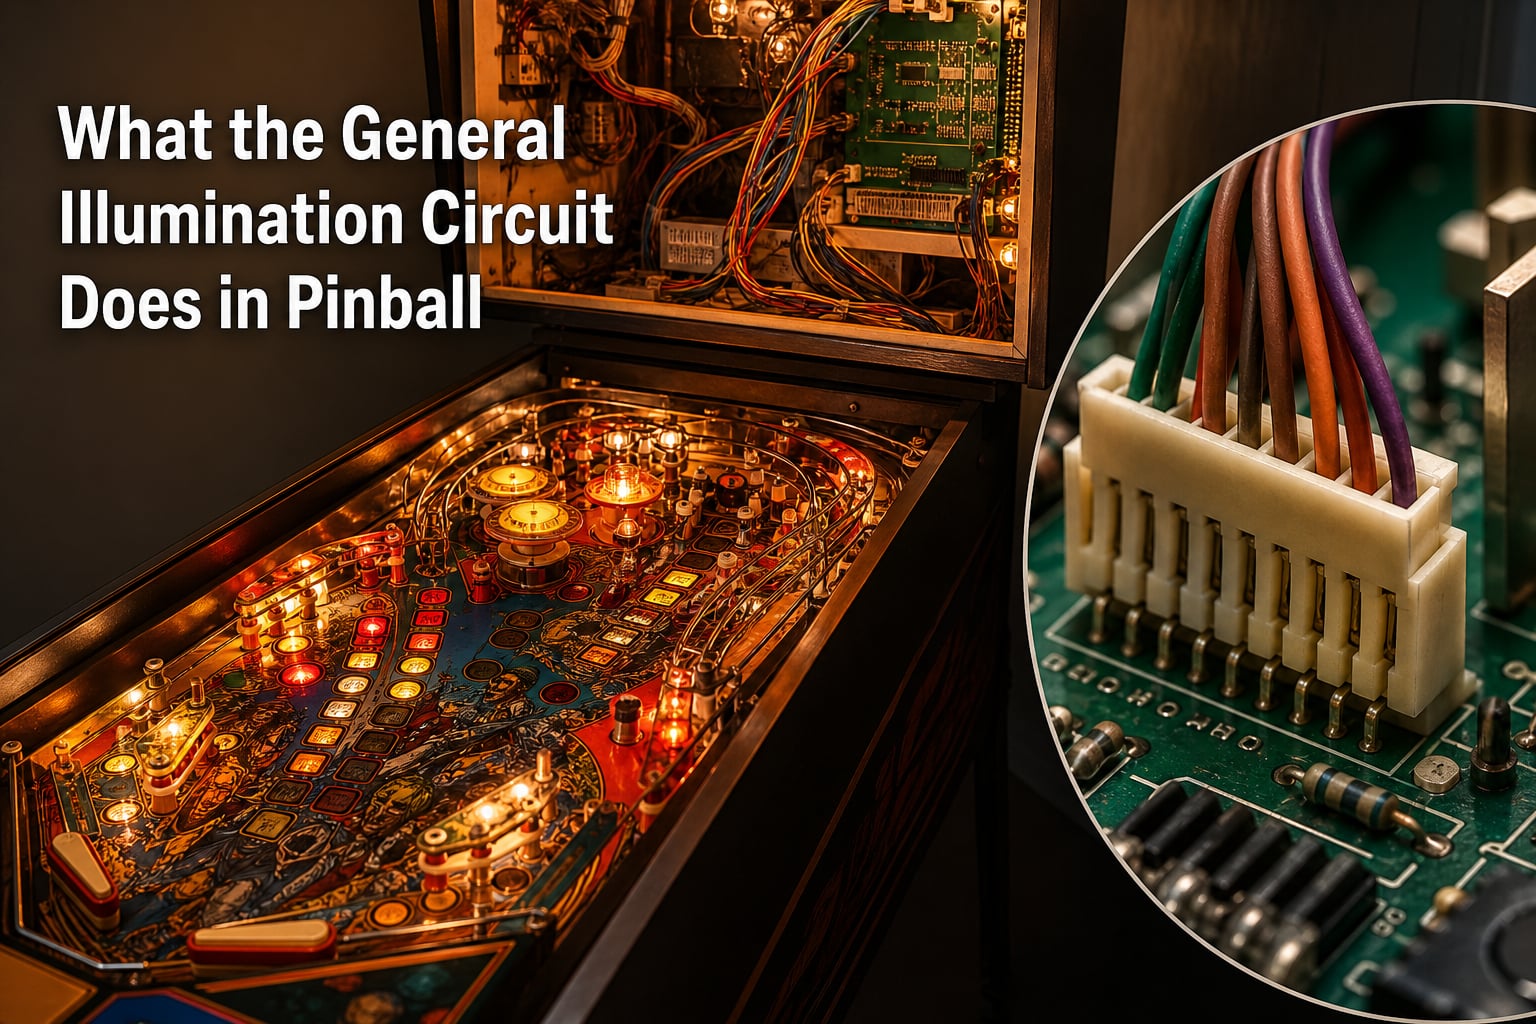
The general illumination circuit in pinball, usually just called GI, is the set of lightbulbs that turn on the moment you flip the power switch. These are the lights that keep your playfield visible and your backbox glowing, and they have nothing to do with game logic or scoring. The GI circuit runs independently from the pinball processor, which is why your machine lights up before the game even boots.
If you own, collect, or repair pinball machines, understanding the general illumination circuit pinball systems use is one of the most practical skills you can develop. GI problems account for a huge share of service calls, and most of the common issues are things you can diagnose yourself. Burned connectors, blown fuses, and dim playfield sections all trace back to this one circuit.
In this guide, I’ll walk through exactly what the GI circuit does, how it differs from processor-controlled lamps, and how to troubleshoot the most frequent failures. Whether you’re dealing with a classic Williams WPC title or a modern Stern SPIKE game, the fundamentals stay surprisingly similar.
Table of Contents
- What the General Illumination Circuit Does in Pinball
- GI vs Controlled Lamps: What’s the Difference?
- Key Components of the GI Circuit
- Common GI Circuit Problems and What Causes Them
- How to Troubleshoot a GI Circuit Step by Step
- LED Upgrades: Reducing Heat and Current Draw
- Maintenance Tips to Prevent GI Circuit Failures
- What the General Illumination Circuit Does in Pinball: Key Takeaways
- FAQs
What the General Illumination Circuit Does in Pinball
The general illumination circuit provides constant power to the basic lighting across the playfield and backbox. When you switch the machine on, these lights come on immediately because they draw power straight from the transformer, not from the CPU board. That independence is the defining feature of the GI circuit.
Think of it this way: every lamp on a pinball playfield falls into one of two categories. Either the processor controls it (turning it on, off, or flashing it as part of gameplay), or it stays on the whole time. That second group is general illumination. These are the bulbs under the plastics, along the ramps, behind the backglass, and scattered across the playfield to keep everything visible.
The GI circuit itself is relatively simple in design. Power flows from the transformer through a fuse, then through connectors on the driver or power supply board, and finally out to strings of bulbs wired in parallel. On most Williams and Bally games from the 1990s, that path uses AC voltage straight from the transformer. The bulbs do not care about polarity, so AC works fine for incandescent lighting.
Things get more interesting when you look at different eras. Electromechanical (EM) games from the 1970s ran GI almost entirely on raw AC from the transformer. Williams WPC systems, which powered games like The Addams Family and Twilight Zone, kept a similar AC approach but added some processor-controlled dimming through triacs on the power driver board. Stern SAM system games refined this further. Modern Stern SPIKE games moved to LED-based GI with more granular digital control, but the concept remains the same: a dedicated lighting layer separate from insert lamps.
One detail that catches people off guard: the GI circuit does not tell you whether the game’s processor is working. If your playfield lights up but the game will not start, the CPU might be dead even though the GI looks fine. Experienced pinball technicians always warn against assuming the machine is functional just because the lights come on. The GI circuit is a separate power pathway.
GI vs Controlled Lamps: What’s the Difference?
The difference between GI lights and controlled lamps comes down to one question: does the game’s brain decide when the bulb is on? If the answer is no, it is general illumination. If the answer is yes, it is a controlled lamp.
Controlled lamps are wired through a lamp matrix or individual driver circuits. The processor turns them on and off based on game events: a target gets hit, a mode starts, a ball drains. These are the insert lights on the playfield, the ones that flash and spell out words or indicate targets. They run on lower voltage and pulse rapidly in a scanning pattern that is usually too fast for your eye to notice.
GI lights, on the other hand, receive steady power the entire time the machine is switched on. They do not pulse. They do not respond to gameplay. They just stay lit. On a typical 1990s Williams game, you might have 30 to 50 GI bulbs spread across the playfield and backbox, all drawing from the same circuit.
This separation matters for troubleshooting. If a controlled lamp stops working, you look at the lamp matrix, the transistor that drives that column or row, and the wiring specific to that bulb. If a GI light stops working, you look at the GI circuit: the fuse, the connectors, the wiring strings. The diagnostic path is completely different, which is why knowing which type of lamp you are dealing with is step one.
Here is a quick way to tell them apart on any playfield. Turn the machine on but do not start a game. Any bulb that lights up immediately is GI. Any bulb that stays dark until gameplay begins is a controlled lamp. Some controlled lamps flash briefly during the attract mode sequence, but GI bulbs stay steady the entire time.
Key Components of the GI Circuit
The GI circuit has a handful of components, and each one is a potential point of failure. Understanding what each part does makes it much easier to track down problems when lights go dark.
The Transformer
Everything starts at the transformer in the bottom cabinet. The transformer steps wall voltage down to the levels the pinball machine needs. For GI circuits on classic games, the transformer outputs roughly 6.3 volts AC, which is the same standard used for tube filament circuits in old radios. That AC voltage feeds directly into the GI strings without any rectification on many games.
Fuses
Between the transformer and the bulbs, you will find one or more fuses. These protect the GI circuit against shorts and overcurrent. If a fuse blows, the GI lights on that string go dark. On WPC games, GI fuses are typically 4-amp slow-blow rated. Always check fuses first when GI lights stop working, but remember that a blown fuse usually means something caused it. Replacing a fuse without finding the underlying short will just lead to another blown fuse.
Connectors J120 and J121
On Williams WPC driver boards, connectors J120 and J121 are the heart of the GI system. These two connectors carry power from the board out to the playfield GI strings. J120 feeds one set of GI lights, and J121 feeds the other. If half your playfield goes dark, one of these connectors is the prime suspect.
The problem is that these connectors carry significant current, and the original Molex headers and IDC (insulation displacement connector) wiring were not always up to the task. Over years of use, the pins heat up, oxidize, and eventually burn. This is the single most common GI failure on WPC-era games.
Triacs and Transistors
On WPC games, the GI circuit can be dimmed by the processor using triacs on the power driver board. The game uses this for the power saver feature, which dims GI during attract mode to reduce heat and power consumption. The 2N5401 transistor on the power supply board is a known failure point that can cause GI dimming or complete loss. When this transistor fails, you might see GI lights stuck at full brightness, stuck dim, or completely off.
Header Pins and Wiring
The header pins soldered to the board at J120 and J121 are where the connector housing mates with the circuit board. These pins are the most heat-stressed part of the GI system. Discoloration on the board around these pins is an early warning sign of trouble. If the board looks brown or burnt near the GI headers, you have found your problem.
Common GI Circuit Problems and What Causes Them
The general illumination circuit has a reputation for problems, and that reputation is well earned. The circuit carries real current through connectors that were designed for lighter duty, and decades of heat cycling take their toll. Here are the issues you are most likely to encounter.
Burned Header Pins on J120 and J121
This is the number one GI failure on Williams WPC games, and it is almost guaranteed to happen on any unmaintained machine from that era. The original header pins were tin-plated, which has higher resistance than gold. Higher resistance means more heat, and more heat means the pins slowly cook themselves over years of use.
The first visible sign is discoloration on the circuit board around the pins. The green solder mask turns brown or black. Next, the plastic connector housing starts to melt or deform. Eventually, the pins corrode to the point where they no longer make reliable contact, and the GI lights on that string go dark or flicker.
The fix is to replace both the header pins on the board and the connector housing with crimp-style Molex connectors. Many pinball repair shops recommend upgrading to higher-rated pins and using proper crimp terminals instead of IDC connectors. This is a preventative upgrade worth doing on any WPC game you plan to keep.
Half the Playfield Goes Dark
Because the GI circuit splits into two strings (one on J120, one on J121), a failure on one side leaves half the playfield dark. This is one of the most common complaints on pinball forums like Pinside. The cause is almost always a burned connector or a broken solder joint on one of the GI header pins.
A quick diagnostic trick: swap the connectors at J120 and J121. If the dark side moves to the other half of the playfield, the problem is the connector or the wiring on the board side. If the same side stays dark, the problem is in the playfield wiring or the bulbs themselves. This swap takes 30 seconds and narrows the problem immediately.
Blown Fuses and Short Circuits
If all GI lights go out at once, check the fuse first. A blown GI fuse means either the fuse was old and fatigued, or a short circuit somewhere in the GI wiring drew too much current. Common causes of shorts include a bulb socket that has bent and touched metal, a wire that has chafed through its insulation, or a mod that was installed incorrectly.
Never just replace a blown fuse and move on. Use a multimeter to check for continuity between the GI power line and ground before powering the machine back up. If you find a short, track it down before replacing the fuse. Otherwise you will keep popping fuses and potentially damage the transformer.
Transistor and Triac Failures
On WPC games, the power saver feature relies on triacs to dim GI during attract mode. If a triac fails, the GI lights might stay at full brightness even in attract mode, or they might go completely dark. The 2N5401 transistor on the power supply board is another common failure point. Testing these components requires a multimeter and some familiarity with board-level troubleshooting, but the parts themselves cost only a few cents.
Dim GI Lights
If your GI lights are on but noticeably dimmer than they should be, the usual culprit is resistance buildup at the connectors. Corroded pins, loose crimps, and cold solder joints all add resistance, which drops voltage before it reaches the bulbs. The bulbs are getting power, but not enough to reach full brightness. Cleaning or replacing the connectors typically fixes this.
How to Troubleshoot a GI Circuit Step by Step
When your GI lights stop working, a systematic approach saves time and frustration. Here is the step-by-step process I use, built from years of pinball repair experience and confirmed by technicians across the pinball community.
Step 1: Determine the scope of the failure. Are all GI lights out, or just half? This immediately tells you whether you are dealing with a fuse problem (everything dark) or a connector problem (one side dark). Note which sections of the playfield and backbox are affected.
Step 2: Check the fuses. Pull the GI fuses and test them with a multimeter set to continuity. Do not rely on visual inspection alone, because a fuse can look fine but still be blown. If the fuse is good, move on. If it is blown, check for shorts before replacing it.
Step 3: Inspect the connectors visually. Look at J120 and J121 on the driver board. Check for discoloration, melted plastic, corroded pins, or burnt smells. If you see any of these signs, the connector needs to be replaced. This is the most common GI problem, so do not skip this step.
Step 4: Try the connector swap test. Unplug the connectors at J120 and J121 and swap them. Power the machine on (carefully, with the glass off). If the dark section moves to the other side of the playfield, your problem is on the board side. If it stays on the same side, the problem is in the playfield wiring.
Step 5: Test voltage at the board. Use a multimeter to measure AC voltage at the GI outputs on the board. On WPC games, you should see roughly 6.3 volts AC. If voltage is present at the board but the lights are still dark, the problem is in the wiring between the board and the bulbs. If no voltage is present, the problem is on the board itself.
Step 6: Check individual bulb sockets. If the circuit has voltage and the wiring is intact, check for dead bulbs or corroded sockets. Pull a known-good bulb and test it in each socket along the dark string. A single corroded socket can break the connection for all bulbs downstream in that string.
Step 7: Test triacs and transistors. If the GI is completely non-functional and the fuses and connectors check out, test the triac and the 2N5401 transistor on the power supply board. A failed transistor can disable the entire GI circuit. These components are cheap and straightforward to replace if you have basic soldering skills.
LED Upgrades: Reducing Heat and Current Draw
One of the most popular modifications in pinball is converting GI incandescent bulbs to LEDs. This upgrade has real technical benefits beyond just looking good, and it directly addresses the root cause of many GI circuit problems.
Incandescent GI bulbs generate significant heat. A full playfield of #44 or #47 bulbs draws substantial current and raises the temperature inside the cabinet. That heat is what slowly destroys the GI connectors over time. The pins corrode faster, the plastic housings melt, and the circuit board solder mask discolors. Every one of these failure modes traces back to heat from the bulbs.
#44 vs #47 Bulbs: What’s the Difference?
The two most common GI incandescent bulbs are the #44 and the #47. The #44 draws about 0.25 amps and produces a warm, bright light. The #47 draws only 0.15 amps but is noticeably dimmer. Many pinball owners switch from #44 to #47 bulbs to reduce current draw and heat, trading brightness for longevity. This is a cheap intermediate fix if you are not ready for a full LED conversion.
Why LED Bulbs Solve the Problem
An LED GI bulb draws roughly 80 to 90 percent less current than its incandescent equivalent. Less current means less heat at the connectors, which means the pins and housings last longer. LED bulbs also last tens of thousands of hours compared to the 1,000-hour lifespan of a typical incandescent. In practical terms, once you install LEDs, you rarely need to think about bulb replacement again.
The lower current draw has another benefit: it reduces the load on the transformer and the GI wiring. On machines with marginal connectors, switching to LEDs can buy you time before a connector rebuild becomes necessary. Some owners report that dim GI issues disappear after LED conversion simply because the reduced current eliminates the voltage drop at corroded pins.
Ghosting and Flicker Considerations
LEDs have one quirk: they can show ghosting or flickering that incandescent bulbs would never display. Because LEDs respond instantly to any voltage, residual voltage or PWM dimming signals that were invisible with incandescents can cause visible flicker. This is usually not a problem for GI circuits (which run on steady power), but it can appear on controlled lamp circuits. Some LED manufacturers offer non-ghosting bulbs with built-in circuitry to address this.
On WPC games with power saver dimming, LEDs can behave differently than incandescents during attract mode. The triac-based dimming was designed for incandescent filaments, so LEDs may flicker or not dim smoothly. In most cases, you can disable power saver or adjust the setting to keep GI at full brightness.
Maintenance Tips to Prevent GI Circuit Failures
The best GI repair is the one you never have to do. A few preventative measures go a long way toward keeping your general illumination circuit healthy.
Inspect connectors annually. Once a year, pull the connectors at J120 and J121 and look at the pins. If you see any discoloration, melting, or corrosion, replace both the header pins and the connector housing. Catching this early prevents board damage that is much harder to repair.
Use the WPC power saver setting. Williams WPC games have a power saver feature that dims GI lights during attract mode. This reduces heat and current draw during the hours the machine is on but not being played. Enable this setting in the game’s service menu. It extends component life and saves electricity.
Consider preventative connector replacement. If you buy a WPC game that has never had its GI connectors serviced, plan to replace them proactively. Many pinball shops recommend this as standard practice. The cost is minimal compared to the price of repairing a burnt circuit board.
Keep the playfield clean. Dust and debris inside the cabinet can settle on hot bulbs and connectors, trapping heat and accelerating corrosion. Regular cleaning with appropriate playfield cleaners keeps the GI circuit running cooler. A clean machine simply runs better.
Check your bulbs regularly. Dead incandescent bulbs in a GI string do not stop the others from working (they are wired in parallel), but they do mean the circuit is running with gaps. Replace dead bulbs promptly to keep current distribution even and maintain consistent lighting.
What the General Illumination Circuit Does in Pinball: Key Takeaways
The general illumination circuit is the backbone of lighting in any pinball machine. It provides steady, processor-independent power to the bulbs that keep your playfield and backbox visible. Understanding how it works, what fails, and how to fix it is essential knowledge for anyone who owns or repairs pinball machines.
The most important lessons from this guide: check your connectors on J120 and J121 before anything else, use the connector swap trick to diagnose half-playfield outages, and consider LED conversion to reduce the heat that causes most GI failures. With these fundamentals, you can handle the majority of GI problems yourself without a service call.
Whether you are nursing a 1990s Williams classic back to health or maintaining a modern Stern, the GI circuit follows the same principles. Keep the connectors clean, the fuses intact, and the bulbs upgraded, and your playfield will stay bright for years to come.
FAQs
What is GI on a pinball machine?
GI stands for General Illumination. These are the lightbulbs on a pinball machine that turn on immediately when you power up the game. They are not controlled by the game processor and provide constant lighting for the playfield and backbox.
Why are only half of my pinball GI lights working?
Half the playfield going dark usually means one of the two GI connectors (J120 or J121 on WPC games) has failed. The connector pins burn over time from heat and current draw. Try swapping the two connectors to confirm the problem is on the board side.
What causes pinball GI connectors to burn?
GI connectors burn because the tin-plated header pins have higher resistance than the circuit needs. That resistance generates heat, which over years of use corrodes the pins, discolors the circuit board, and melts the plastic connector housing. Incandescent bulbs add to the heat load.
Can I put LED bulbs in my pinball GI circuit?
Yes. LED bulbs draw roughly 80 to 90 percent less current than incandescent bulbs, which reduces heat at the connectors and extends component life. LEDs also last tens of thousands of hours longer. Just be aware that power saver dimming on WPC games may cause LED flicker.
How do I test the GI circuit on my pinball machine?
Start by checking the GI fuses with a multimeter set to continuity mode. Then inspect connectors J120 and J121 for burning or corrosion. Measure AC voltage at the GI outputs on the board (around 6.3 VAC on WPC games). If voltage is present at the board but lights are dark, check the playfield wiring and bulb sockets.