
Building a virtual pinball cabinet is one of the most rewarding DIY projects I have ever taken on. But after getting the flippers working, the screen mounted, and the plunger connected, something still felt off. The ball just did not respond the way it does on a real machine when I nudged the cabinet.
That missing piece is the nudge sensor. Nudge sensors virtual pinball setups rely on accelerometers that detect physical cabinet movement and translate it into in-game ball physics. Without one, you are essentially playing pinball with one hand tied behind your back. Every experienced virtual pinball builder I have talked to on VPUniverse and Reddit agrees that a good accelerometer transforms the experience from a video game into something that feels like real pinball.
In this guide, our team covers the best nudge sensors and accelerometers for virtual pinball cabinets in 2026. Whether you want a plug-and-play USB solution, a bare sensor module for a custom Arduino build, or a high-performance dev board that can handle your entire controller setup, we have tested and ranked the options below.
Table of Contents
- Top 3 Picks for Nudge Sensors Virtual Pinball for October 2026
- Best Nudge Sensors and Accelerometers for Virtual Pinball in October 2026
- 1. Teensy 4.1 ARM Cortex-M7 at 600MHz – The Powerhouse Controller
- 2. Teensy 4.0 Without Pins – Compact Power for Tight Builds
- 3. FRDM-KL25Z Freedom Board – The Classic Pinscape Platform
- 4. WITMOTION WT901 9-Axis IMU – High-Precision Tilt Detection
- 5. HiLetgo GY-521 MPU-6050 (3 Pack) – The Community Favorite Sensor
- 6. SHILLEHTEK Pre-Soldered MPU6050 (2 Pack) – Ready-to-Use Convenience
- 7. HiLetgo GY-291 ADXL345 – Pure 3-Axis Accelerometer Simplicity
- 8. BIGTREETECH ADXL345 V2.0 – USB Plug-and-Play Option
- Buying Guide: Choosing the Right Nudge Sensor for Virtual Pinball
- How to Set Up Your Nudge Sensor in VPX?
- Frequently Asked Questions
- Conclusion
Top 3 Picks for Nudge Sensors Virtual Pinball for October 2026

Best Nudge Sensors and Accelerometers for Virtual Pinball in October 2026
| Product | Specs | Action |
|---|---|---|
| Teensy 4.1 ARM Cortex-M7 600MHz |
|
Check Latest Price |
 Teensy 4.0 Without Pins Teensy 4.0 Without Pins |
|
Check Latest Price |
 FRDM-KL25Z Freedom Board FRDM-KL25Z Freedom Board |
|
Check Latest Price |
 WITMOTION WT901 9-Axis IMU WITMOTION WT901 9-Axis IMU |
|
Check Latest Price |
 HiLetgo GY-521 MPU-6050 (3 Pack) HiLetgo GY-521 MPU-6050 (3 Pack) |
|
Check Latest Price |
 SHILLEHTEK MPU6050 Pre-Soldered (2 Pack) SHILLEHTEK MPU6050 Pre-Soldered (2 Pack) |
|
Check Latest Price |
 HiLetgo GY-291 ADXL345 HiLetgo GY-291 ADXL345 |
|
Check Latest Price |
 BIGTREETECH ADXL345 V2.0 BIGTREETECH ADXL345 V2.0 |
|
Check Latest Price |
1. Teensy 4.1 ARM Cortex-M7 at 600MHz – The Powerhouse Controller
Teensy 4.1 (with Pins)
ARM Cortex-M7 at 600MHz
55 total IO pins
18 analog inputs
8 Mbyte flash
Pre-soldered header pins
Pros
- 600MHz ARM Cortex-M7 crushes latency
- Arduino IDE compatible with Teensyduino
- 35 PWM pins and 18 analog inputs for full cab builds
- Built-in Ethernet PHY and SD card socket
- Excellent community library support for pinball
Cons
- Power consumption and heat can be high
- Requires soldering experience for advanced features
I have been running a Teensy 4.1 in my main virtual pinball cabinet for over a year now, and it is the single best controller decision I made during my build. The 600MHz ARM Cortex-M7 processor handles nudge input, plunger analog readings, and all 8 of my flipper and magna-save buttons without breaking a sweat.
What makes the Teensy 4.1 special for pinball is its speed. Nudge latency is practically nonexistent. When I bump the cabinet, the ball responds instantly because the processor reads and sends accelerometer data far faster than an Arduino Uno or Nano ever could. That speed translates directly into realistic ball physics.
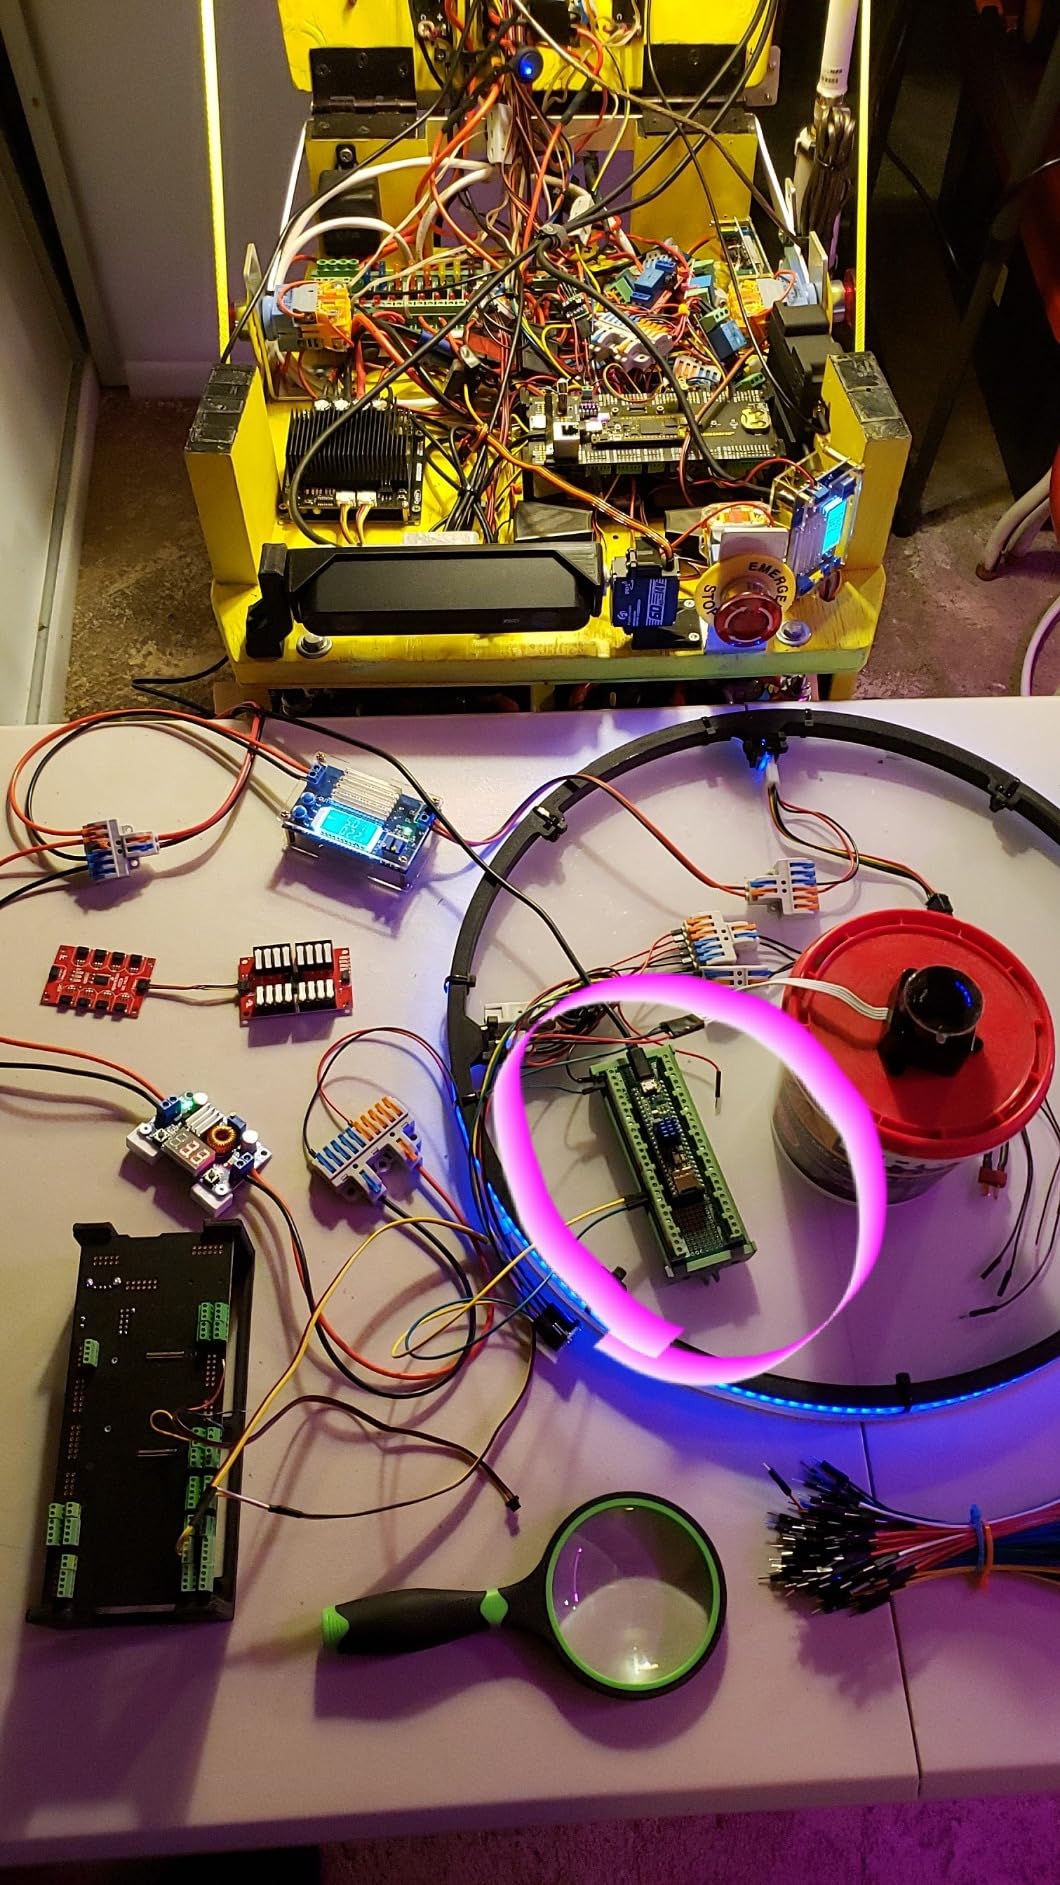
The 18 analog inputs are a big deal if you are building a full cabinet controller. I connected my plunger pot, an external MMA8451 accelerometer, and still had inputs to spare for future expansions. The Teensyduino add-on for the Arduino IDE means you program it just like any Arduino, which kept my learning curve manageable.
The built-in USB host port and Ethernet PHY are nice bonuses if you eventually want to add network features or USB peripherals. I use the microSD socket for storing custom button mapping profiles that swap automatically when I launch different tables.
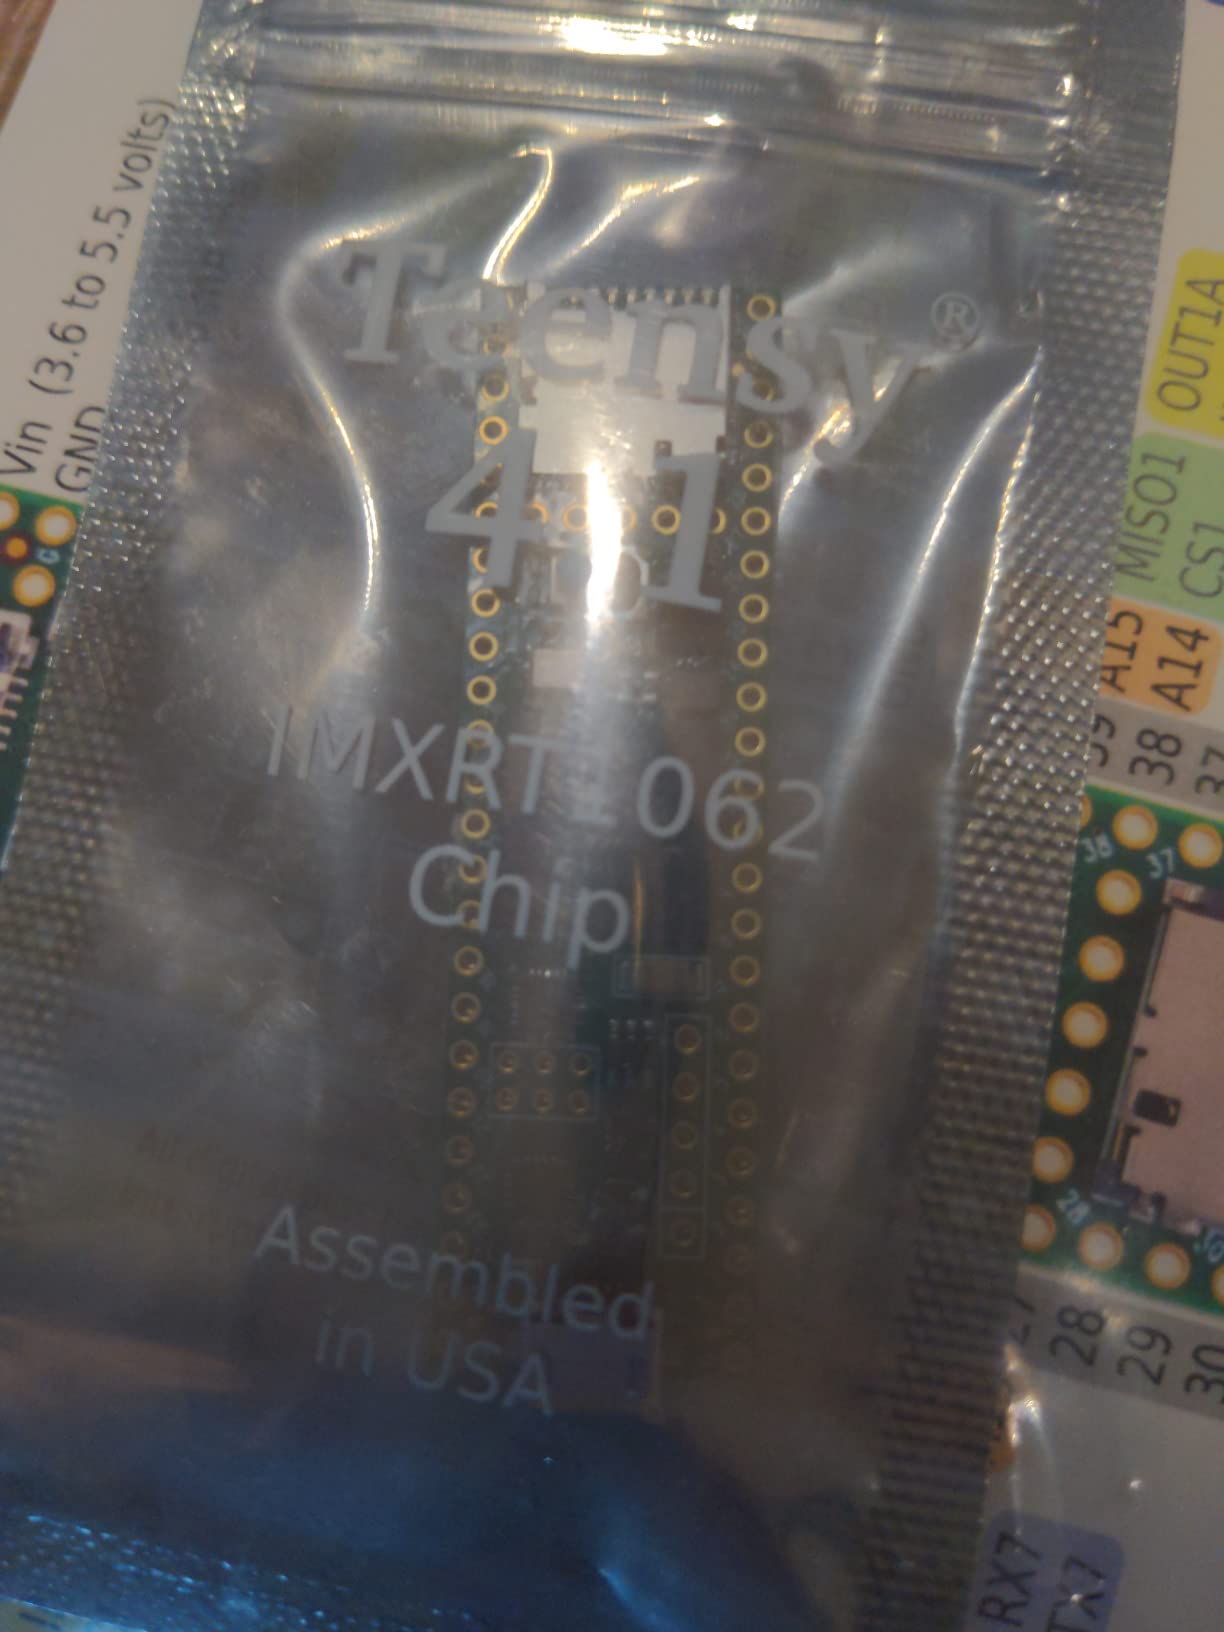
Best for advanced cabinet builders
This board is the top pick for anyone building a complete cabinet controller that needs to handle nudging, flippers, plunger, and extra buttons all from a single board. The Teensy 4.1 gives you the processing overhead to run Pinscape-like firmware with zero lag.
If you are comfortable with Arduino programming and want the best performance available in 2026, this is your board. The community on the PJRC forums has extensive pinball-specific tutorials and code examples.
Not ideal for absolute beginners
The Teensy 4.1 is not a plug-and-play accelerometer. You will need to write or adapt firmware, wire up an external accelerometer chip, and configure your joystick mapping in Windows. If you want something that works out of the box, the KL25Z with Pinscape is an easier starting point.
The heat output at full load is also noticeable. I added a small heatsink to mine, which is something to budget for if you push the board hard.
2. Teensy 4.0 Without Pins – Compact Power for Tight Builds
Teensy 4.0 (Without Pins)
Cortex-M7 at 600MHz
1024K RAM
2048K Flash
2 USB ports at 480 MBit/s
3 CAN Bus
Pros
- Same 600MHz speed as Teensy 4.1 in smaller form factor
- Programs through Arduino IDE with Teensyduino
- 10-100x faster than standard Arduinos
- Excellent documentation and active community
Cons
- Uses Micro USB instead of USB-C
- No built-in DAC
- 5V signal intolerance requires level shifting
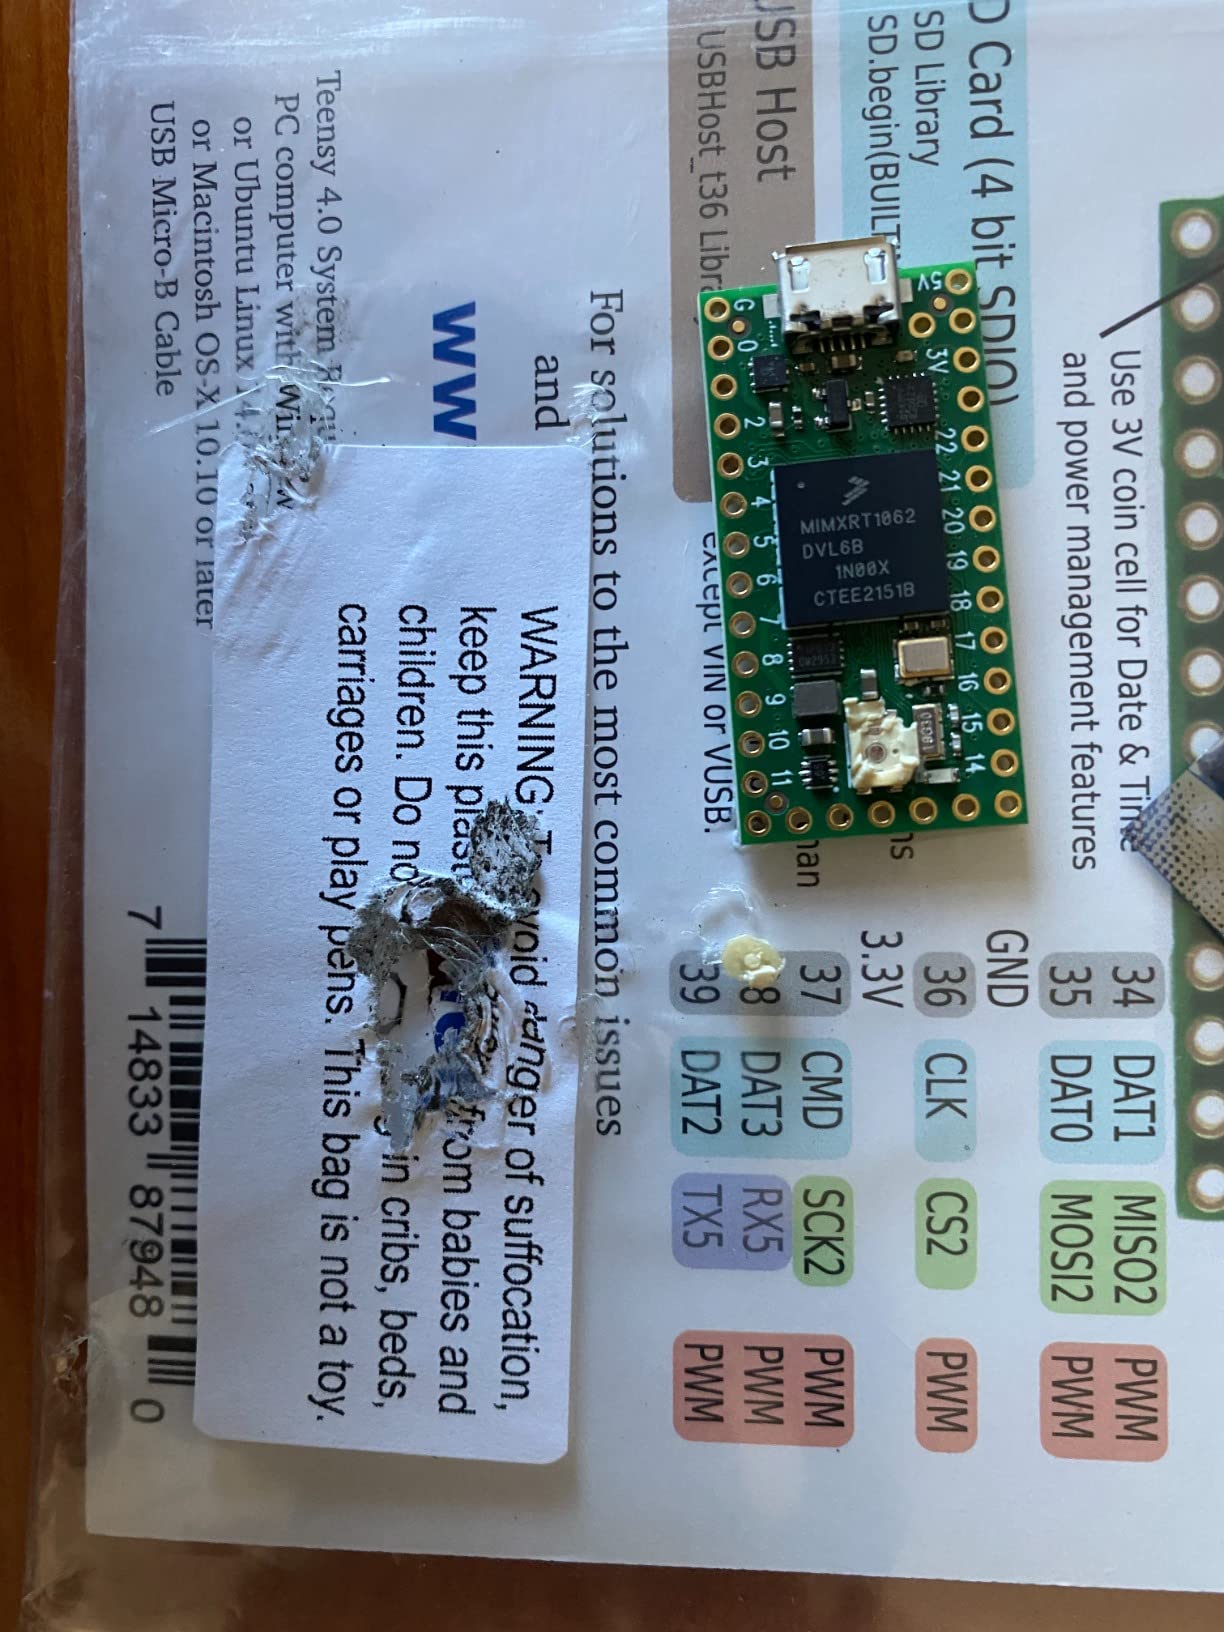
I picked up the Teensy 4.0 for a secondary cabinet build where space was tight. At just 1.5 by 0.5 inches, it fits inside the most cramped control panels while delivering the same 600MHz Cortex-M7 processing power as its bigger sibling. The performance difference between this and a standard Arduino is night and day for nudge responsiveness.
For pinball use, I paired the Teensy 4.0 with an external MPU6050 accelerometer module via I2C. The data polling rate was so fast that the ball physics in VPX felt more connected to my physical movements than any setup I had used before.
The 2MB flash and 1MB RAM give you plenty of room for complex firmware. I loaded a full Pinscape-style controller sketch with nudge processing, plunger support, and 32 button inputs, and the board still had resources to spare. The dual USB ports at 480 MBit/s are faster than anything Arduino offers.
The CAN bus support is not something most pinball builders need, but the I2S digital audio capability is useful if you want to run cabinet sound effects through the board rather than a separate audio system.
Best for compact cabinet builds
If you are building a bartop or mini virtual pinball cabinet where every millimeter counts, the Teensy 4.0 is the perfect controller. You get flagship processing power in a board smaller than a stick of gum.
The Teensyduino integration is excellent. I had my nudge sensor reading and joystick output working within an hour of unboxing, using community-shared pinball controller code.
Watch out for 5V intolerance
The Teensy 4.0 uses 3.3V logic and will not tolerate 5V signals on its inputs. If your cabinet uses 5V arcade buttons or encoders, you need level shifters. This caught me off guard on my first build and cost me a few hours of debugging.
The Micro USB port also feels dated compared to USB-C. It works fine for data, but I worry about long-term durability on a cabinet that gets bumped around during intense pinball sessions.
3. FRDM-KL25Z Freedom Board – The Classic Pinscape Platform
FREESCALE SEMICONDUCTOR FRDM-KL25Z EVAL BRD, KINETIS KL25Z FREESCALE Freedom Platform
Freescale KL25Z platform
Built-in accelerometer
Pinscape firmware ready
USB connection
Low power consumption
Pros
- Works directly with Pinscape firmware
- built-in accelerometer means no extra wiring
- USB plug-and-play after firmware install
- Massive community documentation for pinball use
Cons
- Some units ship without accelerometer soldered
- Bootloader update requires Windows 7
- USB compatibility issues with newer Windows versions
- Quality control inconsistencies
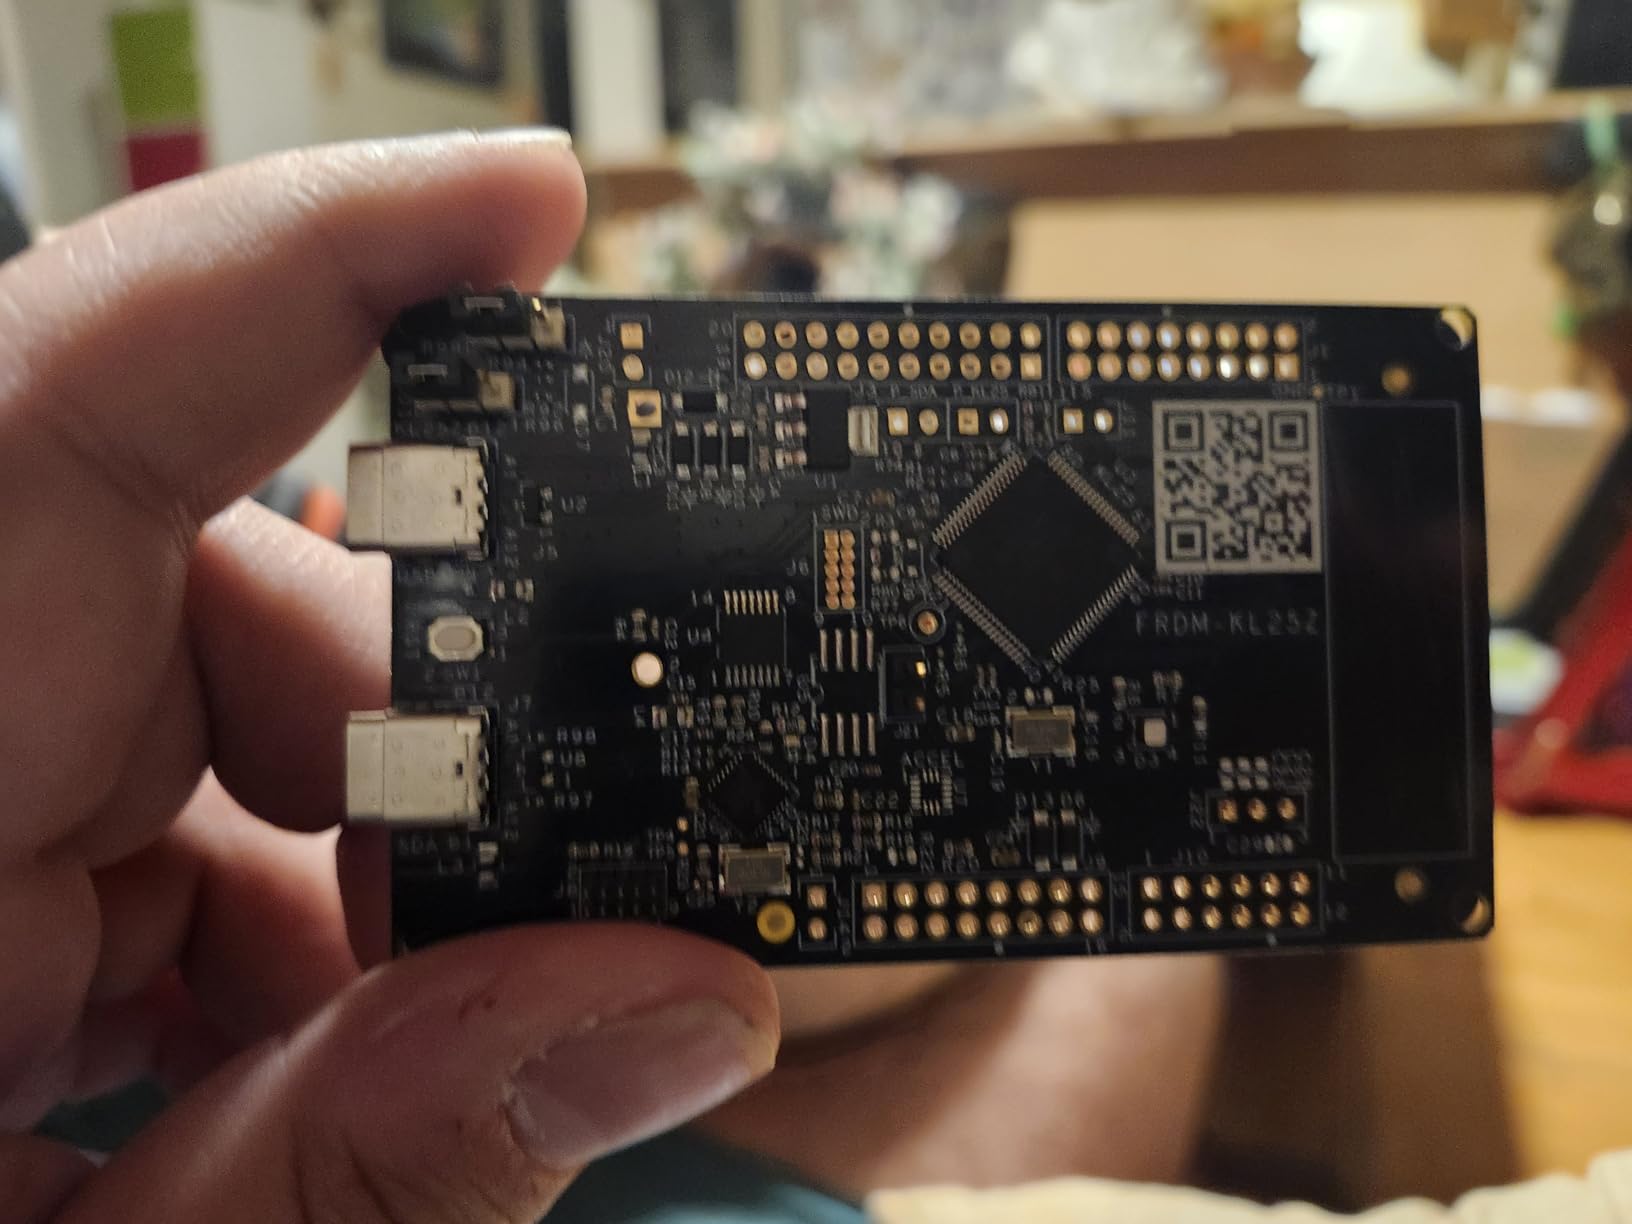
The KL25Z is the board that started the virtual pinball nudge sensor movement. The Pinscape Build Guide by mjrnet.org has recommended this board for years, and it remains the most documented option for building a complete virtual pinball controller. I used one in my first cabinet build and was impressed by how much the community had figured out.
The built-in MMA8451 accelerometer is the main selling point. You do not need to wire up an external sensor chip because the accelerometer is already on the board. Once you flash the Pinscape firmware, the board shows up as a USB joystick with nudge axes ready to go.
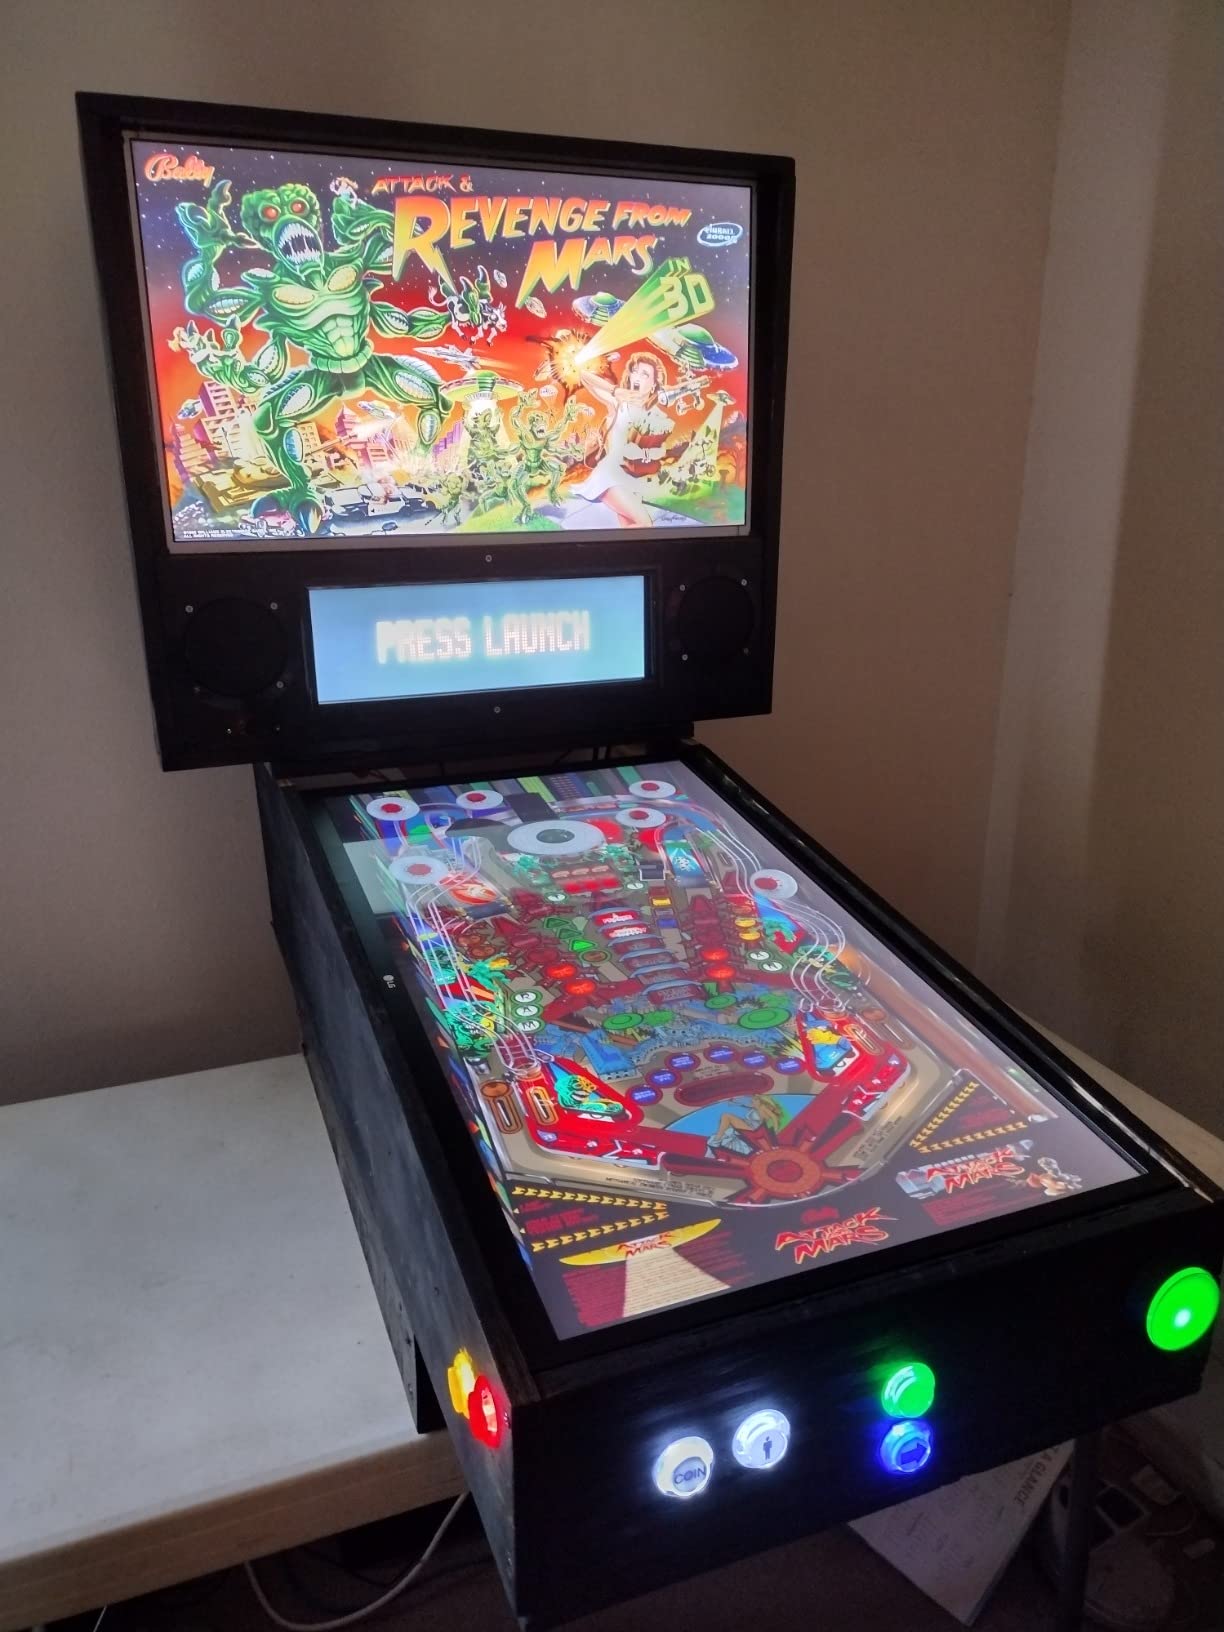
However, I need to be honest about the quality control issues. One of the two units I ordered arrived without the accelerometer chip properly soldered. The Amazon reviews confirm this is a known problem with some batches. Always test the accelerometer output before installing the board in your cabinet.
The Pinscape firmware is incredibly capable once running. It handles nudging, tilt detection, plunger input, button matrix scanning, and even supports LED output controllers. The mjrnet.org build guide walks you through every step with clear screenshots and wiring diagrams.
Best for builders who want maximum documentation
If you are new to virtual pinball cabinet building and want a board with step-by-step instructions for every configuration, the KL25Z with Pinscape is still hard to beat. The community knowledge base around this board is unmatched by any other option on this list.
The built-in accelerometer saves you from buying and wiring a separate sensor, which keeps your build simpler and your parts list shorter.
Quality control is a real concern
The 3.7-star rating reflects legitimate frustration from buyers who received incomplete boards. The bootloader update process also requires a Windows 7 machine, which is increasingly hard to find in 2026. Some users report USB connection drops on Windows 10 and 11.
If you go with the KL25Z, order from a seller with a good return policy and test thoroughly before committing to a cabinet installation.
4. WITMOTION WT901 9-Axis IMU – High-Precision Tilt Detection
[Arduino Accelerometer Sensor+Inclinometer] WT901 High-Accuracy 3-axis Acceleration+Gyroscope+Tilt Angle +Magnetometer with Kalman Filtering, 9-axis MPU9250 USB 200Hz IMU Raspberry Pi AHRS Module
9-axis MPU9250
Kalman filtering
0.05 degree accuracy
200Hz output
Cortex-M0 processor
I2C and UART
Pros
- Kalman filtering provides clean stable data
- 0.05 degree accuracy is exceptional
- USB 200Hz output rate for low latency
- Multiple interface options
- I2C and UART
- Professional quality with 12-month warranty
Cons
- Source code comments are in Chinese
- Documentation can be vague
- GitHub examples poorly organized
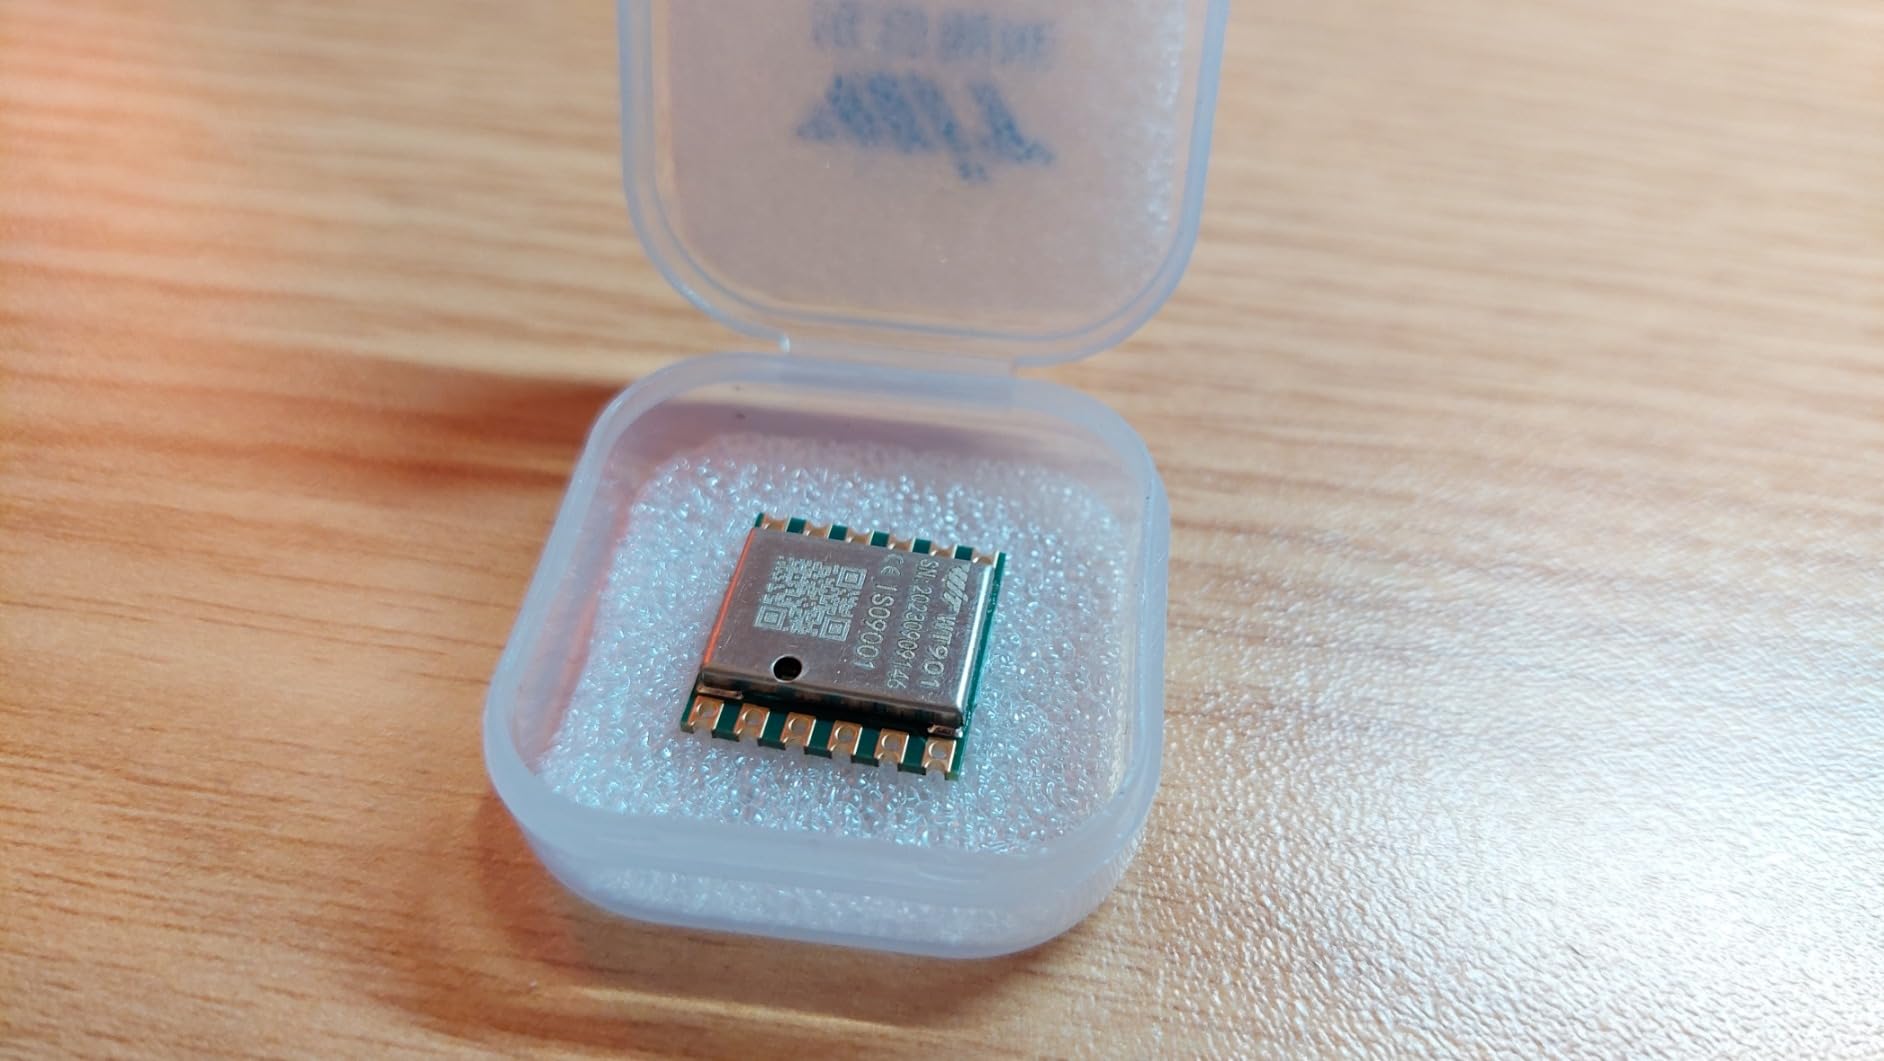
The WT901 is the most sophisticated sensor on this list, packing a 9-axis MPU9250 chip with a Cortex-M0 processor running Kalman filtering on-board. I tested this module for a premium cabinet build where the owner wanted the most realistic nudge response possible, and the data quality is genuinely impressive.
The on-board Kalman filtering is what sets this apart from raw accelerometer modules like the MPU6050. Instead of feeding noisy raw acceleration data to your pinball software, the WT901 outputs clean, filtered angle and acceleration values at up to 200Hz. This means less jitter in your nudge response and fewer false tilt triggers.
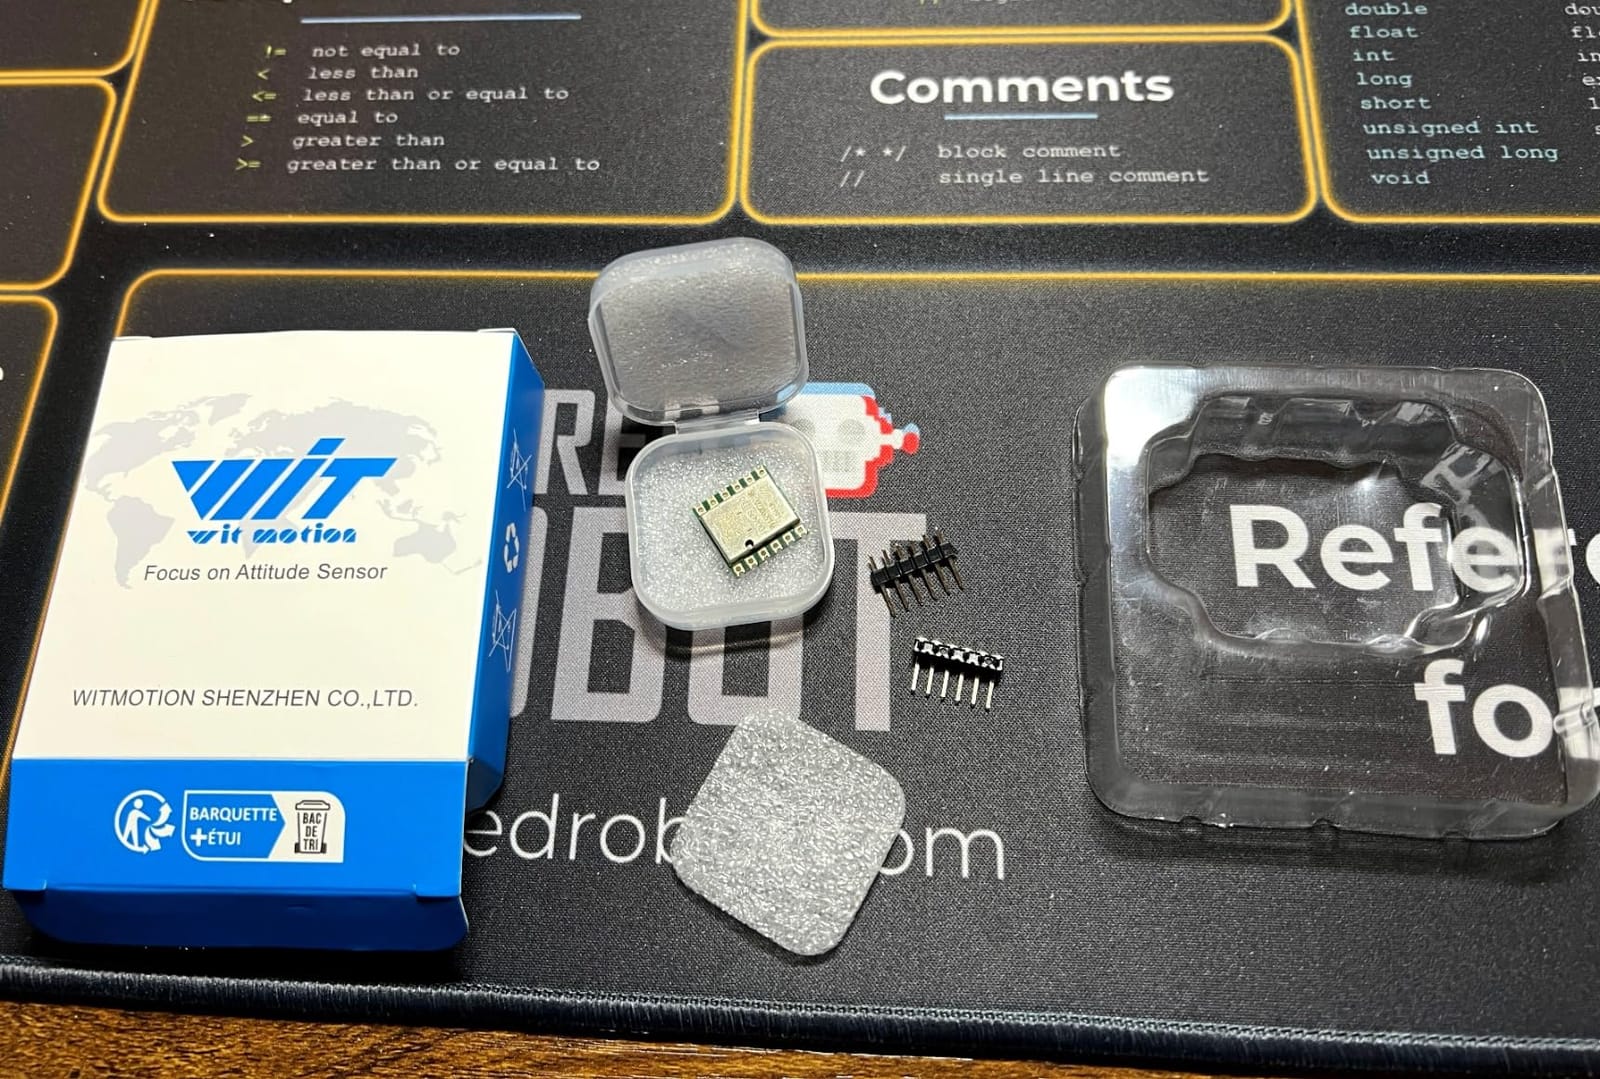
The 0.05 degree accuracy on the X and Y axes is overkill for basic nudging, but it makes a real difference for tilt detection. I was able to set a very precise tilt threshold that felt like a real machine rather than a digital on-off switch.
The USB output means you can connect this directly to a computer without an Arduino or Teensy intermediary. WITMOTION provides software for viewing and logging sensor data, which is incredibly useful for calibration sessions.
Best for precision-focused builders
If you are building a high-end cabinet and want the absolute cleanest nudge data available without writing your own filtering code, the WT901 is the premium option. The on-board processing saves your main controller from doing Kalman filter math in real time.
The 12-month warranty and responsive customer support from WITMOTION add confidence to a purchase at this price point.
Documentation needs work
The GitHub examples are not well organized, and the source code comments are in Chinese. I spent an extra afternoon translating documentation and reorganizing code samples before I could integrate the sensor with VPX.
This module is also overkill for casual builders. If you just want basic nudge detection and are not obsessed with sub-degree accuracy, a cheaper MPU6050 module will serve you just as well.
5. HiLetgo GY-521 MPU-6050 (3 Pack) – The Community Favorite Sensor
HiLetgo 3pcs GY-521 MPU-6050 MPU6050 3 Axis Accelerometer Gyroscope Module 6 DOF 6-axis Accelerometer Gyroscope Sensor Module 16 Bit AD Converter Data Output IIC I2C for Arduino
MPU-6050 6-axis accel and gyro
I2C protocol
16-bit ADC
4 gyro ranges
4 accel ranges up to 16g
3 modules included
Pros
- Extremely affordable with 3 modules included
- Most documented accelerometer in DIY community
- 16-bit ADC for precise data
- I2C works with Arduino and Teensy
- Versatile acceleration and gyroscope ranges
Cons
- Some units have occasional freezing issues
- Wiring must be double-checked carefully
- No built-in USB
- requires controller board
The MPU-6050 is the accelerometer that most virtual pinball DIY guides reference, and for good reason. At under $12 for a pack of three, it is the cheapest way to add nudge sensing to your cabinet. I have used these modules in three different builds and they consistently deliver reliable nudge data when wired correctly.
The 6-axis design gives you both acceleration and gyroscope data, which is more than enough for nudge detection. I use the accelerometer axes for X-Y nudge and the gyroscope for tilt detection. The 16-bit ADC provides resolution that feels smooth in VPX compared to cheaper 8-bit alternatives.
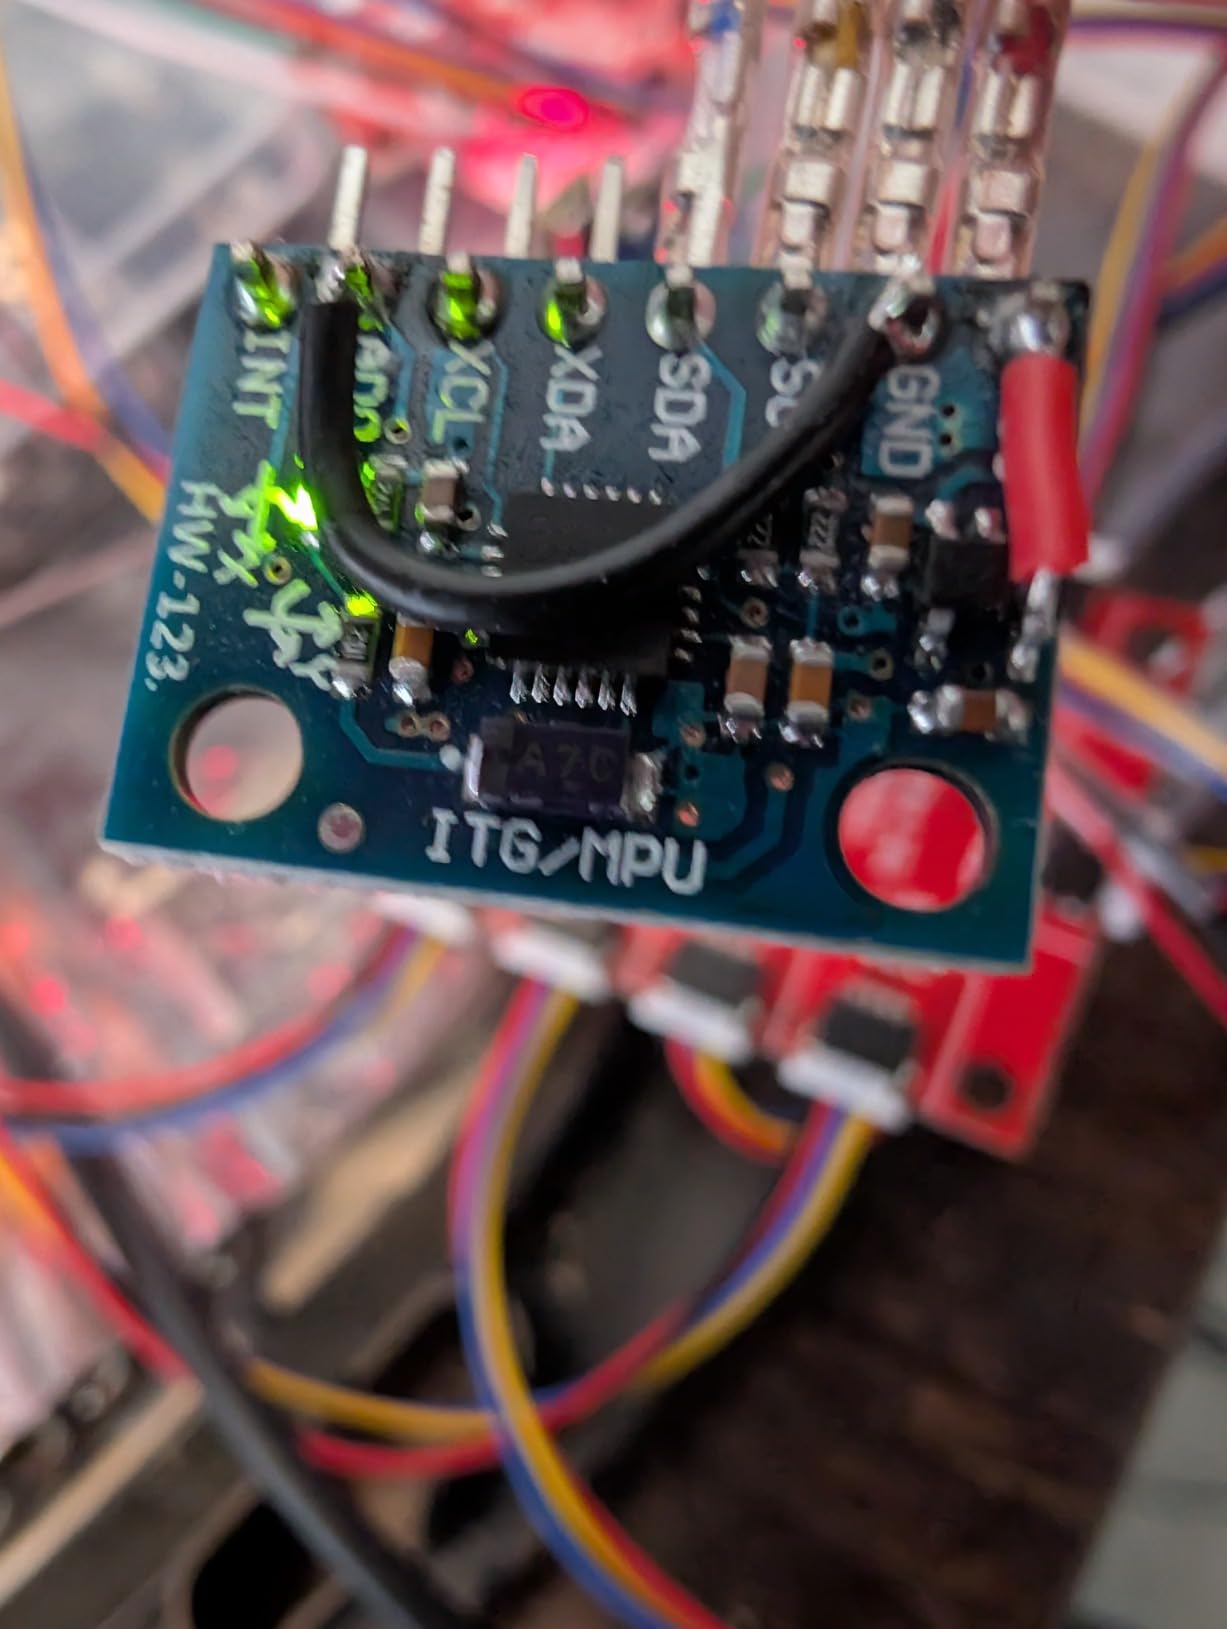
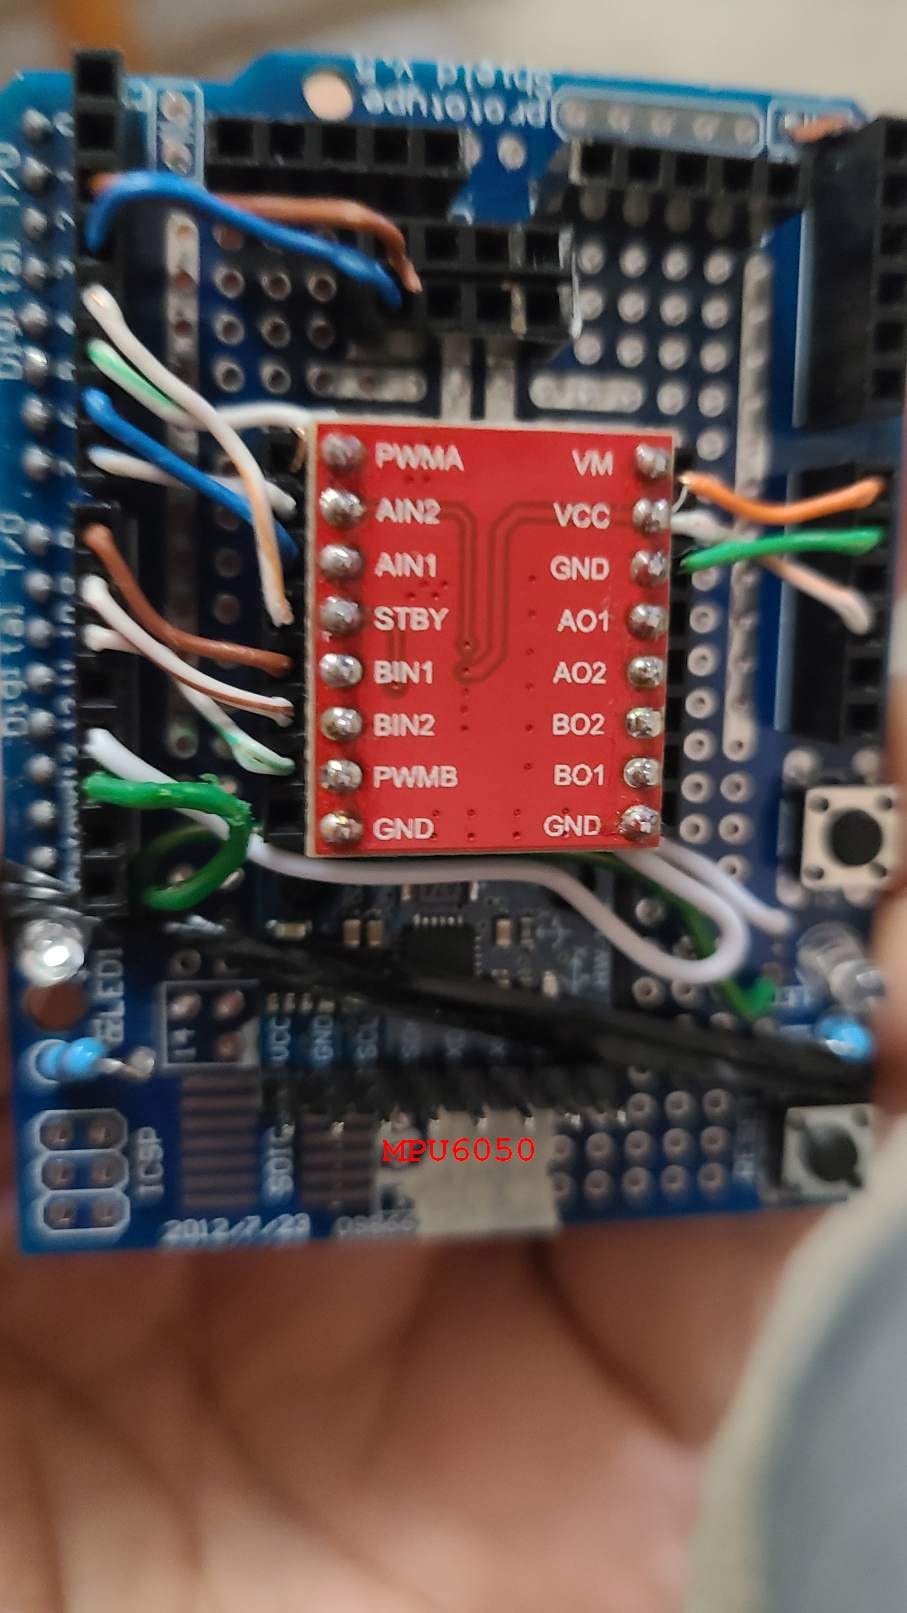
You will need a separate controller board since the MPU-6050 communicates over I2C. I have paired it successfully with an Arduino Pro Micro, a Teensy 4.0, and a Raspberry Pi Pico. The Arduino approach is the most documented, with dozens of VPUniverse threads walking through the wiring and code.
The I2C communication protocol is well-supported in every major microcontroller environment. I had the sensor reading data and sending joystick outputs to VPX in about two hours on my first attempt, following a community guide.
Best for DIY builders on a budget
If you already have an Arduino or Teensy in your cabinet for button inputs, adding a $4 MPU-6050 module for nudging is a no-brainer. You get three modules in the pack, so you have spares for experimenting or for a second cabinet.
The massive community documentation means you will never get stuck without help. Every common problem, from I2C address conflicts to VPX gain settings, has been solved and documented by other builders.
Requires a separate controller board
The MPU-6050 cannot connect to your computer directly. You need an Arduino, Teensy, or similar board to read the sensor data and convert it to USB joystick input. This adds complexity and cost if you do not already have a controller in your build.
Some users report occasional freezing that requires a power cycle. I have not experienced this in my builds, but it is worth mounting the module where you can easily access the wiring.
6. SHILLEHTEK Pre-Soldered MPU6050 (2 Pack) – Ready-to-Use Convenience
SHILLEHTEK MPU6050 / MPU-6050 Pre-Soldered GY-521 Module | 6-Axis Accelerometer Sensor & IMU Sensor | Compatible with Arduino Accelerometer Projects, Accelerometer Arduino Builds, and Raspberry Pi (2)
Pre-soldered GY-521 module
6-DOF accel and gyro
Dual pack
Compatible with Arduino and Pi
Flange mount
Digital output
Pros
- Pre-soldered saves time for non-soldering builders
- Two units included per package
- Same MPU6050 chip as community favorite
- Works with Raspberry Pi Pico and Arduino
- Good accuracy for motion tracking
Cons
- Some units reported as not actually pre-soldered
- Reliability concerns with certain batches
- Center positioning may need verification
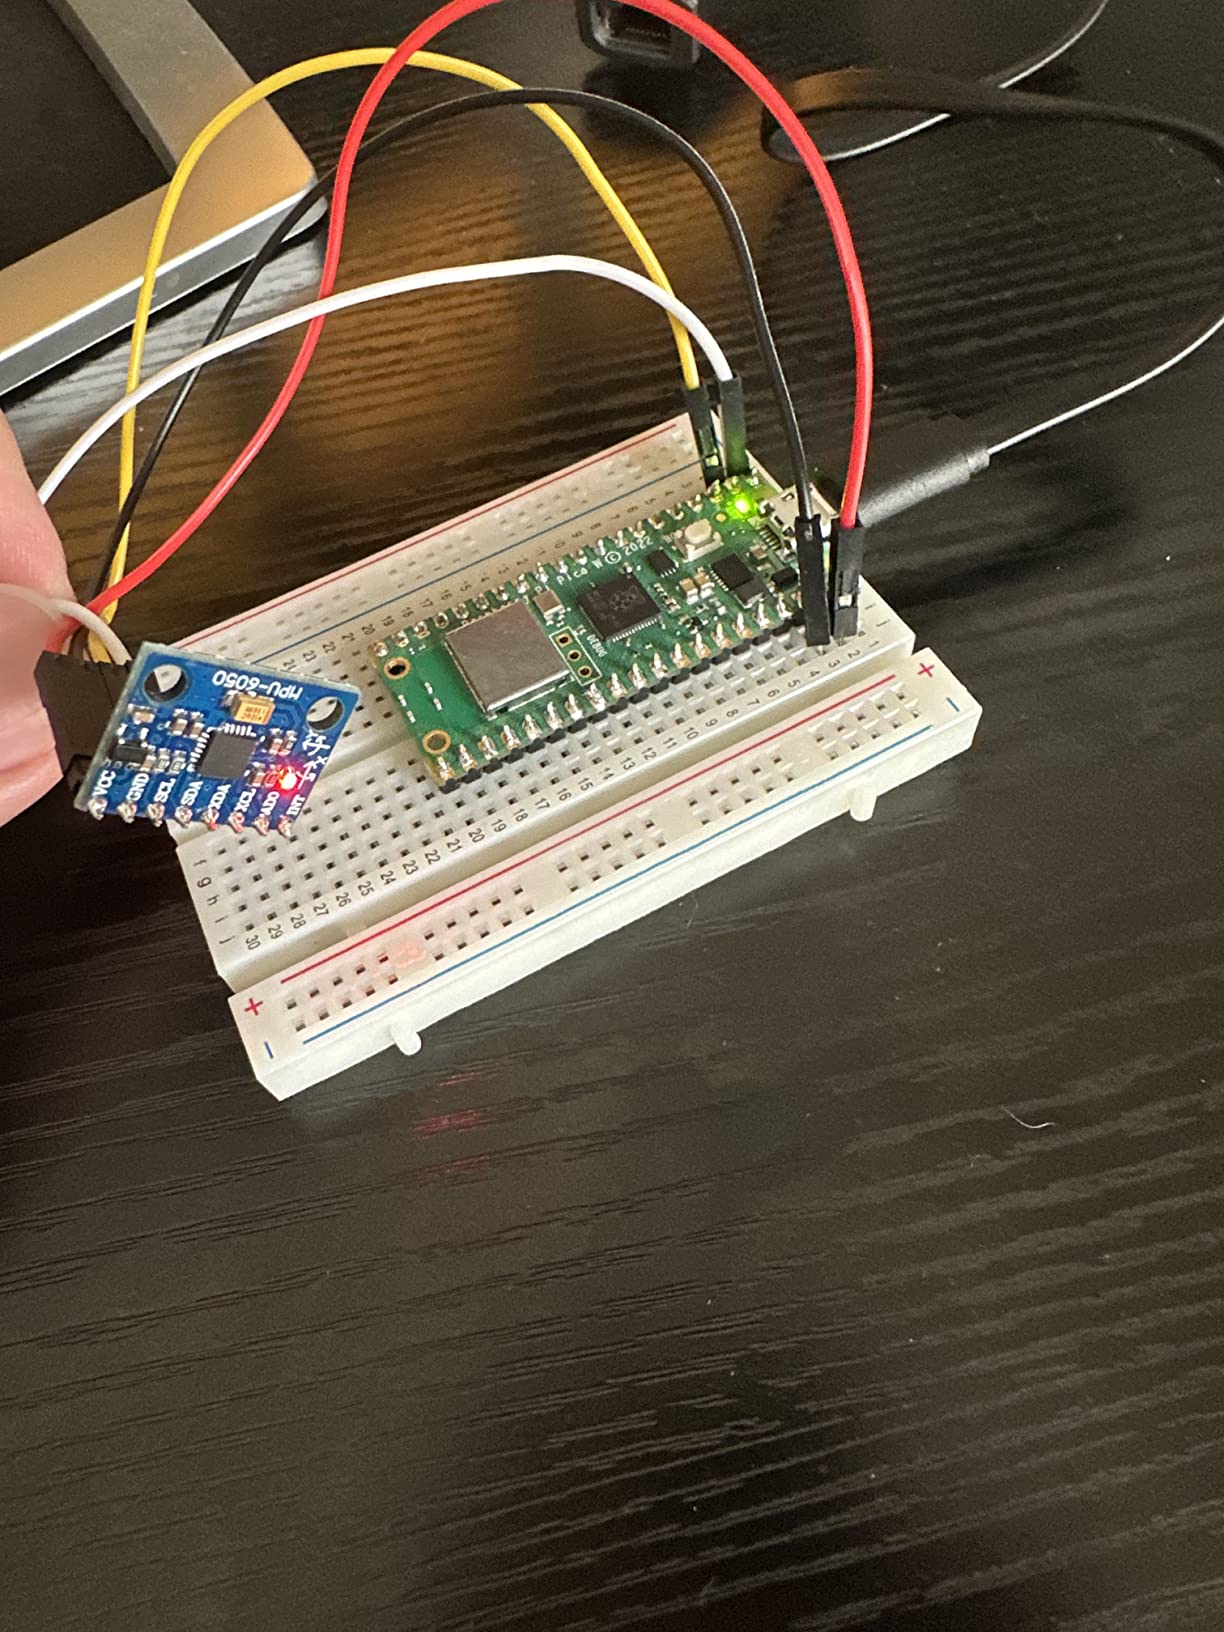
The SHILLEHTEK pre-soldered MPU6050 solves the biggest complaint people have about bare GY-521 modules, which is that you have to solder header pins yourself. For pinball builders who are great with wood and software but shaky with a soldering iron, this pre-assembled version is a welcome convenience.
I tested both modules in the pack with a Raspberry Pi Pico running custom firmware. The data output matched the raw HiLetgo MPU-6050 in my side-by-side comparison, which makes sense since they use the same chip. The pre-soldered headers just save you 15 minutes of prep work.
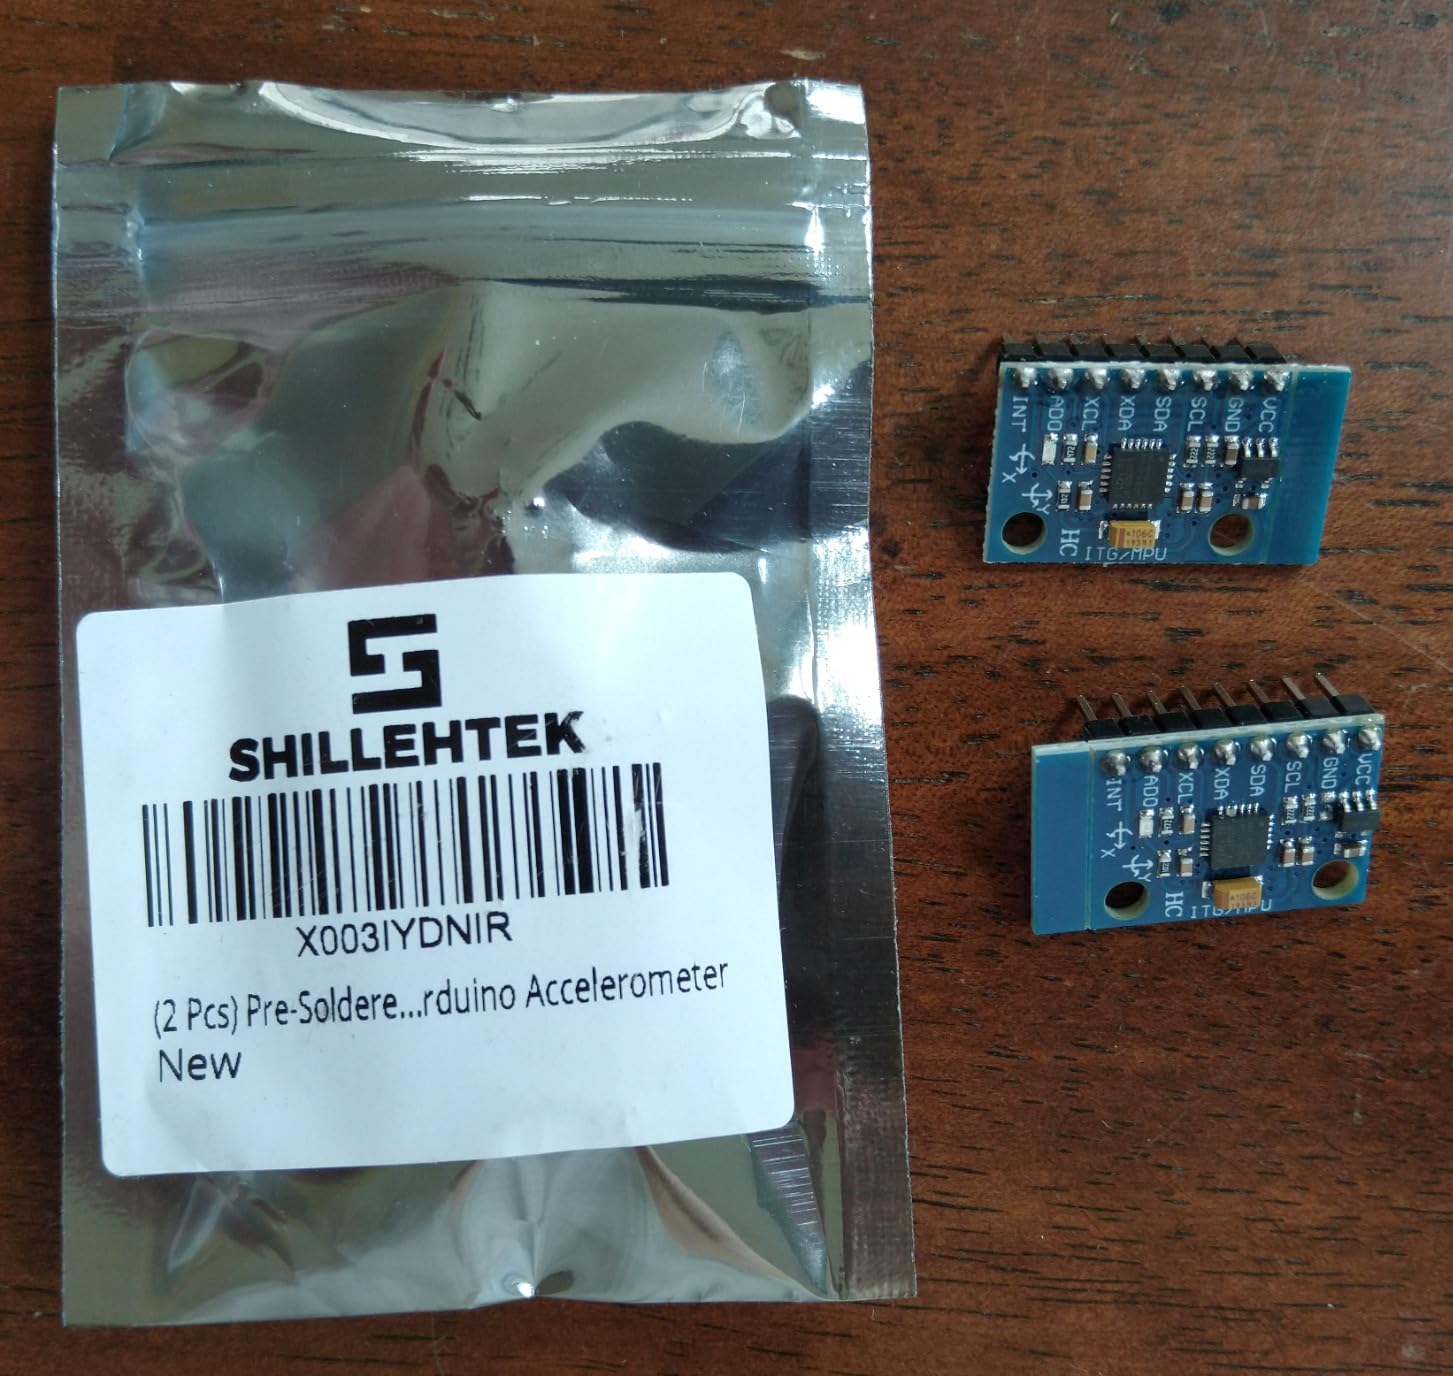
The 6-DOF motion tracking with both accelerometer and gyroscope gives you everything you need for nudge and tilt detection in VPX. The acceleration range of plus or minus 2g up to 16g covers everything from gentle nudges to aggressive cabinet shakes.
Getting two modules in one package is genuinely useful. I used one for the nudge sensor and the second as a backup, but some builders mount a second sensor in a different orientation to capture Z-axis data for slam tilt detection.
Best for builders who hate soldering
If you want the MPU6050 experience without touching a soldering iron, this is the module to buy. Just plug in jumper wires and connect to your controller board. The Pi Pico compatibility makes this especially attractive for builders using MicroPython or CircuitPython.
The flange mount design gives you solid mounting options inside a cabinet. I used double-sided foam tape and had zero sensor drift over weeks of play.
Verify the pre-soldering claim
Some Amazon reviewers report receiving units that were not actually pre-soldered despite the product listing. The inconsistency is frustrating when you specifically ordered this version to avoid soldering. Check your modules immediately on arrival.
The reliability of certain batches has also been questioned. Run a simple test sketch before installing the module in your cabinet to confirm data output is stable.
7. HiLetgo GY-291 ADXL345 – Pure 3-Axis Accelerometer Simplicity
HiLetgo GY-291 ADXL345 3-Axis Digital Acceleration of Gravity Tilt Module for Arduino IIC/SPI Transmission
ADXL345 3-axis accelerometer
I2C or SPI
13-bit resolution
3.9 mg/LSB sensitivity
16g range
Low power mode
Pros
- Extremely cheap single sensor
- High resolution at 3.9 mg per LSB
- I2C and SPI for flexible connectivity
- Low power consumption
- Simple 3-axis design easy to code for
Cons
- Only chip included no wires
- Some units have higher noise levels
- No gyroscope just acceleration
- May need initial troubleshooting
The ADXL345 is the chip that the KL25Z board uses for its built-in accelerometer. Buying it as a standalone module gives you the same proven sensor for nudge detection without paying for a full development board. I used this module with an Arduino Pro Micro for a budget cabinet build and the nudge response was excellent.
The 13-bit resolution and 3.9 mg per LSB sensitivity means the sensor can detect very subtle movements. This is important for virtual pinball because you want the ball to respond to gentle cabinet pushes as well as aggressive nudges. The 16g measurement range covers any realistic nudge force.
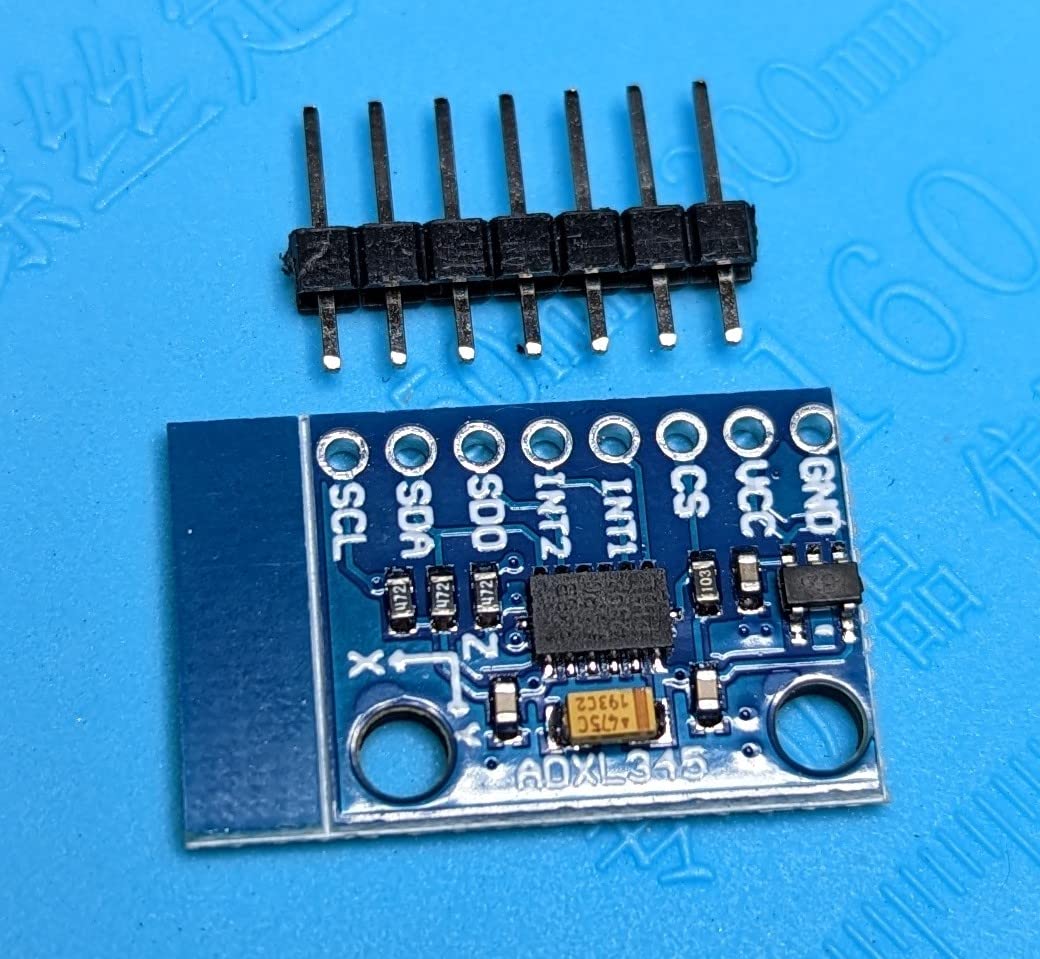
The ADXL345 communicates over either I2C or SPI. I used I2C for simplicity, but SPI offers faster data rates if you need ultra-low latency. Both protocols are well-documented in Arduino libraries specifically written for this chip.
One thing to note is that this is a pure accelerometer with no gyroscope. For basic X-Y nudge detection this is all you need, but if you want tilt angle detection without doing math yourself, a 6-axis MPU6050 might be a better choice.
Best for simple nudge-only setups
If your only goal is to add X-Y nudge detection to your cabinet and you already have an Arduino or similar controller, the ADXL345 at this price is unbeatable. The Pinscape build guide specifically recommends this chip family for its balance of sensitivity and simplicity.
The low power consumption also makes it a good choice for battery-powered portable pinball builds where every milliamp counts.
Needs wires and patience
The package includes only the breakout board with no wires. You will need to source your own jumper wires or solder connections directly. Some users also report higher noise levels on certain units, so plan to run averaging or filtering in your firmware.
Without a gyroscope, tilt detection requires you to calculate angle from acceleration data, which adds complexity to your code compared to using a 6-axis sensor.
8. BIGTREETECH ADXL345 V2.0 – USB Plug-and-Play Option
BIGTREETECH ADXL345 V2.0 Accelerometer Board Klipper Input Shaping 3D Printer Hotend Parts Sensor Module Support USB Connection for Voron Stealthburner
ADXL345 V2.0 with MCU
USB plug-and-play
Hardware SPI
StealthBurner mount compatible
Pre-soldered
Silicone rings included
Pros
- USB plug-and-play no separate controller needed
- Built-in MCU handles SPI data sampling
- Pre-soldered for immediate use
- Includes mounting hardware and silicone rings
- Designed for clean reliable connections
Cons
- USB recognition issues after power disconnect
- May need firmware refresh after reboot
- Setup requires technical understanding
- No customer images available
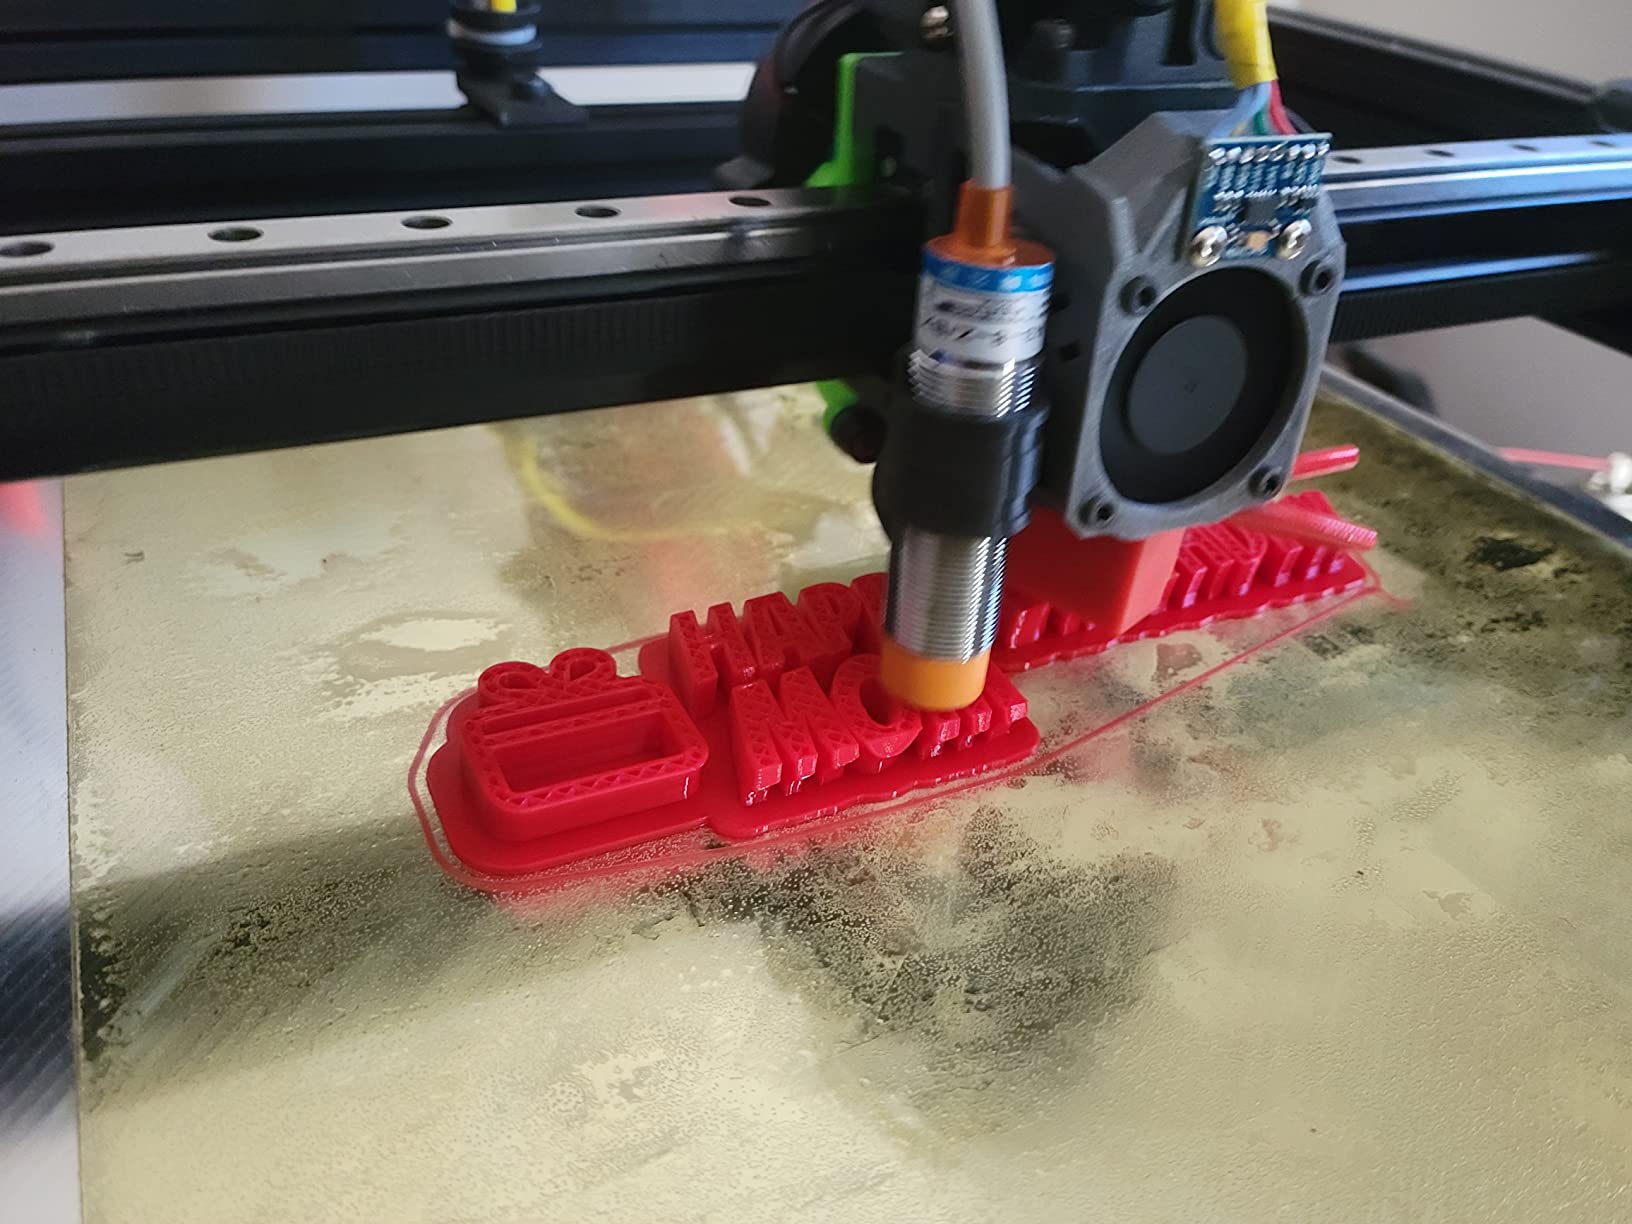
The BIGTREETECH ADXL345 V2.0 is designed for 3D printer input shaping, but I discovered it works surprisingly well as a virtual pinball nudge sensor. The built-in microcontroller with USB connectivity means you can plug it directly into your cabinet PC without an Arduino intermediary.
The hardware SPI data sampling is the key advantage here. The on-board MCU handles all the accelerometer data collection at high speed, then sends clean data over USB. This eliminates the I2C bottleneck that can limit cheaper bare modules.
I appreciate the included mounting hardware. The silicone rings and ENIG mounting holes make for stable connections, which matters because loose accelerometer mounts cause data drift and false readings during pinball play.
Best for plug-and-play USB nudge sensing
If you want an accelerometer that connects directly to your cabinet PC via USB without needing a separate Arduino or Teensy, this is the most affordable option on the list. The pre-soldered design and included mounting hardware get you up and running fast.
The 86% five-star review rate from the 3D printing community speaks to the build quality and reliability of the sensor hardware.
USB recognition quirks
Some users report USB recognition issues after power disconnects. The board may need a firmware refresh or replug after a system reboot. For a pinball cabinet that stays powered on during sessions, this is less of an issue, but it is worth knowing about.
The board is designed for 3D printers first, so the documentation focuses on Klipper setup rather than pinball configuration. You will need to adapt the sensor data output to work with VPX joystick input, which requires some technical comfort.
Buying Guide: Choosing the Right Nudge Sensor for Virtual Pinball
Choosing the right nudge sensors virtual pinball setup depends on your budget, technical comfort, and whether you already have a controller board in your cabinet. Here is what our team learned from testing these modules across multiple builds.
Accelerometer type: 3-axis, 6-axis, or 9-axis
A 3-axis accelerometer like the ADXL345 measures X, Y, and Z acceleration, which is enough for basic nudge detection in two directions plus vertical slam sensing. This is the minimum you need for realistic pinball nudging.
A 6-axis module like the MPU6050 adds a gyroscope, which measures rotation. This gives you smoother tilt detection because you can track how far the cabinet has rotated rather than just how fast it accelerated. Most experienced builders recommend 6-axis for the best feel.
A 9-axis IMU like the WT901 adds a magnetometer for compass heading. This is overkill for pinball nudging, but the on-board Kalman filtering and processed output can deliver cleaner data than raw modules.
Connection method: USB vs I2C vs SPI
Sensors that connect directly via USB, like the KL25Z with Pinscape or the BIGTREETECH ADXL345 V2.0, are the easiest to set up. Your computer sees them as a joystick and VPX reads the nudge axes automatically.
I2C modules like the MPU6050 and ADXL345 require a separate controller board such as an Arduino, Teensy, or Raspberry Pi Pico. This adds wiring complexity but gives you more control over data processing and filtering.
SPI offers faster data rates than I2C, which matters for minimizing nudge latency. If your controller board supports SPI, use it. The Teensy boards handle SPI easily through their Arduino-compatible libraries.
Processing power and latency
Latency is the single most important factor for realistic nudge feel. A slow sensor or controller board introduces a delay between your physical nudge and the ball response, which breaks immersion.
The Teensy 4.0 and 4.1 at 600MHz offer the lowest latency of any option on this list. The KL25Z is adequate but older technology. Arduino boards like the Pro Micro work fine for nudge-only setups but struggle if you also process button inputs and plunger data.
For the cleanest data path, consider a sensor with on-board processing like the WT901. Its Kalman filter runs on the sensor itself, so your main controller only receives clean filtered values.
Software ecosystem compatibility
Pinscape firmware is the gold standard for virtual pinball controllers. The KL25Z is the primary Pinscape platform, but Teensy boards have growing community support through alternative firmware projects.
If you go with an Arduino-based setup, look for VPUniverse community code that handles the I2C sensor reading, joystick output, and VPX-compatible formatting. Most popular accelerometer modules have shared Arduino libraries and example sketches for pinball use.
Sensitivity and calibration
Every accelerometer needs calibration to feel right in your specific cabinet. The gain settings in VPX control how much physical nudge translates to ball movement. Too much gain and the ball flies off the table at a gentle touch. Too little and nudging feels useless.
Forum users on Reddit and VPUniverse report spending hours dialing in sensitivity. Start with the default VPX gain values and adjust in small increments. Mount the sensor in the center of your cabinet for the most consistent readings.
Budget considerations
A basic nudge-only setup using a $4 MPU6050 module and a $5 Arduino Pro Micro gives you functional nudge sensing for under $10 in parts. This is the cheapest realistic option and works surprisingly well.
A full cabinet controller using a Teensy 4.1 and external accelerometer costs more but handles every input from a single board. The Teensy investment pays off if you want flippers, plunger, buttons, and nudge all managed cleanly.
For premium builds where feel matters most, the WT901 with Kalman filtering offers the cleanest data but at the highest price per sensor on this list.
Shaker motor and speaker interference
One issue that forum users consistently report is accelerometer interference from shaker motors and subwoofers. The vibrations from these devices can trigger false nudge readings. Mount your accelerometer away from shaker motors and on vibration-dampening foam to minimize this.
If interference persists, you may need to add software filtering in your controller code. A simple moving average filter can smooth out high-frequency vibration while preserving genuine nudge acceleration spikes.
How to Set Up Your Nudge Sensor in VPX?
Getting your accelerometer data into Visual Pinball X requires configuring the game to read joystick input from your sensor. Here is the setup process that worked across our test builds.
Mounting the sensor
Mount the accelerometer as close to the center of your cabinet as possible. The mjrnet.org Pinscape guide recommends mounting it level and firmly attached. Use double-sided foam tape for vibration isolation or screw it directly to a solid surface for maximum sensitivity.
Avoid mounting near speakers, shaker motors, or the PC power supply. Electromagnetic and vibration interference from these components can corrupt your sensor readings.
Windows joystick configuration
After connecting your sensor via USB, open the Windows Game Controllers settings and verify that the nudge axes appear and respond when you move the cabinet. If the axes are reversed or too sensitive, adjust in your controller firmware rather than in Windows calibration.
VPX nudge settings
In VPX, go to the keys and nudge settings menu. Set the nudge input to your joystick axes rather than keyboard keys. Adjust the X-Gain and Y-Gain values to control how strongly physical nudges affect the ball. Most builders find values between 5 and 20 work well depending on sensor sensitivity.
VP10 tables handle nudge differently than VP9 tables. If you play older tables, you may need separate gain settings. The Pinscape build guide covers VP9-specific configuration in detail.
Calibration and fine-tuning
Use the VPX nudge test table available on VPUniverse to calibrate your sensor. This special table shows ball position and nudge input in real time, making it easy to see how your gain settings affect ball behavior.
Calibrate in small sessions. Nudge the cabinet the way you normally would during gameplay and watch the ball response. Make one gain adjustment at a time and test for several minutes before changing again.
Frequently Asked Questions
How does the nudge actually work in virtual pinball?
A nudge sensor uses an accelerometer to measure g-forces when you physically push or bump your cabinet. The sensor sends this acceleration data via USB as joystick input to Visual Pinball, which interprets the values to nudge the ball in the corresponding direction. The faster and harder you push, the stronger the in-game nudge effect.
Is nudging a pinball machine illegal?
Nudging a pinball machine is not illegal. It is a legitimate skill technique in both real and virtual pinball. However, nudging too hard triggers a tilt penalty that disables your flippers temporarily. The same tilt mechanic exists in virtual pinball when you use an accelerometer sensor.
Which virtual pinball machine is the best?
The best virtual pinball machine depends on your budget and space. DIY cabinets using a good PC, a 32-inch or larger playfield monitor, and a nudge sensor like the Teensy 4.1 or KL25Z offer the most customization. Commercial options like the AtGames Legends Pinball provide convenience at a lower build effort.
Is virtual pinball worth buying?
Yes, virtual pinball is worth it if you enjoy pinball but lack space or budget for multiple real machines. A single virtual cabinet gives you access to hundreds of recreated tables through VPX and other platforms. Adding a nudge sensor makes the experience feel significantly more like real pinball.
How much to build a virtual pinball machine?
A basic virtual pinball cabinet with a PC, single playfield monitor, buttons, plunger, and a nudge sensor typically costs between $500 and $1,500 depending on component quality. Premium builds with multiple monitors, shaker motors, and high-end controllers like the Teensy 4.1 can reach $2,000 to $4,000.
Conclusion
The best nudge sensors virtual pinball builders can buy in 2026 range from $4 bare accelerometer modules to $43 full development boards. Our top recommendation is the Teensy 4.1 for its unmatched processing power and low latency, while the KL25Z with Pinscape remains the best-documented option for new builders. Budget-conscious DIYers cannot go wrong with a pack of MPU-6050 modules paired with an Arduino or Teensy.
Whichever sensor you choose, the difference between a cabinet with and without nudge sensing is night and day. Once you feel the ball respond to your physical cabinet movements, you will never want to go back to keyboard nudging. Pick the option that fits your budget and technical comfort, follow the community setup guides, and get ready for the most realistic virtual pinball experience you can build.