
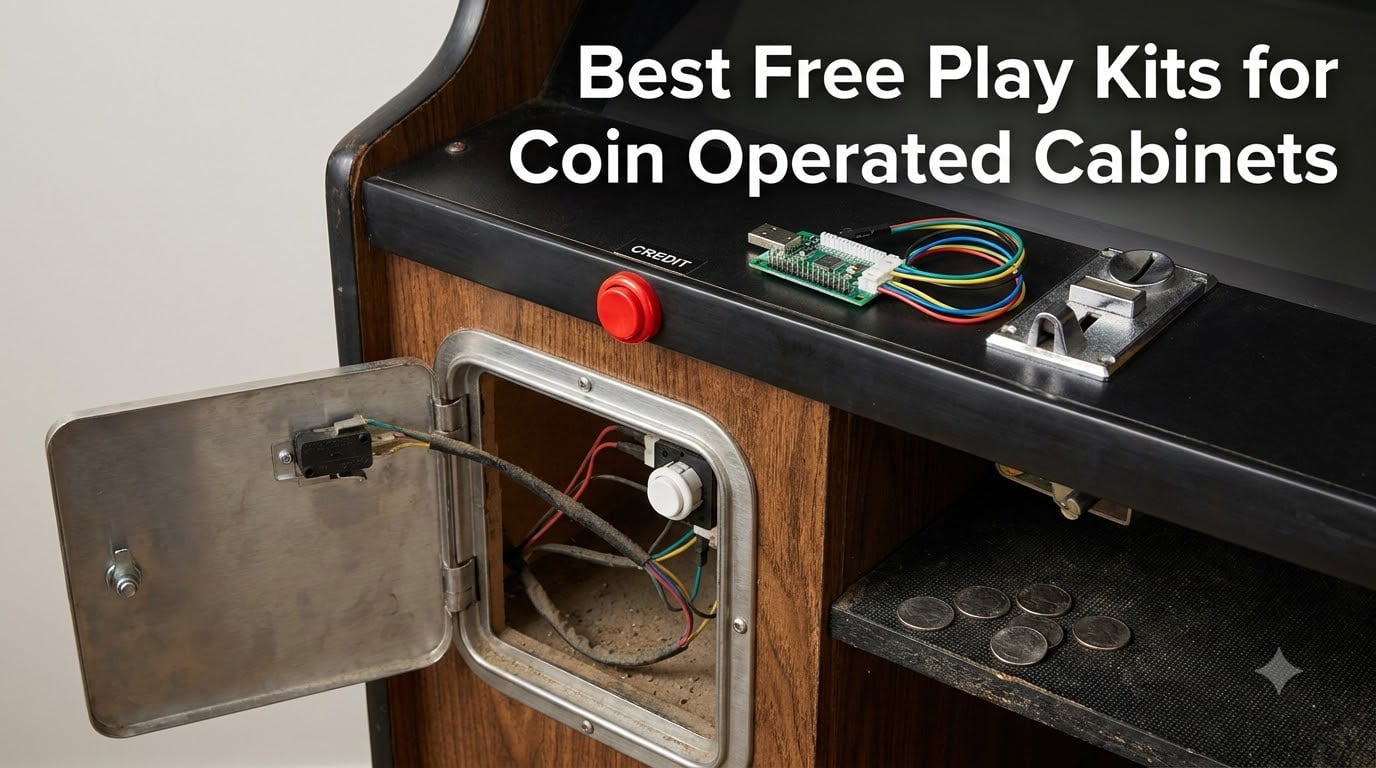
A free play kit for a coin operated cabinet is the hardware that lets a game start without coins — either a credit button that fires the same signal a coin mech sends, a coin door replacement wired for unlimited credits, or an encoder that maps a coin slot to a keyboard or joystick input. The best free play kits for coin operated cabinets keep the authentic coin door look while quietly removing coin duty from your game night. I have modded five cabinets with these parts over the past three years, from an Arcade1Up riser build to a beat-up Jamma conversion, and this guide covers the ten kits I would actually spend my own money on in 2026.
Here is the short version before we get into it. If you run a MAME or RetroPie cabinet, a zero delay USB encoder with a coin button is the fastest route to free play. If you want the metal clunk and lit coin slots of a real arcade, a steel coin door with a mechanical coin selector gives you free play plus the looks. If you want both coin operation and free play, a programmable coin acceptor lets you switch between them.
Every kit below was picked on three things: how it installs, what cabinets it actually fits, and how buyers report it holds up after months of party use. Wiring confusion and drilling fear are the two things that stop most people, so I flag both for every product.
Table of Contents
- Top 3 Picks for Free Play Kits for October 2026
- Best Free Play Kits for Coin Operated Cabinets in October 2026
- 1. Reyann Zero Delay USB Encoder — Easiest Credit Button for MAME and Pi
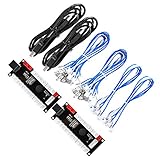
- 2. Guwarry 2-Player Zero Delay Encoder — Best for Arcade1Up Free Play Mods
- 3. EG STARTS 2 Player LED Arcade Kit — Best Full Control Panel Bundle
- 4. RetroArcade.us Coin Door with Coin Selector — Best Authentic Free Play Door
- 5. RetroArcade.us Two Entry Coin Door — Best Heavy Metal Restoration Door
- 6. Xinmoarcade TW-389 LED Coin Acceptor — Best Illuminated Coin Slot
- 7. BORDSTRACT Multi Coin Acceptor — Best Multi-Currency Credit Acceptor
- 8. RetroArcade.us Single Entry Coin Door Blank — Best Custom Build Foundation
- 9. Arcity Coin and Start Button Set — Best Budget Credit Button Pack
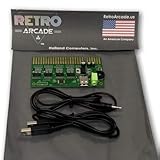
- 10. RetroArcade.us USB to Jamma Converter — Best for Original Jamma Boards
- Buying Guide: How to Choose a Free Play Kit?
- Frequently Asked Questions
- How do I set a coin mechanism to free play on an old arcade machine?
- What are the best free play kits for coin operated cabinets?
- How do I bypass the coin mech without drilling holes?
- Is a free play kit worth it for a home arcade cabinet?
- Are MAME cabinets legal?
- Is it cheaper to build or buy an arcade machine?
- Conclusion
Top 3 Picks for Free Play Kits for October 2026
Reyann Zero Delay USB Encoder
- Plug and play USB credit button
- Works with MAME and RetroPie
- Supports 16 buttons
RetroArcade Coin Door with…
- US quarter mechanical coin selector
- Complete install hardware included
- Authentic Happ style door
EG STARTS 2 Player LED…
- Two encoders and 19 LED buttons
- Great for Arcade1Up mods
- Bright credit and start buttons
The Reyann encoder is my overall pick because it turns any coin button into a USB credit input in about ten minutes, with 750 reviews behind it. The RetroArcade single entry door is the pick when looks matter most, and it carries a 4.9 average. The EG STARTS bundle wins on value when you are rewiring a whole control panel anyway.
Best Free Play Kits for Coin Operated Cabinets in October 2026
| Product | Specs | Action |
|---|---|---|
| Reyann Zero Delay USB Encoder |
|
Check Latest Price |
 Guwarry 2-Player USB Encoder Guwarry 2-Player USB Encoder |
|
Check Latest Price |
| EG STARTS 2 Player LED Arcade Kit |
|
Check Latest Price |
| RetroArcade Coin Door with Coin Selector |
|
Check Latest Price |
 RetroArcade Two Entry Coin Door RetroArcade Two Entry Coin Door |
|
Check Latest Price |
 Xinmoarcade TW-389 LED Coin Acceptor Xinmoarcade TW-389 LED Coin Acceptor |
|
Check Latest Price |
 BORDSTRACT Multi Coin Acceptor BORDSTRACT Multi Coin Acceptor |
|
Check Latest Price |
 RetroArcade Single Entry Coin Door Blank RetroArcade Single Entry Coin Door Blank |
|
Check Latest Price |
 Arcity 4 Pc Coin and Start Buttons Arcity 4 Pc Coin and Start Buttons |
|
Check Latest Price |
 RetroArcade USB to Jamma Converter RetroArcade USB to Jamma Converter |
|
Check Latest Price |
Encoders and credit buttons handle the software side of free play. Coin doors and acceptors handle the hardware side, and most of them let you wire the coin switch straight to a credit button if you want true free play. The two RetroArcade.us Jamma pieces sit at opposite ends: one converts an old harness to USB, the other replaces the entire front of the cabinet.
1. Reyann Zero Delay USB Encoder — Easiest Credit Button for MAME and Pi
Reyann Zero Delay Arcade USB Encoder Pc to Joystick for Mame Jamma & Other Pc Fighting Games for American Style Arcade Joystick & HAPP Style Arcade Buttons
USB encoder for DIY free play
16 button and joystick inputs
PC Mac PS3 and Raspberry Pi
125 g board with 2-wire hookups
Pros
- Plug and play with no driver hunting
- Recognized as a generic joystick in Windows
- Works with MAME
- RetroPie and Raspberry Pi
- Every input uses a simple 2-wire connector
- Extremely affordable for a full credit circuit
Cons
- Wire harnesses run short so plan board placement
- Terminals are bare and need heat shrink
- Some setups detect joystick directions in reverse
I have wired three of these into different builds, and the free play trick is always the same. Screw one terminal of a coin button into any free input, map that input to the coin or select key in MAME or EmulationStation, and you have a working credit button without touching a real coin mech. Windows sees it as a generic joystick controller the moment you plug it in, which is why it earns the top spot in my roundup of the best free play kits for coin operated cabinets.
The board supports 16 inputs, so after the coin button you still have room for 1P and 2P start, pause, exit and power functions. It runs on COMS chip tech with zero measurable input lag, and it supports TURBO, AUTO, MODE and CLEAR functions with an LED twinkle if you want to get fancy.
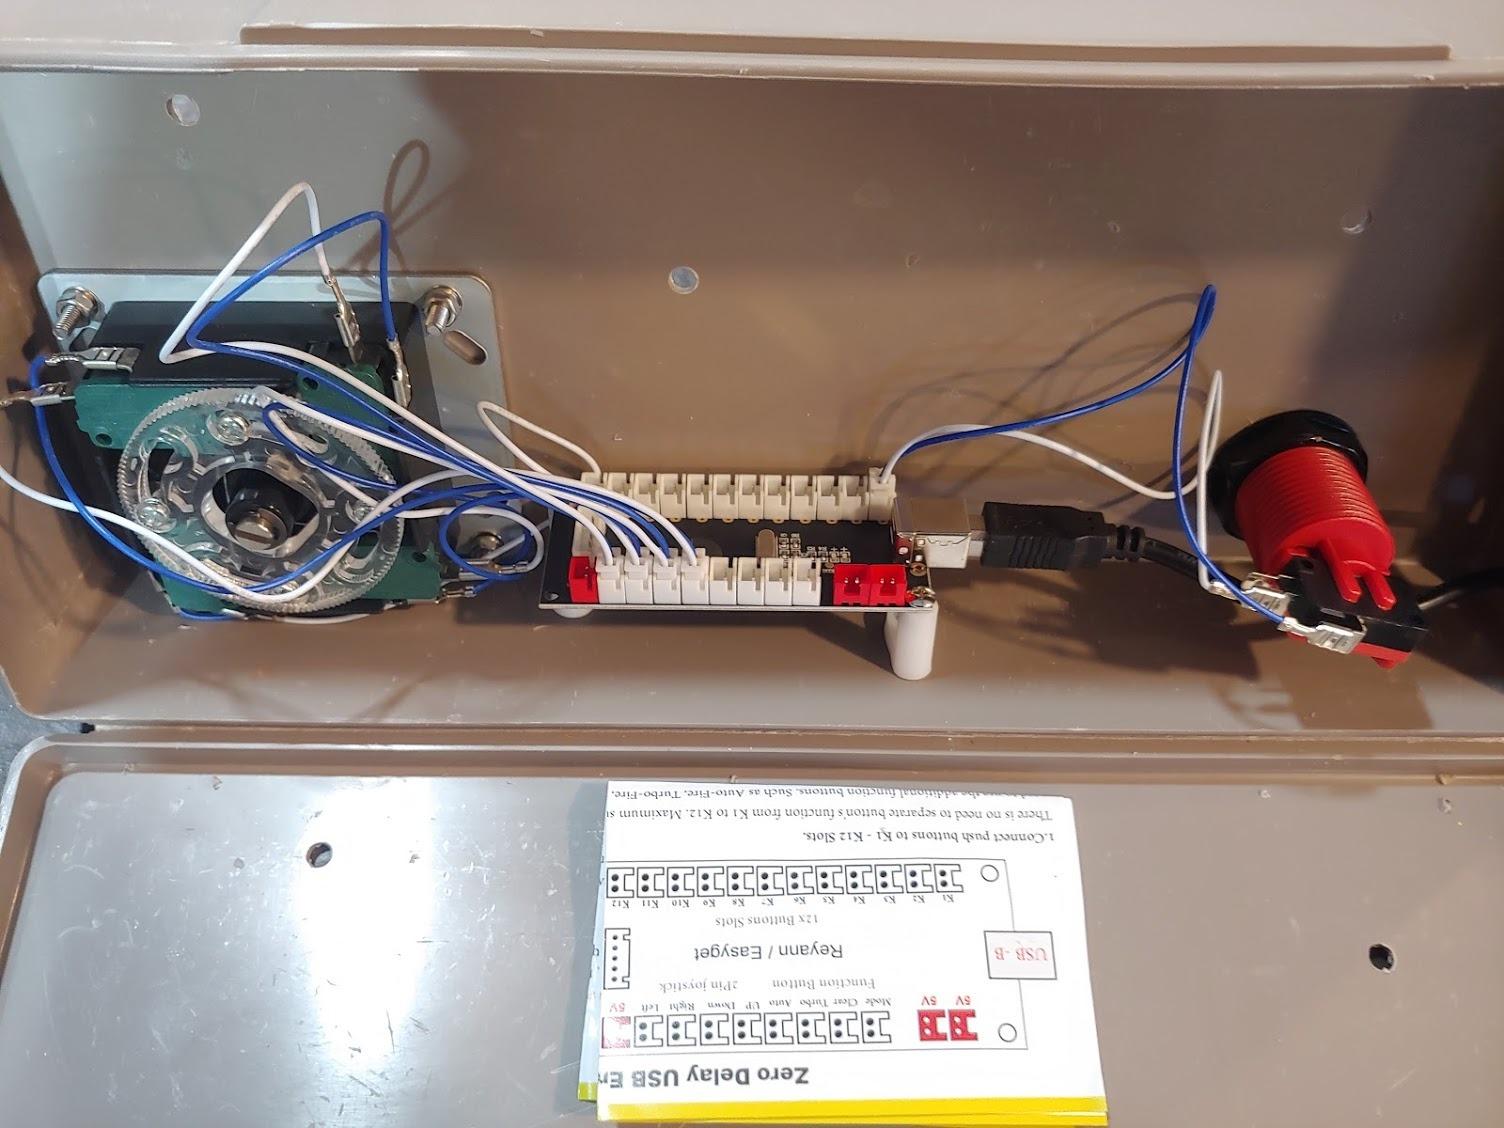
Where it gets fiddly is physical layout. The wire harnesses are short, so mount the board centrally before you start crimping, or buy an extension set at the same time. The terminals are not insulated either, so a pack of heat shrink keeps stray strands from shorting against the cabinet wall.
Two quirks show up in the field. Some boards register opposite directions simultaneously if you force the stick diagonally, which matters for fighters. And on some setups the joystick maps in reverse, which takes about two minutes to fix in the MAME controls menu rather than by rewiring.
What cabinets it fits best
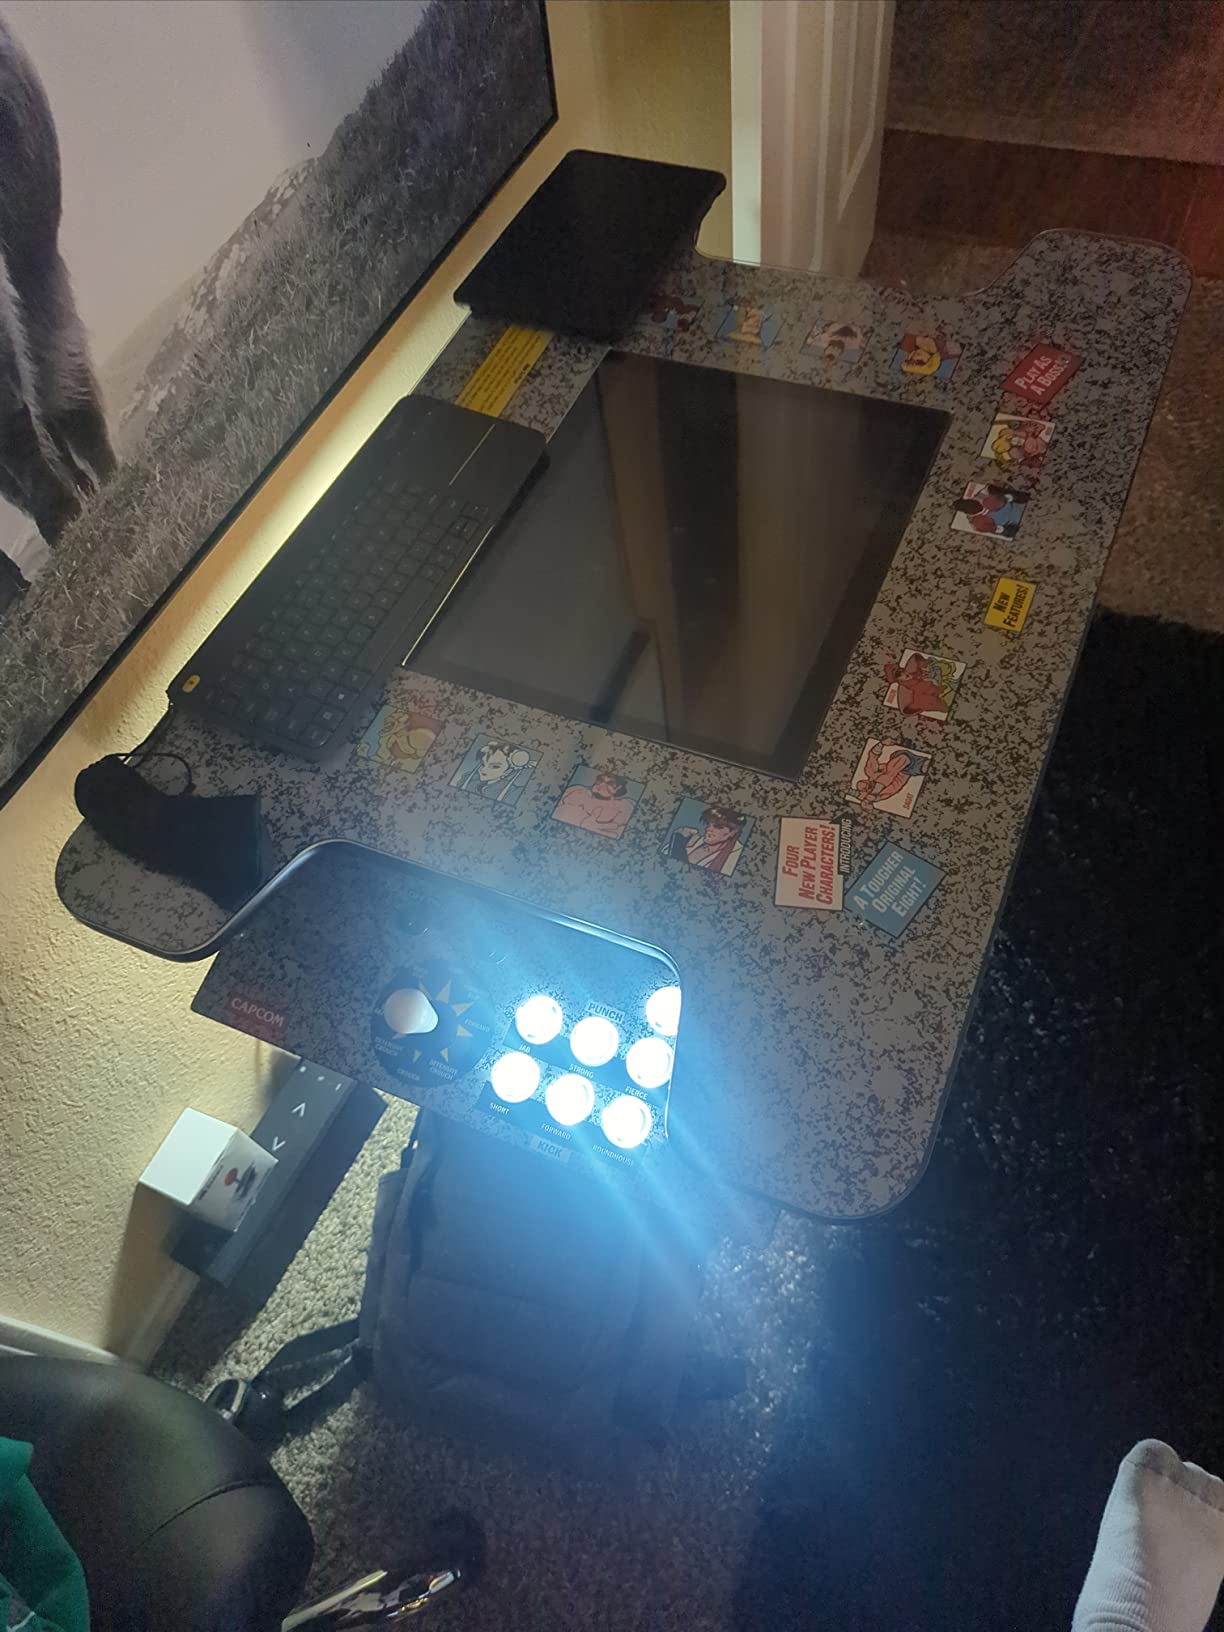
This is the pick for MAME cabinets, RetroPie and Raspberry Pi builds, PC fight sticks, and any bartop running off a computer rather than a Jamma board. It is also the cleanest way to add a coin button to a cabinet that has no coin door at all.
It is wrong for original Jamma PCBs, since there is no edge connector to speak into. If your game runs on a real arcade board, jump to the USB to Jamma converter or the coin doors lower down.
What to know before you buy
Order heat shrink or electrical tape with it, and measure your wire runs first. If your build uses toggle switches for service menus, expect to grab RSMapper software to program them.
Buttons must use standard 4.8mm terminals, which covers HAPP and most American style parts. Sanwa screw-in buttons need an adapter.
2. Guwarry 2-Player Zero Delay Encoder — Best for Arcade1Up Free Play Mods
Guwarry 2-Player Zero Delay USB Encoder PC to HAPP Joysticks/HAPP Arcade Buttons for PC, MAME, Raspberry Pi, Arcade1Up – Three 5V Power Output for led Joysticks/LED Daisy Chain/LED Arcade Buttons
Two player USB encoder set
Three 5V outputs for LED parts
Pre-crimped JST to 4.8mm wires
1 year manufacturer warranty
Pros
- Plug and play with Arcade1Up cabinets
- Three 5V outputs power LED joysticks and buttons
- Handles HAPP style controls
- Works with PC MAME Raspberry Pi and Mac
- Pre-crimped JST XH2.54 connectors save soldering
Cons
- Documentation is thin
- Pre-crimped wires could be longer for tall cabinets
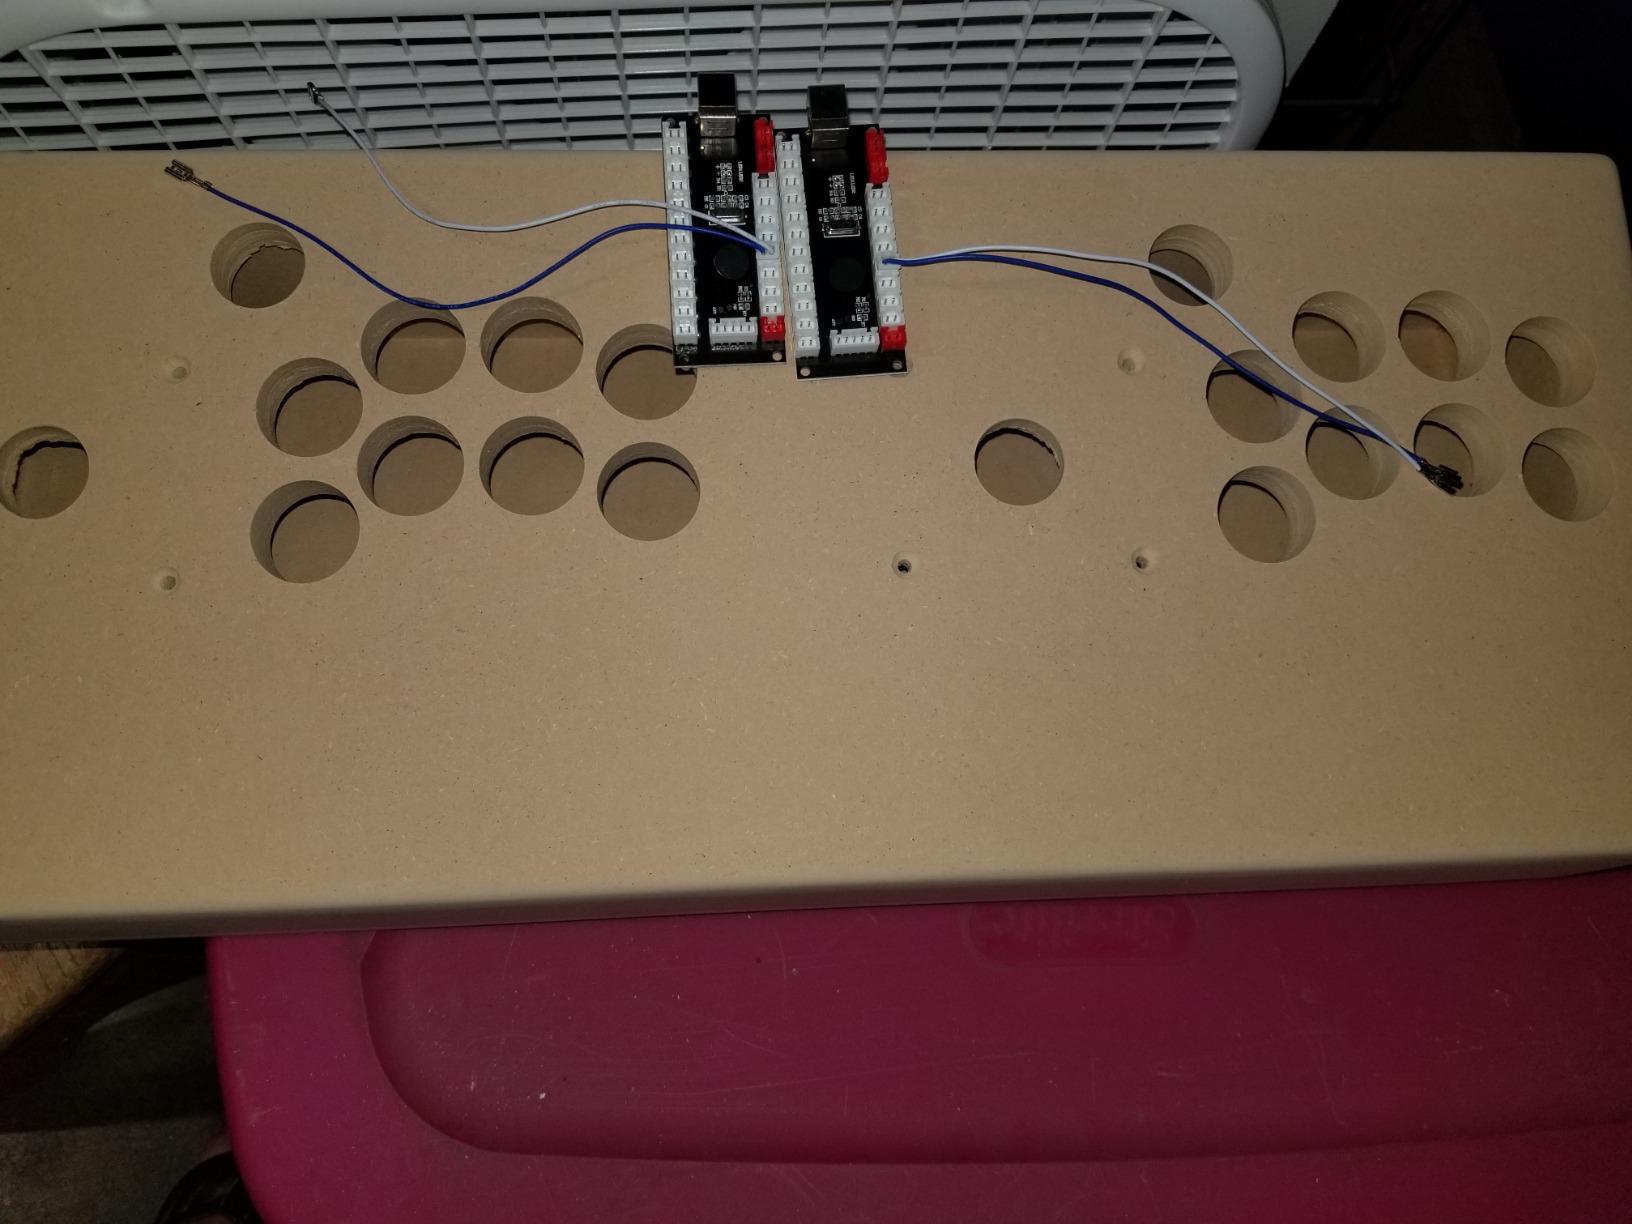
My Arcade1Up mod went from coin-op cosplay to real free play with one of these boards. Both player one and player two run off a single USB port, so you wire a coin button per side and both players can credit up without passing a keyboard around. Buyers consistently report it plugs straight into Arcade1Up harnesses, which is the single most requested thing in the r/Arcade1Up threads I follow.
The feature that seals it is the three 5V outputs. LED joysticks and light-up coin buttons need their own power rail, and most encoders make you steal it from somewhere else. Here you just daisy chain off the board.
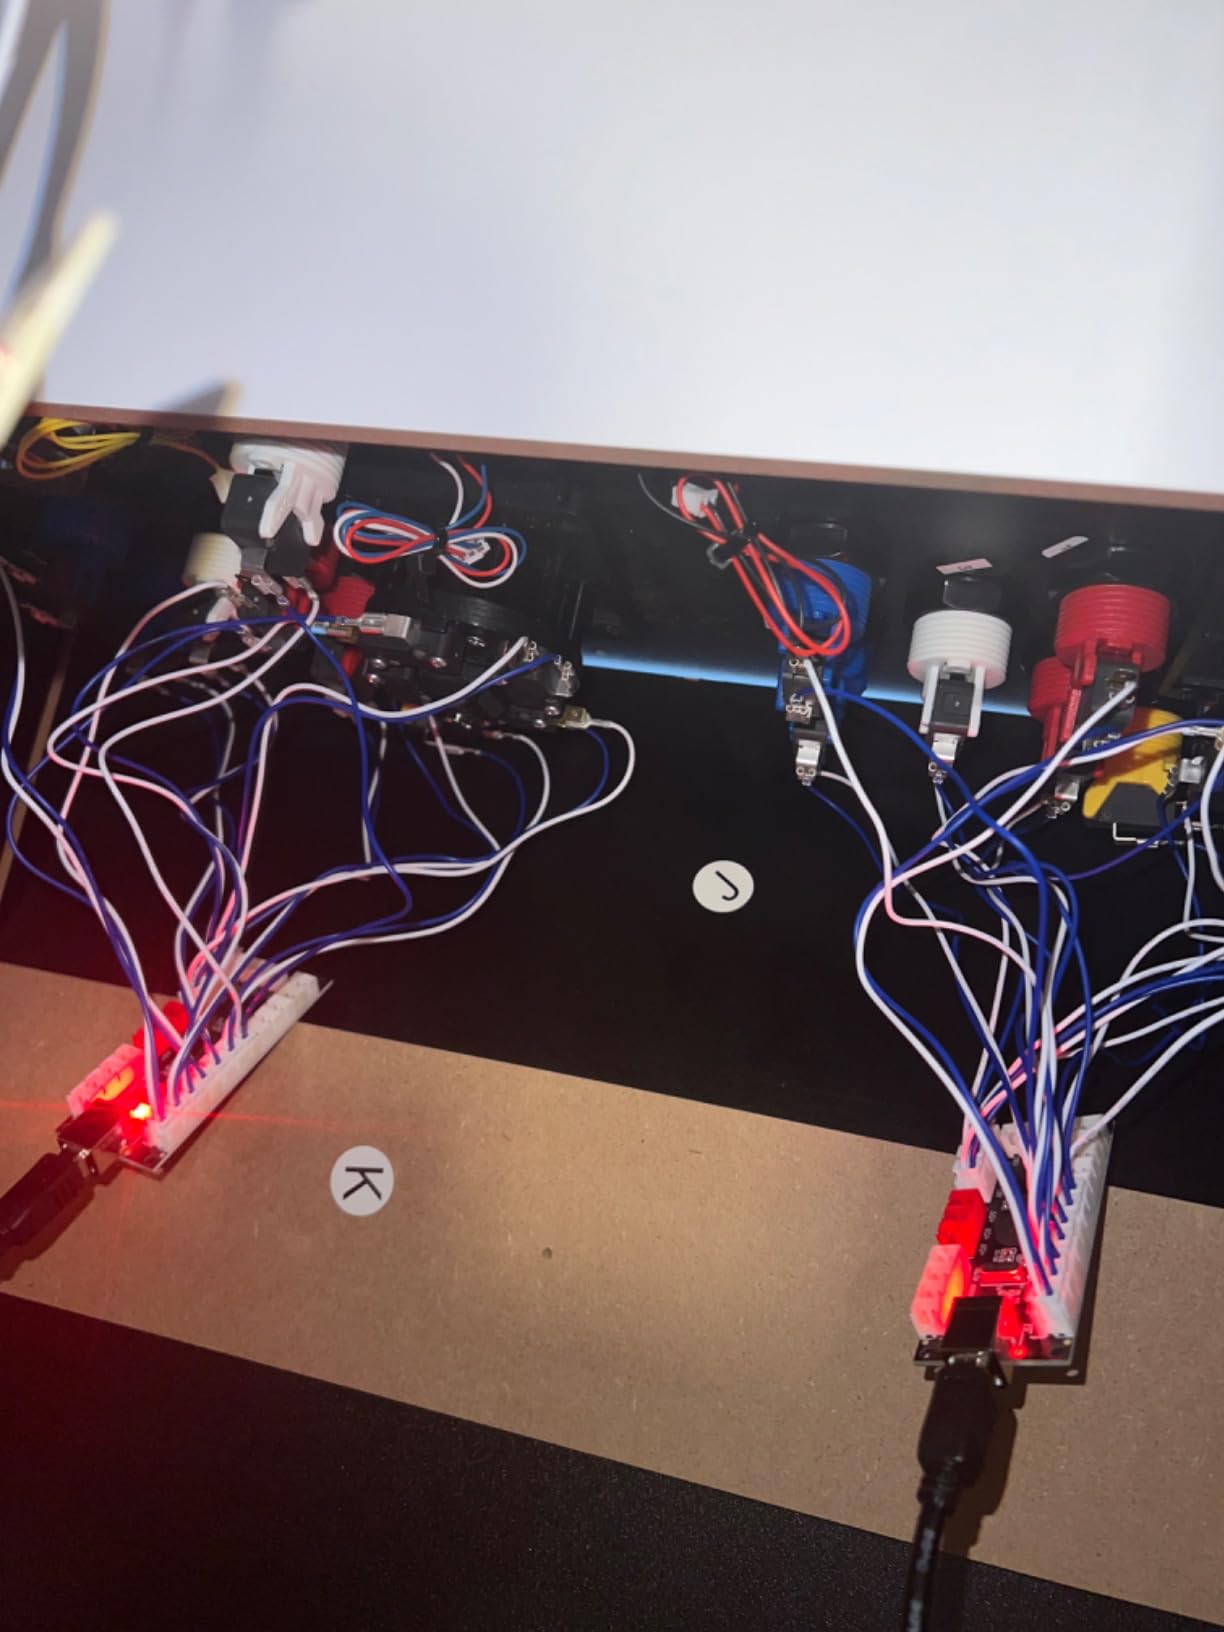
Wiring is genuinely pleasant because every connection arrives pre-crimped from JST XH2.54 to 0.187 inch quick-connect terminals. You push them on, plug in USB, and you are done. There is no soldering, which answers the biggest complaint people have about third party encoder wiring.
The catch is paperwork. The included instructions are minimal at best, so budget an evening with a forum guide open on your phone. The wires also run short in a full-size cabinet, so plan a central mount or extensions.
What cabinets it fits best
Arcade1Up cabinets are the sweet spot, and it carries a one year manufacturer warranty. It also handles two player bartops, desktop MAME rigs, and Pi cabinets where you want both players on one USB device.
Full-size cabinets with long wire runs need extensions. Cocktail cabinets with panels on two sides may need a second set.
What to know before you buy
Map one button per side as the coin credit and another as start before you close the panel, since remapping later means reopening everything. Keep the JST connectors pressed fully home, because half-seated plugs cause the dropped inputs people blame on the board.
Mac users should test in a browser game pad tester first to confirm both devices enumerate.
3. EG STARTS 2 Player LED Arcade Kit — Best Full Control Panel Bundle
Arcade Kits 2 Player Classic Arcade DIY USB Encoder to PC Joystick Games + 2x 5Pin Rocker + 16x 30mm 5V LED Push Buttons 1 + 2 Players Coin Buttons For Raspberry Pi 1 2 3 3B Mame Fighting Stick
Two encoders two joysticks
19 LED push buttons
Spare parts in the box
Zero delay USB boards
Pros
- Complete kit for Arcade1Up and MAME mods
- LED buttons are bright with a solid click
- Includes spare parts
- Solid build quality and easy install
- Responsive customer service for replacements
Cons
- Included wires are too short for all buttons
- LED polarity is inconsistent between buttons
- Setup instructions are limited
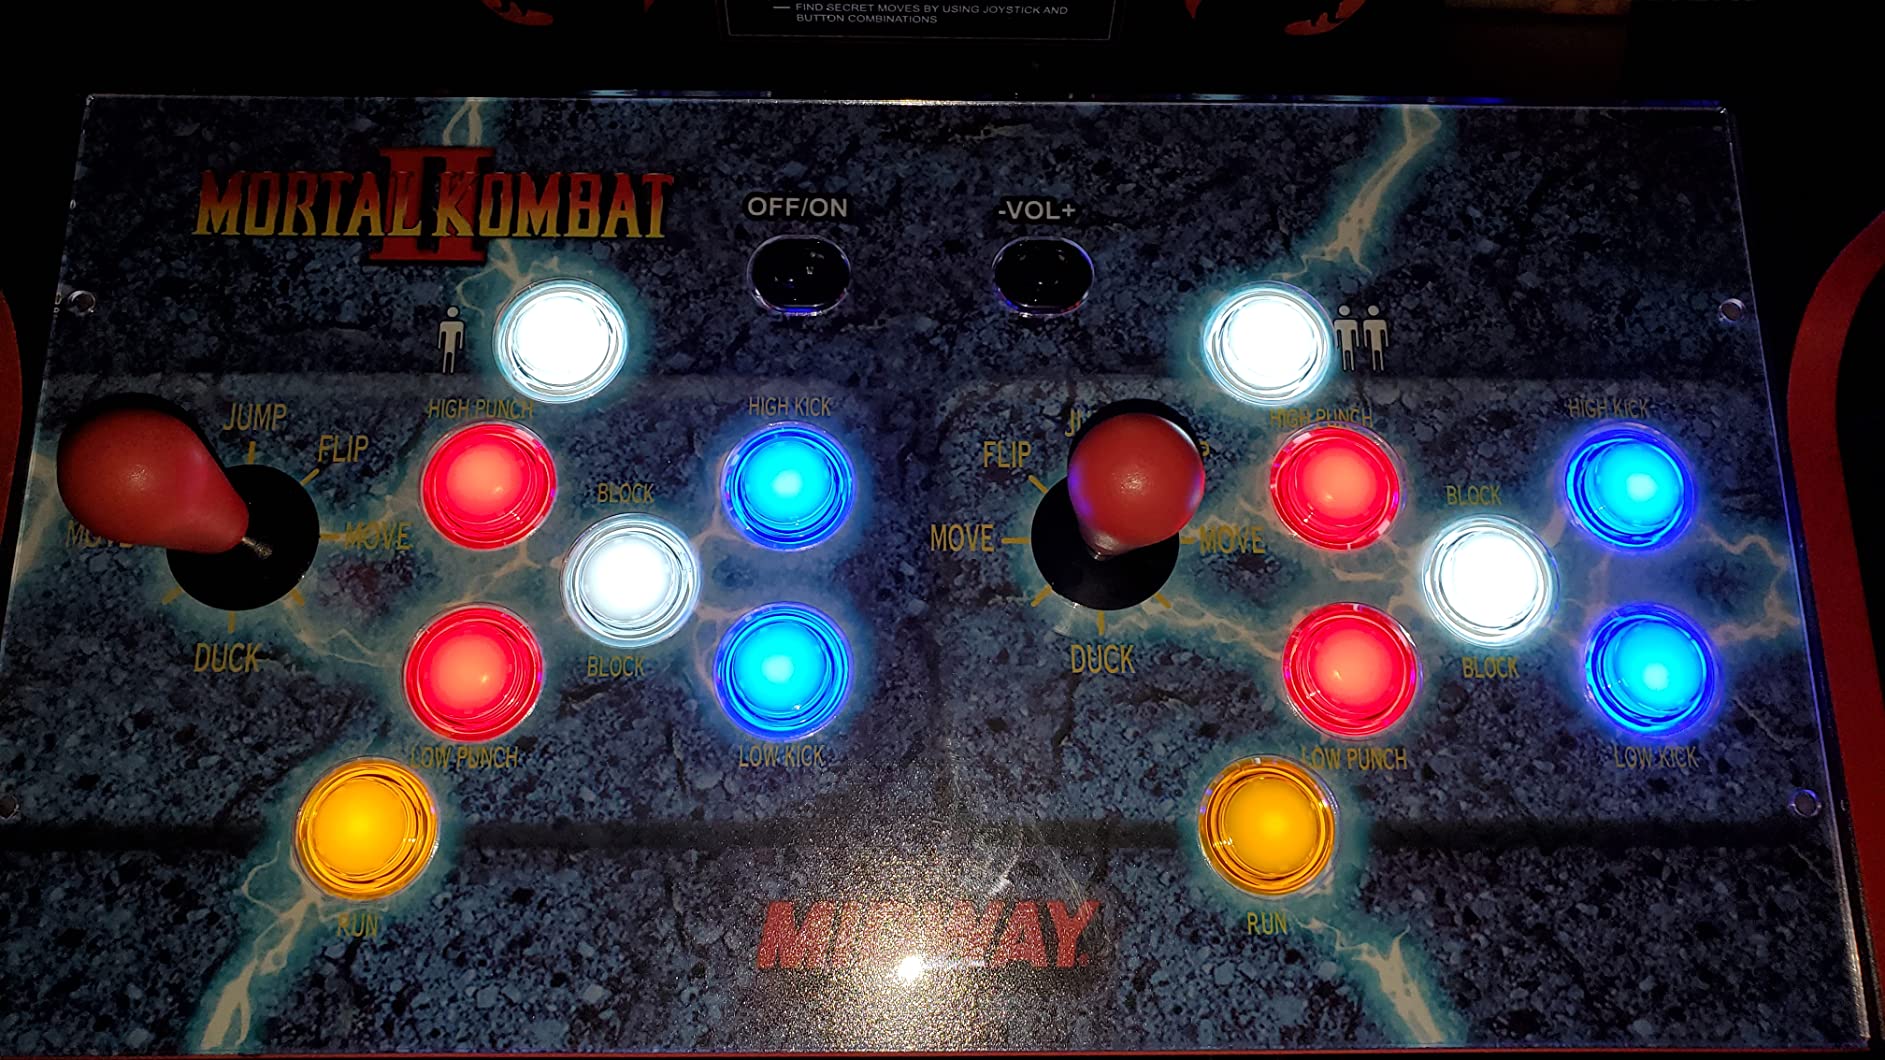
This is the kit I reach for when a cabinet needs a full control panel rebuild and free play in one order. You get two USB encoders, two 5-pin joysticks, and 19 LED push buttons, which leaves plenty of buttons to designate as coin, 1P start and 2P start. About 70 percent of its 122 reviews are five stars, and the praise clusters around Arcade1Up modifications and RetroPie builds.
Because the encoders are true zero delay units, the coin button feels instant in MAME. No perceptible lag between slapping the credit button and the game responding, which is exactly what you want when friends are queued up.
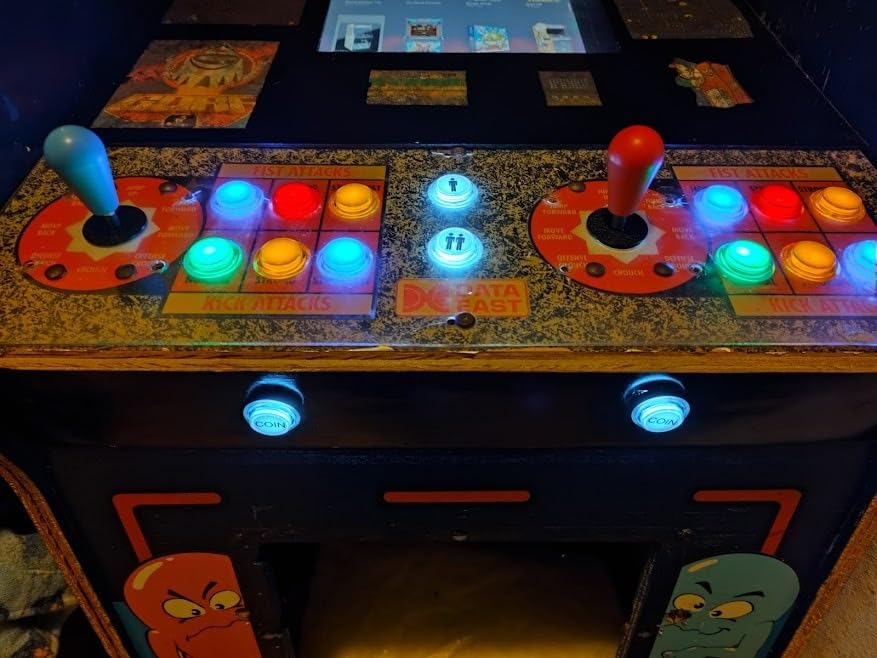
The buttons are the highlight. They are nice and bright, with a quality click feel, and the kit ships with spare parts in the box. That last point matters more than it sounds, because losing one microswitch used to mean a whole new order.
Two real complaints recur in reviews. The included wires are too short to reach every button without extensions, so measure first. And LED polarity is inconsistent, which means some buttons arrive dark until you flip the connector. It is a two minute fix once you know to look for it.
What cabinets it fits best
Arcade1Up mods, two player bartops, and full MAME panel rebuilds where you want illuminated coin and start buttons. Also strong for Raspberry Pi and RetroPie cabinets since the encoders present as standard controllers.
Canadian buyers should watch for import fees, which several reviewers found high on this kit. It is also overkill if you only need a single credit button and nothing else.
What to know before you buy
Test every LED before final assembly by plugging the encoders into a powered USB port. Flip any dark button connectors at that stage, not after the panel is closed.
Assign coin and start functions in your frontend before mounting, and label the harness ends. The kit includes limited instructions, so a photo of your wiring before the panel goes on saves a lot of guessing later.
4. RetroArcade.us Coin Door with Coin Selector — Best Authentic Free Play Door
Arcade Game Coin Door with 1 Mechanical Coin selector for US 25 Cent, Jamma, Mame and More!
Complete steel coin door
US 25 cent mechanical coin selector
All install hardware included
Jamma and MAME compatible
Pros
- Near perfect 4.9 average rating
- Comes with all required installation hardware
- Looks and functions like a genuine Happ door
- Mechanical coin selector tuned for US quarters
- Complete package rather than a blank
Cons
- Light holder for the return button not included
- Return button insert looks weak when lit
- Ships in 2 to 3 days rather than Prime
This is the door I put on a full-size cabinet when I wanted the coin experience back without the coin duty. It is a complete package: steel door, mechanical coin selector set for US 25 cent coins, and all the mounting hardware in the box. Buyers say it looks and functions like a genuine Happ coin door, which is about the highest praise a reproduction gets.
For free play, you wire the coin microswitch across to a credit button or leave it in circuit for coin operation on demand. That is the whole appeal of a real door — you choose per game night, and the cabinet keeps its arcade authentic face either way.
It carries the highest rating in this roundup at 4.9 across 18 reviews. Consistent praise for the look, the feel and the function, with reviewers calling it a decent complete door that works great for Jamma, MAME and classic arcade builds.
Two small gaps. The light holder for the return button is not included, and the return button insert reads as below average once you illuminate it. Neither affects play. Shipping runs 2 to 3 days since it is not Prime eligible, so plan ahead for a weekend build.
What cabinets it fits best
Full-size Jamma and MAME cabinets, DIY plywood builds, and any restoration where a single entry steel door matches the original. It is the strongest all round choice if you want one purchase that covers both free play wiring and coin operated authenticity.
It needs a rectangular cutout in the cabinet front, so it is not a fit for owners determined to avoid cutting. Arcade1Up modders usually get more value from the front panel kits or encoders above.
What to know before you buy
Check your cutout dimensions against the door frame before ordering, and confirm your coin mechs accept quarters if you plan to keep coin operation as an option. The mechanical selector is preset for US 25 cent coins.
Budget for a bulb holder if you want the return button lit, and order a cam lock at the same time so the door latches properly rather than being wedged shut.
5. RetroArcade.us Two Entry Coin Door — Best Heavy Metal Restoration Door
Arcade – Pinball game two entry Coin Door, Wells Gardner Style Coin Door
Wells Gardner style two entry door
Aluminum and steel build at 8 pounds
Includes coin sensing microswitches
Classic arcade and VPin ready
Pros
- Heavy solid aluminum and steel construction
- Wells Gardner style recognized by arcade builders
- Includes replaceable microswitches
- Popular as a virtual pinball coin door
- Installs with standard carriage bolts
Cons
- Some units arrive with microswitch lever wire and cap missing
- Carriage bolts not included
- Coin trip mechanisms may need minor bending
Weighing in at 8 pounds of aluminum and steel, this Wells Gardner style door is what you bolt onto a cabinet when it needs to feel like 1985 again. Two coin entries, replaceable microswitches with standard connectors, and a build that reviewers consistently describe as heavy and solid. One buyer after another uses it as a virtual pinball coin door, which tells you how well it passes for the real thing.
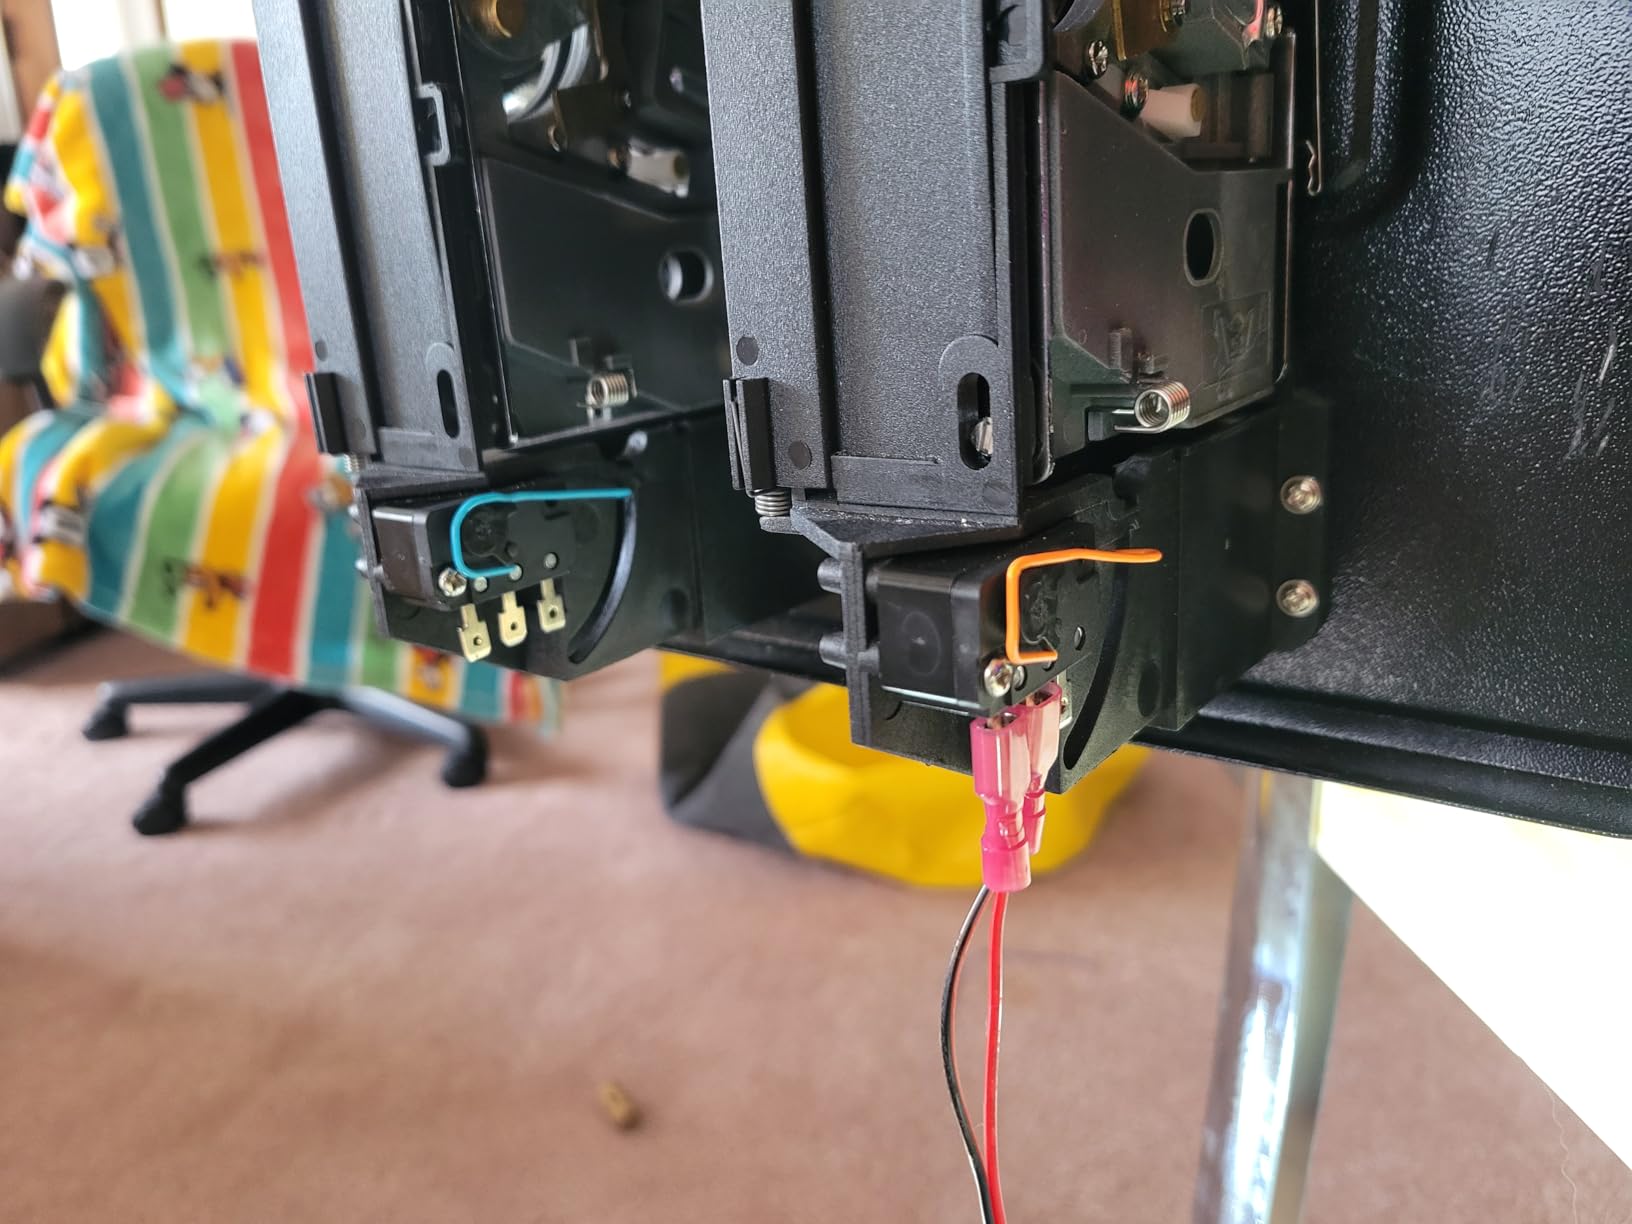
For free play, the included microswitches are your credit signal. Wire them to a button, or leave the mechs live and hand out quarters at parties. Because the microswitches are replaceable with standard connectors, maintenance never means rewiring the door.
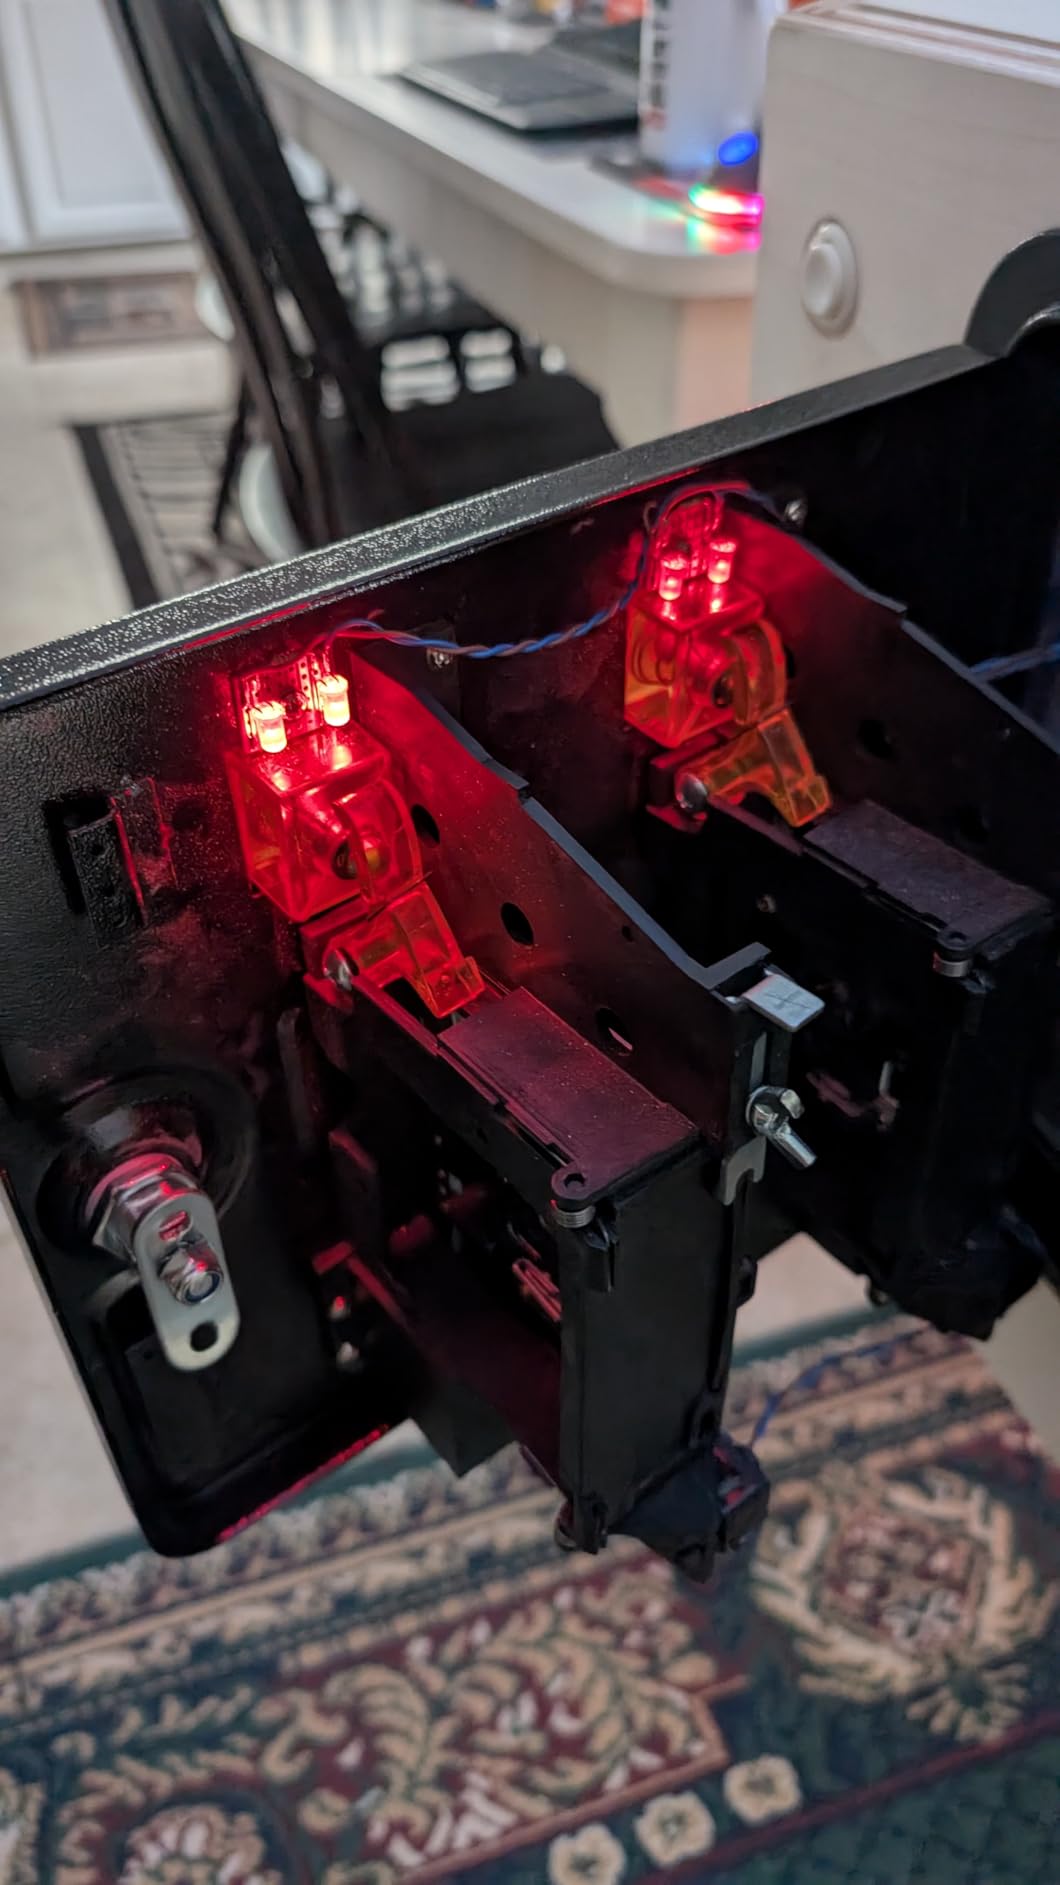
Quality control is mostly good with a few rough edges. Some units arrive with the microswitch lever wire and cap missing, and a few owners had to do minor bending or tweaking of the coin trip mechanisms to get smooth acceptance. Neither is a dealbreaker, but inspect everything before you close up the cabinet.
Carriage bolts are not included, which surprises people on build day. Add them to your cart or raid the parts bin, because this door deserves proper hardware rather than self tappers.
What cabinets it fits best
Full-size arcade restorations, two player cabinets that originally carried twin coin entries, and virtual pinball builds. It pairs naturally with a Jamma harness where the coin lines run straight to the board.
It is too heavy for thin Arcade1Up panels and small bartops without added bracing. Anyone avoiding cabinet cutting should skip straight to the encoder options.
What to know before you buy
Test both coin switches with a multimeter before final mounting, and check that each lever wire and cap is present. Source carriage bolts sized for your cabinet wall thickness in advance.
If you keep the mechs operational, run a handful of coins through both slots after install to settle the trip mechanisms before guests arrive.
6. Xinmoarcade TW-389 LED Coin Acceptor — Best Illuminated Coin Slot
TW-389 Anti Finishing Colorful LED Light Coin Mech Acceptor Coins Selector for Arcade Machines/Toy Vending Machines/Slot Machine
TW-389 electronic coin acceptor
Colorful changeable LED lighting
CPU program control with digital display
Back open anti-jam design
Pros
- Attractive colorful LED lighting
- Works well with correctly weighted coins
- CPU program control with digital tube display
- Back open design prevents coin jamming
- Changeable or static LED colors
Cons
- Requires a separate 12 volt power source
- Housing is plastic only
- Light 3D printed coins will not register
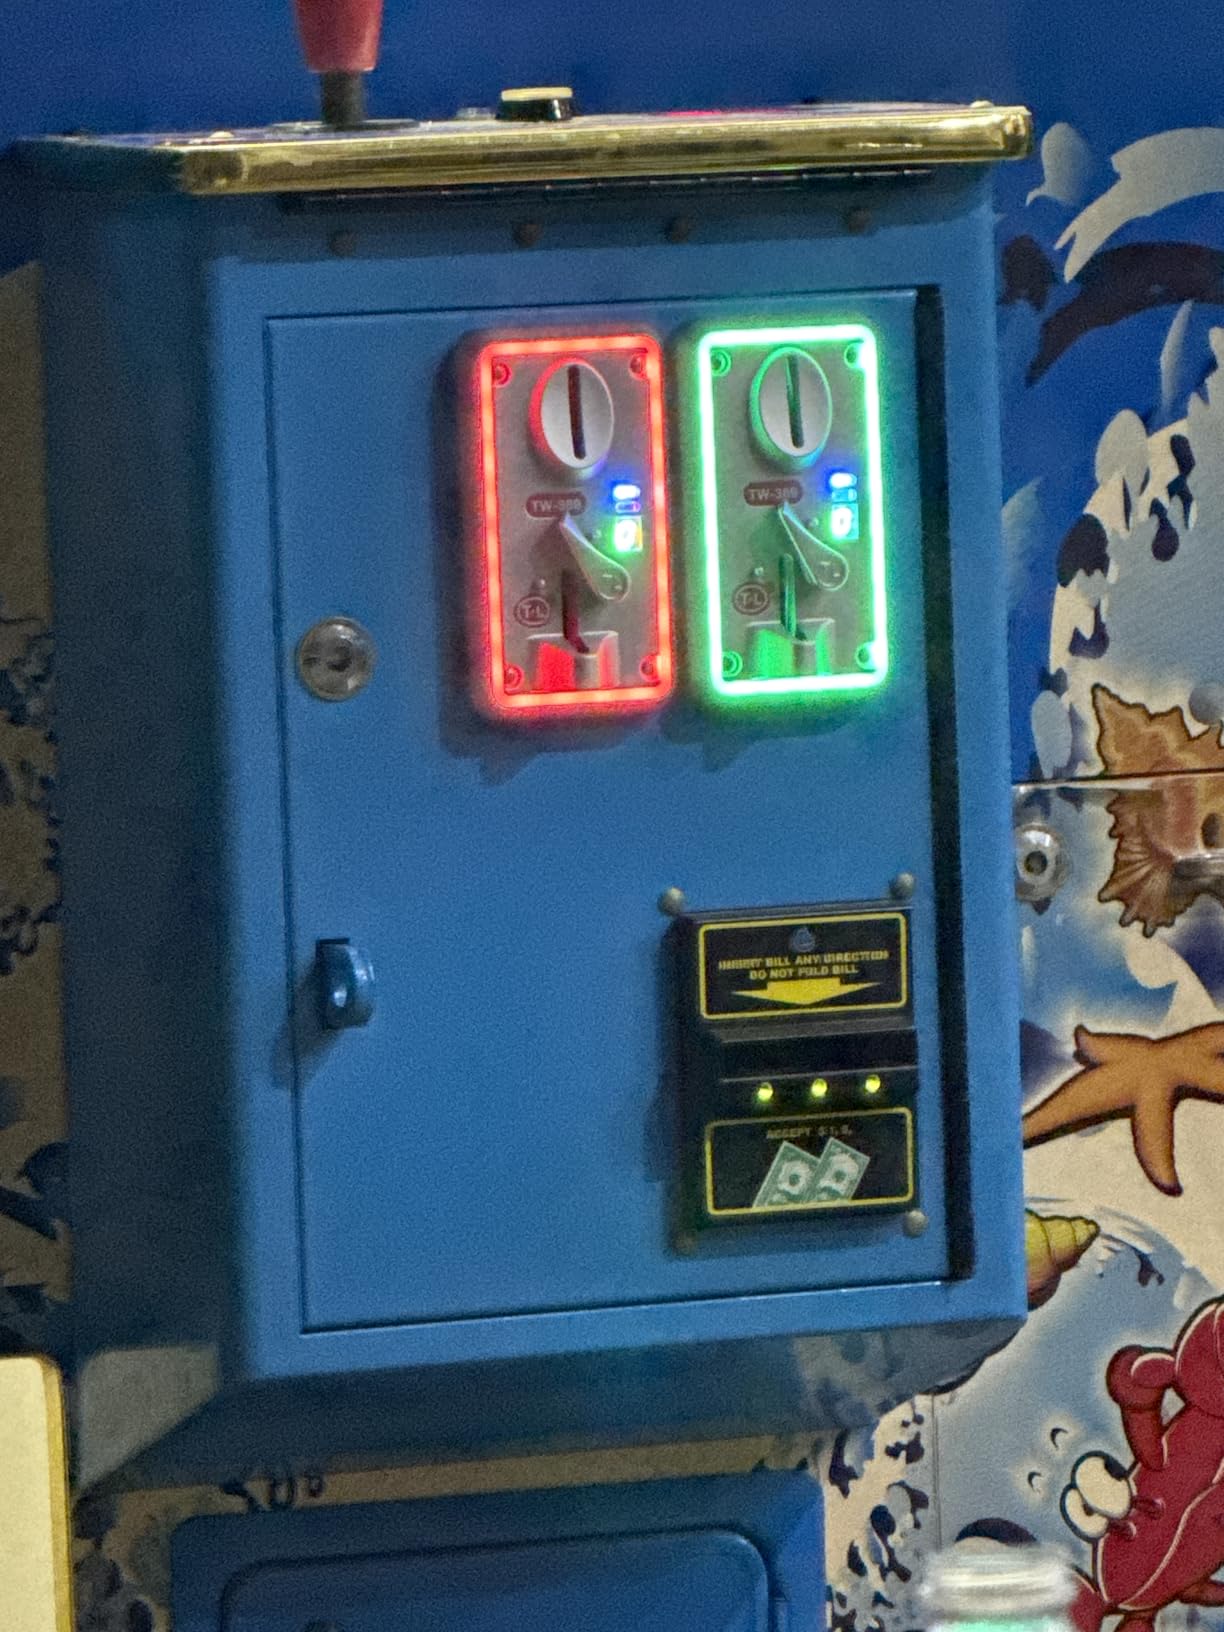
This is the flashiest way to keep a working coin slot on a free play cabinet. The TW-389 is a CPU controlled acceptor with a digital tube display and colorful LED lighting that can run static or cycling, and it holds a 4.8 average from reviewers who use it in arcades, vending builds and slot machine projects.
The smart move for home use is to teach it one coin type, wire its credit output in parallel with a free play button, and enjoy the glow without hunting for change. Because it holds programmed coin samples, guests can still feed it a real coin when you want the full ritual.
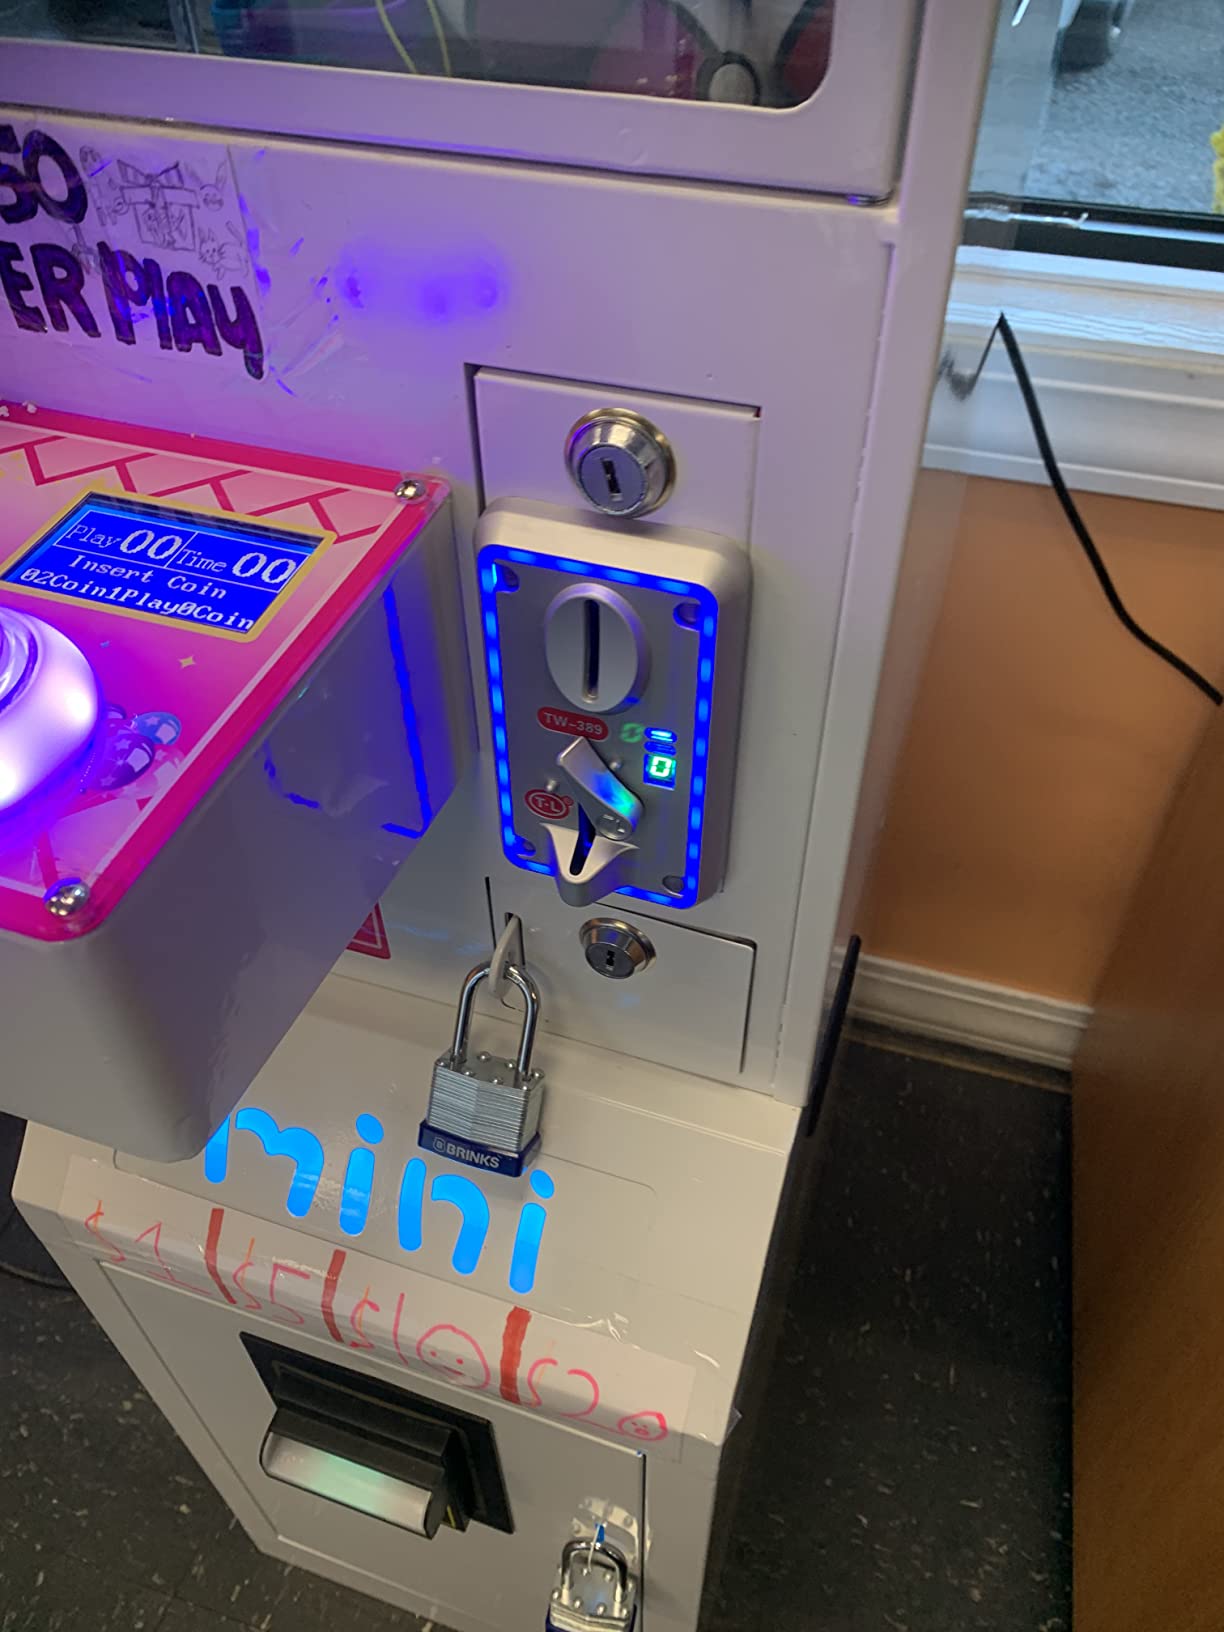
Engineering details are better than the usual acceptor at this level. A precise to normal switch makes coin insertion smoother, and the back open design means no jammed coins and no fishing with tweezers. The digital tube display shows counts and settings without guesswork.
Three limits to plan around. It needs a 12 volt power source, so plan your cabinet power supply. The housing is plastic, which is why it weighs 12.3 ounces rather than five pounds. And light coins such as 3D printed tokens will not pass through, so use real coinage or properly weighted tokens.
What cabinets it fits best
MAME and RetroPie cabinets where you want a lit coin slot, commercial-style bar builds, and restoration projects that need a modern acceptor behind a classic door. Its package runs 6.18 by 5.43 by 3.11 inches, so check depth behind your panel.
It is not for owners who refuse to run 12 volt power into the cabinet, or purists who want an all metal mechanical mech. Arcade1Up panels rarely have the depth without modification.
What to know before you buy
Set the coin sample before final mounting, since programming is easier on the bench. Keep a few genuine coins of your chosen denomination for teaching the unit and for testing after power cuts.
Decide early whether the LED runs changeable or static, because switching modes means reopening the coin door to reach the setting.
7. BORDSTRACT Multi Coin Acceptor — Best Multi-Currency Credit Acceptor
BORDSTRACT DC 12V Multi Coin Acceptor Selector Slot
DC 12V multi coin acceptor
Accepts 6 coin types at 95 percent accuracy
Sub 0.6 second recognition
Standard 64 x 124 x 110mm body
Pros
- Accepts 6 different coin types simultaneously
- 95 percent quoted recognition accuracy
- Recognition in under 0.6 seconds
- Anti-phishing anti-mixed coin and anti-shock design
- Cumulative signal output and time control functions
Cons
- Loud beep on power and coin accept
- Very small review base
- About a quarter of reviews are one star
If your cabinet sees coins from more than one country, or you mix tokens and real change, this is the acceptor built for that job. It takes up to six different coin types at once, claims a 95 percent recognition accuracy rate, and reads a coin in under 0.6 seconds. Those are the numbers that matter when a queue is forming.
Advanced functions are where it earns its keep for free play builders. Cumulative signal output means it can fire multiple credits per coin, and time control lets you expire credits after a set window. Between those two settings you can tune it to behave like a generous free play machine that still accepts coins.
The anti-cheat design covers anti-phishing, anti-mixed coin and anti-shock protection, which is the right set for a cabinet living in a bar or a busy game room. Its standard 64 x 124 x 110mm body drops into common acceptor cutouts.
Honesty section: only 4 reviews exist at analysis time, and roughly a quarter of them are one star. Long term reliability is simply unproven. The beep on power up and on every accepted coin is also loud, which gets old fast in a living room.
What cabinets it fits best
Commercial arcade cabinets, bar games, and multi-currency home setups where six coin types is genuinely useful. Also workable as the credit source on a Pi or PC cabinet when you wire its pulse output to an encoder input.
Skip it for quiet home game rooms where the beep will annoy you, and be cautious if a low review count makes you nervous. Its 12V requirement also means another power lead into the cabinet.
What to know before you buy
Program each coin type one at a time on the bench, and label the settings, because retraining later is tedious. Test cumulative output with your actual game board or encoder before you close the door.
If the beep bothers you, check whether the buzzer can be disconnected before you order, or plan to muffle it. Buy from a seller with a return window given the thin review history.
8. RetroArcade.us Single Entry Coin Door Blank — Best Custom Build Foundation
RetroArcade.us Arcade Game Single Entry Coin Door Blank, Coin mech’s and Lock Sold Separately
Bare steel single entry coin door
7.8 by 10.9 inch steel frame
Mech and lock sold separately
90 day warranty
Pros
- Solid steel construction
- Great quality for hobby cabinet builds
- Fast shipping according to buyers
- Good value for the money
- 90 day warranty included
Cons
- Coin mechanism and lock are not included
- You must source your own mech to complete it
This is the door for people who already know exactly which coin mech they want. It arrives as a bare 7.8 by 10.9 inch steel single entry door frame, and the coin mechanism and lock are sold separately. Reviewers praise the solid steel construction and the quality feel, and it ships fast according to repeat buyers.
For a free play build, a blank door is quietly one of the best foundations you can buy. Mount any mech or microswitch you like behind it, wire that switch to your credit circuit, and the front of your cabinet looks factory while the inside is entirely your own design.
I like it for hybrid builds. Fit a working mech for events where coins are part of the fun, then unplug the mech line and rely on your credit button the rest of the year. Nothing about the door forces that choice either way.
The one limitation is the one you already read: the coin mechanism and lock are not included. Arriving without a mech surprises some buyers, so treat this as a two part purchase and budget accordingly.
What cabinets it fits best
DIY plywood and MDF cabinet builds where you cut your own front panel, restorations that need a clean single entry frame, and builders who already own a spare mech. It suits anyone who wants full control over the credit hardware behind the door.
Beginners who want a complete out-of-the-box door should pick the RetroArcade door with selector instead. It is also not for Arcade1Up panels without significant cutting.
What to know before you buy
Order your coin mech, a cam lock and any illumination at the same time so the door is not sitting idle for weeks. Confirm the mech you choose physically fits the frame before wiring anything.
If free play is the goal from day one, a simple microswitch behind the coin rejector is enough — you do not need a full mechanical mech at all.
9. Arcity Coin and Start Button Set — Best Budget Credit Button Pack
Arcity 4 Pcs/Lot Arcade Coin Button Game Start Push Button + 1P 2P Player Single Double Style Type American with Microswitch Jamma MAME Machine Console Parts White New
Four American style buttons
1P 2P and two coin buttons
Microswitches rated 1 million cycles
Fits 28mm mounting holes
Pros
- Four button set covers players and credits
- Microswitches tested to 1
- 000
- 000 cycles
- Adjustable shaft length for metal or wood
- Mounts in a standard 28mm hole
- Suits Jamma and MAME DIY builds
Cons
- Button lettering fades quickly
- Buttons can tilt from microswitch orientation
- Mixed quality reports from buyers
Sometimes free play needs nothing more than four buttons and a free afternoon. This Arcity set gives you 1P, 2P and two coin buttons with horizontal microswitches attached, rated for a million cycles each. Mount them anywhere, wire the coin pair to your credit line, and the cabinet plays unlimited.
The adjustable shaft length is the detail I appreciate most. It mounts cleanly through three quarter inch wood control panels as well as metal, and the 28mm hole size matches standard button punches. No new tools, no special drill bits.
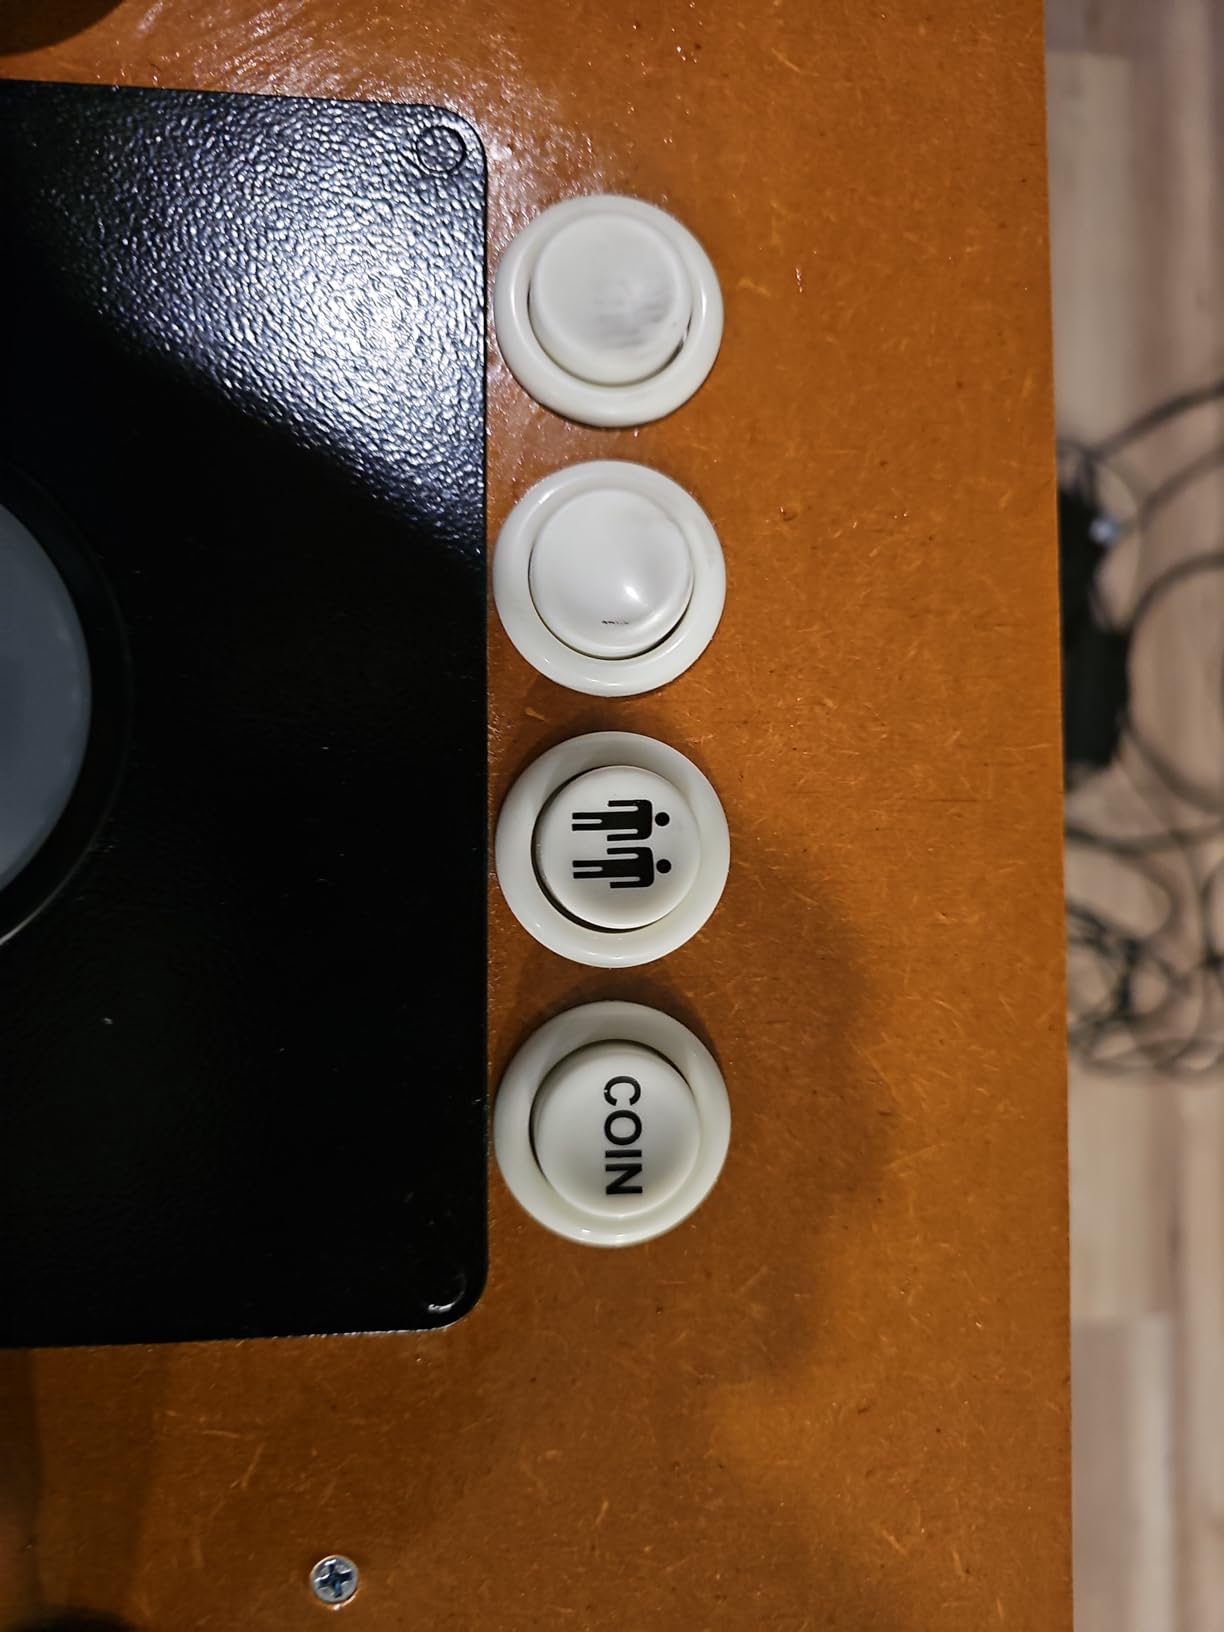
Long term durability is where reviews split, and the 3.9 average reflects that. The lettering fades quickly with heavy use, and the buttons can tilt slightly depending on microswitch orientation. For a cabinet that gets weekend play, neither is fatal. For a commercial route machine, look further up this list.
Treat it as what it is: the cheapest correct way to put physical coin and start buttons on a DIY Jamma or MAME panel. It solves the free play control problem for pocket change, and that is the entire brief.
What cabinets it fits best
Budget MAME and Jamma DIY builds, bartop arcades, kids cabinets, and any project where you need coin and start labels but not premium hardware. Great for a first build before you know what you like.
Not for show cabinets where faded lettering would annoy you, or high traffic commercial machines that run all day. Anyone wanting illuminated buttons needs a different set.
What to know before you buy
Test fit each button in its hole before wiring, and seat the microswitch squarely so the button does not tilt. A washer behind the panel helps on thinner materials.
Wire the coin buttons to a normally open contact and confirm the credit registers in your game or frontend before you hot glue anything.
10. RetroArcade.us USB to Jamma Converter — Best for Original Jamma Boards
RetroArcade.us USB to Jamma Converter Board, Emulates Gamepad, Interface to 2 USB PC Joystick Jamma Mame
Converts a JAMMA harness to two USB gamepads
Presents as two 12 button controllers
USB powered with no external supply
Raspberry Pi and RetroPie compatible
Pros
- Converts a JAMMA harness to two USB gamepad inputs
- Appears in Windows as two 12 button gamepads
- Powered entirely over USB
- Works with Raspberry Pi and RetroPie setups
Cons
- Almost no documentation included
- Pins 27 and 28 are inputs not grounds
- Some units report as a single controller
- Audio output is mono only
This one solves the opposite problem from the encoders above. You have a cabinet with an original Jamma harness and controls wired to the edge connector, and you want to drive a PC or Pi with those controls instead. This board sits between the two worlds and shows up as two 12 button gamepads.
The free play angle is clean. Your existing coin wires already reach the Jamma edge connector, so the coin line becomes a gamepad button in MAME or RetroPie. Slam a coin button, get a credit, no mech required, and the original control panel stays untouched.
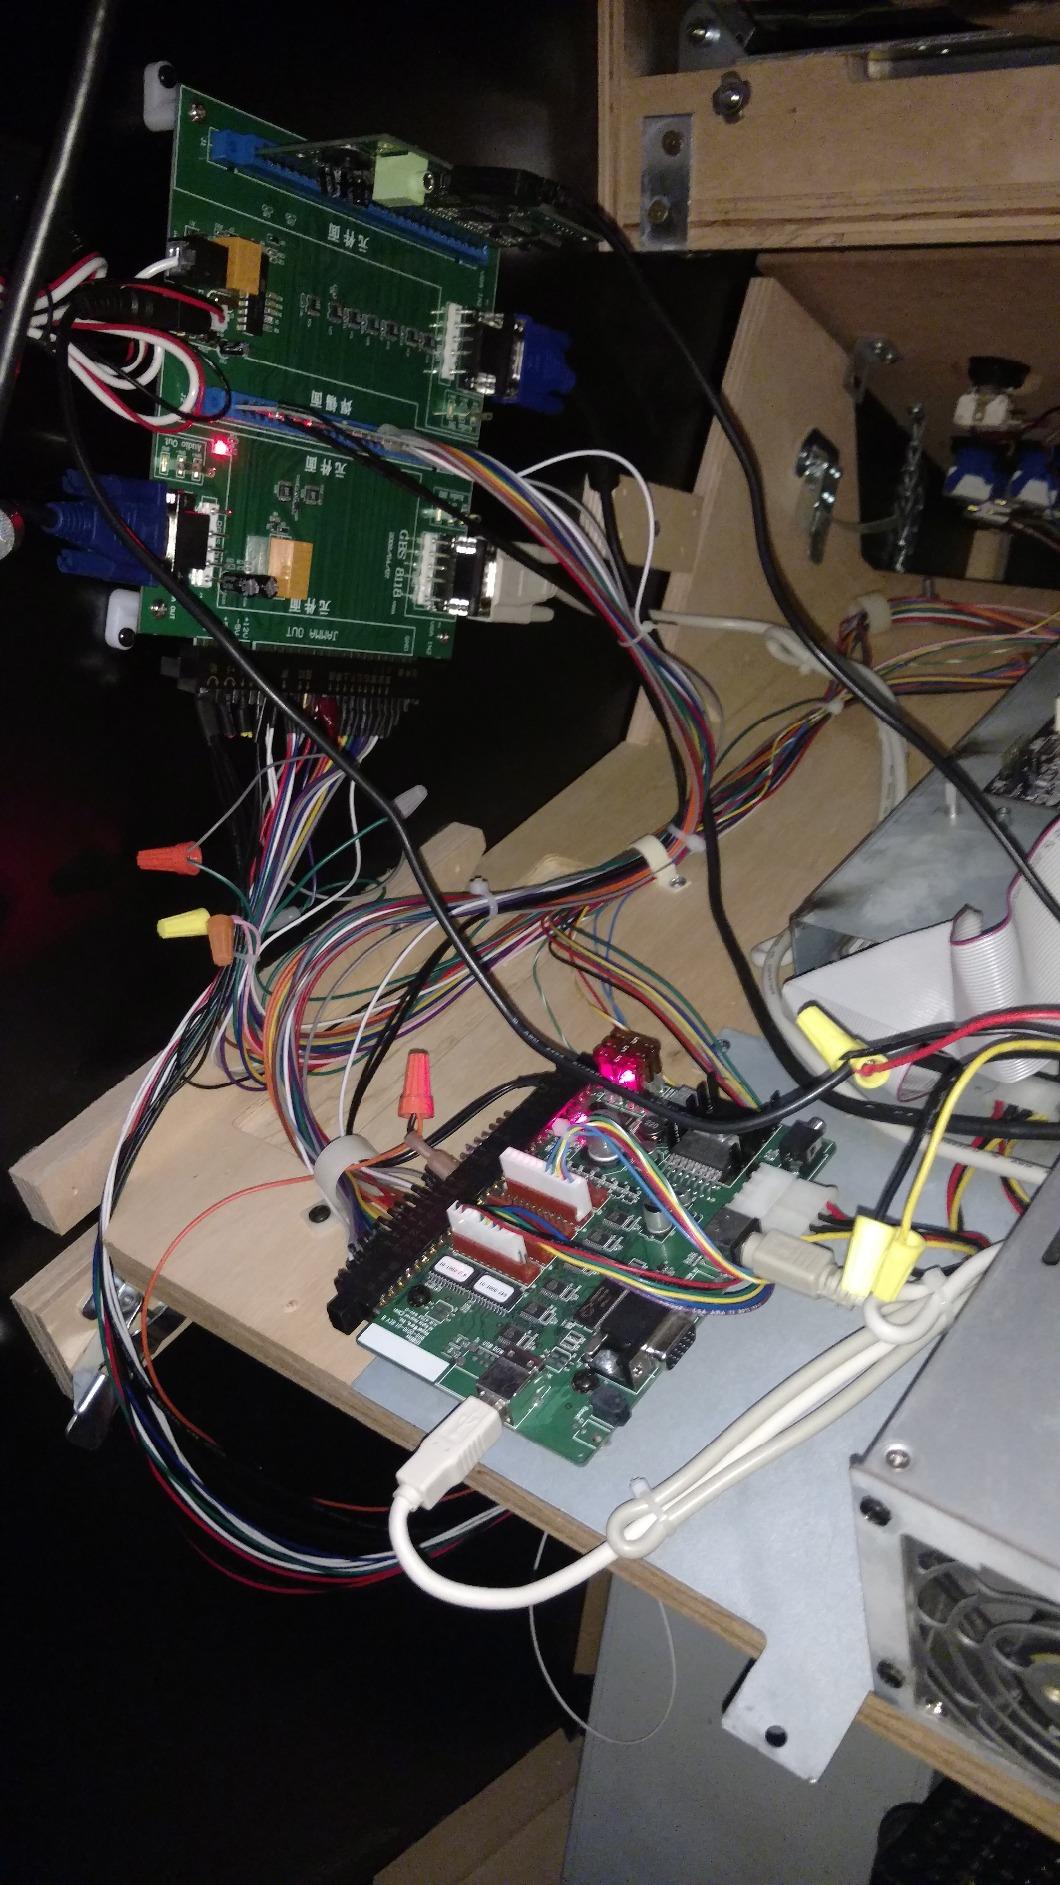
Power comes over USB, so there is no extra supply to find room for. At 8 ounces and 5 by 5 by 1 inches it hides behind any control panel, and it works with Raspberry Pi and RetroPie setups as well as a desktop.
The learning curve is real, though. Documentation is minimal to nonexistent, and pins 27 and 28 are inputs rather than grounds, which has confused plenty of first time installers. Some users also report the board enumerating as a single controller rather than two, and audio output is mono only.
What cabinets it fits best
Converted Jamma cabinets moving to a PC or Pi brain, restorations where you keep the original harness and controls, and two player cabinets that need both players on USB. It is the shortest path from original wiring to MAME.
It is unnecessary on a cabinet you are wiring from scratch, where a standard encoder is simpler. Avoid it if a no-documentation install would put you off — the forums exist for a reason here.
What to know before you buy
Download a Jamma pinout chart before you start, and mark pins 27 and 28 as inputs on your own diagram. Test in a gamepad tester utility before you button up the panel.
If you need stereo audio, plan a separate audio path from your Pi or PC, since this board passes mono only.
Buying Guide: How to Choose a Free Play Kit?
Picking wrong is usually a cabinet problem, not a product problem. Work through these five points in order and the right kit tends to announce itself.
Start with your cabinet type
Arcade1Up cabinets have limited depth and thin panels, so encoders, the Guwarry two player board, and purpose-built front panel mods beat full steel doors. Bartops and cocktails suit compact encoders and button sets rather than coin doors. Full-size cabinets and DIY plywood builds take steel doors, mechanical mechs and heavy acceptors without complaint.
Original Jamma cabinets with intact harnesses are their own case. The USB to Jamma converter keeps the original wiring and moves the brain, which is often less work than rewiring everything.
Pick your free play approach
There are three working approaches. A credit button wired to an encoder or Jamma coin line is the cheapest and fully non-invasive. A coin door replacement adds authentic looks and keeps coin operation as an option. A programmable acceptor gives you the middle path, with real coin slots that you can also bypass.
My advice after five builds: decide now whether you ever want coin operation back. If the answer is maybe, buy a door or acceptor. If the answer is never, an encoder and a button takes twenty minutes.
Wiring basics to know before you buy
Almost every free play circuit is a normally open switch that closes a credit line. Coin mechs, acceptors and push buttons all do the same job electrically. Once you internalize that, mixing parts from different kits stops being scary.
Know your connectors before checkout: 4.8mm terminals cover HAPP and American style parts, JST XH2.54 plugs arrive pre-crimped on the Guwarry, and Jamma edge connectors follow the standard pinout. Buy heat shrink regardless of kit, because bare terminals cause more phantom faults than any bad board.
Encoders never need soldering, and neither do pre-crimped harnesses. The soldering complaints you see in forums almost always come from adapting third party parts, which is worth avoiding on a first build.
No-drill options if cutting scares you
You are not alone — fear of irreversible drilling is the single most common worry in the r/cade and arcade-museum threads. The zero drill path is real. An encoder and a coin button need no cabinet modification at all, and some molded doors mount on break-away points rather than fresh holes.
Reusing existing holes works too. Plenty of builders repurpose an old service button hole or the coin return opening to host a credit switch, which is exactly how the classic Bob Roberts free play method got its reputation as the simplest fix going.
Commercial use and legal notes
Home use is straightforward. If a cabinet earns money in a bar, arcade or event space, coin operation can carry local licensing, tax and consumer protection rules depending on where you operate. Free play mode sidesteps the coin handling side but check your local regulations before putting any cabinet on a commercial floor.
On software, MAME itself is legal to run; the ROMs are what carry the copyright questions. Keep your ROMs to titles you own legitimately. Building is usually cheaper than buying a finished machine if you already own tools, but a first build rarely saves money once you count parts and mistakes.
Frequently Asked Questions
How do I set a coin mechanism to free play on an old arcade machine?
Open the coin door and locate the two wires on the coin microswitch. Fit a push button across those contacts so pressing it sends the same credit signal a coin would. On many original boards you can also enable free play in the game’s service menu, reached through the test switch inside the door.
What are the best free play kits for coin operated cabinets?
For MAME and RetroPie cabinets, the Reyann Zero Delay USB Encoder is the easiest credit button kit. For authentic looks, the RetroArcade.us Coin Door with a US quarter selector is the highest rated complete door. For Arcade1Up mods, the Guwarry 2-Player encoder and the EG STARTS LED kit are the most popular choices.
How do I bypass the coin mech without drilling holes?
Wire a push button across the coin mech’s microswitch contacts, then mount it in an existing hole such as an old service button opening or the coin return. Many builders also mount a leaf switch behind the coin return button so the original look is preserved with no new holes at all.
Is a free play kit worth it for a home arcade cabinet?
Yes, if you play regularly. A credit button removes the constant hunt for quarters, protects the coin mech from wear, and lets guests play without explanation. If you value the ritual of dropping a coin, choose a coin door kit instead so both modes stay available.
Are MAME cabinets legal?
The MAME emulator software itself is legal to own and run. The legal question is the ROMs, which are copyrighted. Keeping your ROM collection to games you legitimately own is the commonly accepted safe position for a home cabinet.
Is it cheaper to build or buy an arcade machine?
Building is usually cheaper if you already own basic tools and want a custom cabinet. A flat pack kit plus encoder and buttons undercuts a finished machine. If you would need to buy every tool, or your time is tight, a pre-built cabinet or an Arcade1Up with a free play mod is often the better value.
Conclusion
The best free play kits for coin operated cabinets split cleanly by cabinet. For a MAME, RetroPie or PC build, the Reyann Zero Delay encoder turns any button into a credit switch and carries 750 reviews. For Arcade1Up, the Guwarry two player encoder or the EG STARTS LED bundle are the proven routes. For full-size builds where authenticity matters, the 4.9 rated RetroArcade coin door with US quarter selector is the one I would buy again.
Match the kit to the cabinet, decide once whether you want coin operation back, and buy heat shrink with everything. Do those three things and free play is an afternoon project, not a weekend of forum archaeology.
Pick your kit from the comparison table above, check your cabinet dimensions against the door frames, and get that credit button wired. Your quarters have done enough.