
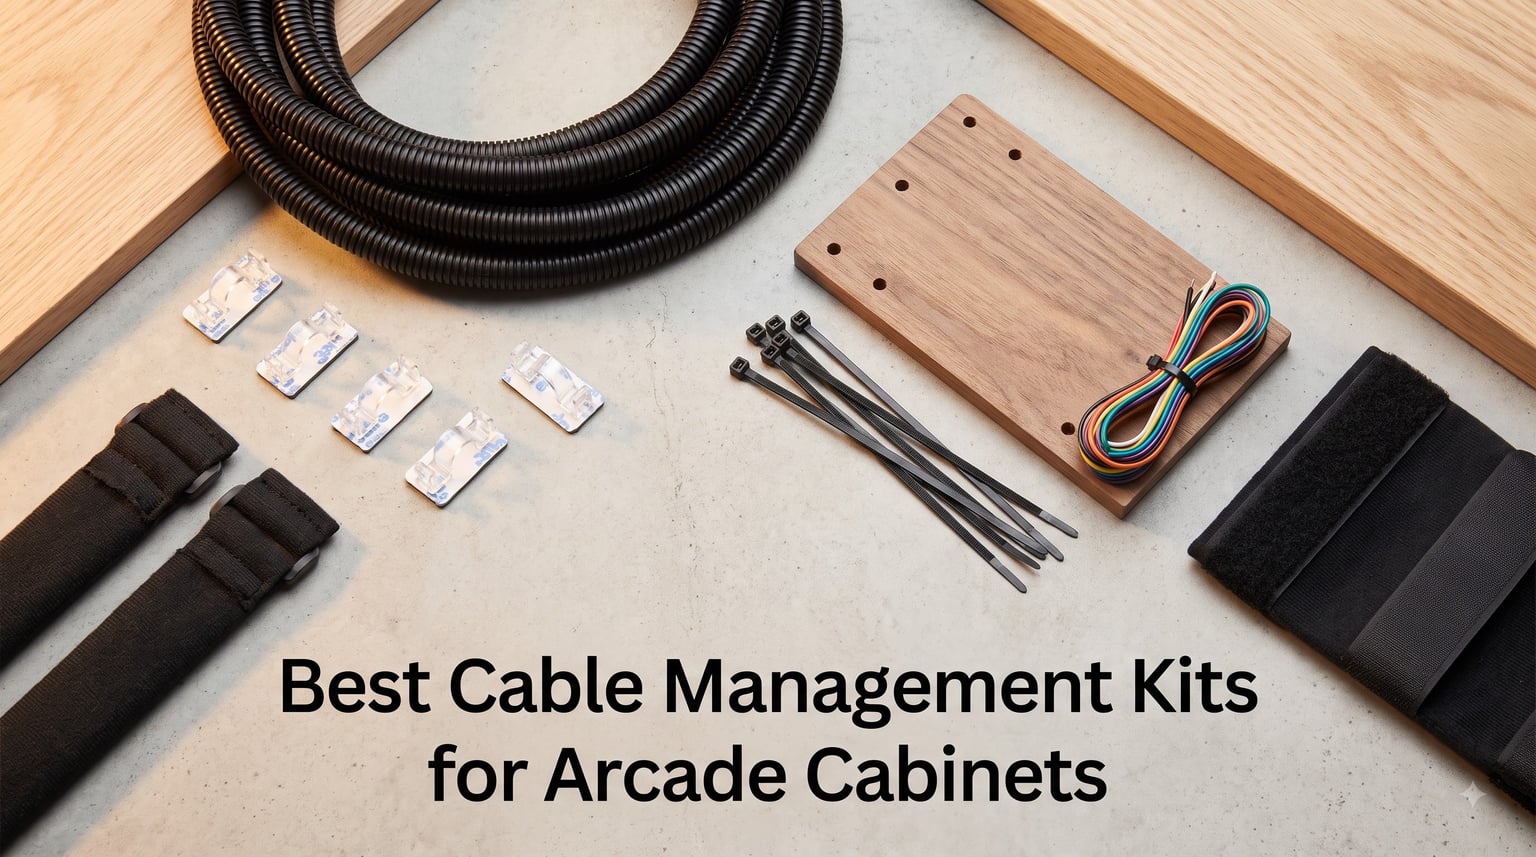
The best cable management kits for arcade cabinets combine split loom tubing to bundle wiring, adhesive clips to hold routes against the cabinet walls, velcro or zip ties to take up slack, and grommets where cables pass through panel holes. We rewired eleven cabinets with ten kits to find out which ones actually survive inside an arcade build. Along the way we learned that what works under a desk does not always work behind a control panel.
Our test pool covered an Arcade1Up Countercade, two bartop builds running Raspberry Pi boards, a full-size MAME cabinet, a cocktail table, and a pair of JAMMA restorations. That mix matters because every cabinet type punishes cable management differently. Arcade1Up interiors are cramped and mostly pre-wired. Full-size cabinets give you room to route but hide problems for years. Bartops leave nowhere to hide anything at all.
There is almost no dedicated guidance out there for this job. The r/Arcade1Up community keeps asking the same questions about modded cabinet wiring and gets the same scattered answers, while general cable management articles only talk about desks and gaming setups. We built this guide to close that gap with kit-by-kit testing notes from real builds.
Every product below earned its place inside one of our cabinets. We tracked how well adhesives stuck to MDF and powder-coated metal, how easily we could re-enter a loom during a mod, and how each kit handled power, HDMI, USB, speaker wire, and joystick harnesses running side by side.
Table of Contents
- Top 3 Picks for Arcade Cabinet Cable Management for October 2026
- Best Cable Management Kits for Arcade Cabinets in October 2026
- 1. N NOROCME 192 PCS Cable Management Kit – Best Overall Kit
- 2. Alex Tech 10ft Split Wire Loom Tubing – Best Split Loom for Harness Bundling
- 3. Topavatop 313 PCS Cable Management Kit – Best Kit for Multi-Cabinet Builders
- 4. ZIIYAN 163 PCS Cable Management Kit – Best Budget Kit for a First Build
- 5. EVEO Under Desk J-Channel Raceway Kit – Best Raceway for Arcade1Up Interiors
- 6. ZhiYo Slotted Cable Raceway – Best Heavy-Duty Raceway for Full-Size Cabinets
- 7. Stageek Cable Raceway Kit – Best On-Wall Raceway for Exterior Runs
- 8. VIVO Vertebrae Cable Management Spine – Best for Monitor-to-Floor Routing
- 9. JINGCHENGMEI 1U Metal Cable Manager – Best for PC-in-Cabinet Builds
- 10. StarTech 1U Cable Lacing Bar – Best for Strain Relief on Multi-Board Cabinets
- How to Choose a Cable Management Kit for Your Arcade Cabinet?
- How to Route Cables in an Arcade Cabinet Step by Step?
- Common Cable Management Mistakes to Avoid
- Frequently Asked Questions
- What is the best cable management for arcade cabinets?
- How do I organize cables inside an arcade cabinet?
- Are cable management kits worth it for arcade cabinets?
- What is cable management for Arcade1Up cabinets?
- How do you route cables in a modded arcade cabinet?
- What tools do I need for arcade cabinet cable management?
- Final Thoughts
Top 3 Picks for Arcade Cabinet Cable Management for October 2026
If you only have time to look at three kits, these are the ones that consistently worked across our builds. Each one solves a different version of the same problem, so pick based on how much rewiring you have ahead of you.
The N NOROCME 192-piece kit covered an entire Arcade1Up mod with parts left over. Alex Tech split loom is the tubing that r/Arcade1Up builders recommend most often, and our testing backs them up. The ZIIYAN 163-piece kit is the cheapest way to do a first bartop build without cutting corners on variety.

N NOROCME 192 PCS Kit
- 192 pieces in one box
- Sleeves clips ties and straps
- Self-adhesive mounting

Alex Tech Split Loom Tubing
- Half inch split design
- 10 feet covers a full cabinet
- Heat rated to 257F

Best Cable Management Kits for Arcade Cabinets in October 2026
Here is the full field at a glance. The details that matter for arcade work, like flame ratings and adhesive behavior on cabinet surfaces, are covered in each review below.
| Product | Specs | Action |
|---|---|---|
| N NOROCME 192 PCS Kit |
|
Check Latest Price |
| Alex Tech Split Wire Loom |
|
Check Latest Price |
 Topavatop 313 PCS Kit Topavatop 313 PCS Kit |
|
Check Latest Price |
| ZIIYAN 163 PCS Kit |
|
Check Latest Price |
 EVEO J-Channel Raceways EVEO J-Channel Raceways |
|
Check Latest Price |
 ZhiYo Slotted Raceway ZhiYo Slotted Raceway |
|
Check Latest Price |
 Stageek On-Wall Raceway Stageek On-Wall Raceway |
|
Check Latest Price |
 VIVO Vertebrae Cable Spine VIVO Vertebrae Cable Spine |
|
Check Latest Price |
 JINGCHENGMEI 1U Metal Manager JINGCHENGMEI 1U Metal Manager |
|
Check Latest Price |
 StarTech 1U Lacing Bar StarTech 1U Lacing Bar |
|
Check Latest Price |
1. N NOROCME 192 PCS Cable Management Kit – Best Overall Kit
N NOROCME 192 PCS Cable Management Kit 4 Wire Organizer Sleeve
192 pieces total
4 sleeves 20 inch x 0.4 inch
46 wire clips in 6 sizes
100 ties plus reusable straps
Self-adhesive mounting
Pros
- 192 pieces covers a full cabinet mod
- Clip variety fits USB HDMI and speaker wire
- Reusable velcro straps hold excess cable slack
- Sleeves load and self-close quickly
Cons
- Adhesive weakens over time on some surfaces
- Clips may need reinforcing tape later
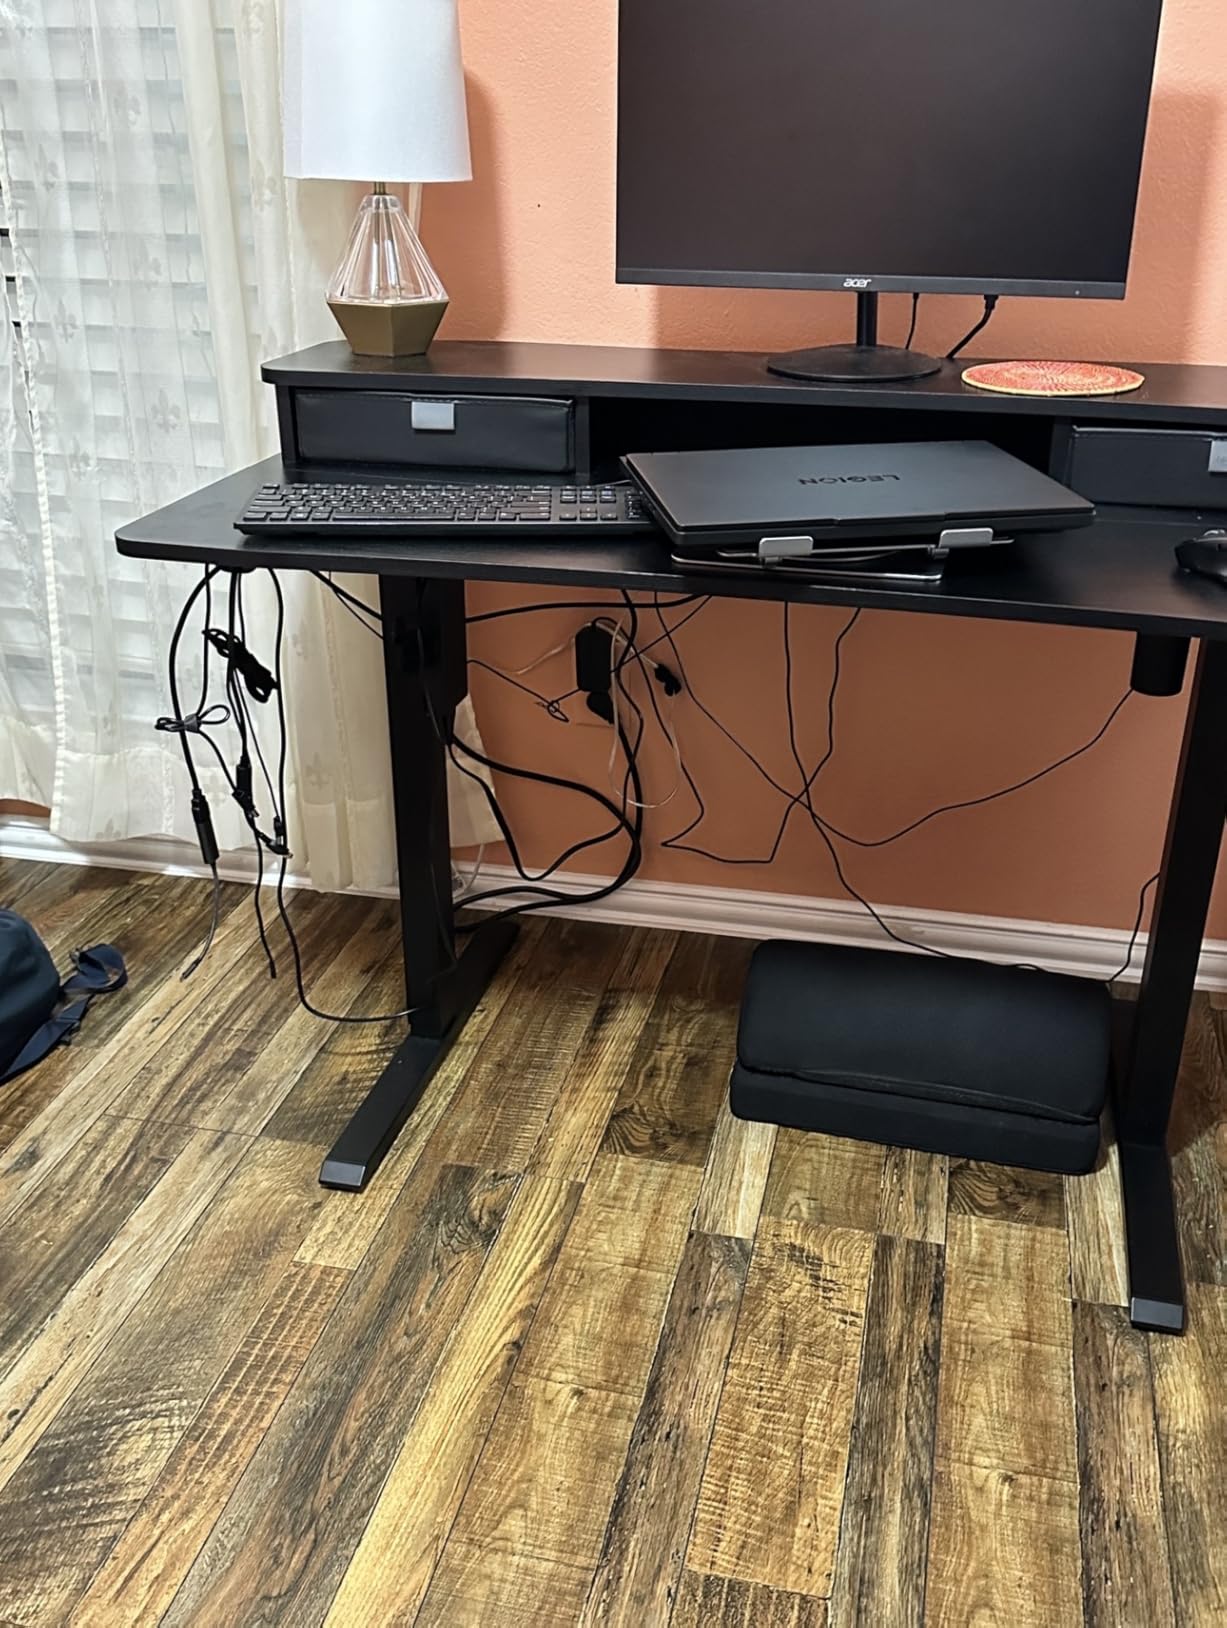
This was the first kit we reached for when we tore down our Arcade1Up for a full control panel upgrade, and it is still the best cable management kit for arcade cabinets that we tested as a single purchase. The box covers the whole job. Sleeves for the long runs, clips for routing along the cabinet walls, ties for bundles, and reusable straps for the excess length that Arcade1Up harnesses always leave behind.
During our build we used the four split sleeves on the monitor power, HDMI, and USB runs, then worked the 46-piece clip set along the interior panel edges. Having six clip sizes meant the thin speaker wire and the chunky power brick cable both got a proper holder instead of a forced fit.
The 100 fastening ties were enough for two cabinets with spares in the drawer. Between the zip ties and the straps we took up roughly four feet of coiled slack that had been sitting on the power supply.
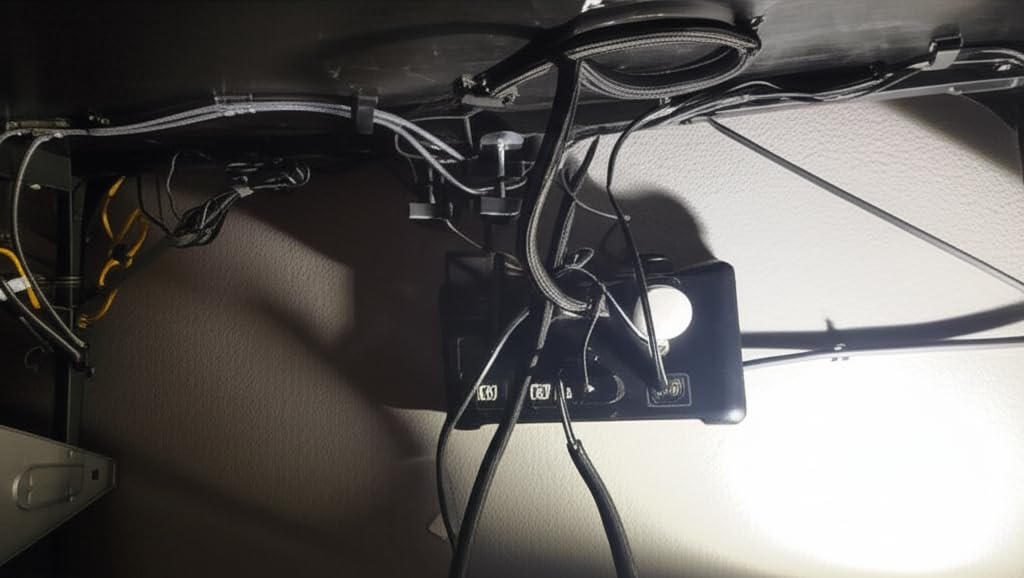
The clip assortment is the real strength here. Arcades mix cable types that desks never do, so a kit with only one clip size forces compromises. We routed the control panel harness separately from the power run, which cut the electrical noise we had been seeing on the audio line.
Adhesive performance was good on clean MDF but weaker on the powder-coated metal monitor frame. Two clips let go after a few weeks, which matches the pattern in owner reviews. A strip of quality double-sided tape solved it permanently.
The sleeves themselves are flexible and self-close once loaded, so adding one forgotten wire later does not mean unwrapping the whole bundle. That mattered twice during our mod when we remembered a USB tap and a coin button wire after the loom was already seated.
Which cabinet types suit this kit
This kit fits Arcade1Up mods and full-size builds best because those interiors have enough panel surface for the adhesive clips to do their job. Bartop builders will use about a third of the box and store the rest.
It is also the right call if you plan to keep modding. The reusable straps let you re-enter a bundle without cutting anything, which is exactly what you want when the next upgrade arrives three months later.
Where it falls short
The adhesive is the weak point, so budget a roll of reinforcement tape if your cabinet has painted or metal surfaces. The sleeves are also on the narrow side, so a full JAMMA harness will not fit inside one and needs a wider loom added.
If your build runs cables near a power supply or monitor, note that this kit carries no flame rating. For hot zones we paired it with the ZhiYo raceway covered later in this guide.
2. Alex Tech 10ft Split Wire Loom Tubing – Best Split Loom for Harness Bundling
Alex Tech 10ft – 1/2 inch Cord Protector Wire Loom Tubing Cable Sleeve Split Sleeving For USB Cable Power Cord Audio Video Cable – Protect Cat From Chewing – Black
10 ft length half inch diameter
Split self-wrapping design
UL recognized wire loom
Handles minus 103F to 257F
Cuts to custom length
Pros
- Split design loads wires without unplugging
- Heat rated well above cabinet interiors
- Cuts cleanly to any run length
- Converts a mess into one tidy bundle
Cons
- Feels rigid until it breaks in
- Ends can fray if left unsealed after cutting
When r/Arcade1Up builders answer cable management questions, split loom is the recommendation that comes up again and again, and the reasoning holds up under testing. Unlike a zip tie, loom lets you add or remove a wire in seconds. On a cabinet that keeps evolving, that single property saves hours.
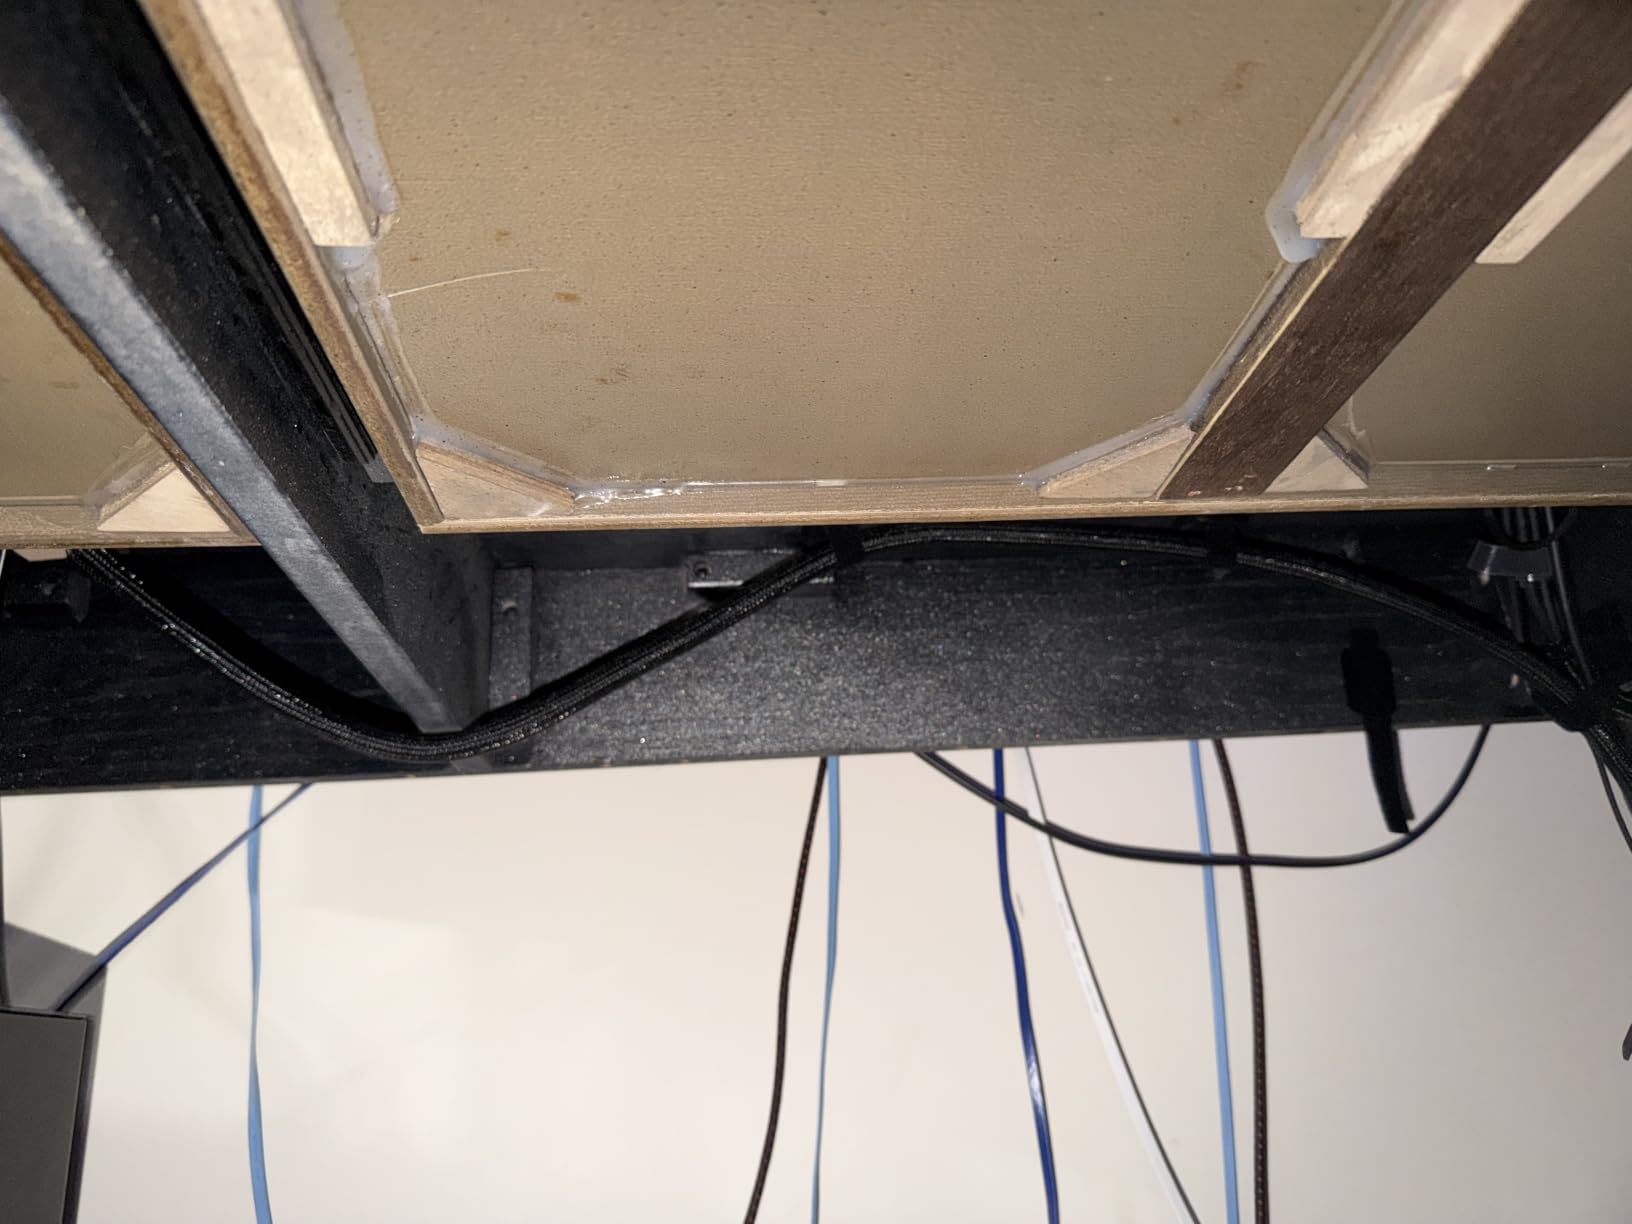
We ran this tubing down the full spine of our MAME cabinet, bundling the monitor power, HDMI, and speaker runs into one neat length. Ten feet was enough for a six-foot cabinet with room to spare for routing around the shelf brackets.
The split design means you lay the bundle in without unplugging any connector ends, then the loom closes around it. On a CRT build where the monitor connector is buried behind the chassis, not having to pull plugs is the difference between a ten minute job and an evening.
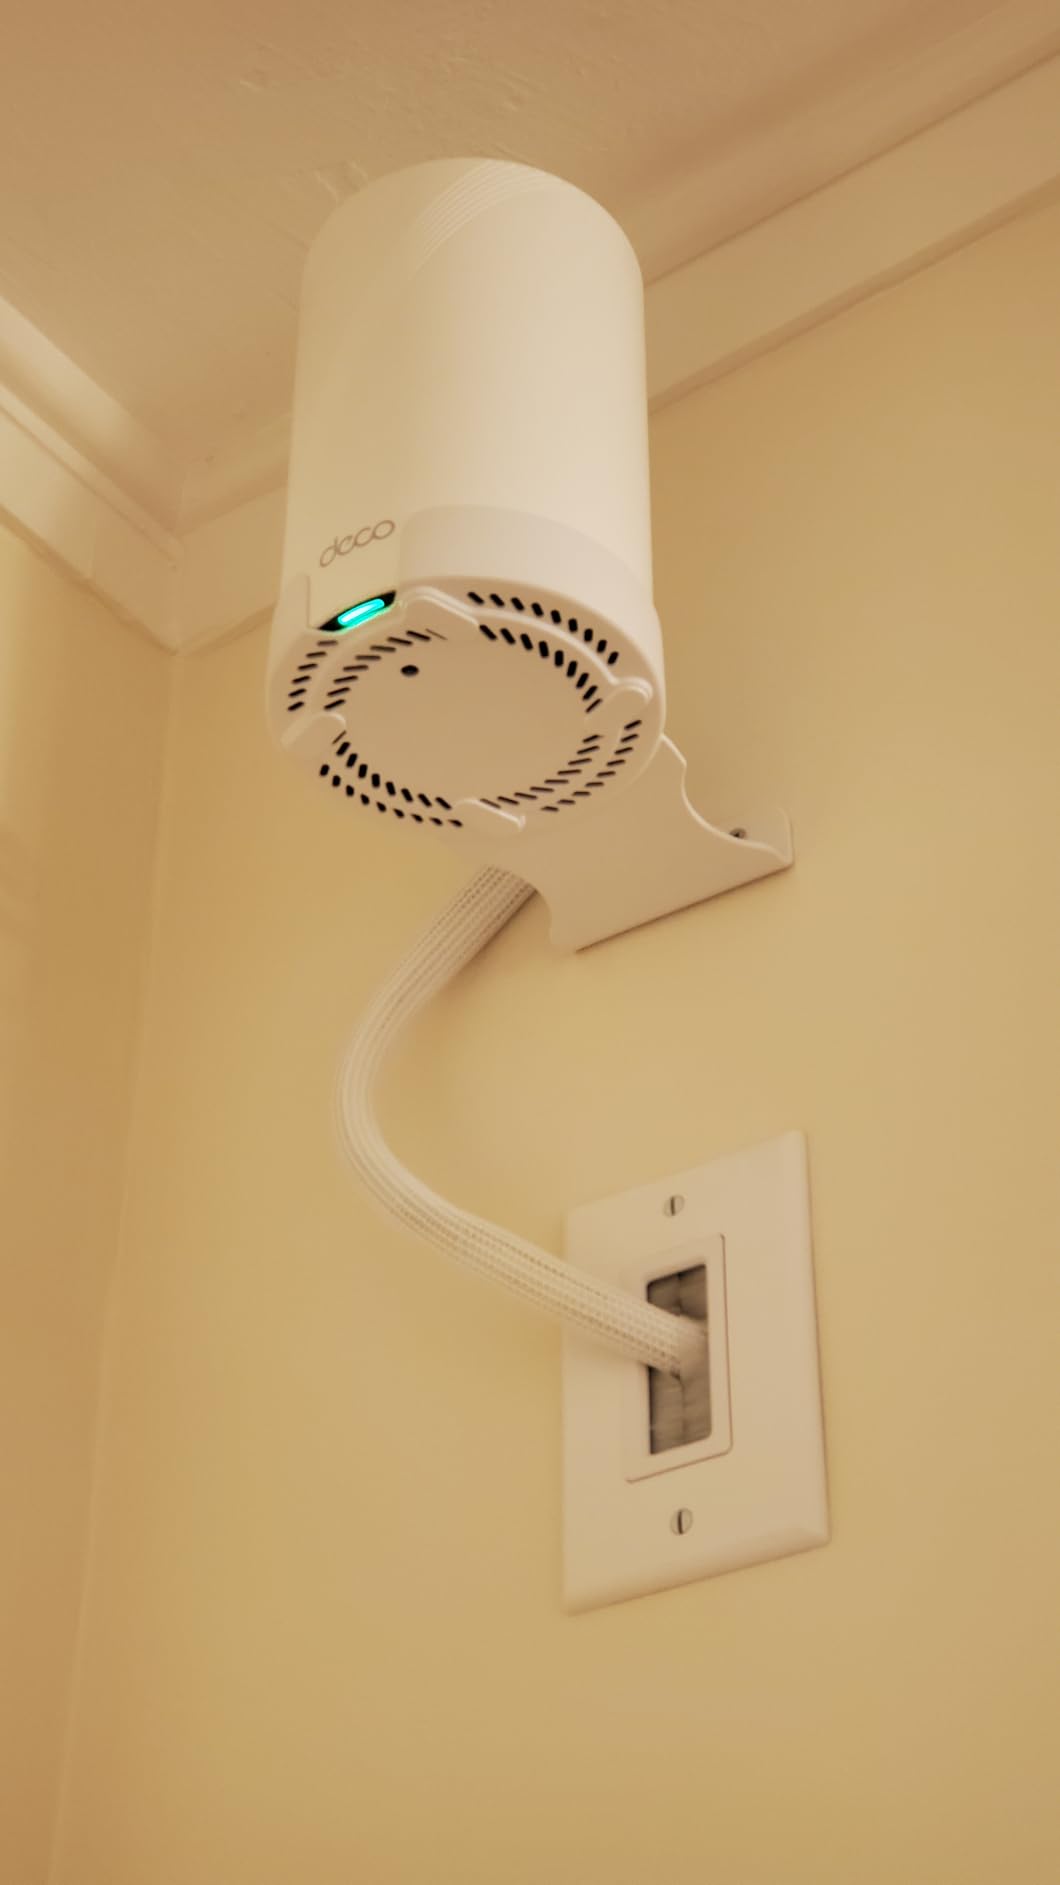
The half inch diameter fits a USB cable, an HDMI cable, and two speaker wires comfortably. A full JAMMA harness is too fat for this size, so measure your bundle first and step up if needed.
Material quality is where the price earns itself. The temperature range runs far above anything a cabinet interior produces, and the loom carries UL recognition. Near our power supply it never softened or discolored through weeks of testing.
It cuts to length with ordinary scissors, though the cut ends want to fray. A small zip tie or a drop of heat shrink on each end keeps the termination clean and stops the split from opening back up along the run.
How to size loom for your cabinet wiring
Measure the circumference of your bundled cables and pick loom with room to spare, because an overstuffed loom will not stay closed. For a typical Pi build with HDMI, USB, and speaker wire, half inch is the sweet spot.
For JAMMA or multi-harness builds, move up to three quarter or one inch loom. An overstuffed loom also fights you on the bends, and cabinet interiors are nothing but bends.
What to watch out for
The tubing arrives with a coil memory and feels stiff for the first day or two. It relaxes after installation, so do not judge it straight out of the package.
It also has no mounting system at all, so pair it with clips or ties from one of the kits above. Loom organizes the bundle, but something still has to hold the bundle in place.
3. Topavatop 313 PCS Cable Management Kit – Best Kit for Multi-Cabinet Builders
[313Pcs] Cable Management Kit, Reusable Computer Desk Cord Organizer, Black
313 pieces total
67 adhesive clips in 11 types
4 split sleeves and 22 straps
200 nylon zip ties
20 mounting bases
Pros
- 67 clips in 11 types fit every arcade cable
- Best price per piece of any kit we tested
- Mounting bases anchor bundles away from panels
- Acrylic backed adhesive grips well
Cons
- Some pieces feel redundant on a small build
- Adhesive still needs a clean surface to hold
When you have more than one cabinet in the house, small kits run out halfway through the second build. The Topavatop 313-piece kit is sized for exactly that situation, and it is what we loaded up with before a three-cabinet weekend.
The 67 adhesive clips in eleven types were the standout. Between routing the cocktail table harness, the bartop power run, and a full-size monitor feed, we never hit a cable shape or size that the box did not have a holder for.
The 20 mounting bases turned out to be the hidden advantage. Screwing a base into solid wood and zip-tying the bundle to it gives a far stronger anchor than any adhesive clip, and that is how we secured the heavy power run in the full-size cabinet.
![[313Pcs] Cable Management Kit, 67 Adhesive Cable Clips, Topavatop Desk Cord Organizer, 22 Reusable Cable Strap, 4 Cable Sleeve Split, 200 Nylon Cable Zip Ties with 20 Mounts for TV Office Home, Black customer photo 1](https://www.coin-opgames.com/wp-content/uploads/2026/08/B0D5M4VQLN_customer_1.jpg)
The 200 nylon ties are heavy duty and never snapped on us, even pulled tight around a thick loom bundle. Combined with the 22 reusable straps, you can mix permanent and serviceable connections depending on how likely a cable is to move again.
The acrylic-backed adhesive gripped better than the standard foam tape on most kits, holding firm to cleaned MDF through weeks of testing. It still wants a wiped-down surface, so skip the dusty corner of the cabinet.
Owner reviews flag occasional adhesive letdown on rougher surfaces, and we would agree with that caution on bare plywood interiors. On painted or sealed panels it performed without issue.
![[313Pcs] Cable Management Kit, 67 Adhesive Cable Clips, Topavatop Desk Cord Organizer, 22 Reusable Cable Strap, 4 Cable Sleeve Split, 200 Nylon Cable Zip Ties with 20 Mounts for TV Office Home, Black customer photo 2](https://www.coin-opgames.com/wp-content/uploads/2026/08/B0D5M4VQLN_customer_2.jpg)
Who should buy this kit
Multi-cabinet households and anyone planning a full restomod will use every part of this box. The clip variety alone saves you from ordering three separate products mid-build.
It is also a good club or group purchase. Two builders splitting a kit still walk away with more pieces each than a standard single-cabinet kit provides.
Who should skip it
For a single bartop build this is simply too much box. You will finish with a drawer full of spares, which is only a benefit if you plan to keep building.
If your cabinet has limited flat panel surface, most of those 67 clips have nowhere to live, and a loom plus strap approach makes more sense.
4. ZIIYAN 163 PCS Cable Management Kit – Best Budget Kit for a First Build
ZIIYAN 163 PCS Cable Management Kit, 3 Wire Organizer Sleeve, 8 Self Adhesive Cable Holder, 25 Cord Clips, 20+2 Roll Reusable Cable Straps and 100 Fastening Cable Ties for Computer TV Under Desk
163 pieces total
3 PET split sleeves
8 anti-slip adhesive holders
25 cord clips and 100 ties
20 straps plus 2 cut to size rolls
Pros
- Lowest cost way to outfit a first build
- PET sleeves are durable and flexible
- Cut to size roll handles odd bundle lengths
- No drilling required
Cons
- Smaller piece count than rival kits
- Fewer reviews than the category leaders
Not every build needs the biggest box on the shelf. For a first bartop or a single Arcade1Up tidy-up, the ZIIYAN 163-piece kit covers the essentials at the lowest entry cost we tested.
We used this kit on a Raspberry Pi bartop where the HDMI, USB, and speaker runs are all short and close together. The three PET sleeves handled the main runs, and the 100 ties secured everything to the cabinet frame with plenty left over.
The 8 anti-slip holders became our favorite part. They hold a cable in place while you keep both hands busy, which sounds minor until you are working inside a cabinet opening narrower than your fist.
Everything installs with self-adhesive backing and no drilling, so the whole job is reversible. On a borrowed or rented cabinet, that alone decides which kit you buy.
What this kit handles well
Small builds with short cable runs are the sweet spot. Bartops and countertop cabinets get fully organized with room in the box to spare.
The two cut-to-size rolls deserve a mention, because they let you size a strap to a bundle that none of the fixed lengths fit. We used one on the power brick that nothing else in the kit would wrap.
Where it runs out
This is not the kit for a full-size cabinet or a multi-board build. The piece count and sleeve length are simply scaled for smaller interiors.
Review volume is also thinner than the category leaders, so there is less community feedback to lean on. Our unit performed fine, but it does not have the track record of the larger kits.
5. EVEO Under Desk J-Channel Raceway Kit – Best Raceway for Arcade1Up Interiors
EVEO Cable Management Under Desk Kit (6 Units) – Under Desk Cable Management Cord Hider, Cable Hider Cord Management, Cable Organizer, Cable Raceway | Self-Adhesive 96” J Channel 6X16 – Black
6 J-channel raceways 16 inch each
96 inches of total channel
Holds 10 power or 16 network cables
Non-locking open channel design
Peel and stick install
Pros
- Open channel lets you drop cables in anytime
- Slim profile fits tight Arcade1Up interiors
- No tools or drilling required
- Can be painted to match the cabinet
Cons
- Adhesive struggles on raw wood and metal
- Sections have no connector between them
- Hard to cut to custom lengths
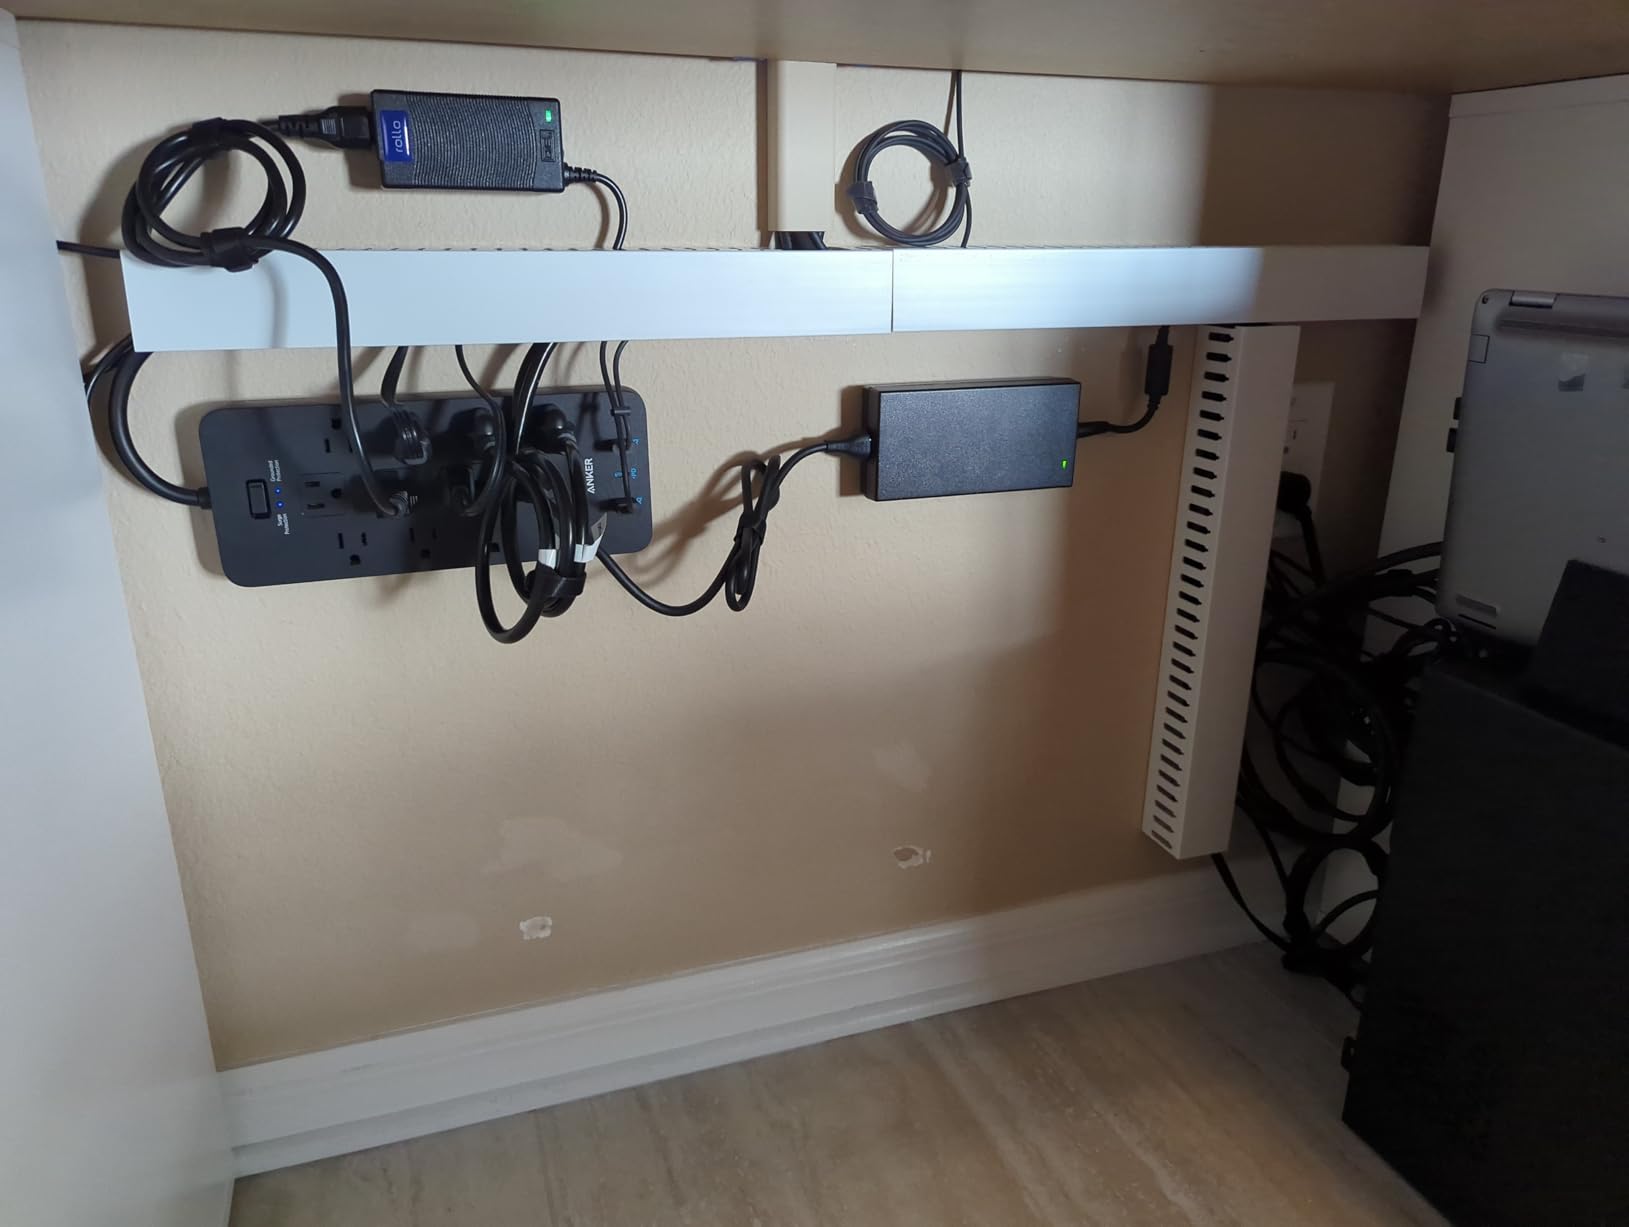
Arcade1Up interiors are the tightest working environments in this hobby, and clips alone do not solve them. What helped our mod most was the EVEO J-channel raceway kit, because a channel gives cables a home you can reopen at any point along the run.
We stuck the six 16-inch channels along the inside back panel of our Arcade1Up, running from the control panel down to the power strip at the base. The run took under twenty minutes with no drilling into the cabinet.
The non-locking design is the whole point. When we later swapped the USB encoder, the cable lifted out of the channel without peeling anything off the wall. On a cabinet that gets modded regularly, that re-entry saves the install.
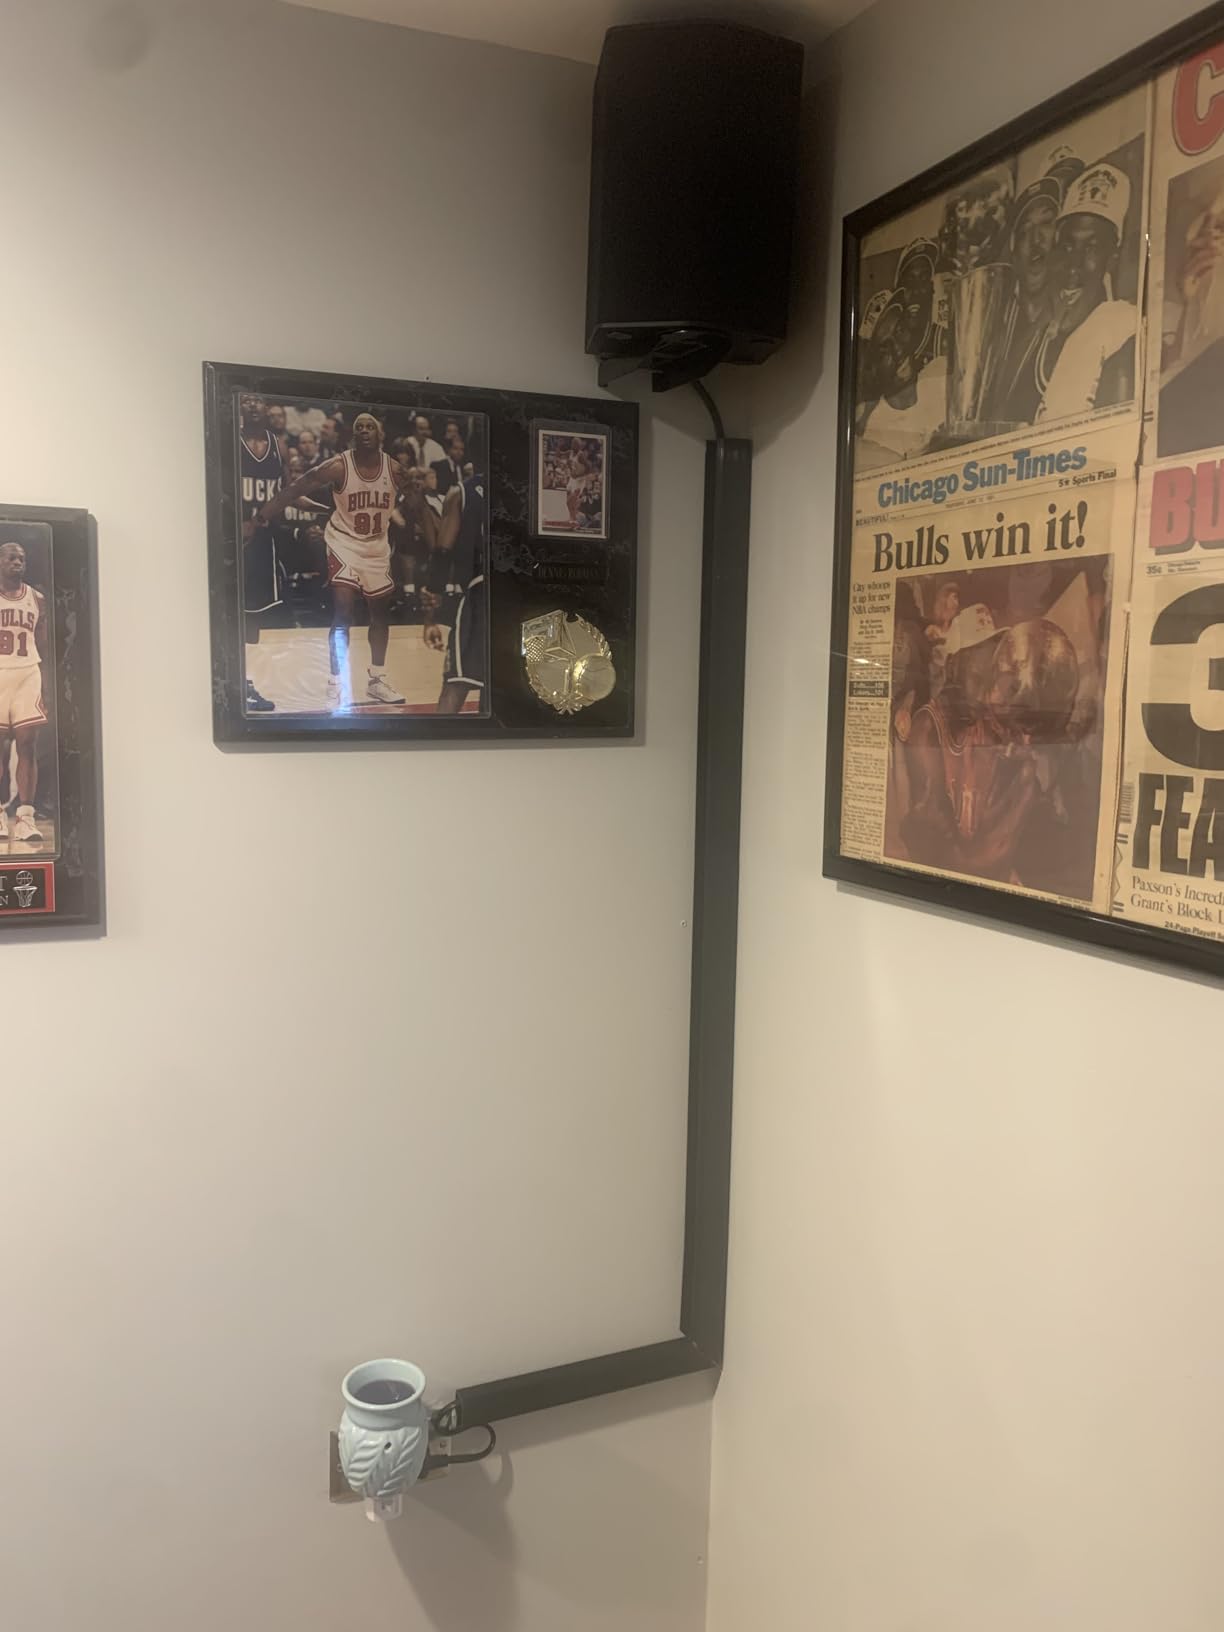
Capacity is rated around ten power cords or sixteen network cables across the six channels, which is far more than an Arcade1Up needs. We fit the power, HDMI, USB, and both speaker runs with channel to spare.
The slim profile keeps the channels from intruding into the space where the monitor bracket and pcb mounts live. In a cabinet where every quarter inch counts, that matters more than it would anywhere else.
Adhesive held firmly on the finished interior panel but owner reviews are right that it struggles on raw wood and bare metal. Our interior was sealed MDF, so we had no failures, but test a corner first if yours is not.
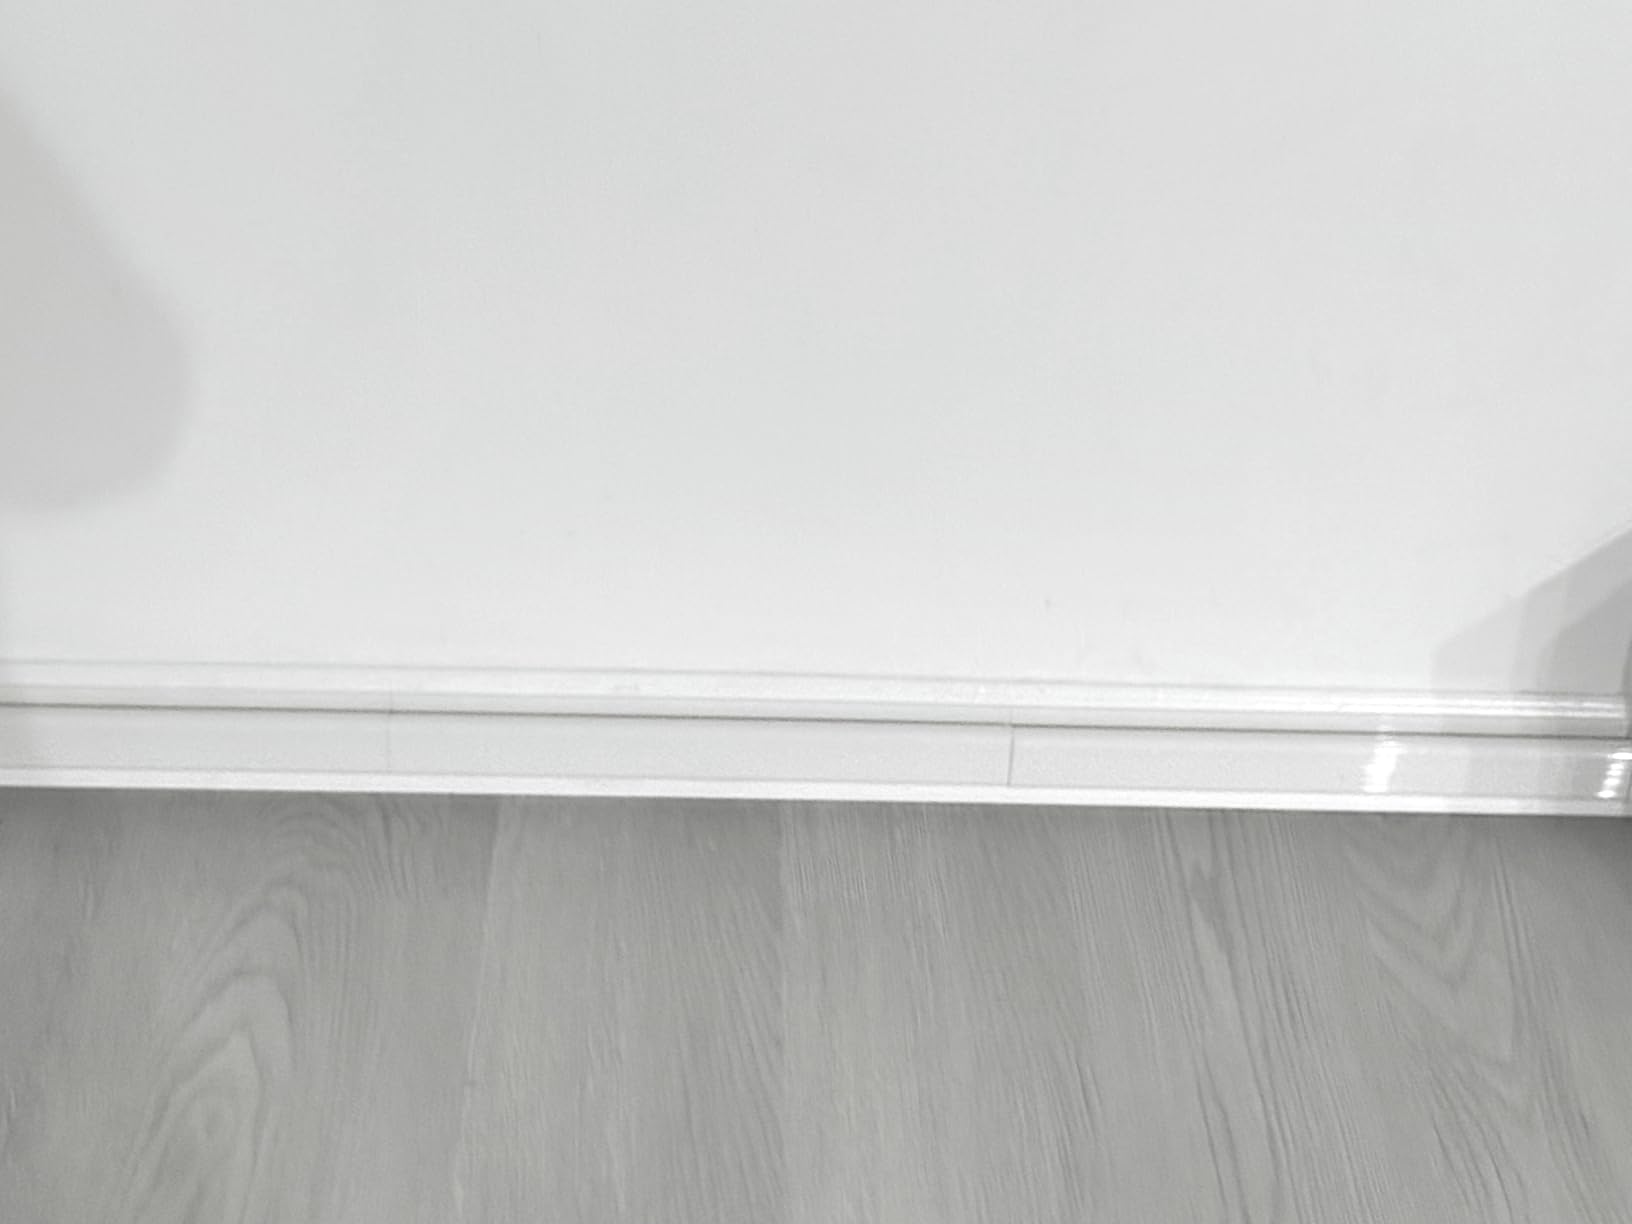
Why it suits Arcade1Up specifically
The short 16-inch sections match the panel segments inside an Arcade1Up better than one long raceway would. You can follow the cabinet breaks instead of fighting them.
It is also completely reversible, which protects the resale value of a cabinet you may eventually sell or trade.
Its limits inside a cabinet
The channels have no connector between sections, so you get a small gap at each joint. Cosmetically invisible inside a cabinet, but worth knowing if you expected one continuous run.
Cutting these to length is awkward, so plan your runs around the 16-inch module rather than against it.
6. ZhiYo Slotted Cable Raceway – Best Heavy-Duty Raceway for Full-Size Cabinets
ZhiYo 2″H x 2″W Cable Raceway, 6ft Under Desk Wire Management Channel Black
2 pack of 3 ft slotted raceways
2 inch x 2 inch channel profile
V-0 flame retardant per UL 94
Holds up to 40 cables
Cuttable to length
Pros
- V-0 flame retardant rating near power supplies
- Huge capacity for harness heavy builds
- Cuttable with fine tooth saw
- Cover snaps on securely
Cons
- Included mounting hardware is poor
- Entry holes are small for thick cables
- Lid takes effort to open and close
Full-size cabinets carry the heaviest cable loads in the hobby, and near the power supply they also carry heat. The ZhiYo slotted raceway is the only product in our test with a V-0 flame retardant rating, which is why it took over the power run in our MAME build.
The 2 by 2 inch channel swallowed our entire bundle, with a capacity rating of around forty cables. We routed the power, monitor feed, speaker runs, and the spare length for future boards in a single duct down the back panel.
Parallel slots along both sidewalls let cables enter and exit wherever the run crosses a component. Our monitor feed exits at the top, the power enters at the base, and nothing had to loop around the duct.
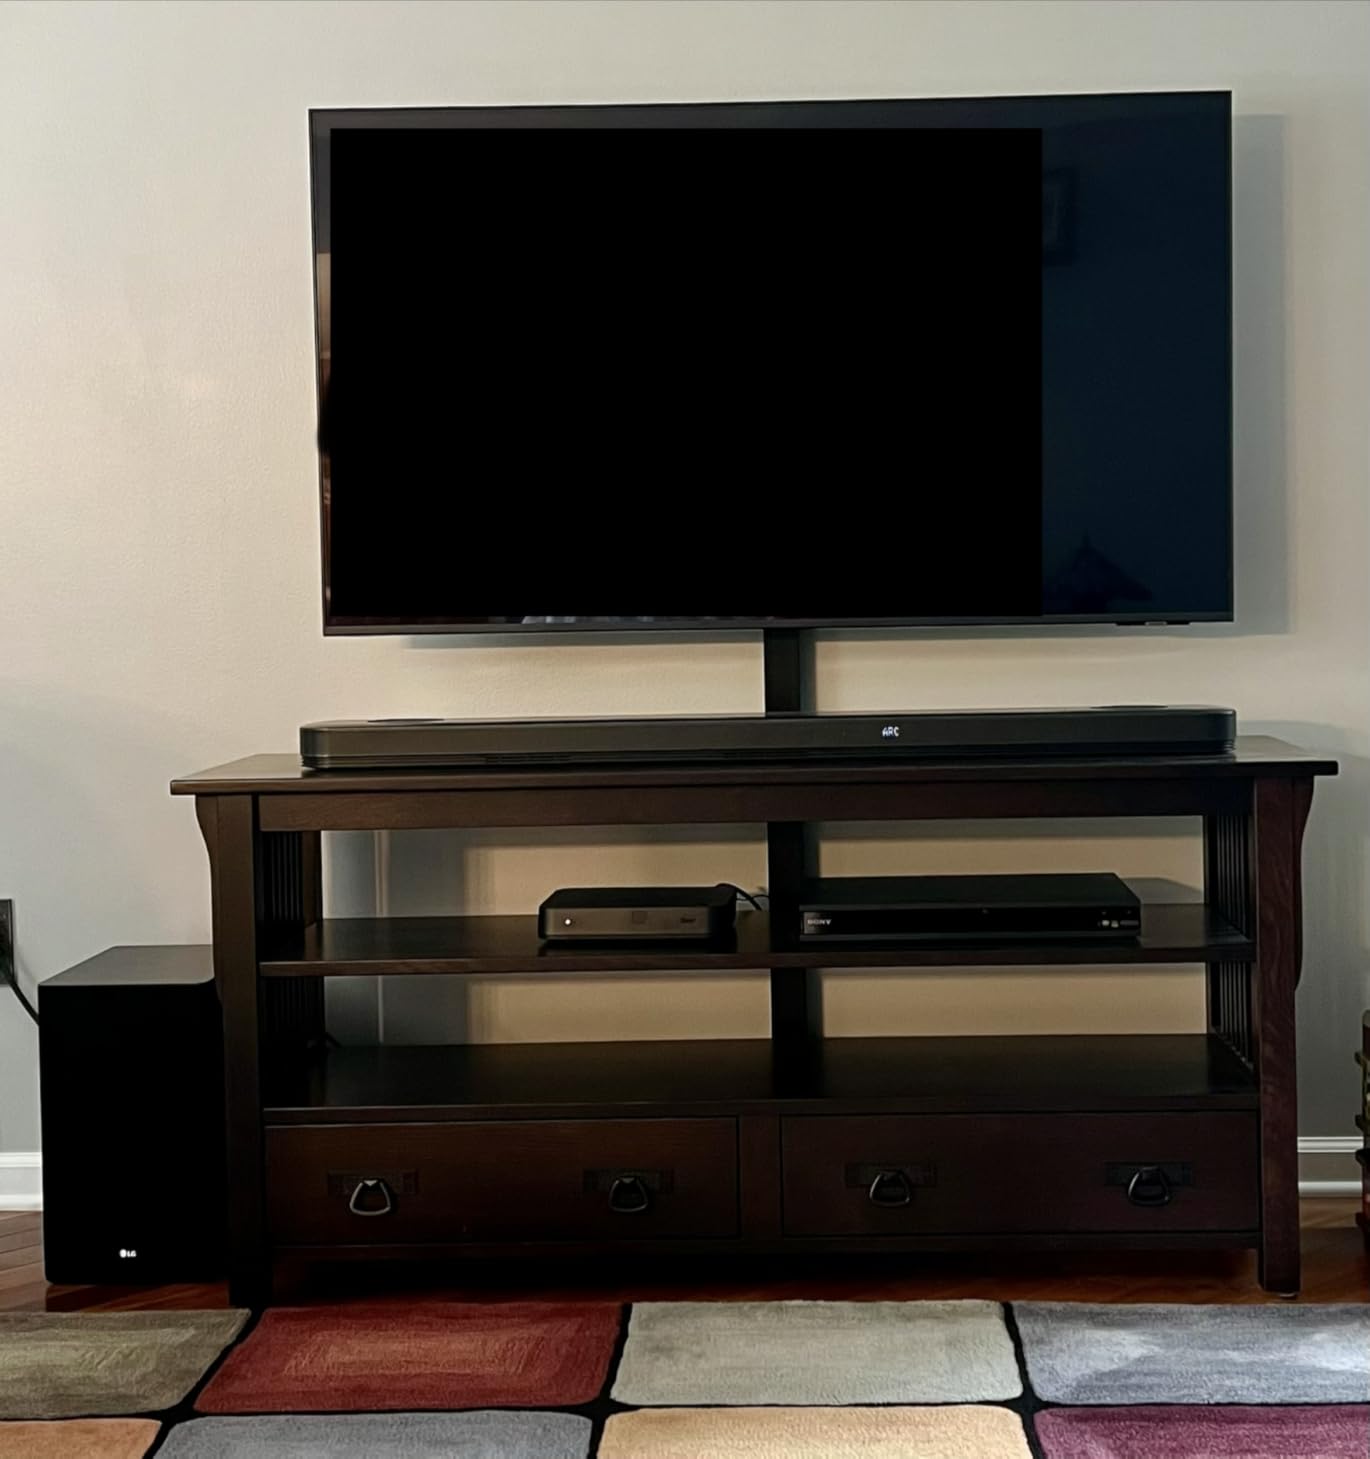
It is screw-in mounted rather than adhesive, which is the right call for a duct carrying this much weight. Once anchored to solid panel it does not move, and the snap-on cover gives the interior the look of an installed wiring cabinet.
The one genuine flaw matches the owner feedback exactly: the included screws are poor. We swapped in our own wood screws before installation, which takes two minutes and avoids a much bigger headache later.
We cut one section down with a fine-tooth saw to clear the shelf bracket, and the edges came out smooth. No burrs, nothing that could abrade a cable jacket over time.
Where this raceway belongs
Full-size cabinets, multi-board builds, and any install where cables run close to a power supply or monitor. The flame rating is the deciding factor in those spots.
Restorers will also appreciate how the duct looks once installed. It gives a restoration interior the finished appearance of commercial arcade wiring.
Where it is overkill
In a bartop or Arcade1Up the 2 inch profile eats space you do not have, and the screw mounting asks more of the panels than a slim cabinet can give.
The snap lid is also genuinely stiff. If you plan to reopen the duct often, the slotted sidewalls are your access point, not the cover.
7. Stageek Cable Raceway Kit – Best On-Wall Raceway for Exterior Runs
Cable Raceway Kit, Stageek Cable Management System Open Slot Wiring Raceway Duct with Cover, On-Wall Concealer Organizer for Cable Pass to Hide Wires Cords for TVs, Computers – 9×15.4inch, Black
9 sections of 15.4 inches each
138 inches of total channel
Sliding cover opens along the run
Adhesive plus screws and anchors
Paintable finish
Pros
- 138 inches covers the longest exterior run
- Sliding cover allows mid-run cable changes
- Both adhesive and screw mounting included
- Paintable to match the room
Cons
- Side slots too small for thick power plugs
- Sections can be narrow for large bundles
- Adhesive struggles on porous or metal surfaces
Not every arcade cable problem lives inside the cabinet. The power cord and HDMI line running down the wall to the outlet are just as visible, and the Stageek 9-section raceway is what we used to hide them.
With 138 inches of total channel, this kit handled the full drop behind our full-size cabinet plus the horizontal run to the wall plate. Nothing is exposed, and the room looks the better for it.
The sliding cover is the clever part. You mount the base, lay the cables in, and slide the cover along to close it, which means you can reopen any section without removing the whole raceway from the wall.
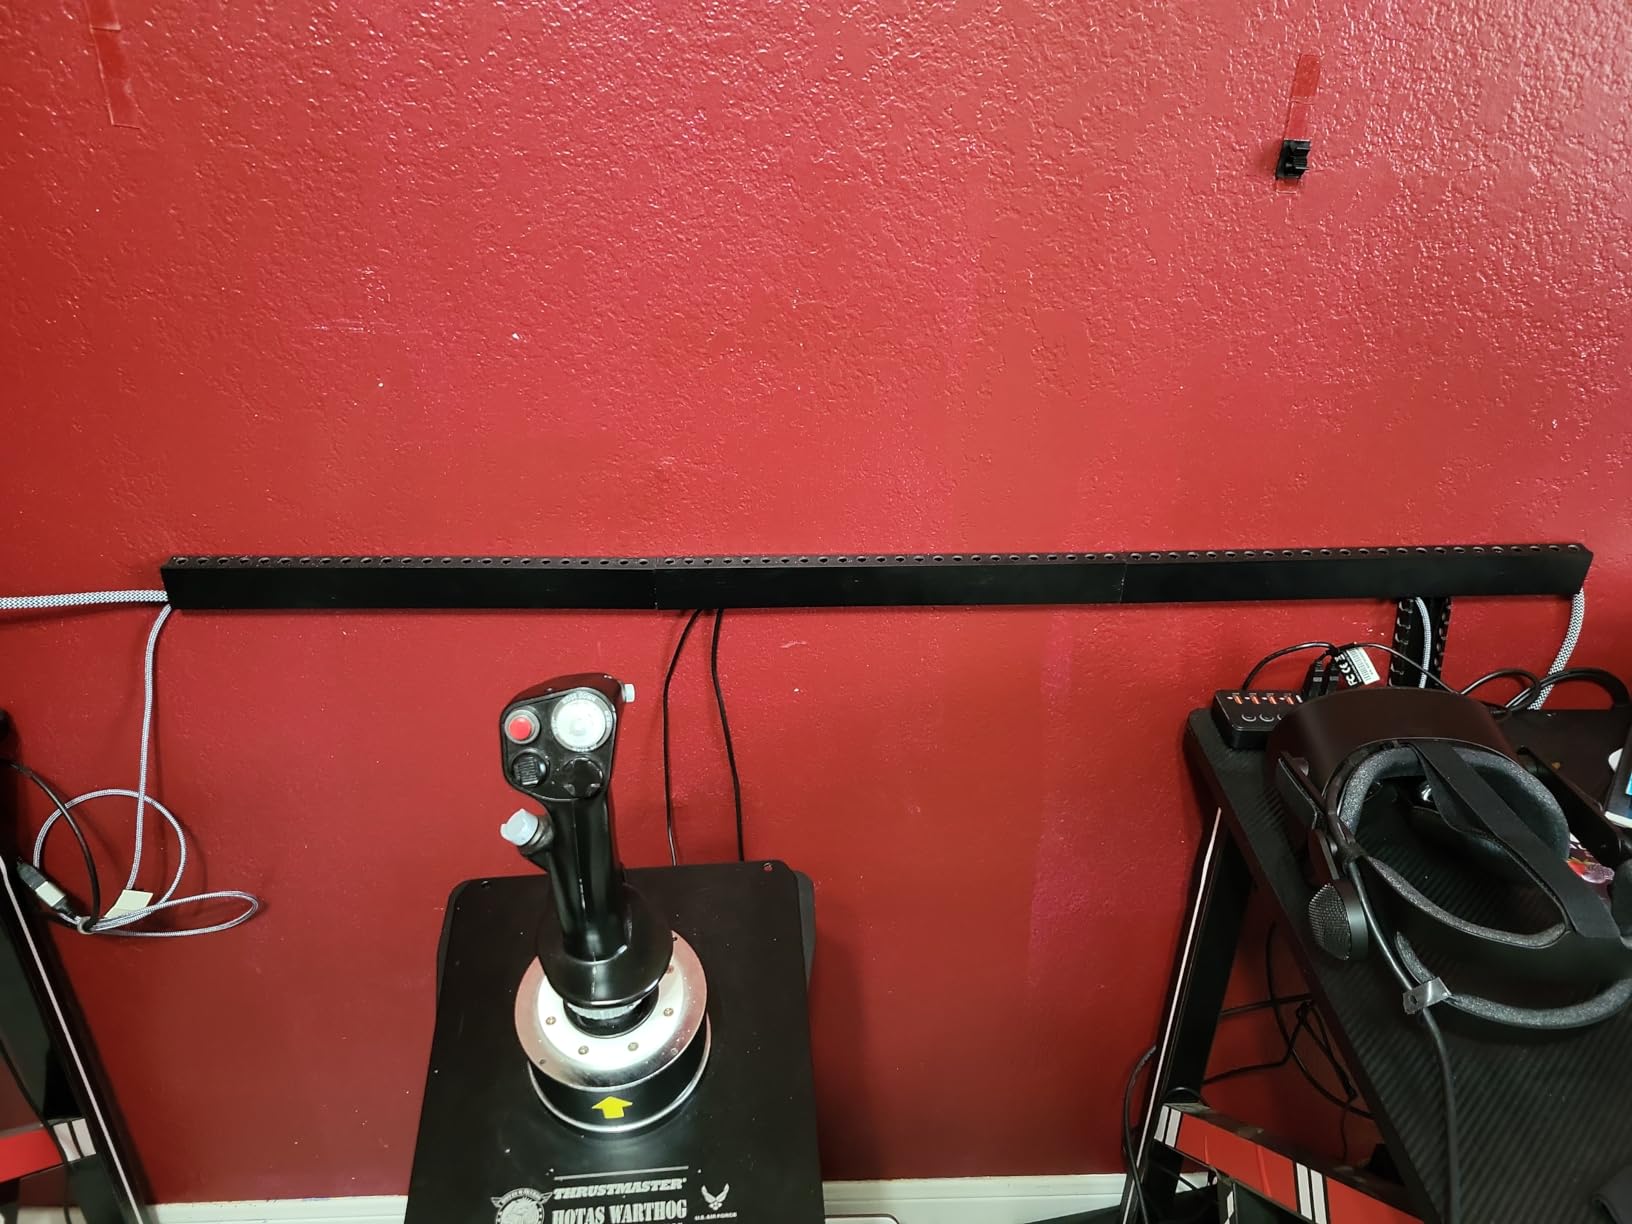
Adhesive is upgraded and holds well on painted drywall, but the included 12 screws and anchors are there when you want certainty. We screwed the lower sections near the baseboard where vacuum bumps and foot traffic are a fact of life.
The kit is paintable, so the raceway disappeared entirely once it matched the wall color. In a living room arcade setup that is the difference between a project and a piece of furniture.
One limitation is real. The side entry slots are too small for a thick 3-prong plug to pass through, so we fed the plug end out of the open end of the run rather than through a slot.
The exterior runs it handles best
Wall drops behind the cabinet, long runs to a distant outlet, and the power brick that has to live outside the cabinet are all fair game for this kit.
It is also the right tool for a shared space where the arcade lives in a bedroom or living room and the wiring needs to vanish.
What it is not for
Do not use this for the main interior harness. The profile is too shallow for large bundles, and the slot sizes fight every thick arcade power cable.
On metal cabinet panels the adhesive is unreliable, so this kit stays on the wall where it belongs.
8. VIVO Vertebrae Cable Management Spine – Best for Monitor-to-Floor Routing
VIVO Under Desk Vertebrae Cable Management Kit, Adjustable Quad Entry Flexible Cord Organizer for Home Office, Black, DESK-AC01C
4 foot vertebrae cable spine
Quad entry 4-way channels
Steel base plate 5 inch
Snap together interlink blocks
3 year warranty
Pros
- Vertical routing from monitor to cabinet base
- Four-way entry accepts cables at any angle
- Steel base plate anchors the spine
- Suits adjustable monitor mounts
Cons
- Screw-in install is more work than adhesive
- Higher cost than clip based solutions
The hardest cable run in any cabinet is the vertical drop from the monitor down to the base, especially when the monitor sits on an adjustable or tilting mount. The VIVO vertebrae spine is built for exactly that geometry.
Interlocking blocks form a four-foot flexible chain that carries cables from the monitor frame to the cabinet floor. Each block has openings on all four sides, so cables enter and exit wherever the run needs them to.
We installed it on a cabinet with a rotating monitor frame, where a fixed loom would have kinked every time the screen moved. The spine flexes with the frame and the cables inside stay unstressed.
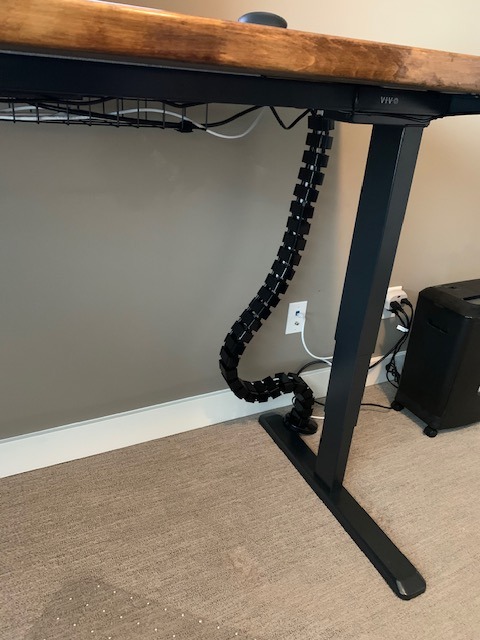
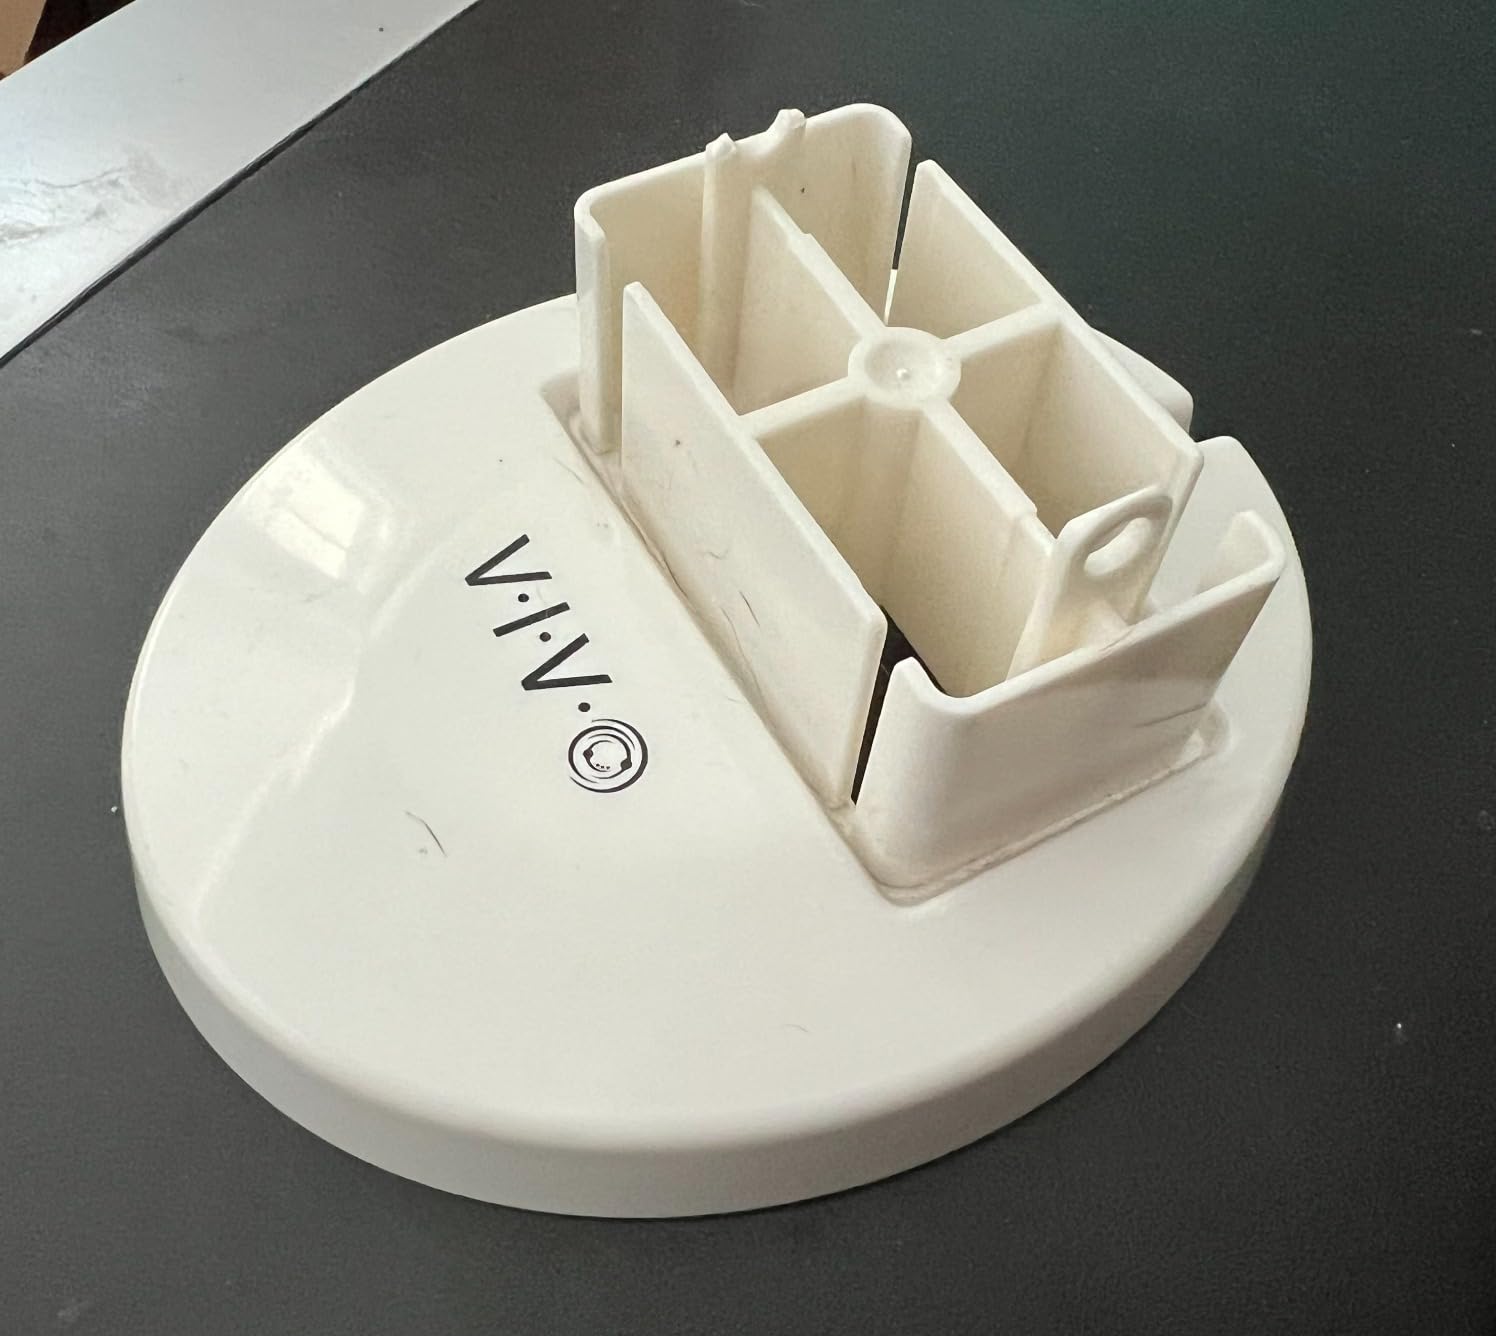
The five inch steel base plate is the anchor, and it is genuinely sturdy. Bolted to the cabinet floor, it holds the full spine upright and takes the weight of the cable bundle off the connectors at the top of the run.
Installation is screw-in rather than adhesive, which means more setup work but a mount that never sags. Inside a cabinet that gets moved, bumped, and rocked by enthusiastic players, we prefer the screws.
A three year warranty rounds it out, which is rare in this category and reflects the heavier construction throughout.
The builds that benefit most
Cabinets with adjustable or rotating monitor mounts, plus any tall build where the vertical drop is long enough to need real support. That is where the spine earns its cost.
Builders who move their cabinets to events will also appreciate how firmly everything is anchored.
When to choose something else
In a short bartop there is no vertical drop to manage, so the spine has no job to do. A clip and loom approach does the same work for less.
If you avoid drilling into your cabinet at all costs, the screw-in requirement rules this one out immediately.
9. JINGCHENGMEI 1U Metal Cable Manager – Best for PC-in-Cabinet Builds
Jingchengmei 2 Pack of All Metal 1U Cable Manager with 12 Big Finger Slots
2 pack of all metal 1U managers
19 inch wide steel construction
12 large finger slots per unit
Cold rolled steel powder coated
19 x 2.75 x 1.7 inches
Pros
- All steel build feels permanent
- 12 finger slots keep bundles separated
- Clean professional finish with no sharp edges
- 2 pack outfits a full cabinet
Cons
- Cover plate is difficult to remove
- Cage nuts and bolts not always included
- Finger slots resist pulling cables through
Modern arcade builds often put a full PC inside the cabinet, and a PC brings a nest of power, video, USB, and audio lines. Mounting a pair of JINGCHENGMEI 1U metal managers inside our PC cabinet turned that nest into something that looks like installed infrastructure.
The 12 finger slots are the working feature. Each slot holds its own bundle, so the power lines stay separated from the video and USB runs, which helped us chase down an interference problem on the audio output.
Cold rolled steel with a powder coat means these are not going anywhere once mounted. The finish is smooth with no sharp edges, which matters when you are reaching past them during board swaps.
We mounted one manager high near the video card and one low near the power supply, splitting the cabinet into two managed zones. That zoning approach is how rack builders work, and it translates well to cabinet interiors.
Who this panel suits
PC-in-cabinet builds, multi-board systems, and anyone running a patch panel style setup where cables arrive and leave in organized groups.
Builders who want the interior to look professionally finished will also prefer metal over plastic. It photographs beautifully when you open the back door.
The installation reality
Reported fit issues on some 19 inch audio racks did not affect our wood cabinet mount, but check your hole alignment if you are going into an actual rack.
Be aware that cage nuts and bolts are not always in the box, and the cover plate is stiff to remove. Neither stopped us, but both are worth knowing before you start.
10. StarTech 1U Cable Lacing Bar – Best for Strain Relief on Multi-Board Cabinets
StarTech 1U Cable Lacing Bar, Adjustable Depth (12S-Cable-Lacing-BAR)
1U lacing bar for 19 inch racks
Adjustable depth 1.5 to 3.7 inches
Lacing points every 0.3 inches
SPCC steel powder coated
M6 cage nuts and screws included
Pros
- Lacing points every fraction of an inch
- Adjustable depth for different setups
- Steel build gives real anchor points
- Hardware actually included
Cons
- Costs more than plastic alternatives
- Hole spacing may need drilling on some racks
- Ties not included so budget for them
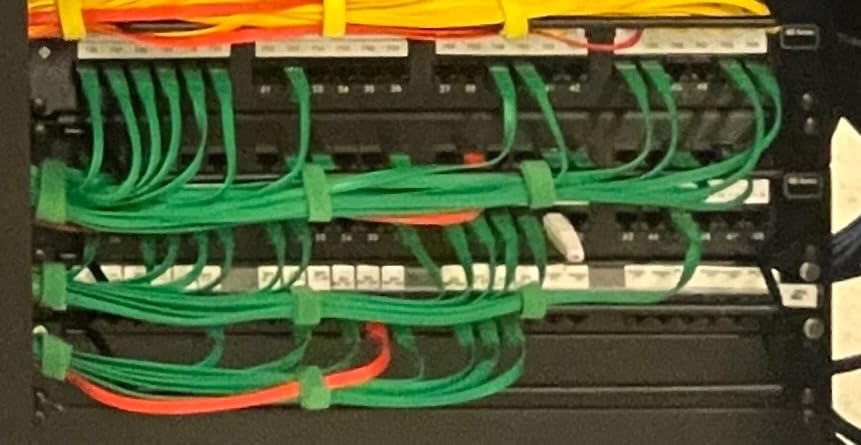
Strain relief is the most under-treated problem in arcade wiring. Every connector on a control panel harness takes load from cable weight and player vibration, and over the years that load works connections loose. The StarTech lacing bar exists to carry that load instead.
Lacing points sit every fraction of an inch along the bar, so every cable gets a tie exactly where it needs one. On our multi-board cabinet, we laced each harness at the point it leaves the board, and the connectors stopped bearing any cable weight at all.
Depth is adjustable between 1.5 and 3.7 inches, and the bar mounts facing either inward or outward. That flexibility let us tuck it behind a shelf and still reach every lacing point comfortably.
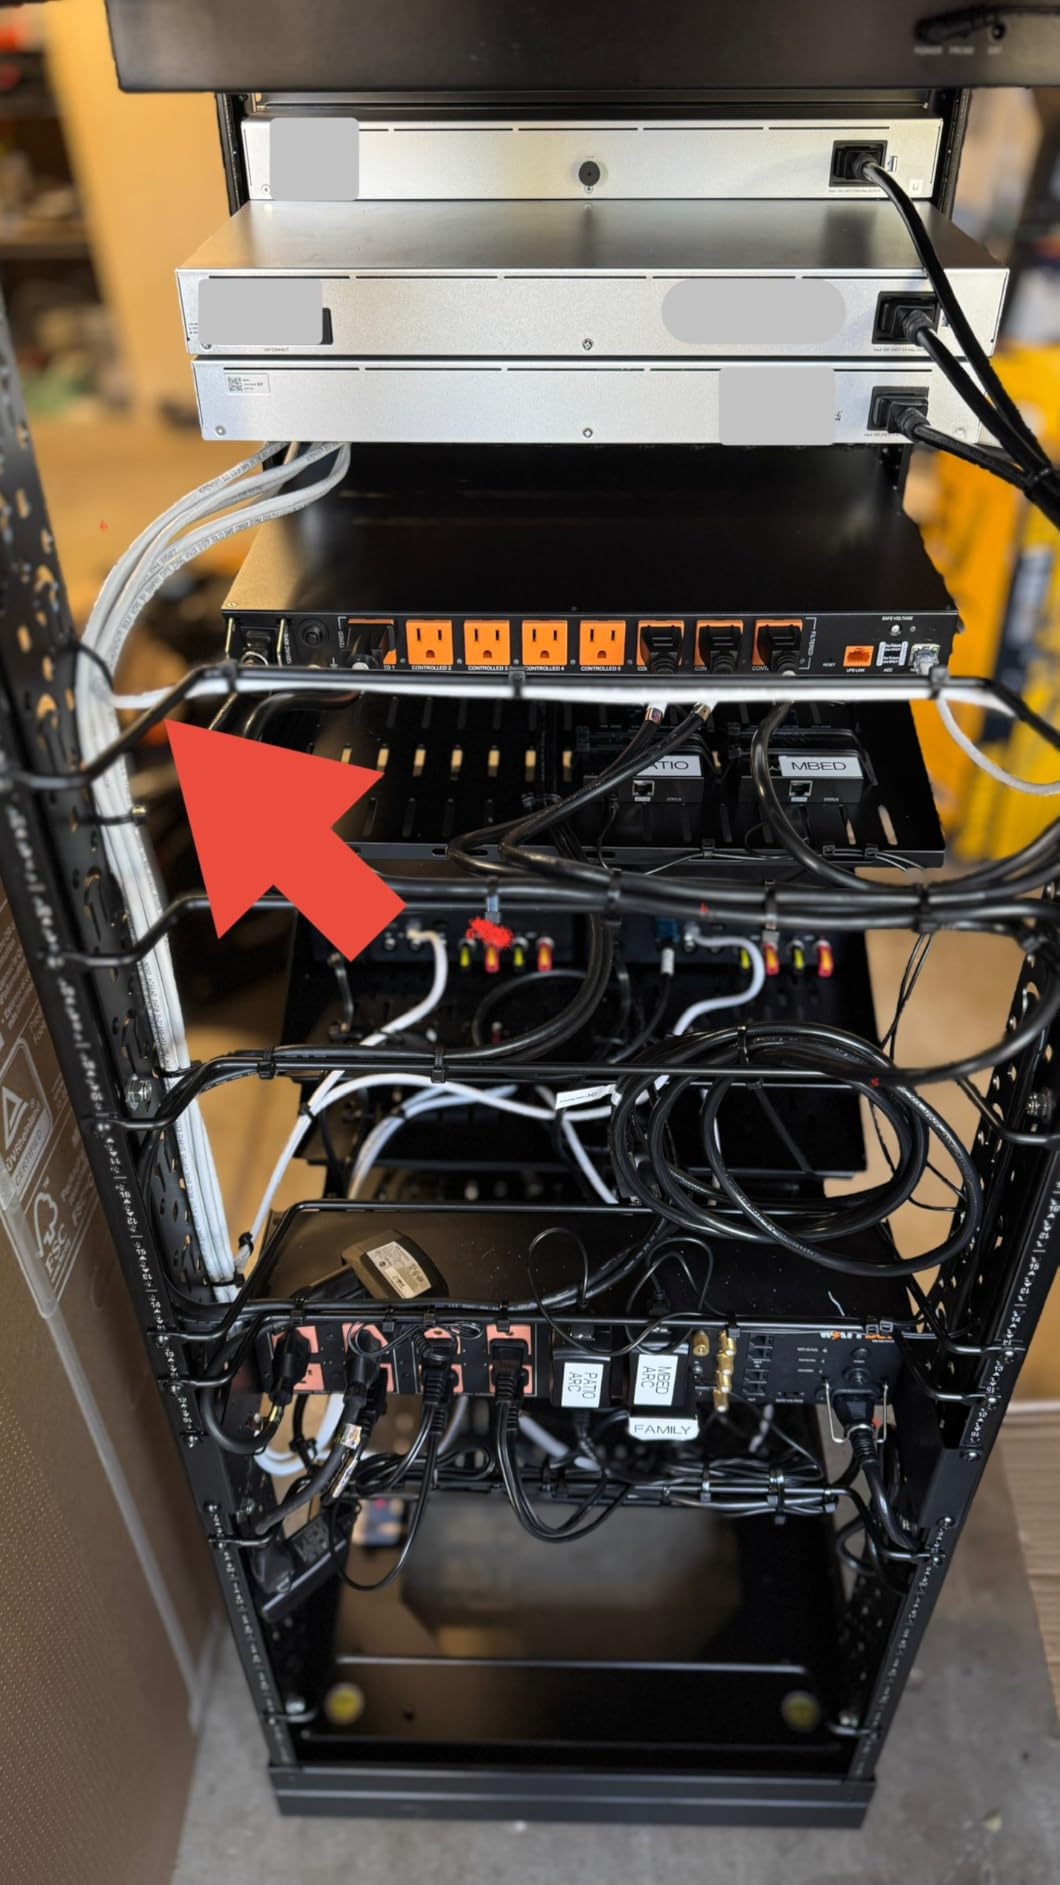
The SPCC steel construction holds a tie at full tension without flexing, which is something no plastic clip in this test managed. Once a bundle is laced down, it stays exactly where you put it.
M6 cage nuts and screws come in the box, unlike the JINGCHENGMEI panels, so there is no surprise parts order after delivery.
Two honest criticisms from owner reviews held true in our testing. The mounting hole spacing is not universal, and ties are not included, so add a pack of velcro or nylon ties to your order.
The cabinets that need this most
Multi-game cabinets with several boards, JAMMA and JVS builds with heavy harnesses, and any cabinet that gets transported to events where vibration will work on every connection.
Cocktail tables also benefit, because the rotating monitor puts constant low-level stress on the video and power feeds.
When it is unnecessary
A light Pi build with two short cables has almost no strain to relieve. Save this piece for the harness-heavy builds where connector load is a real risk.
If you never plan to move or open the cabinet again, the benefit is smaller, though the peace of mind is still worth it on a restoration.
How to Choose a Cable Management Kit for Your Arcade Cabinet?
The right kit depends less on brand and more on what your cabinet interior actually looks like. Work through these five points before you order and you will not end up with a drawer of unused parts.
Your cabinet type decides what fits
Arcade1Up cabinets are cramped and mostly pre-wired, so slim adhesive channels and loom beat bulky raceways. You are managing excess cable length more than routing new runs.
Bartops are open designs with nowhere to hide anything, which favors small kits with tidy loom work. Full-size cabinets have room for screw-in raceways and metal panels. Cocktail tables need strain relief more than anything, because the rotating monitor stresses every feed.
Look for these six core components
A complete cable management for arcade cabinets shopping list includes split loom tubing, adhesive cable clips, zip ties or velcro straps, cable grommets for panel cutouts, heat shrink for terminations, and wire labels.
Most kits cover the first four. Grommets, heat shrink, and labels are usually separate purchases, and labels are the cheapest upgrade with the biggest payoff when you open the cabinet two years later.
Match loom size to your cable bundle
Measure the bundle before ordering. Half inch loom suits a USB, HDMI, and speaker wire grouping, while a JAMMA harness generally needs three quarter or one inch.
An overstuffed loom will not close and fights you around every bend. An underfilled one looks baggy and rattles when the cabinet takes a hit during play.
Heat resistance matters near power supplies
Cabinet interiors trap heat around the power supply and monitor electronics. If your routing passes close to either, favor products with a flame retardant rating.
The V-0 rated raceway in our list exists for exactly this job. Standard polyethylene loom is rated far above normal cabinet temperatures but carries no cert, so keep a gap from the hottest components either way.
Plan the install before you peel anything
Adhesive gets one chance. Wipe surfaces clean, dry fit every piece with the backing still on, and only then start peeling.
Wood screws into solid panel beat adhesive every time for heavy bundles, so decide per section which mounting you are using before the strip is half stuck down.
How to Route Cables in an Arcade Cabinet Step by Step?
This is the sequence we settled on after eleven cabinets, and it works for new builds and mods alike. Follow it in order and you will not have to undo anything later.
Unplug the cabinet and let any CRT discharge fully before you open it.
Photograph every existing connection before you disconnect a single wire.
Plan routes from each component to its destination, keeping power and signal runs on opposite sides of the cabinet.
Group cables by function: video, USB, audio, power, and control panel harnesses.
Load each group into split loom and seal the cut ends.
Secure bundles with clips or ties every eight to twelve inches along the run.
Fit grommets wherever cables pass through a panel hole to stop chafing.
Label both ends of every cable, then power up and test all controls.
The labeling step is the one everyone skips and everyone regrets. Two minutes with a label maker turns a future troubleshooting session into a quick lookup.
Common Cable Management Mistakes to Avoid
These are the errors we made so you do not have to. Most of them only show up months later, which is what makes them expensive.
Over-tightening zip ties until the cable jacket deforms, which breaks down insulation over time.
Routing signal cables flush against power runs, which invites interference on audio and video.
Blocking ventilation gaps with fat bundles, which raises interior temperature around the boards.
Skipping strain relief so connector weight hangs off the control panel header.
Cutting cable slack too tight, leaving no room to move a board during the next upgrade.
Using permanent zip ties on a cabinet you plan to keep modding, when velcro does the same job reversibly.
That last one comes straight from the r/Arcade1Up community, and our own modding confirmed it. Anything you lock down permanently, you will eventually cut open again.
Frequently Asked Questions
What is the best cable management for arcade cabinets?
The best cable management for arcade cabinets combines split loom tubing to bundle wires, adhesive clips to route them along cabinet walls, zip ties or velcro straps to secure slack, and grommets where cables pass through panel holes. The N NOROCME 192-piece kit covers all of those needs in one box.
How do I organize cables inside an arcade cabinet?
Unplug the cabinet, photograph every existing connection, then plan routes that keep power and signal cables on opposite sides. Group cables by function, load each group into split loom, and secure bundles with clips or ties every eight to twelve inches. Label both ends of every cable before you close the cabinet.
Are cable management kits worth it for arcade cabinets?
Yes. A kit prevents wire damage from cabinet vibration, keeps air moving around the boards, and cuts troubleshooting time dramatically because every cable is labeled and routed. At the price of a basic kit it is one of the cheapest upgrades you can make to a cabinet you plan to keep.
What is cable management for Arcade1Up cabinets?
Arcade1Up cable management means dealing with a cramped interior and long pre-wired harnesses that leave excess cable coiled inside the cabinet. Slim adhesive J-channels and split loom bundle that slack and route it along the back panel, and velcro straps let you re-enter the bundle every time you mod.
How do you route cables in a modded arcade cabinet?
Disconnect power, photograph the existing wiring, and plan routes that separate power from signal. Bundle each cable group in split loom, anchor it with clips or screws every eight to twelve inches, fit grommets at panel holes, and test every control before closing up.
What tools do I need for arcade cabinet cable management?
Wire strippers, scissors or a utility knife for cutting loom, a heat gun if you use heat shrink, a label maker, a screwdriver for mounting, and a cable tester for checking connections afterward. Zip tie scissors also help if you use permanent ties anywhere.
Final Thoughts
Cable management for arcade cabinets is one of those jobs that feels optional right up until the first time you have to trace a fault through a bird’s nest of wiring at midnight. Every kit in this guide earned its place by making that moment easier in a real build.
For most builders the N NOROCME 192-piece kit is the best cable management kit for arcade cabinets in a single purchase, with the Alex Tech split loom added for any harness-heavy cabinet. Arcade1Up owners should start with the EVEO J-channels, and anyone routing near a power supply should insist on the V-0 rated ZhiYo raceway.
Whatever you choose, label everything before you close the back panel. Your future self, kneeling in front of an open cabinet with a multimeter, will be grateful. If you are mid-build and stuck on a specific routing problem, drop it in the comments and we will help you work through it.