
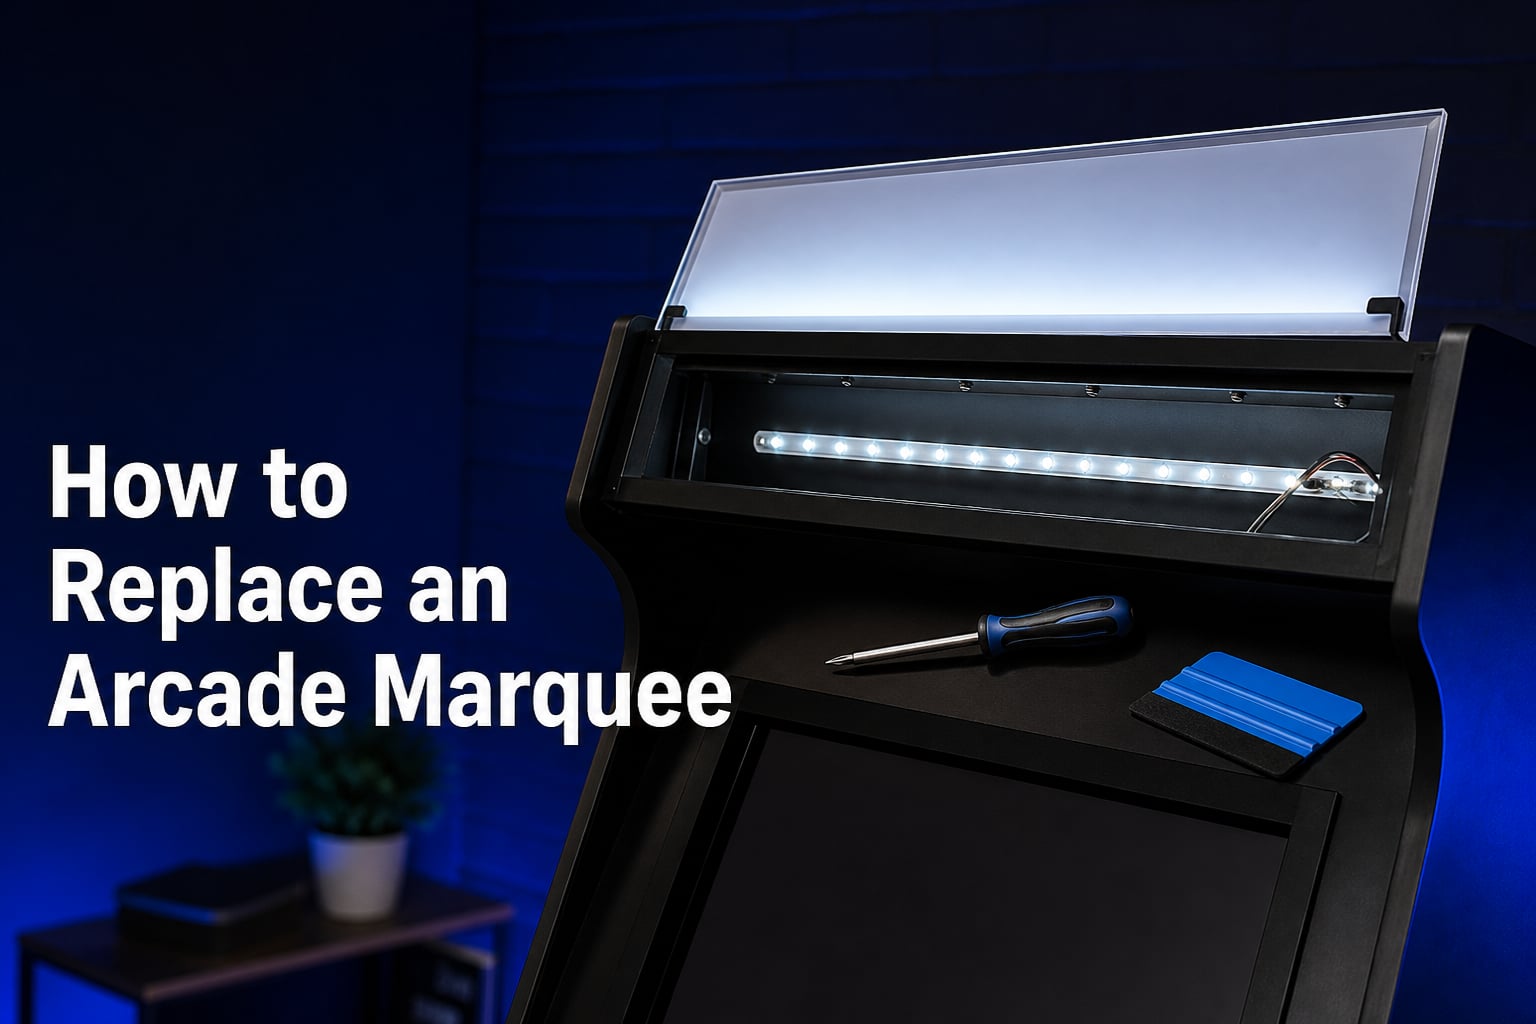
If your arcade cabinet has a cracked, faded, or missing marquee, you are looking at one of the most impactful upgrades you can make to a machine. That illuminated panel above the monitor is the face of your cabinet, and replacing it transforms the entire look in under an hour. This guide walks through how to replace an arcade marquee from start to finish, covering removal, surface prep, installation, backlighting, and troubleshooting for every cabinet type.
Our team has spent years restoring and building arcade cabinets, from Arcade1Up mods to full-size retro restorations and custom MAME builds. The steps below pull from real workshop experience, community-tested techniques from arcade forums, and lessons learned the hard way (yes, including the air bubble disasters).
Whether you are working with an adhesive vinyl marquee, a rigid plexiglass panel, or building a light box from scratch, this guide covers your specific situation. We also include sizing guides for popular cabinet models, electrical safety tips that most guides skip, and maintenance advice to keep your new marquee looking sharp for years.
Table of Contents
- What Is an Arcade Marquee?
- Arcade Marquee Types: Adhesive Vinyl vs Rigid vs Light Box
- Tools and Materials Checklist
- Sizing and Measurement Guide for Arcade Marquees
- Step 1: Remove the Old Arcade Marquee
- Step 2: Prepare the Cabinet Surface
- Step 3: Install the New Arcade Marquee
- Step 4: Test Backlighting and Reassemble the Cabinet
- Troubleshooting Common Marquee Installation Issues
- Where to Source Custom Arcade Marquee Graphics?
- Maintaining Your Arcade Marquee After Installation
- FAQs
- What is an arcade marquee?
- How do you remove an arcade marquee?
- What tools do you need to replace an arcade marquee?
- Can you reuse an old arcade marquee?
- How long does it take to install a new arcade marquee?
- What is the difference between adhesive vinyl and rigid marquee?
- How do you fix bubbles in an arcade marquee?
- Do I need to remove the monitor to replace the marquee?
- Wrapping Up Your Arcade Marquee Replacement
What Is an Arcade Marquee?
An arcade marquee is the illuminated graphic panel mounted above the monitor on an arcade cabinet. It displays the game title and artwork and is typically backlit by a fluorescent tube or LED light bar. The marquee sits behind a sheet of plexiglass or acrylic and is held in place by metal retainers or brackets at the top and bottom of the cabinet.
Marquees come in three main forms: adhesive vinyl that sticks directly to the plexiglass, rigid panels made from acrylic or styrene that slide into the retainer, and full light box assemblies that include the housing and lighting. Most factory arcade cabinets use rigid panels, while the replacement and custom market leans heavily toward adhesive vinyl due to lower cost and easier shipping.
Replacing a damaged marquee restores authenticity for collectors and resale value for flippers. For custom builders and MAME enthusiasts, a fresh marquee is where personal style meets the cabinet. It is arguably the single most visible modification you can make, which is exactly why getting the installation right matters.
Arcade Marquee Types: Adhesive Vinyl vs Rigid vs Light Box
Choosing the right marquee type determines your installation approach, so understanding the differences before you buy or print saves time and frustration. Here is how the three main options compare.
Adhesive vinyl marquees are printed on translucent vinyl with an adhesive backing, often with air egress technology to prevent bubbles during application. You apply them directly to the inside or outside of the existing plexiglass. They are the most affordable option, ship rolled in a tube, and are the most popular choice for Arcade1Up upgrades and custom builds.
Rigid marquees are printed on acrylic, styrene, or polycarbonate panels that replace the original panel entirely. They slide into the cabinet’s metal retainers just like a factory marquee. These cost more and require careful shipping, but they offer superior durability and are the go-to for authentic arcade restorations where you want to match the original construction.
Light box assemblies include the marquee panel plus the full housing with built-in LED lighting. These are used in custom builds where no original marquee frame exists, or when upgrading a cabinet that never had backlighting. They are the most expensive option but provide the most polished result for ground-up projects.
For most readers following this guide, adhesive vinyl is the starting point. It works on nearly every cabinet type, costs less, and the installation techniques we cover apply directly. If you are using a rigid panel, the removal and backlighting steps remain the same, and you simply skip the vinyl application process.
Tools and Materials Checklist
Gathering everything before you start prevents mid-project trips to the hardware store. Here is what you need for a complete arcade marquee replacement.
For removal:
Phillips head screwdriver (number 2 is most common on arcade cabinets)
Flathead screwdriver or pry tool for stubborn retainers
Small zip-top bags for organizing screws
Smartphone or camera for reference photos before disassembly
For surface preparation:
Isopropyl alcohol (90 percent or higher works best)
Clean microfiber cloths (at least two)
Plastic scraper or old credit card for removing old adhesive
Goo Gone or similar adhesive remover for stubborn residue
For adhesive vinyl installation:
Squeegee or felt-edge application tool
Low-tack masking tape (for the hinge method)
Hair dryer or heat gun on low setting
Sharp utility knife or precision blade
For backlighting work:
Wire strippers or scissors (if installing a new LED light bar)
Heat shrink tubing or electrical tape
Zip ties for cable management
Multimeter (optional but recommended for testing connections)
Most of these items are already in a standard toolkit. The vinyl-specific items like a squeegee and air egress vinyl typically come bundled with your replacement marquee from quality suppliers.
Sizing and Measurement Guide for Arcade Marquees
Measuring your marquee area before ordering a replacement is the single most important step. A marquee that is even a quarter inch too wide will not fit the retainers, and one that is too small will gap and look unfinished.
For Arcade1Up cabinets, the standard marquee size is approximately 17.75 by 5.25 inches for most models. The Legacy edition cabinets and countercades have different dimensions, so measure your specific unit. The Arcade1Up community has documented exact dimensions for nearly every model released, and most vinyl suppliers offer pre-sized options for popular titles.
For full-size arcade cabinets, marquee dimensions vary by manufacturer. Classic Midway cabinets (Mortal Kombat, NBA Jam) typically use a marquee around 24 by 7 inches. Atari cabinets like Centipede and Missile Command run closer to 23 by 6 inches. Neo Geo MVS cabinets use approximately 24.5 by 7.5 inches. Always measure your specific cabinet rather than relying on general specs, as reproduction cabinets and conversions may differ.
For bartop cabinets and custom MAME builds, your measurement depends entirely on your build. Measure the opening between the top and bottom retainers and the full width of the cabinet. If you are applying adhesive vinyl, you can trim excess with a utility knife after installation, so ordering slightly larger and trimming down is safer than ordering too small.
When in doubt, measure twice and order once. Most custom marquee suppliers can print to exact specifications if you provide precise dimensions in inches or millimeters.
Step 1: Remove the Old Arcade Marquee
Removing the old marquee is straightforward, but the process differs slightly between cabinet types. The goal is to extract the old panel or vinyl without damaging the plexiglass, the cabinet frame, or the backlighting components behind it.
Step 1.1: Power down and unplug the cabinet. This is non-negotiable. Turn off the power switch, unplug the cabinet from the wall, and wait at least 60 seconds for any capacitors to discharge. If your cabinet uses a fluorescent tube, it may retain a charge in the ballast. Do not skip this step.
Step 1.2: Take reference photos. Snap pictures of the cabinet from multiple angles before you touch anything. Photograph the marquee retainers, the wiring behind the marquee, and how the light fixture is positioned. These photos will save you significant time during reassembly.
Step 1.3: Remove the top retainer. The metal or plastic strip holding the top of the marquee is usually secured with screws on the front or back of the cabinet. Remove these screws and set the retainer aside in a labeled bag. Some cabinets use a friction-fit retainer that simply pulls off.
Step 1.4: Slide out the marquee panel. With the top retainer removed, the marquee panel should slide upward and out of the bottom retainer. Support the panel with one hand as you remove it to prevent it from dropping. For adhesive vinyl applied directly to the plexiglass, you will remove the entire plexiglass sheet instead.
Step 1.5: Disconnect the light fixture if needed. If the light tube or LED bar is attached to the marquee panel rather than the cabinet frame, disconnect the wiring now. Note which wires connect where. If the light is frame-mounted, you can leave it in place.
You do not need to remove the monitor to replace the marquee on virtually any standard arcade cabinet. The marquee assembly is completely separate from the monitor housing, so there is no reason to touch the display during this process.
For Arcade1Up cabinets specifically, the process is even simpler. Most Arcade1Up marquees are held by a single retainer strip or even just adhesive tabs. One side of the cabinet may need to be loosened to access the marquee on certain titles, but many models allow a direct swap without any panel removal.
Step 2: Prepare the Cabinet Surface
Surface preparation makes the difference between a marquee that lasts for years and one that peels within weeks. If you are applying adhesive vinyl, this step is critical. If you are installing a rigid panel, a quick clean is still worth the effort.
Remove old adhesive residue. If the previous marquee was adhesive vinyl, you will likely have dried adhesive stuck to the plexiglass. Start by peeling off as much as possible by hand. Then apply Goo Gone or a similar adhesive remover and let it sit for 2 to 3 minutes. Scrape gently with a plastic scraper or old credit card, working in small sections.
Clean with isopropyl alcohol. Once the bulk of the old adhesive is gone, clean the entire plexiglass surface with 90 percent or higher isopropyl alcohol and a microfiber cloth. This removes any remaining residue, oils from your fingers, and any adhesive remover left behind. The surface should be completely clear and dry before you proceed.
Inspect for damage. Check the plexiglass for cracks, deep scratches, or cloudiness. Minor scratches can be polished out with plastic polish. If the plexiglass is cracked or badly clouded, consider replacing it before applying your new marquee, since the damage will show through the graphic.
Create a dust-free environment. This is a pro tip that experienced restorers swear by. Run a hot shower in your bathroom for a few minutes, then let the steam settle. The humidity pulls dust out of the air, creating an ideal environment for vinyl application. This trick is widely recommended on arcade forums and dramatically reduces the chance of dust particles creating bumps under your vinyl.
Allow the plexiglass to reach room temperature before applying vinyl. Cold plexiglass reduces adhesive effectiveness, while overly warm surfaces can cause the vinyl to stretch. Aim for around 70 degrees Fahrenheit for ideal results.
Step 3: Install the New Arcade Marquee
The installation method depends on your marquee type. We cover both adhesive vinyl (the most common) and rigid panel installation below.
Adhesive Vinyl Installation: The Hinge Method
The hinge method is the most reliable technique for applying adhesive vinyl without bubbles or misalignment. It is the approach recommended by professional installers and experienced arcade restorers.
Step 3.1: Position the vinyl. Place the vinyl graphic face up on the plexiglass exactly where you want it to go. Do not remove the backing yet. Check alignment on all sides, ensuring equal margins and that the graphic is level.
Step 3.2: Create the hinge. Place a strip of low-tack masking tape vertically across the center of the vinyl, extending onto the plexiglass on both the top and bottom. This tape acts as a hinge that holds the vinyl in position while you work.
Step 3.3: Peel and apply one side. Lift one half of the vinyl and fold it back over the tape hinge. Peel the backing paper away from this half, exposing the adhesive. Hold the vinyl taut at a 45-degree angle and lay it down smoothly onto the plexiglass, starting from the center hinge and working outward.
Step 3.4: Squeegee the first half. Using your squeegee or felt-edge tool, press the vinyl onto the plexiglass starting from the center and moving outward in overlapping strokes. Apply firm, even pressure to push out any air. Work in small sections to maintain control.
Step 3.5: Repeat on the other side. Now remove the tape hinge and repeat the peel-and-squeegee process on the remaining half. Again, start from the center and work outward to push air toward the edges.
Step 3.6: Trim the edges. If your vinyl is oversized, use a sharp utility knife to trim the excess along the edge of the plexiglass. Run the blade along the edge as a guide for a clean cut. Replace the blade frequently for crisp cuts.
Step 3.7: Final squeegee pass. Go over the entire surface one more time with firm pressure to ensure full adhesion. Pay extra attention to the edges and corners, which are the most likely to lift over time.
Rigid Panel Installation
Installing a rigid marquee panel is simpler than vinyl since there is no adhesive to manage. Once you have removed the old panel and cleaned the retainers, slide the new panel into the bottom retainer first, then tilt the top into the upper retainer. Secure the top retainer with the original screws, being careful not to overtighten, which can crack acrylic. Check that the panel sits flush and that the graphic is oriented correctly before final tightening.
Slip-On Marquees for Arcade1Up
Some suppliers offer slip-on marquees specifically for Arcade1Up cabinets that require no adhesive at all. These rigid sleeves slide over the existing marquee area and friction-fit into place. They are the easiest option for beginners and can be swapped out in seconds if you change your mind on artwork. The trade-off is that they are limited to specific Arcade1Up models and titles.
Step 4: Test Backlighting and Reassemble the Cabinet
With the new marquee installed, it is time to restore the backlighting and put everything back together. This is where electrical safety matters most.
Inspect the existing lighting. If your cabinet has an original fluorescent tube, check for dark spots at the ends, flickering, or discoloration on the tube. These are signs the tube is nearing the end of its life. Many restorers replace fluorescent tubes with LED alternatives at this stage, since LED light bars run cooler, last longer, and draw less power.
Wire LED replacements safely. If you are installing a new LED light bar, connect the positive and negative leads to the cabinet’s power supply using the included wiring harness or a power splitter. Use heat shrink tubing or wire nuts on all connections, never just twisted wires held with electrical tape. If you are unsure about any wiring, consult the light kit’s instructions or seek help from the arcade community forums.
Position the light bar. Mount the light fixture to the cabinet frame behind the marquee, not to the marquee panel itself. The light should be centered and positioned so it illuminates the full width of the marquee evenly. Most cabinets have pre-drilled mounting holes or brackets for this purpose.
Test before full reassembly. Plug in the cabinet and turn on the power before you replace all the retainers and panels. Verify that the backlighting turns on, that there are no hot spots or dark areas, and that the marquee graphic looks correct when lit. Unplug before finishing the reassembly.
Replace retainers and panels. Once you have confirmed everything works, reattach the top marquee retainer with the original screws. Replace any side panels you removed. Do a final visual check from the front to make sure the marquee is seated properly and the lighting looks even.
Troubleshooting Common Marquee Installation Issues
Even with careful preparation, things can go wrong. Here are the most common problems and how to fix them.
How to Fix Air Bubbles Under Adhesive Vinyl
Small air bubbles are the most frequent complaint with vinyl marquees. If you catch them during installation, lift the vinyl back up in that area and re-squeegee. For bubbles you discover after the vinyl has been down for a while, use a hair dryer on low heat to warm the vinyl, then press the bubble flat with your squeegee or thumb. The heat softens the adhesive and vinyl, allowing it to conform.
For stubborn bubbles that will not flatten, take a fine needle or pin and poke a tiny hole at the edge of the bubble. Press the air out through the hole with your squeegee. The hole will be invisible once the vinyl is pressed flat, especially when backlit. This technique works best with air egress vinyl, which is designed for this kind of correction.
Misaligned Vinyl
If your vinyl went down crooked, the fix depends on how long ago you applied it. Within the first few minutes, you can carefully peel the vinyl back and reposition it. After 30 minutes or more, the adhesive sets and repositioning risks stretching or tearing the vinyl. For severe misalignment, it is better to remove the vinyl entirely, clean the surface again, and start fresh with a new piece.
Peeling Edges
If the edges of your vinyl start to lift after installation, clean the area with isopropyl alcohol, warm the edge with a hair dryer, and press it back down firmly with your squeegee. Hold pressure for 30 seconds to reactivate the adhesive. For persistent peeling, a thin line of clear vinyl adhesive under the edge will secure it permanently.
Uneven Backlighting
Dark spots or uneven lighting usually means the light bar or tube is misaligned or too close to one side. Reposition the fixture so it is centered behind the marquee. If you are using a single LED strip and getting a hotspot effect, diffuse the light by adding a frosted panel or tracing paper between the light and the marquee. Upgrading to a wider LED bar that spans the full width of the marquee also solves this problem.
Plexiglass Clouding After Cleaning
If your plexiglass looks cloudy or hazy after cleaning, you likely used a cleaner with ammonia or abrasives. Never use Windex or similar glass cleaners on plexiglass. Remove the cloudiness with a plastic polish like Novus, applied with a clean microfiber cloth in circular motions. For deep haze, start with Novus number 2 (fine scratch remover) and finish with Novus number 1 (clean and shine).
Where to Source Custom Arcade Marquee Graphics?
Finding the right marquee artwork is half the battle. The arcade community has vetted several reliable sources over the years, and here is where to look based on your needs.
For Arcade1Up replacements and upgrades: Szabo’s Arcade is widely praised for their slip-on marquees that make installation trivial for beginners. RetroGraphX offers both adhesive vinyl and rigid options pre-sized for popular Arcade1Up models. Both suppliers are frequently recommended in the r/Arcade1Up community.
For classic arcade restorations: Arcade Art Repo is the community standard for high-quality replacement artwork. They offer an extensive library of authentic scans for classic arcade titles. GameOnGrafix supplies custom and pre-made marquees for multicade and multicabinet setups, including the popular 60-in-1 and 412-in-1 boards.
For custom artwork and personal designs: RetroGraphX and The Arcade Game Factory both accept custom artwork uploads. If you have your own design, most suppliers accept print-ready files at 300 DPI in vector or high-resolution raster format. For MAME builds and custom cabinets, this is the way to get a truly personalized marquee.
For printing your own: Home printing is possible but rarely produces professional results. Standard inkjet ink is not lightfast and will fade quickly under backlighting. If you want to try it, use translucent vinyl media designed for inkjet printing and apply a UV-protective clear coat. For most builders, the cost difference is minimal compared to ordering from a professional supplier, and the quality gap is significant.
Always check community reviews before ordering from a new supplier. Print quality varies dramatically between vendors, and the arcade forums are the best place to find honest feedback about color accuracy, material thickness, and adhesive quality.
Maintaining Your Arcade Marquee After Installation
Once your new marquee is installed, a little ongoing care keeps it looking fresh. No competitor guide covers this, so here is what we have learned from years of cabinet maintenance.
Clean the plexiglass exterior regularly. Dust and fingerprints accumulate on the outer plexiglass surface. Wipe it down with a microfiber cloth and a plastic-safe cleaner once a month. Never use ammonia-based glass cleaners, which craze and cloud plexiglass over time.
Check backlighting annually. LED light bars last tens of thousands of hours, but connections can loosen from vibration. Once a year, open the marquee area and check that all wire connections are secure and that the light bar is still firmly mounted. Look for any discoloration on wiring that could indicate heat damage.
Monitor for edge lifting. Adhesive vinyl edges are the first point of failure. Check the perimeter of your vinyl marquee every few months. If you see any lifting, address it immediately with heat and pressure before it spreads. A small edge fix takes two minutes, but ignoring it leads to a full peel within months.
Keep the cabinet away from direct sunlight. UV exposure fades printed graphics, even those with UV-resistant inks. Position your cabinet away from windows or use UV-filtering window film in your game room. This protects not just the marquee but the side art and control panel overlay as well.
Control humidity in your game room. Excessive humidity can cause adhesive vinyl to lift over time and can promote corrosion on metal retainers and light fixtures. Aim for 40 to 50 percent relative humidity, which also protects your cabinet’s wood and electronics.
FAQs
What is an arcade marquee?
An arcade marquee is the illuminated graphic panel positioned above the monitor on an arcade cabinet, displaying the game title and artwork. It sits behind a sheet of plexiglass and is backlit by a fluorescent tube or LED light bar.
How do you remove an arcade marquee?
To remove an arcade marquee, first unplug the cabinet and let capacitors discharge. Remove the screws holding the top retainer strip, then slide the marquee panel upward and out of the bottom retainer. Take reference photos before disassembly to make reassembly easier. You do not need to remove the monitor.
What tools do you need to replace an arcade marquee?
You need a Phillips screwdriver, isopropyl alcohol, microfiber cloths, a squeegee for vinyl application, low-tack masking tape for the hinge method, a hair dryer for stubborn bubbles, a sharp utility knife for trimming, and reference photo capability (smartphone). For backlighting work, add wire strippers and heat shrink tubing.
Can you reuse an old arcade marquee?
Rigid acrylic or styrene marquees can often be reused if they are in good condition. Adhesive vinyl marquees cannot be reused once removed, since the adhesive is destroyed during removal. If your original rigid marquee is intact and you just want a change, store it safely in case you want to restore the cabinet to original later.
How long does it take to install a new arcade marquee?
For an adhesive vinyl marquee on an Arcade1Up, the process takes 30 to 45 minutes including removal, surface prep, and installation. Full-size cabinet replacements with rigid panels take about the same time. Adding LED backlighting wiring adds another 20 to 30 minutes.
What is the difference between adhesive vinyl and rigid marquee?
Adhesive vinyl marquees are printed on flexible translucent vinyl with adhesive backing that sticks to your existing plexiglass. They are affordable, ship rolled in a tube, and are ideal for Arcade1Up and custom builds. Rigid marquees are solid acrylic or styrene panels that replace the original panel entirely, offering superior durability and authenticity for classic restorations but costing more and requiring careful shipping.
How do you fix bubbles in an arcade marquee?
For air bubbles under adhesive vinyl, warm the area with a hair dryer on low heat, then press the bubble flat with a squeegee from center to edge. For stubborn bubbles, poke a tiny hole at the edge with a fine needle and press the air out through it. Air egress vinyl makes bubble removal easier thanks to its micro-channel structure.
Do I need to remove the monitor to replace the marquee?
No, you do not need to remove the monitor to replace the marquee on any standard arcade cabinet. The marquee assembly is completely separate from the monitor housing, so the display stays in place throughout the entire replacement process.
Wrapping Up Your Arcade Marquee Replacement
Learning how to replace an arcade marquee is one of the most rewarding skills for any cabinet owner or restoration hobbyist. The process breaks down into four clear steps: remove the old panel, prepare the surface, install the new marquee, and restore the backlighting. With the right tools, a clean workspace, and a bit of patience, anyone can achieve professional-looking results in under an hour.
The techniques in this guide apply to every cabinet type, from Arcade1Up mods to full-size classic restorations and custom MAME builds. Take your time with surface preparation, use the hinge method for adhesive vinyl, and do not skip the electrical safety steps when working with backlighting. Your cabinet will look better, hold its value longer, and give you a graphic you are proud to show off.
If you are planning a broader cabinet restoration, the marquee is the perfect starting point. Once that illuminated artwork is glowing again, you will have the confidence to tackle the side art, control panel overlay, and every other detail that makes a restored arcade machine complete.
1 thought on “How to Replace an Arcade Marquee (September 2026)? Step-by-Step Guide”