
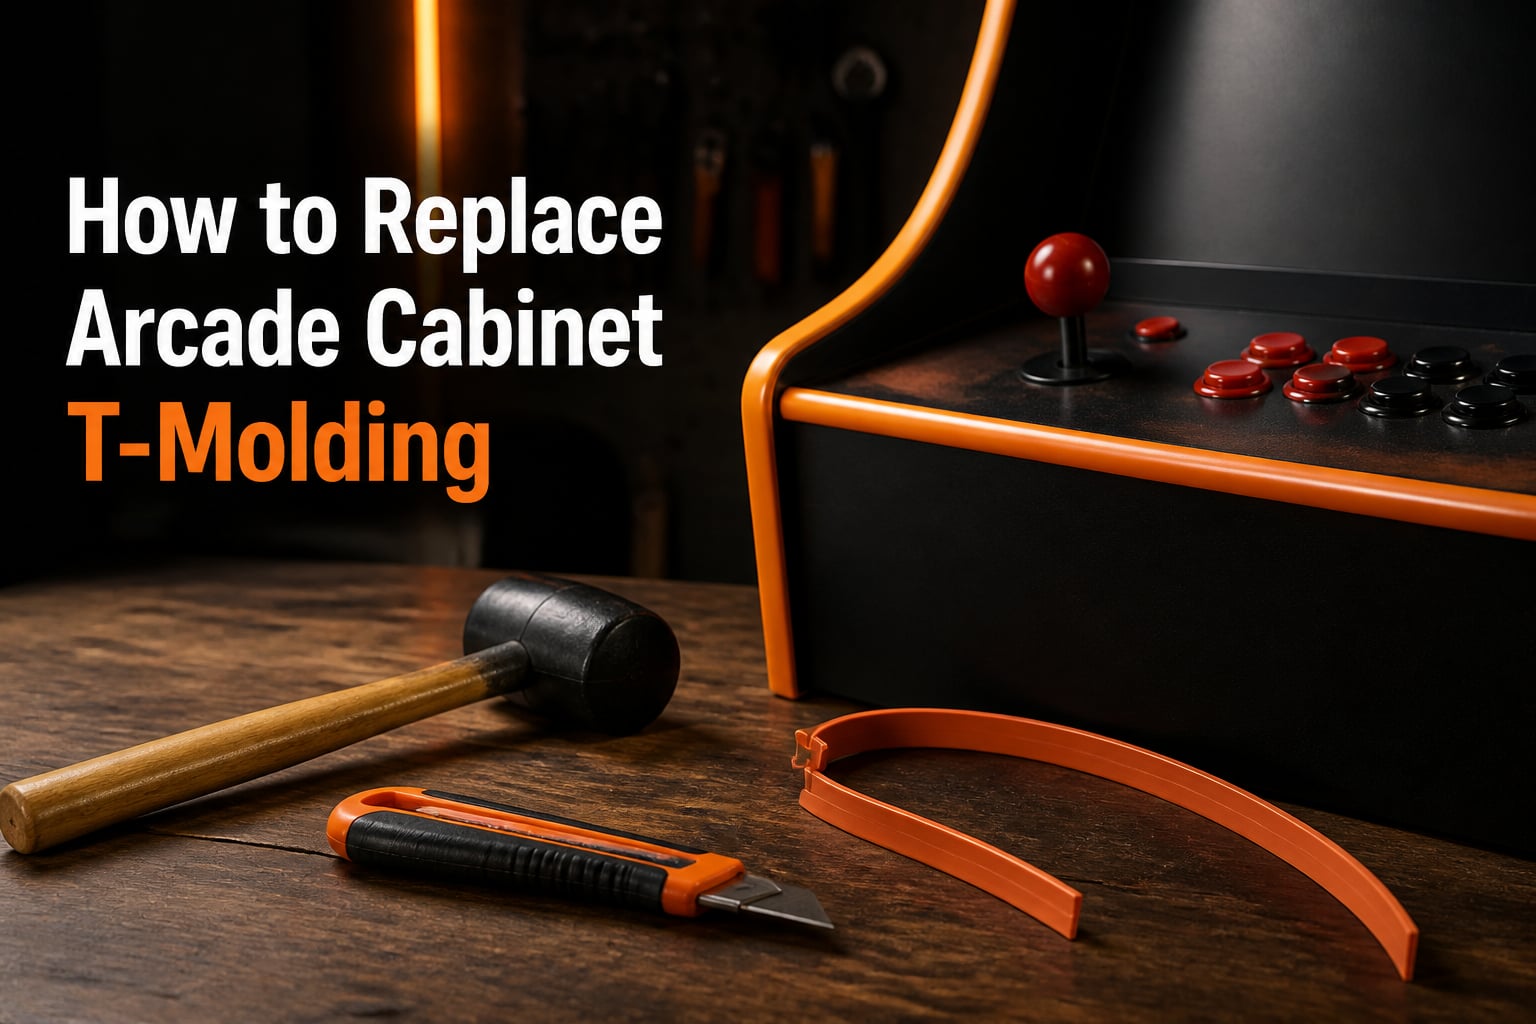
Learning how to replace arcade cabinet t-molding is one of the most impactful restoration skills you can pick up as an arcade enthusiast. That flexible edge trim running along every side of your cabinet is what separates a beat-up project box from a machine that looks like it just rolled off the factory floor. Whether you are refurbishing a vintage cabinet from the 80s, building a bartop arcade from scratch, or just refreshing a tired-looking Arcade1Up, replacing the t-molding is the single fastest way to make the whole machine look new again.
I have replaced t-molding on everything from full-size stand-up cabinets to compact bartop builds, and the process is the same every time. The tricky part is knowing what tools to grab, how to handle corners without leaving gaps, and whether you actually need glue (spoiler: usually you do not). This guide walks through the entire process from removing old t-molding to installing the new strip cleanly around every corner and curve.
Most online resources skip straight to installation and gloss over the removal process, which is where most people get stuck. I will cover everything: measuring how much you need, choosing the right type, extracting old glued-in strips without wrecking your cabinet, prepping the groove, and installing the new molding with techniques borrowed from forum communities where people have been doing this for decades.
Table of Contents
- What Is T-Molding and Why Does It Matter?
- Types of T-Molding: Choosing the Right Material
- How to Measure How Much T-Molding You Need?
- Tools and Materials You Will Need
- How to Remove Old T-Molding?
- Preparing the Groove for New T-Molding
- How to Replace Arcade Cabinet T-Molding: Installation Steps
- Handling Corners and Curves
- Glue vs Friction Fit: Which Should You Use
- Troubleshooting Common T-Molding Problems
- FAQs
- Conclusion
What Is T-Molding and Why Does It Matter?
T-molding is a flexible plastic or rubber strip with a T-shaped cross-section that covers the raw edges of arcade cabinets. The thin bottom part of the T (called the barb) slides into a pre-cut slot routed along the edge of the wood. The wider top flange sits flush against the surface, covering the rough plywood or MDF edge underneath.
This is not just decorative. T-molding protects the wooden edges from chipping, absorbs impacts when the cabinet gets bumped, and gives the whole machine that authentic arcade look. Without it, exposed MDF edges fray and splinter over time, especially at the bottom of the cabinet where shoes and vacuums hit it constantly.
Signs that your t-molding needs replacing include visible cracking along the flange, sections pulling out of the groove, faded or yellowed color (common on white and light-colored molding), and bent or crushed corners. If the barb has stretched out and the strip keeps popping free, a replacement is overdue.
Types of T-Molding: Choosing the Right Material
Most arcade cabinet t-molding is made from PVC plastic. This is the standard material sold by retailers like T-Molding.com and it works well for straight runs and gentle curves. PVC is rigid enough to hold its shape but flexible enough to bend around corners when warmed. It comes in dozens of colors, and some suppliers offer textured finishes like leather grain or chrome.
Rubber t-molding is an alternative that offers more flexibility, making it easier to work with on curved surfaces and tight corners. The tradeoff is that rubber tends to be more expensive and may not hold up as well in high-traffic areas. For most arcade cabinets, PVC is the go-to choice.
Size matters more than material. The two critical measurements are the flange width (how wide the visible part is) and the barb size (the thickness of the stem that inserts into the slot). Standard arcade cabinets use 3/4-inch (19mm) t-molding with a 1/16-inch barb. Some European and bartop builds use 5/8-inch or 18mm molding. Always measure your existing groove before ordering.
One note from the forums: people running 18mm MDF panels often use 3/4-inch t-molding despite the slight size mismatch. The flange covers about 1mm past the panel edge on each side, which looks fine and functions well in practice. Do not stress about a perfect millimeter match.
How to Measure How Much T-Molding You Need?
Measuring the right amount of t-molding is simple once you know the method. Take a flexible measuring tape and run it along every edge of the cabinet where the groove exists. This includes both sides of the cabinet, the front and back, the top edge, and any horizontal panels like the control panel surround or marquee area.
A standard full-size upright arcade cabinet typically needs about 6 meters (roughly 20 feet) of t-molding to cover all edges. Bartop arcades need much less, usually around 2 to 3 meters. Measure your specific cabinet rather than relying on averages.
Once you have your total measurement, add 10 percent as a waste allowance. This covers mistakes, corners that need extra material for V-cuts, and any sections you need to redo. T-molding is cheap, so ordering a little extra is always better than running short mid-installation.
Write down the total length, the flange width, and the barb thickness before ordering. If you are unsure about the barb size, pull out a small piece of your old t-molding and measure the stem with calipers or a ruler. Most arcade t-molding uses a 1/16-inch barb, but older cabinets occasionally use different sizes.
Tools and Materials You Will Need
Having the right tools ready before you start makes the job much smoother. Here is the complete checklist:
Rubber mallet — every forum user agrees on this. Never use a metal hammer, which will crush the t-molding and dent the wood.
Utility knife or Stanley knife — for trimming excess, making V-cuts at corners, and nicking the ridge for outward bends.
Putty knife or thin scraper — essential for prying old t-molding out of the groove and scraping residue.
Heat gun or hair dryer — softens stiff t-molding for easier bending around corners and curves.
Panel pins (small finishing nails) — used to anchor the starting point of the t-molding before pressing it in.
Slot cutter or router bit — only needed if you are cutting a new groove or re-routing a damaged one. Standard size is 1/16-inch width with appropriate depth.
Soft cloth — place over the t-molding when tapping with the mallet to avoid scuffing the visible surface.
Duct tape — a forum favorite for building up the barb on loose t-molding to create a snug friction fit.
Tool alternatives: if you do not have a rubber mallet, wrap a regular hammer in several layers of cloth. No heat gun? A hair dryer on its highest setting works fine, though it takes a bit longer. No putty knife? A paint scraper or even a stiff butter knife can work for basic removal.
How to Remove Old T-Molding?
Removing old t-molding is the step most guides skip, and it is where most people hit trouble. The approach depends on how the original molding was installed: friction-fit, pinned, or glued. Each requires a different technique.
Removing Friction-Fit T-Molding
Start at one end of the cabinet and find a spot where the t-molding is already loose or lifting. Slide a putty knife under the flange and pry upward gently. Work along the edge in small increments, pulling the strip out of the groove a few inches at a time.
If the molding resists, do not yank it. Move to the next section and come back. Forcing it can tear off pieces of the barb inside the groove, leaving debris that makes installing the new strip harder. Patience here saves time later.
Removing Pinned T-Molding
Many factory-installed cabinets use panel pins to secure the t-molding, especially at corners and starting points. You will need to pull these pins before the strip comes free. Use needle-nose pliers or a small pry bar to grip the pin head and lever it out.
Some pins may be buried under the flange. Run your finger along the molding to feel for raised spots, which indicate a hidden pin. Pry the flange back gently at that point to expose the pin head before pulling it.
Removing Glued T-Molding
This is the toughest scenario. Glued t-molding bonds the barb to the wood inside the groove, and pulling it out often leaves broken chunks behind. Start by prying up a section with your putty knife. Apply steady, even pressure rather than sharp jerks.
If the glue holds firm, you have two options. First, try applying heat with a heat gun along the strip to soften the adhesive, then pry again. Second, if chunks of the barb break off inside the groove, you will need to re-route the channel to clear the debris. Use a slot cutter matching your groove width (typically 1/16-inch) and run it along the entire channel to grind out the old material.
From the arcade forums: one user reported that re-routing the channel is sometimes the only way to remove glued-in t-molding fragments. If you need to do this, set your router depth to match the original groove (usually about 3/8-inch deep) and make a single clean pass.
Cleaning the Groove After Removal
Once the old t-molding is out, inspect the groove thoroughly. Use a putty knife or old screwdriver to scrape out any remaining adhesive, broken barb fragments, or wood splinters. Vacuum the channel to remove dust and debris.
Run your finger along the inside of the groove to feel for obstructions. Even a small chunk of old barb left in the channel will create a bulge when you install the new strip, so take the time to get it clean.
Preparing the Groove for New T-Molding
With the old material removed and the groove cleaned, inspect the channel for damage. The slot should be a consistent width and depth along the entire edge. Look for sections where the wood may have splintered, widened, or filled with old adhesive.
If the groove is damaged or uneven, re-cut it with your slot cutter. A clean, consistent channel is the foundation of a good installation. Set your router to the original depth and make a light pass to refresh the slot.
For grooves that have widened over time (common on old cabinets where the wood has softened), you may need to fill the gap before installing new t-molding. A thin bead of wood filler pressed into the groove, allowed to dry, and then re-routed to the correct width can restore a snug fit.
One more thing: check for any loose veneer or laminate near the groove edges. Tap down any raised edges with your mallet and a block of wood. Loose edge material will prevent the t-molding flange from sitting flush.
How to Replace Arcade Cabinet T-Molding: Installation Steps
Now for the main event. Learning how to replace arcade cabinet t-molding is straightforward once you understand the sequence. The key is starting at the right point and working methodically.
Step 1: Start at a back corner. Always begin at a corner that faces the wall, not the front of the cabinet. This way, if the start is slightly imperfect, nobody will see it. Press the first few inches of t-molding into the groove by hand to get it seated.
Step 2: Anchor the starting point. Tap a single panel pin through the flange at the very start to hold the strip in place. This prevents the beginning from pulling out as you work your way around the cabinet. One pin is usually enough.
Step 3: Press the t-molding in by hand. Work along the straight section, pressing the barb into the groove with your thumbs. Go a few inches at a time. The molding should slide in with firm pressure. If it resists, check for debris in the groove.
Step 4: Tap it home with a rubber mallet. After pressing a section in by hand, place a soft cloth over the t-molding and tap it firmly with the rubber mallet. The cloth prevents scuffing. Work along the section, tapping every few inches until the flange sits flush against the wood on both sides.
Step 5: Work in manageable sections. Do not try to install an entire edge at once. Work in 6-to-12-inch sections: press in by hand, then tap with the mallet, then move on. This keeps the strip aligned and prevents bunching.
Step 6: Approach corners slowly. Stop about an inch before any corner. Corners require special techniques, which I cover in the next section. Do not try to force a straight section around a bend without preparing the material first.
Step 7: Trim the excess. When you reach the end of a run (back at your starting corner or at a natural endpoint), use your utility knife to cut the t-molding at a slight angle so the two ends meet cleanly. Leave a hair of overlap and press it flat for a seamless joint.
Handling Corners and Curves
Corners are where most t-molding installations go wrong. The technique differs depending on whether the corner bends inward (the molding has to curve around the outside of a corner) or outward (the molding wraps into the inside of a corner).
Inward Bends: The V-Cut Technique
When the t-molding needs to bend around a corner where the flange material bunches up on the inside, you need a V-cut. Using your utility knife, cut a V-shaped notch in the underside of the flange at the corner point. The notch should go through the flange material but not all the way through to the visible surface.
The V-cut removes excess material so the flange can fold neatly around the corner without wrinkling. Start with a small cut and widen it if needed. You can always remove more material, but you cannot add it back.
After the V-cut, warm the corner area with your heat gun for about 10 to 15 seconds. Press the molding into the groove and tap gently with the mallet. The combination of the notch and the softened material should let the flange wrap cleanly.
Outward Bends: The Stanley Knife Nick
When the t-molding wraps around a corner where the material stretches on the outside, use a different approach. Make a small nick in the ridge (the central spine of the T) with your utility knife at the corner point. This allows the barb to flex without buckling.
The nick should be shallow, just scoring the ridge to create a hinge point. Then warm the area and press the molding around the corner. The nick lets the strip bend cleanly without the flange pulling away from the wood surface.
Curved Surfaces and Rounded Edges
Some cabinets have curved edges rather than sharp corners. For these, you need heat. Run your heat gun along the section of t-molding you need to bend, moving continuously to avoid overheating any one spot. Test the flexibility by gently bending the strip as it warms.
Important warning: never overheat the visible side of the t-molding. Too much heat can cause the surface to blister, warp, or lose its color. Always heat from the back side (the barb side) and keep the gun moving. A hair dryer works well for this if you do not have a heat gun, as it provides gentler, more distributed heat.
Press the warmed section into the groove as you go, tapping with the mallet through a cloth. Work the curve gradually, reheating sections as needed. The molding will hold its shape once it cools in the groove.
Glue vs Friction Fit: Which Should You Use
This is a hotly debated topic in arcade forums, and the consensus is clear: friction fit is preferred whenever possible. T-molding is designed to stay in the groove through the interference fit of the barb. If your groove is the right size and your t-molding barb matches, it should hold without adhesive.
Friction fit has a huge advantage: you can remove and replace the t-molding later without a battle. If a section gets damaged, you can pull it out and install a new piece. This matters for restorers who may want to change colors or replace worn sections down the line.
That said, there are situations where glue makes sense. If your groove has widened and the barb sits loose, a small amount of adhesive can fill the gap. Use hot glue sparingly along the barb before pressing the strip in. It provides enough hold without bonding permanently.
From the Reddit community: one user dealt with loose t-molding by building up the barb with duct tape instead of using glue. Wrapping a layer or two of duct tape around the barb thickens it enough to create a snug friction fit. This is a clean solution because it holds tight but can still be removed later without solvents or re-routing.
The golden rule: avoid construction adhesive, super glue, or any permanent bonding agent. These make future removal a nightmare and often require re-routing the groove to clear the residue. If you must use adhesive, hot glue is the least destructive option.
Troubleshooting Common T-Molding Problems
Even with careful installation, things can go wrong. Here are the most common issues and how to fix them.
Problem: T-molding is loose and keeps pulling out of the groove. The barb is too thin for the slot. Fix it with the duct tape build-up method: wrap one or two layers of duct tape around the barb to thicken it, then re-insert. This creates a tight friction fit without glue.
Problem: Visible gaps at corners after installation. Your V-cuts may be too large or positioned incorrectly. Pull the molding out at the corner, cut a small patch of t-molding to fill the gap, and re-install. For minor gaps, a tiny dab of hot glue under the flange can close the seam.
Problem: The t-molding is too stiff to bend around corners. You need heat. Warm the section with a heat gun or hair dryer for 15 to 20 seconds before attempting the bend. If it is still too stiff, you may have PVC molding that is old or has been stored in cold conditions. Let it warm to room temperature first.
Problem: The barb is too wide for the groove. This happens when you order the wrong size. Check the barb width against your groove with a ruler. If it is slightly too wide, you can carefully shave the barb down with a utility knife. If it is significantly too wide, you need to order the correct size.
Problem: T-molding sits proud (raised) in one section. There is debris in the groove. Pull that section out, clean the channel thoroughly, and re-install. A small wood splinter or chunk of old adhesive is usually the culprit.
Problem: The flange does not sit flush on both sides. Your groove may be off-center on the edge. This is a manufacturing issue. You can trim the wider side of the flange with a utility knife, or accept the minor asymmetry, which is rarely noticeable once the cabinet is assembled.
FAQs
How to install T-molding on an arcade cabinet?
Start at a back corner and press the first few inches into the groove by hand. Anchor the starting point with a panel pin. Work along the edge in 6-to-12-inch sections, pressing the barb in by hand and then tapping it home with a rubber mallet through a soft cloth. Handle corners with V-cuts for inward bends and knife nicks for outward bends. Trim excess with a utility knife at the endpoint.
How much T-molding for an arcade cabinet?
A standard full-size upright arcade cabinet needs approximately 6 meters (about 20 feet) of t-molding to cover all edges. Bartop arcades need 2 to 3 meters. Measure every grooved edge with a flexible tape and add 10 percent for waste before ordering.
How to install rubber T-molding?
Rubber t-molding installs the same way as PVC plastic t-molding. Press the barb into the groove by hand and tap it home with a rubber mallet. Rubber is more flexible than PVC, which makes corners and curves easier to handle. Less heat is needed since rubber bends more readily at room temperature.
What glue to use for T-molding?
Hot glue is the best option if adhesive is needed. Apply it sparingly along the barb before pressing the strip into the groove. Avoid construction adhesive, super glue, or permanent bonding agents, as these make future removal extremely difficult. In most cases, a proper friction fit with the correct barb size eliminates the need for glue entirely.
Can you reuse old T-molding?
Reusing old t-molding is generally not recommended. The barb stretches and deforms during removal, resulting in a loose fit when reinstalled. Old molding is also often faded, cracked, or brittle. If you must reuse it, build up the barb with duct tape to restore a snug fit, and use a small amount of hot glue to hold loose sections in place.
Conclusion
Knowing how to replace arcade cabinet t-molding gives your restoration projects a factory-fresh finish that no other single upgrade can match. The process comes down to five phases: measure what you need, remove the old strip carefully, prep the groove, install the new molding in sections, and handle corners with V-cuts and heat. Stick with a friction fit whenever possible, save the duct tape trick for loose sections, and reach for hot glue only when nothing else works.
Take your time on the corners and do not rush the removal process. A clean groove and patient installation are what separate a professional-looking result from a frustrating one. Once you have done one cabinet, the next one goes twice as fast.