
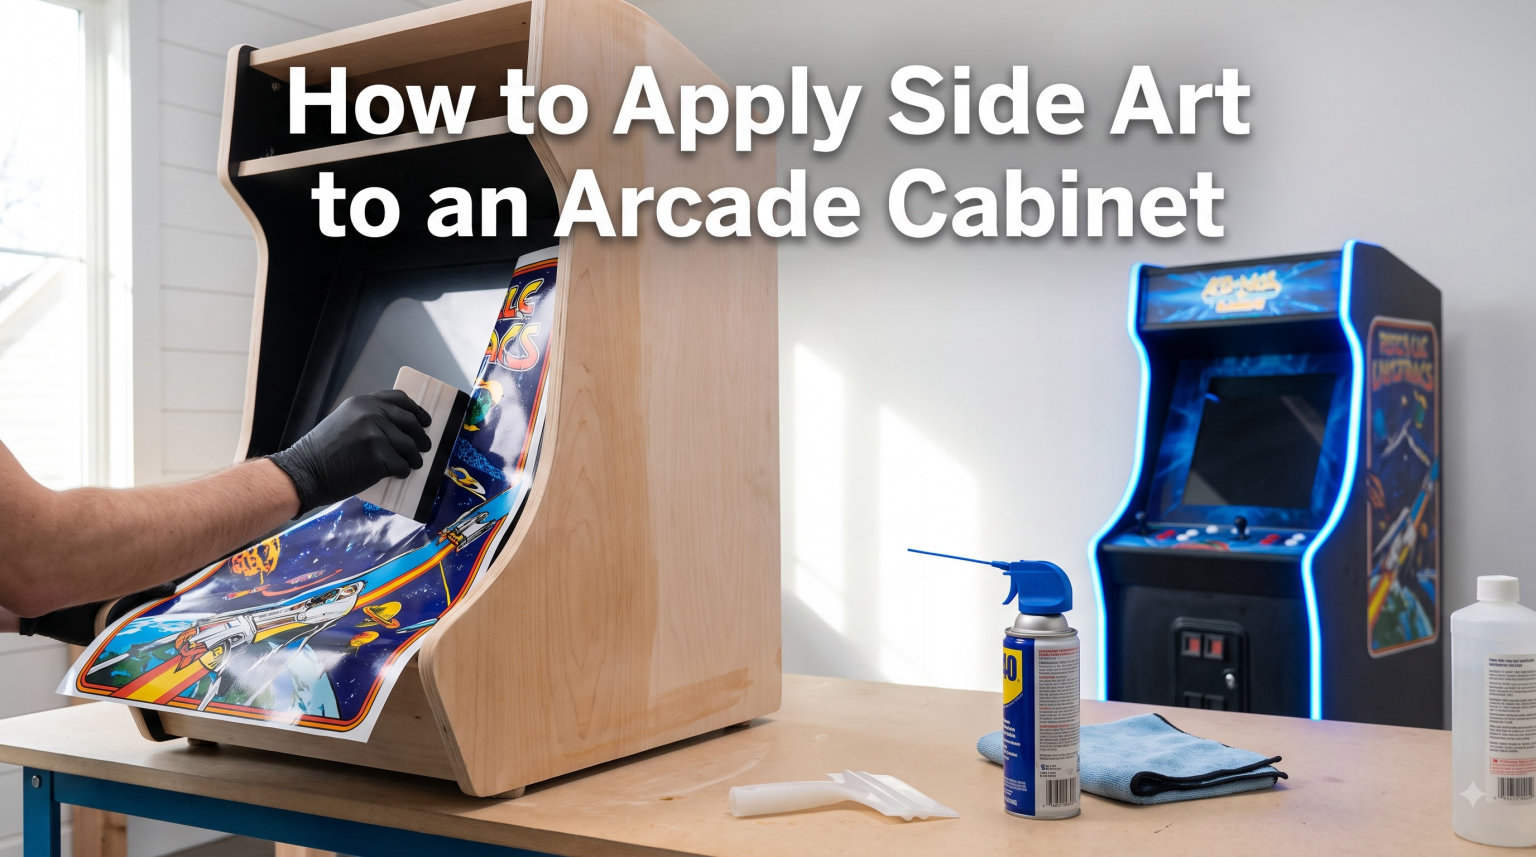
Learning how to apply side art to an arcade cabinet is one of the most rewarding steps in any arcade restoration or custom build. The side art is the first thing people see when they walk up to your machine, and a clean installation can make even a repainted cabinet look like a factory-fresh arcade game. A botched application, on the other hand, can leave you with bubbles, creases, and peeling edges that ruin the entire look.
I have installed side art on everything from a beat-up Donkey Kong cabinet to a compact Arcade1Up, and I have made just about every mistake you can make along the way. After years of reading through forum threads with hundreds of thousands of views, testing different application fluids, and ruining more than one sheet of expensive vinyl, I want to share everything I have learned in one place.
Here is the short version: to apply side art to an arcade cabinet, you clean and sand the surface, fill any imperfections, position the decal, and use a squeegee to press it down using either the dry method or the wet method. Then you trim the edges and let the adhesive cure before reassembling the cabinet.
In this guide I will walk you through each of those steps in detail, cover the tools and materials you need, help you choose between the dry and wet methods, and share troubleshooting solutions for the most common problems people run into.
Table of Contents
- What Is Arcade Cabinet Side Art?
- Dry Method vs Wet Method: Which Should You Use?
- Tools and Materials Checklist
- How to Prepare Your Arcade Cabinet for Side Art
- How to Apply Side Art to an Arcade Cabinet: Dry Method
- How to Apply Side Art Using the Wet Method?
- Trimming and Finishing Edges Cleanly
- Troubleshooting Common Side Art Problems
- Tips for Specific Cabinet Types
- FAQs
- How to install T molding on an arcade cabinet?
- How do I prepare an arcade cabinet for side art?
- Should I use dry or wet method for side art?
- What is Rapid Tac and do I need it?
- How do I remove air bubbles from vinyl decals?
- How do I flatten creased side art decals?
- Can I apply side art over existing decals?
- How long should I wait before reassembling the cabinet after applying side art?
- Conclusion
What Is Arcade Cabinet Side Art?
Side art is the large vinyl decal or printed artwork applied to the exterior side panels of an arcade cabinet. It typically replicates the original game artwork from classic titles like Donkey Kong, Asteroids, or Pac-Man, or it can feature custom designs for one-of-a-kind builds.
Most reproduction and custom side art is printed on adhesive vinyl. The better options include a satin laminate or clear coating on top to protect the ink from scratches and UV fading. Some decals ship with a layer of premask, which is a translucent application tape that holds the vinyl in place while you position and squeegee it down.
If you are restoring a classic cabinet, building a custom arcade machine, or upgrading a bartop, side art is what gives your build its identity. Without it, you just have a plain wooden box with a screen inside.
Dry Method vs Wet Method: Which Should You Use?
The short answer: most experienced arcade restorers recommend the dry method for standard installations on properly sealed cabinets, and the wet method only for vinyl-to-vinyl applications or when you need extra repositioning time on a large full-side decal.
I know that sounds backwards if you have read advice suggesting the wet method for beginners. But the forum consensus from threads with over 136,000 views is clear: the dry method gives you a stronger bond and avoids the curing headaches that come with liquid application.
The Dry Method Explained
The dry method means applying the vinyl decal directly to the cabinet surface with no liquid between the adhesive and the surface. You peel back a portion of the backing, position the art, and use a squeegee to press it down in overlapping strokes.
This method gives you an immediate bond, which means no waiting for a solution to evaporate and no risk of the vinyl shifting after you walk away. The trade-off is that you get fewer chances to reposition once the adhesive touches the surface.
One forum user on ArcadeControls.com summed it up well: they did a dry install on an Asteroids homage cabinet and were very pleased with the result. Most experienced restorers say the same thing.
The Wet Method Explained
The wet method involves spraying a liquid solution onto the cabinet surface before laying down the vinyl. This creates a slippery layer that lets you slide the decal into exact position and squeegee out the liquid before the adhesive grabs hold.
The wet method shines when you are applying vinyl over an existing decal or working with a very large full-side print that is hard to position in one shot. It also gives beginners more confidence because mistakes are forgiving.
The big caveat: do not use dish soap. Multiple experienced installers report that dish soap reduces adhesive effectiveness over time, sometimes causing the vinyl to lift months later. Use a dedicated application fluid like Rapid Tac instead.
Quick Decision Guide
Choose the dry method if your cabinet is properly sealed and painted, your decal is a standard size, and you are confident in your positioning. Choose the wet method if you are applying vinyl over an existing decal, working with a massive full-side print, or installing on a very humid day where you need extra working time.
There is also a hybrid approach called the hinge method, which I will cover in the dry method section. It is the technique I now use for almost every install.
Tools and Materials Checklist
Gathering your tools before you start is the single best thing you can do to avoid a stressful installation. Here is everything you need, drawn from forum recommendations and my own experience.
Squeegee – A felt-edge squeegee is ideal because it will not scratch the vinyl surface during application.
Application fluid (if using wet method) – Rapid Tac is the gold standard. Gila window tint spray from auto parts stores is the most accessible alternative. Skip the dish soap.
Spray bottle – For applying the wet method solution evenly across the surface.
Isopropyl alcohol (70% or higher) – For the final cleaning pass to remove any residue before application.
Microfiber cloths – At least two clean cloths for cleaning and drying.
Sandpaper (220 and 320 grit) – For smoothing the cabinet surface before application.
Bondo or wood filler – For filling dents, holes, and gouges in the cabinet side.
J-roller or hard roller – For pressing down edges and stubborn spots after the initial squeegee pass.
Sharp utility knife or precision blade – For trimming edges along the T-molding groove and cabinet perimeter.
Heat gun or hair dryer – For flattening creased decals and softening vinyl for curved edges. Use with caution.
Masking tape – For the hinge method and for temporarily securing the decal in position.
Measuring tape – For precise positioning of the decal on the cabinet side.
If you are doing a wet method install, mix your solution before starting. The most commonly recommended ratio for a Rapid Tac alternative is 4 to 5 drops of dish soap per gallon of warm water, but again, dedicated application fluid is a better long-term choice for adhesive performance.
How to Prepare Your Arcade Cabinet for Side Art
Cabinet preparation is where most side art installations are won or lost. Forum veterans repeat the same phrase over and over: the surface needs to be as smooth as a baby’s bottom. Any scratch, dent, or bump on the cabinet will telegraph through the vinyl and be permanently visible.
Step 1: Remove Old Artwork and Hardware
Start by removing the old side art, T-molding, and any hardware attached to the side panel. Peel off old decals carefully, using a heat gun on a low setting to soften stubborn adhesive. Clean off any remaining adhesive residue with isopropyl alcohol or a dedicated adhesive remover.
If your cabinet has damage from the removal process, now is the time to deal with it. Do not rush this step.
Step 2: Fill Dents, Holes, and Gouges
Inspect the entire side panel for damage. Fill any holes, dents, or deep scratches with Bondo body filler or a quality wood filler. Arcade cabinets from the 1980s often have bolt holes, water damage, and corner dings from decades of being moved around arcades.
Let the filler cure completely, then sand it flush with the surrounding surface. This is not the place to cut corners, because even a slightly proud filler patch will show through your new side art.
Step 3: Sand the Entire Surface
Sand the whole side panel with 220-grit sandpaper to create a smooth, consistent surface. Follow up with 320-grit for a finer finish. If the cabinet has an old paint layer that is peeling or chipping, sand it down until you have a stable surface.
Never apply side art to bare wood or bare MDF. The adhesive will not bond properly, and the porous surface will absorb any moisture from a wet method install, causing the MDF to swell and ruin your cabinet.
Step 4: Prime and Paint
Apply a coat of primer followed by a quality paint in a semi-gloss or satin finish. A smooth painted surface gives the vinyl adhesive something consistent to bond to. Let the paint cure fully according to the manufacturer’s instructions before even thinking about applying side art.
I waited a full week after painting my last cabinet before installing art, and it made a noticeable difference in how well the adhesive grabbed.
Step 5: Final Cleaning
Right before application, wipe down the entire surface with isopropyl alcohol using a clean microfiber cloth. This removes any dust, oil from your fingerprints, or paint residue. Do a final visual inspection in good lighting from multiple angles.
Climate Considerations
One thing almost no guide mentions is temperature and humidity. Vinyl adhesive bonds best at room temperature, between 65 and 80 degrees Fahrenheit, in a dry environment. High humidity can interfere with adhesive bonding, especially with the wet method, and cold temperatures make the vinyl stiff and prone to creasing.
If your workspace is a cold garage in winter or a humid basement in summer, bring the cabinet and the decal indoors to acclimate for a few hours before installing. This simple step has saved me from more than one failed application.
How to Apply Side Art to an Arcade Cabinet: Dry Method
The dry method is the approach I recommend for most installations. Here is the step-by-step process using the hinge method, which is the most reliable technique for getting your decal positioned perfectly.
Step 1: Position the Decal
Lay the decal face up on the cabinet side and position it exactly where you want it. Use a measuring tape to verify equal margins from all edges. Take your time here because once the adhesive touches down, repositioning is difficult.
Step 2: Create the Hinge
Run a strip of masking tape across the top edge of the decal, taping it to the cabinet. This creates a hinge that lets you flip the decal up and down without losing your position. Add a second strip of tape on one side for extra stability if the decal is large.
Step 3: Flip and Peel
Flip the decal up on the hinge so the backing paper is facing you. Peel back the top 4 to 6 inches of backing paper and fold it flat. Do not peel more than you can manage in one pass.
Step 4: Squeegee from the Center Out
Flip the decal back down so the exposed adhesive contacts the cabinet near the hinge line. Hold the loose part of the decal taut and slightly away from the surface. Starting from the center, use firm overlapping strokes with your felt squeegee to press the vinyl down, working outward to push air out as you go.
The key is consistent, firm pressure. Think of it like wiping a window: overlap each stroke by about half the width of the squeegee.
Step 5: Work Down in Sections
Peel another few inches of backing, squeegee that section down, and repeat. Work your way down the cabinet in manageable strips. If you are installing a large full-side decal, this could mean 10 to 15 passes from top to bottom.
If you notice a bubble forming, lift the vinyl gently back to that point and re-squeegee. It is much easier to fix a bubble while the backing is still partially on than after the whole decal is down.
Step 6: Remove the Premask
If your decal shipped with premask, carefully peel it off now. Pull it back at a sharp angle against itself, not straight up, to avoid lifting the vinyl underneath. Go slowly, especially if the cabinet is cold or the premask is old.
One forum user reported that their premask was coming off so hard it started pulling the vinyl back up, which is terrifying mid-install. If this happens, stop and warm the premask slightly with a hair dryer on low to soften the adhesive bond.
Step 7: Final Squeegee Pass
Once the premask is off, do one final squeegee pass over the entire surface to ensure full adhesion. Pay special attention to edges and corners. A J-roller works great for pressing down any areas that feel like they are not fully stuck.
How to Apply Side Art Using the Wet Method?
The wet method gives you a forgiving, repositionable installation that is ideal for large decals and vinyl-to-vinyl applications. Here is how to do it right.
Step 1: Mix Your Application Fluid
If you are using Rapid Tac, follow the mixing ratio on the bottle. If you are using a DIY alternative, the most common ratio shared on forums is 1 to 1.5 tablespoons of dish soap per gallon of warm water, or 4 to 5 drops of Dawn per gallon for a lighter mixture. Pour it into a clean spray bottle.
Again, I strongly recommend Rapid Tac or Gila over dish soap. The dedicated application fluids are formulated to evaporate cleanly and actually improve adhesive bonding as they dry.
Step 2: Spray the Cabinet Surface
Spray a generous, even coat of fluid across the entire cabinet surface. You want it wet enough that the decal can slide freely, but not so flooded that it pools in corners. Do a quick visual check for dry spots.
Step 3: Position the Decal
Peel the entire backing off the decal and lay it onto the wet surface. Because of the fluid, you can slide the decal around to get it into exact position. Use your measuring tape to confirm placement from all edges.
This is the biggest advantage of the wet method. On a large full-side decal, that slideability is worth its weight in gold.
Step 4: Squeegee Out the Fluid
Once positioned, use your squeegee to push the fluid out from beneath the vinyl. Start from the center and work outward in firm, overlapping strokes. The fluid will spray out from under the edges, which is exactly what you want.
Keep squeegeeing until no more fluid beads out. If the vinyl starts shifting while you squeegee, hold it taut with your free hand.
Step 5: Remove Premask and Final Pass
Lightly squeegee the surface once more to set the premask, then carefully peel it off. Do a final squeegee pass to ensure the vinyl is fully bonded to the surface. Any remaining fluid under the vinyl will evaporate over the next 24 hours.
Step 6: Let It Cure
This is the step people skip and then regret. Let the decal cure for at least 24 hours before trimming edges, reinstalling hardware, or moving the cabinet. If you used a heavy wet application, wait 48 hours to be safe. Rushing this step is a common cause of edge lifting later on.
Trimming and Finishing Edges Cleanly
Clean edges are what separate a professional-looking installation from an amateur one. The goal is to trim the vinyl so it either tucks neatly into the T-molding groove or wraps just past the edge of the cabinet.
The T-Molding Groove Tuck-In Technique
Many classic arcade cabinets have a groove routed around the perimeter where the T-molding press-fits in. The cleanest finish is to trim the vinyl so it stops right at the inner edge of that groove, then install the T-molding over it. The T-molding lip covers the cut edge and locks the vinyl in place.
Some installers actually fold the vinyl slightly into the groove before pressing the T-molding in. This creates a seamless transition from side art to edge trim with no visible cut line.
Trimming with a Utility Knife
Use a sharp utility knife with a fresh blade to trim along the cabinet edge or groove. Run the blade lightly along the groove as a guide, using just enough pressure to cut the vinyl without gouging the wood underneath. Change blades frequently because a dull blade will tear the vinyl rather than cut it cleanly.
Pressing Down Lifted Edges
If you notice an edge lifting after trimming, use a J-roller to press it back down with firm pressure. For stubborn spots, warm the vinyl slightly with a hair dryer on low to soften the adhesive before rolling. Never use a heat gun on edge-to-edge printed vinyl because it can shrink the print.
Troubleshooting Common Side Art Problems
Even with perfect preparation, things can go wrong. Here are the most common problems and how to fix them.
Air Bubbles
Small air bubbles are the most common issue. If you catch them during installation, lift the vinyl back to that point and re-squeegee. If the decal is already fully applied, try pressing the bubble toward the nearest edge with your squeegee or a thumb.
For tiny bubbles that refuse to move, a small pinprick in the center of the bubble lets the trapped air escape when you press down. This works best on laminated vinyl because the laminate layer hides the pinhole.
Creases from Shipping
Side art decals shipped folded or rolled tightly can arrive with creases. The best fix is prevention: ask your supplier to ship rolled in a tube, not folded. But if you have creased art, lay it flat on a clean surface in a warm room for 24 to 48 hours to let it relax.
For stubborn creases, use a hair dryer on a medium setting to warm the vinyl, then press it flat with a squeegee or J-roller. Work slowly and do not overheat the material. Be aware that deep fold creases may never fully disappear, so factor that into your decision about whether to install or request a replacement.
Edge Lifting at the T-Molding Groove
Edge lifting is one of the most reported problems on forums. It usually happens when the vinyl was trimmed too close to the groove edge, or when the cabinet surface was not perfectly clean at the perimeter.
Press the lifted edge down with a J-roller after warming it slightly. If it keeps lifting, a thin bead of vinyl adhesive under the edge before rolling can provide a permanent fix.
Vinyl Stretching During Premask Removal
If the premask is resisting removal and starting to stretch the vinyl, stop immediately. Warm the premask with a hair dryer on low to soften the bond. Pull the premask back against itself at a sharp angle rather than straight up. Patience here prevents distortion of your artwork.
Wet Method Failure on Unsealed MDF
If you used the wet method on an unsealed or poorly sealed MDF cabinet, the water can soak into the wood fibers and cause swelling. This is why proper surface preparation and sealing is non-negotiable. If swelling has already occurred, you will need to sand the area smooth and reapply the decal.
Tips for Specific Cabinet Types
Different cabinet types present different challenges. Here is targeted advice for the most common arcade cabinet styles.
Arcade1Up Cabinets
Arcade1Up cabinets have smoother, flatter side panels than classic arcade machines, which actually makes them easier to apply side art to. The surfaces are typically painted MDF or melamine, so a thorough cleaning with isopropyl alcohol is usually all the prep you need.
Use the dry method with the hinge technique for Arcade1Up installations. The side panels are a manageable size, so positioning is straightforward. Many Arcade1Up owners apply custom side art to replace the stock graphics or to create themed builds. Full-side wraps are available from several arcade art retailers specifically sized for Arcade1Up cabinets.
Classic Original Cabinets (Donkey Kong, Asteroids, Pac-Man)
Classic cabinets from the golden age of arcades often have decades of wear, damage, and questionable repairs. Budget extra time for surface preparation on these. Fill every dent and hole, sand the entire side smooth, and apply a fresh coat of paint before installing reproduction side art.
For these cabinets, the fold-under T-molding technique works beautifully because most classics have the T-molding groove around the full perimeter. Trim the art to the groove, fold it slightly inward, and press the T-molding in to lock everything in place.
Bartop Arcade Builds
Bartop arcades are compact, which means less surface area to cover but also less room for error. Every imperfection is visible up close. Use the dry method with extra care on surface prep, and consider using premask to protect the vinyl during installation in a tight workspace.
Vinyl Over Existing Decals
Sometimes you need to apply new side art directly over an existing decal. This is one of the few scenarios where the wet method is genuinely the better choice. The liquid lets you position the new vinyl over the old without the two adhesive surfaces grabbing instantly.
Make sure the existing decal is clean, fully adhered, and free of lifting edges. Any problems under the old decal will compound under the new one.
FAQs
How to install T molding on an arcade cabinet?
T-molding presses into a groove routed around the cabinet perimeter. Apply a small amount of spray adhesive or silicone lubricant into the groove, then use a rubber mallet and a wood block to tap the T-molding barbing into the groove starting from one end and working around. If you are installing side art with the fold-under technique, trim and fold the vinyl into the groove first, then press the T-molding over it to lock the edge in place.
How do I prepare an arcade cabinet for side art?
Fill all dents and holes with Bondo or wood filler, sand the entire side panel smooth with 220 then 320 grit sandpaper, apply primer and a semi-gloss or satin paint, and let everything cure fully. Do a final wipe with isopropyl alcohol right before application to remove dust and oils.
Should I use dry or wet method for side art?
Use the dry method for standard installations on properly sealed cabinets, as it provides an immediate strong bond. Use the wet method only for vinyl-to-vinyl applications, very large full-side decals where you need positioning time, or when installing in high humidity conditions.
What is Rapid Tac and do I need it?
Rapid Tac is a dedicated vinyl application fluid that creates a temporary slippery layer between the adhesive and the surface, letting you reposition the decal during installation. It evaporates cleanly and actually improves adhesive bonding as it dries. You need it if you are using the wet method. It is a better choice than dish soap, which can reduce adhesive effectiveness over time.
How do I remove air bubbles from vinyl decals?
During installation, lift the vinyl back to the bubble and re-squeegee from the center outward. For bubbles in already-applied decals, press the bubble toward the nearest edge with a squeegee, or prick the center of the bubble with a pin and press down to release the trapped air.
How do I flatten creased side art decals?
Lay the decal flat in a warm room for 24 to 48 hours to let it relax naturally. For stubborn creases, warm the vinyl with a hair dryer on medium heat and press it flat with a squeegee or J-roller. Deep fold creases from shipping may never fully disappear, so request tube shipping from your supplier when possible.
Can I apply side art over existing decals?
Yes, but only if the existing decal is clean, fully adhered, and free of lifting edges. Use the wet method with Rapid Tac for vinyl-over-vinyl applications because the fluid prevents the two adhesive surfaces from bonding instantly and gives you time to position the new decal.
How long should I wait before reassembling the cabinet after applying side art?
Wait at least 24 hours after a dry method installation and 48 hours after a wet method installation before trimming edges, reinstalling hardware, or moving the cabinet. This gives the adhesive time to fully bond and prevents edge lifting.
Conclusion
Knowing how to apply side art to an arcade cabinet comes down to three things: thorough surface preparation, choosing the right method for your situation, and taking your time during application. The dry method with the hinge technique is the best choice for most installs. Save the wet method with Rapid Tac for large decals and vinyl-over-vinyl situations.
Do not skip the prep work. Every hour you spend filling, sanding, and painting translates directly into a cleaner final result. And give the adhesive time to cure before you start trimming and reassembling.
Whether you are restoring a classic Donkey Kong, upgrading an Arcade1Up, or finishing a custom bartop build, well-applied side art is what transforms a box of components into a real arcade machine. Take it one step at a time, trust the process, and you will have a cabinet you can be proud to show off.