
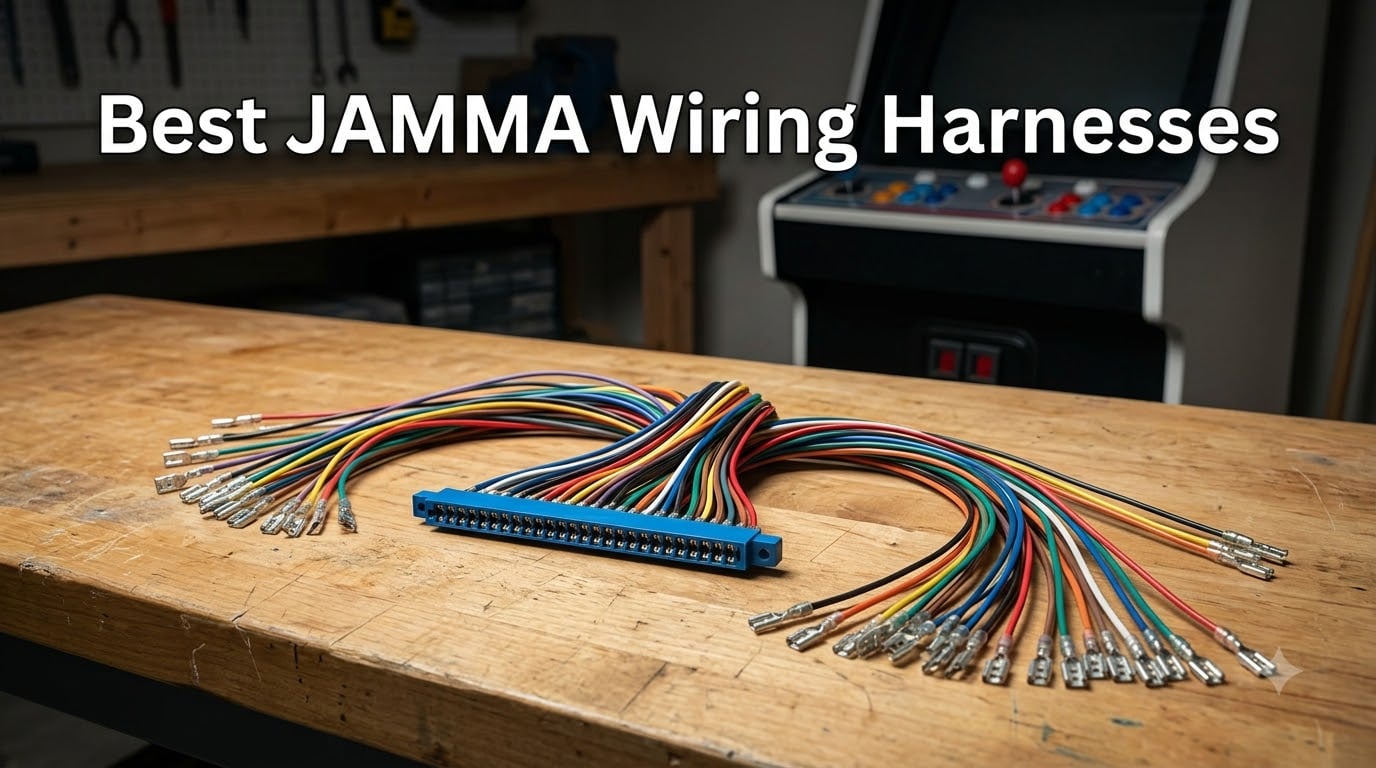
If you’re restoring an arcade cabinet or building a multicade from scratch, finding the best JAMMA wiring harness matters more than you might think. At Coin-Op Games, we’ve seen too many builds stall because of a cheap harness with undersized power wires or unlabeled connectors. The good news: the arcade community has strong opinions on which brands deliver quality and which to avoid.
This guide rounds up the JAMMA harness brands trusted by collectors, explains the specs that separate a premium loom from a headache, and walks through installation step by step. We’ll also cover the JAMMA pinout, common problems, and how to choose the right harness for fighting games, NEO GEO setups, or full cabinet restorations.
Table of Contents
- Quick Picks: The Short Answer
- What Is a JAMMA Harness?
- How a JAMMA Harness Works: The 56-Pin Standard
- Standard vs Fully Loaded JAMMA Harnesses
- Who Sells the Best JAMMA Harnesses? Trusted Brands
- What Separates a Premium JAMMA Harness From a Cheap One?
- How to Choose the Best JAMMA Wiring Harness: Buying Guide
- JAMMA Pinout Explained
- How to Install a JAMMA Harness Step by Step?
- Common JAMMA Harness Problems and Fixes
- How Long Does a JAMMA Harness Last?
- The Best JAMMA Harness for Each Use Case
- Frequently Asked Questions
- Conclusion: The Best JAMMA Wiring Harness for 2026
Quick Picks: The Short Answer
If you want the community’s short answer: Twisted Quarter’s “fully loaded” JAMMA harness is widely praised for its generous wire length and quality crimps. For a balance of quality and value, RGB’s harnesses come recommended if you’re patient enough to catch them in stock. For simpler needs, The Geek Pub and Arcade Express offer solid standard harnesses with clear documentation.
For the best result, match your harness to your cabinet’s depth and your PCB’s power needs. If you’re running a 6-button fighting game setup, you’ll want a loom that supports the extra inputs without hacking in extra wiring.
What Is a JAMMA Harness?
A JAMMA harness is a standardized wiring assembly that connects an arcade game PCB to the cabinet’s controls, power supply, monitor, and coin mech. The JAMMA standard (Japan Amusement Machinery Manufacturers Association) was introduced in 1985 to let operators swap game boards between cabinets without rewiring.
The connector is a 56-pin edge card with two rows of 28 contacts. Each pin carries a specific signal: +5V and +12V power, ground, video RGB and sync, audio, and the button and joystick inputs for two players. This universal system made arcade maintenance faster and is why JAMMA remains the go-to for cabinet builders today.
How a JAMMA Harness Works: The 56-Pin Standard
The heart of the JAMMA standard is the 56-pin edge connector. The “parts side” (A1-A28) and “solder side” (B1-B28) each handle half the signals. Power pins (+5V, +12V, and -5V for older boards) feed the PCB, while ground pins complete the circuit. The video section carries red, green, blue, and sync signals to the monitor. Audio outputs go to the cabinet’s speaker.
Control inputs run in two sets: Player 1 gets pins for joystick directions and multiple buttons, and Player 2 gets its own set. A keying slot in the connector prevents plugging the board in backwards. When you seat a JAMMA PCB into the connector, all these systems light up at once through one unified loom.
Standard vs Fully Loaded JAMMA Harnesses
A standard JAMMA harness includes the essential power, video, audio, and control wiring but may leave some features unfinished. You might find coin mech wires unterminated or ground wires that need to be daisy-chained yourself. These harnesses work but require extra effort during installation.
A “fully loaded” JAMMA harness comes with all power wires terminated, ground wires pre-connected in a daisy chain, and coin mech wiring already in place. Brands like Twisted Quarter are known for this approach, saving you hours of crimping and labeling. Forum users often describe the wire length as “obscenely long,” which is actually a good thing for deeper cabinets.
Who Sells the Best JAMMA Harnesses? Trusted Brands
The arcade community has strong opinions on JAMMA harness quality. Here are the brands and sellers that come up most often in discussions, based on forum recommendations and what’s available in shopping results.
Twisted Quarter is frequently cited as a top choice. Their “fully loaded” JAMMA harness gets consistent praise for its generous wire length, properly sized terminals, and quality crimps. Collectors note that the loom reaches easily in larger cabinets and that ground wires are already daisy-chained. This harness is recommended for full restorations and custom builds.
Bob Roberts is a legendary name in arcade parts. His JAMMA harnesses are known for quality wire gauge and reliable construction. The main limitation is availability. Bob runs a small operation, and harnesses may be out of stock or require a direct order. Collectors who have used his looms often call them some of the best available.
RGB harnesses have been described by forum members as “probably the best JAMMA harness available if patient.” The harnesses are well-regarded, but stock can be sporadic. If you see them available, they are worth considering.
The Geek Pub offers a 56-pin JAMMA harness with 28 pins per side, designed for standard arcade cabinets and PCBs. The harness uses 22/24 AWG wiring for power and signal lines, with +5VDC, +12VDC, and -5VDC lines. Cable length is approximately five feet. The product page links to a JAMMA pinout PDF, which is helpful for installers.
Arcade Express sells a JAMMA harness designed for 6-button setups, popular for fighting games. The loom is approximately 150cm long and includes silicone heat insulators on the power lines. It supports Pandora’s Box and trackball integration and lists compatible game types. The harness includes 2.8mm, 4.8mm, and 6.3mm terminals for various connection points.
Other sellers and brands appear in search results and may be worth evaluating based on your region. Some include Classic Game Rooms, RetroArcade.us, Diy Retro Arcade, Sintron Technology, Pinballpro.com, and QuarterArcade.com. Reading product descriptions carefully for wire gauge, terminal types, and length will help you assess quality.
What Separates a Premium JAMMA Harness From a Cheap One?
Not all JAMMA harnesses are built to the same standard. Forum discussions highlight the pain points that separate a quality loom from a problem waiting to happen.
Wire gauge is a frequent complaint. Cheaper harnesses use thinner wire (24 AWG or smaller) for power lines, which can cause voltage drop and even overheating under load. Premium harnesses use 22 AWG or thicker for power and ground, which handles the current more safely.
Crimp quality matters for long-term reliability. Poor crimps lead to intermittent connections, which manifest as flaky buttons, video glitches, or boards that won’t boot. Quality harnesses use properly sized Faston terminals and secure crimps that don’t pull out.
Cable length is another factor. Short harnesses may not reach in larger cabinets, forcing you to splice extensions. Premium brands like Twisted Quarter are known for long looms that reach easily even in deeper machines.
Wire labeling speeds up installation. Cheap harnesses may have no labels or use inconsistent color coding, making you trace each wire manually. Better products include pre-labeled connectors so you know which wire goes where.
Terminal sizes must match your cabinet’s hardware. Some cheaper harnesses ship with terminals that don’t fit standard ground connections or power supply lugs. Verify the terminal sizes before ordering.
How to Choose the Best JAMMA Wiring Harness: Buying Guide
Choosing the right JAMMA harness comes down to matching the loom to your cabinet, PCB, and control layout. Here are the factors that matter most.
Pin Count and Connector Type
The standard JAMMA connector is 56-pin (28 per side). This is what most classic arcade PCBs use. Confirm your board has a JAMMA edge connector and not a proprietary pinout. Some systems, like NEO GEO MVS, use JAMMA but may need extra wiring for the four-button layout.
Wire Gauge for Power
Look for at least 22 AWG on +5V and +12V lines. Thinner wire leads to voltage drop and instability. If a seller doesn’t list the wire gauge, ask or look for reviews mentioning power issues. The Geek Pub explicitly lists 22/24 AWG, which is a good sign.
Cable Length
Measure from your PCB location to the power supply, monitor, and control panel. Most standard harnesses are around 5 feet (about 150cm). If your cabinet is deep or you want extra slack for routing, look for a “fully loaded” or extended-length loom. Twisted Quarter and Arcade Express are known for longer cables.
Button Count: 3 vs 6 per Player
Classic JAMMA games often use 2 or 3 buttons per player. Fighting games like Street Fighter II and Mortal Kombat require 6 buttons. If you’re building a fighting cab, look for a harness that supports 6-button layouts. Arcade Express explicitly lists this, and some harnesses include kick harness wiring for the extra buttons.
Terminal Types and Sizes
Check the terminal sizes on your power supply, ground, and control connections. Common sizes include 2.8mm, 4.8mm, and 6.3mm Faston terminals. Arcade Express lists all three, which makes it easier to match your hardware. Using the wrong size leads to loose connections and overheating.
Wire Labels and Color Coding
Pre-labeled wires save hours during installation. Some harnesses have tags on each line. Others rely on color coding, which can vary between manufacturers. If the harness is unlabeled, have a pinout diagram ready and budget extra time to trace each wire.
-5V Rail Availability
Some older PCBs require -5V on the JAMMA connector. Not all modern harnesses include this line. Check your board’s requirements and verify the harness includes -5V if needed. The Geek Pub harness lists -5VDC, which is a plus for compatibility.
Fully Loaded vs Standard
A fully loaded harness includes terminated ground daisy chains, coin mech wiring, and often pre-labeled connectors. This is worth the premium if you’re doing a full restoration or a first-time build. Standard harnesses work but require more hands-on time to finish.
For more arcade build resources, visit Coin-Op Games for guides and community discussions.
JAMMA Pinout Explained
The JAMMA pinout is the map that tells you which wire goes to which signal. The connector has two sides: the “parts side” (A1-A28) and the “solder side” (B1-B31, though typically 28). Each pin carries a specific function.
Power pins include +5V (typically multiple pins for current capacity), +12V, and ground. Video pins carry red, green, blue, and sync. Audio pins output mono sound to the speaker. Control pins handle joystick directions and buttons for two players. The keying slot prevents reversing the connector.
Wire colors vary between manufacturers, which is why a labeled harness is so helpful. Always verify with the pinout diagram from your harness provider before connecting power. A wrong connection can damage your PCB.
How to Install a JAMMA Harness Step by Step?
Installing a JAMMA harness is straightforward, but attention to detail prevents problems later. Here’s a step-by-step approach.
Step 1: Safety first. Unplug the cabinet from wall power. Verify the power supply is off and discharge the monitor if you’re working inside an old cabinet. Arcade monitors hold dangerous voltages.
Step 2: Plan your wire routing. Think about where the PCB will sit and how the loom will run to the power supply, monitor, and control panel. Avoid routing power wires parallel to video lines, which can cause interference.
Step 3: Connect the edge connector. Slide the JAMMA connector onto the PCB’s edge, making sure the keying slot aligns. The board should seat firmly with no forcing.
Step 4: Route power wires. Connect +5V, +12V, and ground to your power supply. Use the correct terminal sizes. Double-check polarity before powering on. A reversed connection can damage the board.
Step 5: Connect video. Route the RGB and sync wires to the monitor chassis. Use the correct input for your monitor type. Some monitors use a video amplifier; verify your setup matches.
Step 6: Wire controls. Connect the joystick and button wires to your control panel. Follow the pinout for Player 1 and Player 2 inputs. Use Quick Disconnects that match your button and joystick terminals.
Step 7: Connect coin mech. Wire the coin counter and coin lockout if your cabinet uses them. Some harnesses have dedicated wires for this; others require you to add them.
Step 8: Test before buttoning up. Power on and check that the board boots, video displays, and controls respond. Use a multimeter to verify +5V at the PCB; adjust the power supply if the voltage is off.
Step 9: Secure the loom. Use cable ties to secure the harness away from fans, power resistors, and other heat sources. Make sure the PCB can be removed later without cutting wires.
Common JAMMA Harness Problems and Fixes
Even with a quality harness, problems can arise. Here are common issues and how to address them.
No video signal: Check that the ground wires are connected properly. A missing or loose ground is a common cause of no video. Also verify the sync wire is connected and the monitor is set to the correct input.
Intermittent buttons: Poor crimps are often the culprit. Inspect the terminals and re-crimp any loose connections. If buttons work sometimes but not others, trace the wire and check for breaks or oxidation.
No sound or weak audio: Some boards require -5V for audio. Verify your harness includes this line and that it’s connected. Also check the speaker wires and the amp on the PCB.
Coin mech not working: Check the coin counter and lockout wires. Some harnesses leave these unterminated; you may need to add them. Also verify the coin door switches are functioning.
Board won’t boot: Measure voltage at the PCB. If +5V is low, you may have undersized power wires or a weak power supply. Adjust the supply and consider upgrading to a harness with thicker power wire.
Video noise or jailbars: Routing power wires too close to video lines can cause interference. Separate them and use shielded video wire if needed. Also check that ground connections are solid.
How Long Does a JAMMA Harness Last?
A well-made JAMMA harness can last decades in a cabinet. The main enemies are heat, oxidation, and physical stress. Wires near the power supply may become brittle over time, especially in cabinets with poor airflow. Crimps can loosen if the cabinet is moved frequently.
Inspect your harness periodically for cracked insulation, discolored wires, or loose terminals. If you’re restoring an older cabinet, consider replacing a damaged harness rather than trying to repair it. A new, quality loom is easier to install than tracking down intermittent faults in an old one.
The Best JAMMA Harness for Each Use Case
Different projects call for different harness features. Here’s how to match your harness to your build.
Fighting games (Street Fighter II, Mortal Kombat): Look for a harness that supports 6 buttons per player. You may also need a kick harness for the extra inputs. Arcade Express’s 6-button loom is designed for this use case. Also verify the button wires are long enough to reach from the PCB to the control panel.
NEO GEO MVS: NEO GEO uses JAMMA but with a 4-button layout. Some harnesses include the extra wiring; others require you to add it. Check that the harness has the button count you need and verify compatibility with NEO GEO audio routing.
Multicade and Pandora’s Box: These systems use JAMMA but often with enhanced control layouts. A harness with 6 buttons per player gives you flexibility for game selection and menu controls. Arcade Express lists Pandora’s Box compatibility. Make sure your harness supports any trackball or spinner you plan to use.
Full cabinet restoration: For a restoration where you want a reliable, long-term install, go with a fully loaded harness from a trusted brand like Twisted Quarter or Bob Roberts. The extra cost pays off in reduced installation time and fewer headaches down the line.
Frequently Asked Questions
What is a JAMMA harness?
A JAMMA harness is a standardized wiring assembly that connects an arcade game PCB to a cabinet’s controls, power supply, monitor, and coin mech using a universal 56-pin edge connector, allowing game boards to be swapped between cabinets without rewiring.
Who sells the best JAMMA harnesses?
Trusted brands include Twisted Quarter (fully loaded, long wire length), Bob Roberts (quality but limited stock), RGB (recommended if available), The Geek Pub (standard 56-pin, 22/24 AWG), and Arcade Express (6-button, Pandora’s Box and trackball support). Community forums like Arcade Museum and Reddit’s r/arcade are good sources for current recommendations.
How to install a JAMMA harness?
Unplug the cabinet, plan wire routing, seat the edge connector on the PCB, connect power wires to the supply with correct polarity, route video to the monitor, wire controls following the pinout, connect coin mech, then test voltage at the PCB and adjust +5V as needed before securing the loom.
What is JAMMA pinout?
JAMMA pinout is the standardized pin assignment for the 56-pin edge connector, with parts side (A1-A28) and solder side (B1-B28) carrying power (+5V, +12V, -5V), ground, video RGB and sync, audio, and control inputs for two players, enabling universal PCB-to-cabinet connection.
How to wire a JAMMA harness?
Match each wire to its pinout function, connect power wires to the supply with correct gauge and terminals, route video lines to the monitor, wire joystick and button inputs to the control panel, daisy-chain ground wires, and verify all connections against the pinout diagram before powering on.
Conclusion: The Best JAMMA Wiring Harness for 2026
The best JAMMA wiring harness for your build depends on your cabinet, your PCB, and how much installation work you want to handle yourself. For most restorations and custom builds, a fully loaded harness from a trusted brand like Twisted Quarter or Bob Roberts offers the best combination of quality and ease. For simpler projects, standard harnesses from The Geek Pub or Arcade Express provide solid performance at a lower cost.
Focus on wire gauge, cable length, and proper terminal sizes. A quality harness with 22 AWG power wires and labeled connectors will save you hours and prevent problems for years. For more arcade build guides and community resources, visit Coin-Op Games.