
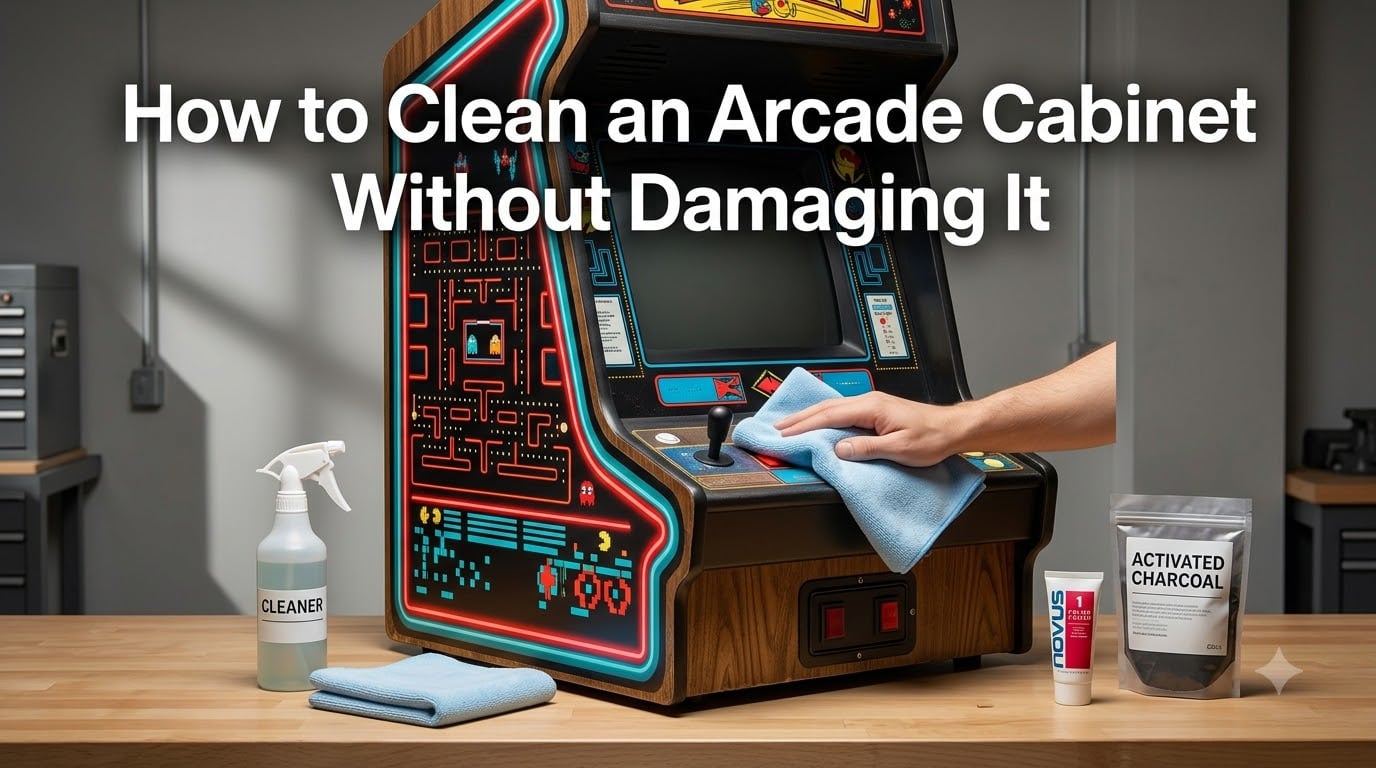
To clean an arcade cabinet without damaging it, unplug the machine first, then wipe the exterior with a soft microfiber cloth dampened with a mild detergent or all-purpose cleaner diluted in water. Use a screen-safe cleaner for the display, and 91% isopropyl alcohol on a Q-tip for joystick and button contacts. Avoid ammonia-based cleaners, abrasive sponges, and excessive water anywhere near the screen or control panel.
I have restored more than 40 arcade cabinets over the years at Coin-OP Games, and the number one mistake I see is owners reaching for the wrong cleaner. A single wrong spray can fog a CRT screen, strip laminate artwork, or kill a joystick switch in seconds. This guide walks you through exactly how to clean an arcade cabinet at home, room by room, using products that are safe and methods that protect the finish, the screen, and the electronics inside.
Table of Contents
- What You’ll Need: Arcade Cabinet Cleaning Supplies
- Safety First: Before You Touch the Cabinet
- How to Clean the Arcade Cabinet Exterior?
- How to Clean an Arcade Cabinet Screen Safely (CRT and LCD)
- Cleaning the Control Panel: Joysticks, Buttons, and Bezels
- Interior Cleaning: Circuit Boards, Contacts, and Components
- Cleaning Products to AVOID on Arcade Cabinets
- Removing Smoke Odor and Smells from Arcade Cabinets
- Preventive Maintenance Schedule for Arcade Cabinets
- Frequently Asked Questions
- Conclusion: Keep Your Arcade Cabinet Looking and Playing Like New
What You’ll Need: Arcade Cabinet Cleaning Supplies
You probably already own most of what you need. Before you start, gather these items so you are not scrambling mid-clean.
Two or three microfiber cloths (lint-free, soft)
Mild dish soap or a gentle all-purpose cleaner like Simple Green
Distilled water (tap water can leave mineral spots on screens)
91% or 99% isopropyl alcohol
Cotton swabs (Q-tips) and soft-bristle toothbrushes
Screen-safe cleaner for LCD panels, or a 50/50 distilled water and white vinegar mix for CRT glass
Compressed air canister (optional, for vents)
Magic Eraser (sparingly, on tough exterior marks only)
Novus #1 or #2 plastic polish for control panel surfaces
Paper towels and a small bucket
Skip paper towels on screens and artwork. They are too abrasive for laminated side panels and can scratch anti-glare coatings on LCDs. Stick with microfiber everywhere you can.
Safety First: Before You Touch the Cabinet
Unplug the cabinet from the wall before you do anything else. This is the single most important step, and it is the one forum users consistently warn each other about.
Power down the machine and pull the plug, not just the switch.
If the cabinet has a CRT, wait at least 5 minutes for the tube to discharge before opening the back panel. CRTs hold a dangerous high-voltage charge even when off.
Move the cabinet away from the wall so you can reach the back and sides without bending over it.
Lay a drop cloth or old towel under the work area to catch drips and protect the floor.
Wear nitrile gloves if you are using any solvent or cleaning a smoke-damaged cabinet.
Once the cabinet is off and the area is clear, you are ready to clean.
How to Clean the Arcade Cabinet Exterior?
Most arcade cabinets are made of MDF (medium-density fiberboard) wrapped in vinyl laminate, with painted side panels or real wood edging on vintage machines. The same basic method works on all three, but you adjust pressure and product strength.
Wood and MDF Cabinet Exteriors
Mix a few drops of mild dish soap in a bowl of warm water, or dilute Simple Green 1:10 with water.
Lightly dampen a microfiber cloth. Wring it out so it is barely wet, never dripping.
Wipe the cabinet in small sections using gentle circular motions. Work top to bottom.
Follow immediately with a dry microfiber cloth to prevent water from sitting on the laminate seams.
For stubborn scuff marks, very lightly use a Magic Eraser, then wipe clean with a damp cloth. Test on an inconspicuous spot first.
Metal and Painted Side Panels
Painted metal side panels can handle slightly more product but still dislike abrasives. Use the same mild detergent solution and a microfiber cloth. For sticker residue, dab a small amount of isopropyl alcohol on a cloth and let it sit for 10 seconds before wiping. Never scrape with a razor blade on painted surfaces.
For real wood cabinets (mostly pre-1990s uprights), finish with a quality furniture polish and a soft cloth after cleaning. This protects the grain and restores the original luster.
How to Clean an Arcade Cabinet Screen Safely (CRT and LCD)
The screen is the most fragile part of any cabinet, and it is also where the wrong cleaner causes the most expensive damage. The right approach depends on whether you have a CRT or an LCD.
Cleaning a CRT Screen
Turn the cabinet off and let the screen cool for 10 minutes. A warm screen will streak badly.
Use a dry microfiber cloth to remove loose dust first. Always dry-dust before any wet step.
Mix a 50/50 solution of distilled water and white vinegar in a spray bottle, or use a dedicated anti-static CRT cleaner.
Spray the cloth, never the screen. Then wipe gently in slow side-to-side motions.
Buff dry with a second clean microfiber cloth.
Never use Windex, ammonia-based glass cleaners, or all-purpose sprays on a CRT. They will fog the anti-glare coating within a few uses, and the haze is permanent.
Cleaning an LCD Screen
LCD screens, common on modern Arcade1Up and replica cabinets, cannot handle any ammonia or alcohol. Use a screen-safe cleaner made for monitors and TVs. Spray the cloth, wipe in small circles, and dry with a second cloth. Pressure should be almost zero. The plastic layer on top of an LCD cracks under hard wiping.
Cleaning the Monitor Bezel
The plastic bezel around the screen collects dust and fingerprints. Use a barely damp microfiber cloth with a tiny drop of mild soap. Avoid getting moisture in the seam between the bezel and the screen. A dry soft-bristle brush works well to get dust out of the corners.
Cleaning the Control Panel: Joysticks, Buttons, and Bezels
Control panels get the most contact and the most grime. Sticky buttons and gritty joysticks are usually fixable without disassembly.
Surface Cleaning
Remove the buttons if you can. On most Japanese cabinets and many replicas, buttons unscrew clockwise from the top.
Wipe the metal control panel with a microfiber cloth and mild detergent solution. Dry immediately.
For control panel artwork, use Novus #1 for light cleaning, Novus #2 for scratches, applied with a microfiber cloth in straight lines (not circles).
Polish the metal control panel with a dry cloth to avoid water spots.
Joystick Cleaning
Ball-top joysticks usually need more than a wipe-down. If the stick feels gritty or the switch is sluggish:
Unscrew the top and remove the shaft.
Wipe the shaft with a dry cloth and apply a tiny drop of silicone lubricant if the action is rough.
Spray 91% isopropyl alcohol into the switch opening using the straw nozzle. Work the stick to work the alcohol in.
Let it dry for 5 minutes before powering the cabinet back on.
Sticky Buttons
Sticky buttons are almost always spilled soda or beer residue inside the microswitch. Remove the button, flip the panel if needed, and drip 91% isopropyl alcohol into the switch while pressing the button repeatedly. The alcohol dissolves the gunk and evaporates clean. Compressed air helps blow out the loosened residue.
Interior Cleaning: Circuit Boards, Contacts, and Components
Open the back panel only when the cabinet is unplugged and the CRT has had time to discharge. Interior cleaning is mostly about dust removal and contact cleaning, not deep solvent work.
Use compressed air to blow dust out of the power supply, vents, and around the CRT neck. Hold the can upright so you do not spray liquid propellant.
For ROM cartridges and edge connectors, pull the cartridge, then rub a cotton swab dampened with 91% isopropyl alcohol along the gold contacts. Reinsert, remove, and repeat once. The alcohol lifts oxidation quickly.
For PCB dust, use a soft brush, never a wet cloth. Water on a powered board is a board-killer.
Vacuum loose debris with a brush attachment instead of blowing it deeper into the cabinet.
Isopropyl alcohol is safe on game cartridges and most PCB contacts because it evaporates almost instantly and leaves no residue. This is why it is the universal choice for arcade restorers.
Cleaning Products to AVOID on Arcade Cabinets
This list matters more than the cleaning list. These products cause damage that is either permanent or expensive to fix.
Ammonia-based cleaners (Windex, standard glass cleaners): fog CRT and LCD coatings, fade vinyl artwork.
Bleach and hydrogen peroxide: strip paint and discolor laminate within minutes.
Abrasive pads (Scotch-Brite, steel wool): scratch every surface, including brushed aluminum trim.
Acetone and nail polish remover: melt plastic bezels and button housings.
Magic Eraser on printed artwork: it is melamine foam, and it physically sands the ink off. Use only on plain painted surfaces, and even then, very gently.
Excessive water anywhere near the control panel or screen: causes rust, swelling of MDF, and short circuits.
Spray-on furniture polish with silicone: leaves a film that builds up and attracts dust on arcade screens.
Magic Eraser on buttons: scuffs the clear plastic and removes the shine.
Removing Smoke Odor and Smells from Arcade Cabinets
Secondhand cabinets from a smoker’s home are extremely common. Forum users on Reddit and Arcade Museum have tested dozens of methods, and a clear winner has emerged.
Activated charcoal is the most trusted solution. Place 4 to 6 open bags of activated charcoal inside the cabinet with the doors closed for 2 to 4 weeks. The charcoal absorbs odor molecules without adding any fragrance. Baking soda works similarly but is slower. Avoid ozone generators and heavy masking sprays. They leave residue on contacts and can damage rubber components over time.
For the outer cabinet smell, wipe down every surface with a 1:1 white vinegar and water solution, then let it air dry. The vinegar smell fades in a few hours and takes the smoke smell with it. Combine with a charcoal treatment inside for stubborn cases.
Preventive Maintenance Schedule for Arcade Cabinets
A clean cabinet is easier to keep clean. Here is the schedule I follow on every machine in our workshop at Coin-OP Games.
Weekly: Dust the exterior and wipe the control panel with a dry microfiber cloth. Quick pass on the screen with a dry cloth to remove fingerprints.
Monthly: Wipe the exterior with a mild detergent solution. Clean the buttons and joystick shaft. Check vents for dust.
Quarterly: Clean the screen with proper screen cleaner. Blow out vents with compressed air. Inspect cable connections.
Annually: Open the back panel, vacuum internal dust, clean power supply vents, and recalibrate the monitor if needed. Replace any sticky switches before they fail.
After any power outage: Let the cabinet dry fully before powering on. Check for moisture around the marquee and base if flooding is a concern.
Stick to this rhythm and your cabinet will look new for decades. The key is preventing buildup, not chasing it.
Frequently Asked Questions
How do I clean an arcade cabinet?
Unplug the cabinet and wipe the exterior with a microfiber cloth dampened with a mild detergent and water solution. Use a screen-safe cleaner for the display, and 91% isopropyl alcohol on a Q-tip for joystick and button contacts. Dry every surface before powering the cabinet back on.
What cleaners are safe for arcade cabinets?
Mild dish soap diluted in water, Simple Green (1:10 with water), 91% isopropyl alcohol for electronics, and dedicated screen cleaners for LCD panels. For CRT screens, a 50/50 mix of distilled water and white vinegar is the safest option.
Can I use isopropyl alcohol on an arcade cabinet?
Yes, but only on hard surfaces and electronic contacts. Use 91% isopropyl alcohol on a cloth or Q-tip for joystick switches, button microswitches, and ROM cartridge contacts. Avoid alcohol on painted artwork, vinyl side panels, and CRT or LCD screens.
What should you not use to clean arcade cabinets?
Avoid ammonia-based cleaners like Windex, abrasive pads, bleach, acetone, excessive water near the control panel, and silicone-based furniture polish. These products fog screens, fade artwork, and damage plastic components.
How do I remove smoke smell from an arcade cabinet?
Place 4 to 6 open bags of activated charcoal inside the cabinet with the doors closed for 2 to 4 weeks. Wipe the exterior with a 1:1 white vinegar and water solution and let it air dry. Avoid ozone generators because they leave residue on contacts.
How often should I clean my arcade cabinet?
Dust the exterior weekly, wipe it down with mild detergent monthly, and clean the screen and vents every quarter. Open the back panel once a year to vacuum internal dust and inspect cable connections.
Conclusion: Keep Your Arcade Cabinet Looking and Playing Like New
Learning how to clean an arcade cabinet without damaging it comes down to three habits: unplug first, use the gentlest cleaner that works, and dry everything before powering back on. A simple microfiber cloth and a bottle of mild detergent will handle 90% of what you encounter. Reserve isopropyl alcohol for electronics and trust activated charcoal for smoke odors. If you follow the schedule above, your cabinet will keep playing like the day it was built for years to come.
For more restoration guides and maintenance tips, bookmark Coin-OP Games and check back as we publish new walkthroughs every month in 2026.