
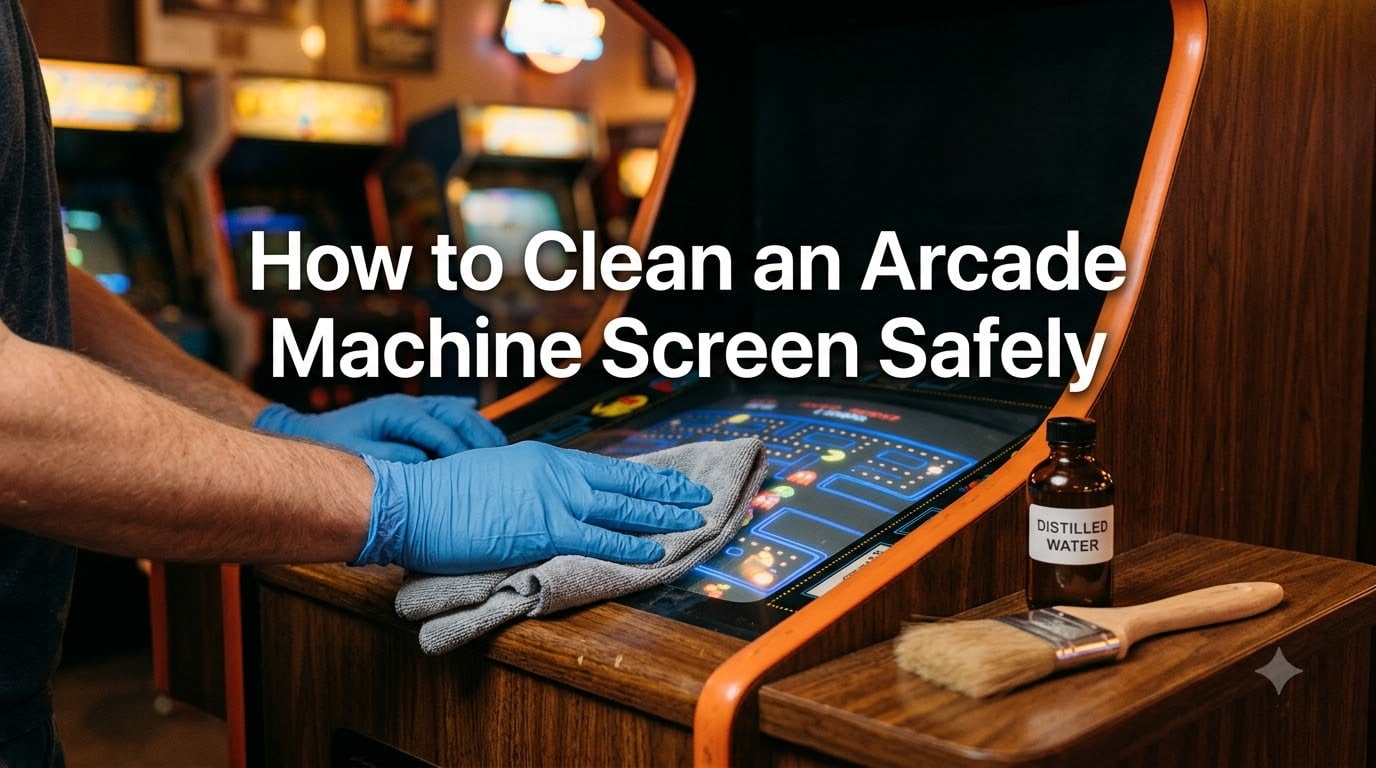
Learning how to clean an arcade machine screen safely is one of the most overlooked skills in retro gaming. I learned this the hard way after dragging a paper towel across my first CRT bezel and leaving a permanent haze that took me six months to buff out. Since then, I have cleaned screens on everything from original 1980s cabinets to modern Arcade1Up units, and the rules have not changed much. The difference between a sparkling display and a ruined one comes down to the cloth, the liquid, and the technique you use.
Arcade screens are more delicate than they look. CRT phosphor coatings, LCD anti-reflective layers, and plastic screen covers all react badly to the wrong products. A single squirt of the wrong cleaner can etch a permanent mark, dissolve an anti-glare finish, or seep behind the bezel and damage internal boards. This guide walks you through the exact process I use on every cabinet I service, drawn from forum discussions, restoration experts, and my own trial-and-error over more than a decade. By the end, you will know what to use, what to avoid, and how to keep your arcade machine screen looking factory-fresh for 2026 and beyond.
Table of Contents
- Why Proper Arcade Screen Cleaning Matters?
- Safety First: Preparing to Clean Your Arcade Machine Screen
- What You’ll Need: Safe Cleaning Supplies
- How to Clean an Arcade Machine Screen Safely: Step-by-Step
- CRT vs LCD Screens: What Changes
- Cleaning the Bezel, Control Panel, and Cabinet Exterior
- What NOT to Use on an Arcade Machine Screen
- Arcade1Up Screen Cleaning and Removal Tips
- Troubleshooting Stubborn Smudges and Sticker Residue
- Maintenance Schedule and Environmental Tips
- Frequently Asked Questions
- How do you clean an arcade machine screen safely?
- What is the safest thing to clean a TV or arcade screen with?
- Can I use Windex on an arcade machine screen?
- How do I clean an Arcade1Up screen without scratching it?
- Is vinegar safe for an LCD arcade screen?
- What should I avoid when cleaning an arcade machine screen?
- Final Thoughts
Why Proper Arcade Screen Cleaning Matters?
Arcade screens look tough, but the top layer is often the most fragile part of the cabinet. CRTs use a phosphor coating that can scratch, burn, or wear away. LCDs ship with anti-reflective and anti-glare coatings that dissolve when exposed to ammonia, alcohol, or vinegar. Even the clear plastic overlay on many Arcade1Up and cocktail cabinets scratches easily if you rub it with anything abrasive.
Proper cleaning extends the life of your display, preserves resale value, and keeps gameplay crisp. I have seen original Pac-Man and Galago cabinets lose 30% of their visual clarity within five years simply because the screen was cleaned with Windex and a kitchen towel. The same cabinets, cleaned the right way, still look stunning decades later.
Safety First: Preparing to Clean Your Arcade Machine Screen
Before you touch a single cloth, you need to make the machine safe to work on. This is the most important step in how to clean an arcade machine screen safely.
Power Down and Unplug
Turn off the cabinet and unplug it from the wall. Never clean a screen while the machine is running. Liquids and electricity do not mix, and a powered screen also builds up static that attracts more dust the moment you finish wiping. I wait at least 60 seconds after powering down before opening any service panels.
Discharge CRT Cabinets Properly
If you own a vintage CRT arcade machine, the monitor can hold a dangerous high-voltage charge even after unplugging. Capacitors inside the monitor cage can store 25,000 volts for days. Do not open the monitor housing unless you have been trained to discharge it safely. For routine external screen cleaning, you do not need to touch the internals and there is no exposed risk. Just keep the back of the cabinet off until the monitor has had time to fully discharge.
Work in a Clean, Low-Dust Area
Move the cabinet away from open windows, fans, or HVAC vents before cleaning. I learned this lesson while cleaning near a window and watching dust swirl onto the screen faster than I could wipe it. If you can, close doors and turn off any air movers in the room 15 minutes before you start.
Wash and Dry Your Hands
Oils from your fingers transfer to the screen the moment you grab the bezel. Wash your hands with plain soap, skip the lotion, and dry them thoroughly. This single habit cuts your fingerprint-smudge workload in half.
What You’ll Need: Safe Cleaning Supplies
The safest cleaning kit for arcade screens is also the simplest. Most of what you need is probably already in your house.
Microfiber cloths (lint-free, 240+ gsm): Two cloths minimum. One for dry dusting, one for damp cleaning. Microfiber lifts dust and oils without scratching. Avoid generic “cleaning cloths” from dollar stores; they often have hidden polyester blends.
Distilled water: Tap water leaves mineral spots. Distilled water evaporates cleanly. A gallon jug costs about a dollar and lasts for years.
Isopropyl alcohol (70% or less, optional): Useful for stubborn smudges but only on glass or bare plastic. Never on anti-glare LCD coatings or CRT phosphor.
Soft-bristle paint brush or anti-static brush: For loosening dust in bezels, vents, and seams before you wipe.
Screen-safe cleaner (commercial): Products like Brillianize, Novus #1, or generic screen cleaners work well when labeled safe for coated displays. Skip anything with ammonia, acetone, or ethyl alcohol.
Cotton swabs: For reaching corners, button edges, and the inside of the bezel groove.
Compressed air (optional): Use short bursts to blow dust out of vents. Hold the can upright to avoid spraying propellant.
How to Clean an Arcade Machine Screen Safely: Step-by-Step
This is the same order I use on every cabinet that comes through my workshop. Follow these steps in order and you will not damage the screen.
Step 1: Dry Dust First
Take a clean, dry microfiber cloth and gently wipe the screen using light pressure. Use straight, overlapping strokes from top to bottom. Do not press hard. The goal is to lift loose dust, not grind it into the surface. Skipping this step turns the dry dust into wet paste when you add liquid, which is the number-one cause of micro-scratches.
Step 2: Brush the Bezel and Edges
Use a soft brush to loosen dust in the seam between the screen and the bezel. Sweep outward, away from the screen. This prevents dust from falling back onto the freshly cleaned glass in the next step.
Step 3: Apply Cleaner to the Cloth, Not the Screen
This is the rule arcade restorers repeat more than any other. Spray or drip your cleaning solution onto the microfiber cloth, never directly onto the screen. Liquid seeping under the bezel can damage internal boards, attack adhesives, and leave streaks that are nearly impossible to remove later.
Step 4: Wipe in Gentle, Consistent Motions
Wipe the screen with the dampened cloth using slow, horizontal strokes. Work from top to bottom. For circular screens, follow the curve. Avoid back-and-forth scrubbing. Even pressure, even direction, even speed. If a smudge does not lift, stop and move to Step 5. Do not keep rubbing.
Step 5: Address Stubborn Smudges
For fingerprints or sticky residue, breathe lightly on the spot to fog it, then wipe once with a clean section of the cloth. If that fails, lightly dampen the cloth with a 50/50 mix of distilled water and 70% isopropyl alcohol. Test on a small corner first. Wipe once, then dry immediately with a second cloth.
Step 6: Dry and Buff
Take a fresh, dry microfiber cloth and buff the screen using the same gentle strokes. Any remaining moisture will evaporate cleanly, but buffing prevents water spots and restores optical clarity.
Step 7: Final Inspection
Turn the cabinet so a light source reflects across the screen at a low angle. Any leftover streaks, dust, or smudges will show up clearly. Spot-clean those last areas with a barely-damp corner of your cloth.
CRT vs LCD Screens: What Changes
The cleaning technique above is the same for any arcade screen, but the underlying technology changes what you should and should not do.
CRT Monitors (Vintage Cabinets)
CRT screens have a glass face with a phosphor coating on the inside. The outside is normally glass, sometimes with an anti-glare etching. Glass is hard, so you can use slightly more pressure than with LCDs. Avoid any cleaner that contains ammonia, as it can cloud the anti-glare coating over time. Stick to distilled water, mild soap solutions, or dedicated CRT cleaners. Never touch the inside of the screen. If you see dust behind the glass, it is inside the monitor tube and should be left alone unless you have the tools to open the chassis safely.
LCD and LED Screens (Modern Cabinets, Arcade1Up)
LCD screens have a soft plastic top layer with anti-reflective coatings. That coating is vulnerable to alcohol, ammonia, vinegar, and abrasives. Use only distilled water or a cleaner specifically labeled safe for coated LCD displays. Apply less pressure, not more. If you can see the pixels shifting when you press, you are pressing too hard.
Plastic Screen Covers (Overlay Panels)
Many cabinets, especially Arcade1Up, sit a thin piece of plexiglass or polycarbonate in front of the actual display. These covers scratch easily and yellow with age. Clean them with the same microfiber-and-distilled-water method, but avoid isopropyl alcohol as it can craze the plastic over time. For clouded or yellowed covers, consider replacement rather than restoration.
Cleaning the Bezel, Control Panel, and Cabinet Exterior
When you have the microfiber out already, it pays to clean the rest of the cabinet. The screen never looks great against a dusty bezel.
Bezel and Frame
Wipe the bezel with a barely-damp microfiber cloth. Plastic bezels can handle a tiny amount of isopropyl alcohol for sticky residue, but keep it off the screen. Use cotton swabs dipped in cleaner to reach tight corners and the seam where the bezel meets the glass.
Control Panel
The control panel takes more abuse than any other surface. Buttons get sticky, joysticks collect grime, and overlays fade. Remove the buttons if you can. Wipe the metal panel with a soft cloth dampened with distilled water and a drop of mild dish soap. For stubborn buildup around buttons, use a soft brush and a tiny amount of isopropyl alcohol. Avoid soaking the area, as liquid can run down into the switch contacts.
Cabinet Exterior
Side art and marquees wipe clean with a damp microfiber cloth. Dry them immediately to prevent water spots. Skip all-purpose sprays, which can damage printed artwork. For sticky residue from old stickers, use a small amount of Goo Gone on a cloth, then wipe clean with a damp microfiber cloth to remove any leftover film.
What NOT to Use on an Arcade Machine Screen
This is the shortest path to ruining a screen. Avoid all of these, even if a forum post swears by them.
Paper towels: They look soft but contain wood fibers that scratch. Every restoration forum has horror stories.
Windex or glass cleaner: Ammonia dissolves anti-glare and anti-reflective coatings over time. Even a single heavy use can leave haze.
Vinegar or lemon juice: Acids attack the coating and can damage plastic bezels.
Alcohol wipes (70%+ IPA): Safe in tiny amounts on bare glass, but they strip coatings on LCDs and craze plexiglass overlays.
Acetone or nail polish remover: Will permanently fog any plastic or coated surface.
Magic Erasers: Micro-abrasive. They will polish scratches into a display that did not have them before.
Spraying directly onto the screen: Liquid migrates under the bezel and causes damage you cannot see until it is too late.
Shirt sleeves, bath towels, or old t-shirts: They feel soft but trap grit and grind it into the surface.
Arcade1Up Screen Cleaning and Removal Tips
Arcade1Up cabinets are the most common home arcade machines in 2026, and they bring a unique set of cleaning challenges. The screens are LCD with a thin plastic overlay, and the bezels are held in place with light clips rather than screws.
Cleaning Without Disassembly
For routine cleaning, follow the seven-step process above. Use only distilled water on the microfiber cloth. Skip isopropyl alcohol entirely, since the plastic overlay is especially sensitive. Work quickly and lightly to avoid pressing on the LCD panel itself.
Removing the Bezel
If dust collects inside the bezel, you can pop it off for deeper cleaning. Gently pry the top edge with a plastic spudger or a credit card wrapped in tape. Work your way around slowly. The clips are fragile, and replacement bezels for older Arcade1Up models are no longer made. Once removed, clean the inside of the plastic with distilled water and a microfiber cloth, and let it air dry completely before reassembly.
What to Avoid on Arcade1Up
Do not use any cleaner with ammonia, alcohol, or vinegar. Do not press hard on the screen. The LCD panel underneath is held in place with light adhesive and flexes easily. If you see color distortion while wiping, you are pressing too hard.
Troubleshooting Stubborn Smudges and Sticker Residue
Some messes do not come off with the standard routine. Here is how I handle the worst cases without damaging the screen.
Old Sticker Residue
Light stickers from price tags or arcade stickers leave a sticky film that attracts dust. Dampen a corner of a microfiber cloth with a tiny amount of Goo Gone and press it onto the residue for 30 seconds. Wipe once, then immediately clean the area with distilled water to remove any solvent film. Avoid using Goo Gone on bare plastic overlays.
Smoke or Nicotine Film
Yellow-brown film builds up on screens in smoking environments. Wipe first with a microfiber cloth dampened with distilled water and a single drop of mild dish soap. Rinse by wiping with a clean water-dampened cloth, then dry. Repeat as needed. For severe buildup, Novus #2 followed by Novus #1 works on glass CRTs but test cautiously on coated LCDs.
Hard Water Spots
If you accidentally used tap water, mineral spots can appear. Dampen a microfiber cloth with distilled white vinegar diluted 1:1 with distilled water, then wipe the spot quickly and dry immediately. Do not leave vinegar on the screen for more than a few seconds.
Stuck Pixels or Lines
Cleaning will not fix a stuck pixel or a horizontal line. Those are panel defects, not dirt. If you see artifacts that do not wipe away, document the issue and look into a replacement panel or a recap of the monitor board.
Maintenance Schedule and Environmental Tips
Cleaning is one part of maintenance. The other part is keeping the screen from getting dirty in the first place. Most arcade owners never think about humidity, airflow, or dust sources until they see a problem. Here is the routine I follow.
Weekly Light Dusting
A quick pass with a dry microfiber cloth every week keeps dust from building up. This is the single most effective habit for keeping screens clean.
Monthly Damp Wipe
Once a month, do a full clean using the seven-step process. This is enough for most home environments.
Quarterly Deep Clean
Every three months, vacuum the inside of the cabinet through the rear vents (machine unplugged), brush out the bezel seams, and clean the control panel thoroughly.
Environmental Factors
Humidity between 40% and 60% is the sweet spot for arcade storage. Too dry, and static builds up and attracts dust. Too humid, and the CRT can suffer from arcing or the LCD can develop internal condensation. A small dehumidifier or humidifier in your game room goes a long way. Keep cabinets away from direct sunlight, which fades side art and bakes dust onto screens. Avoid basements with damp floors and garages with wild temperature swings.
Cover When Not in Use
A breathable dust cover over the cabinet when not in use dramatically reduces cleaning frequency. Avoid plastic sheeting, which traps moisture. A cotton or canvas cover is best.
Frequently Asked Questions
How do you clean an arcade machine screen safely?
Power off and unplug the cabinet, then dry-dust with a microfiber cloth. Apply a small amount of distilled water (or a 50/50 mix of distilled water and 70% isopropyl alcohol for glass CRTs) to a second cloth, never directly to the screen. Wipe in gentle, even strokes from top to bottom, then buff dry with a fresh microfiber cloth.
What is the safest thing to clean a TV or arcade screen with?
A clean microfiber cloth and distilled water is the safest option for any modern screen. For tougher smudges on bare glass CRTs, a 50/50 mix of distilled water and 70% isopropyl alcohol works well. Avoid any cleaner with ammonia, vinegar, or acetone.
Can I use Windex on an arcade machine screen?
No. Windex contains ammonia, which slowly dissolves anti-reflective and anti-glare coatings on LCDs and can cloud the etched glass on CRTs. Use distilled water or a cleaner specifically labeled safe for coated displays instead.
How do I clean an Arcade1Up screen without scratching it?
Use only a soft microfiber cloth dampened with distilled water. Skip all chemicals, including isopropyl alcohol, because the plastic overlay on Arcade1Up screens scratches and crazes easily. Press very lightly and avoid scrubbing the same spot repeatedly.
Is vinegar safe for an LCD arcade screen?
Plain white vinegar diluted 1:1 with distilled water can remove hard water spots, but it should only stay on the screen for a few seconds and must be wiped off immediately. For routine cleaning, distilled water alone is safer and easier.
What should I avoid when cleaning an arcade machine screen?
Avoid paper towels, Windex, ammonia-based cleaners, vinegar beyond a quick spot treatment, acetone, alcohol wipes, magic erasers, and spraying any liquid directly onto the screen. All of these can scratch, haze, or strip the protective coatings on modern displays.
Final Thoughts
Knowing how to clean an arcade machine screen safely comes down to a few stubborn habits: microfiber only, distilled water first, never spray on the screen, and never use anything abrasive. Follow those rules and you will keep your CRT, LCD, or Arcade1Up display looking new for years. The screens that survive decades in collections are almost always the ones that were cleaned the right way from day one. Start with the basics, build a weekly dusting habit, and your arcade machine will reward you with crisp, clean gameplay for every session in 2026 and beyond.