
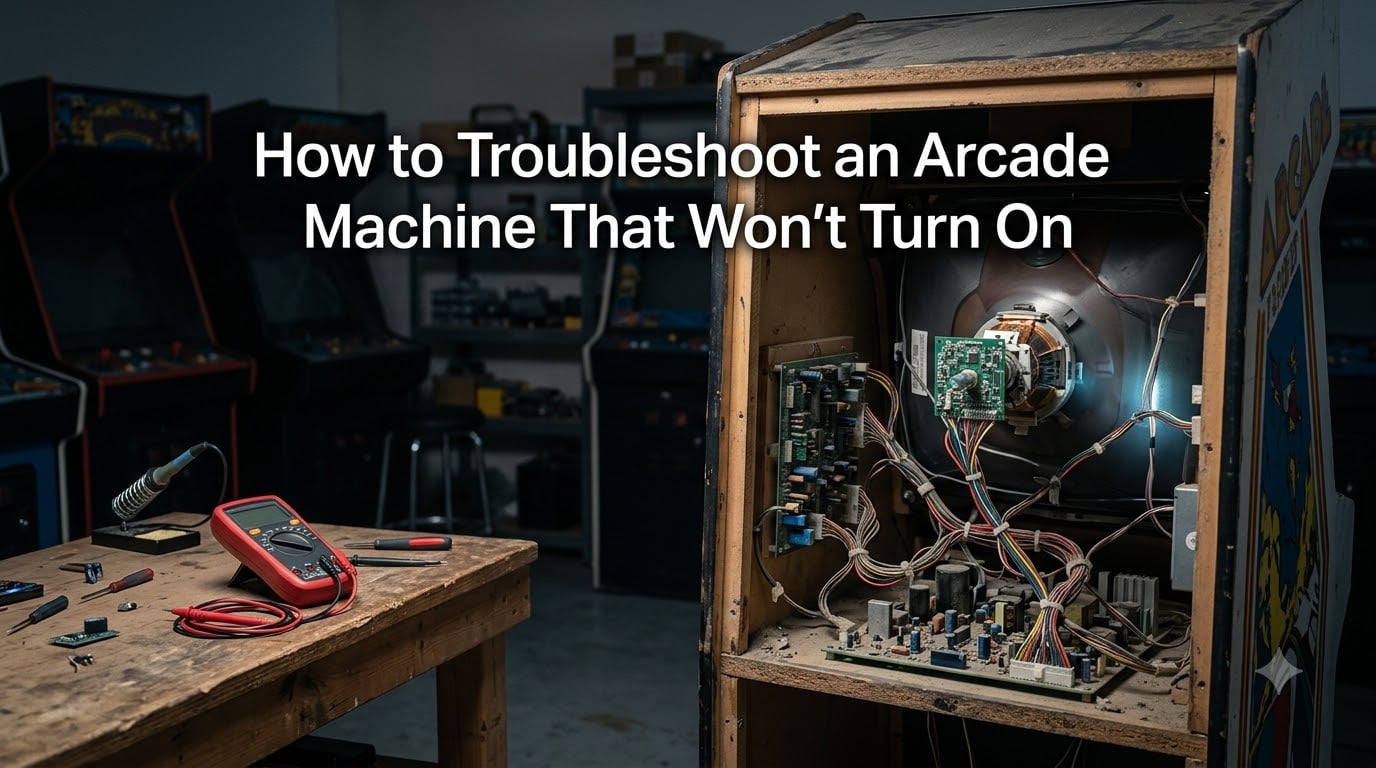
When your arcade machine won’t turn on, the silence is deafening. I know because I’ve stared at a dead Galaga cabinet in my garage at 11 PM wondering where to start. After fixing dozens of cabinets over the years, I’ve learned that almost every “won’t turn on” problem traces back to one of five things: a dead outlet, a blown fuse, a failed power supply, a broken door switch, or a loose internal connection. This guide walks you through arcade machine troubleshooting in the exact order I run it on every service call, so you can figure out what is wrong without spending money on parts you don’t need.
Before we get into the diagnostic steps, an honest warning: vintage arcade cabinets contain a cathode ray tube (CRT) that can hold a lethal charge even after the machine is unplugged. If your cabinet has a CRT, treat the inside with respect. I’ll cover the safety procedures before touching any components.
Table of Contents
- Safety First: Essential Precautions Before You Open the Cabinet
- How to Troubleshoot an Arcade Machine That Won’t Turn On: Step-by-Step
- Power Supply Unit (PSU) Diagnosis with a Multimeter
- Fuse Checking and Replacement Guide
- Door Switch and Power Switch Troubleshooting
- Arcade Machine Has Power But No Display
- Joystick and Button Control Panel Issues
- Sound and Coin Mechanism Problems
- Arcade1Up Specific Issues That Prevent Power-On
- When to Call a Professional Arcade Repair Service
- FAQs
- Final Thoughts on Arcade Machine Troubleshooting
Safety First: Essential Precautions Before You Open the Cabinet
Skipping safety is the fastest way to turn a simple repair into an emergency room visit. I keep this checklist taped to the inside of every cabinet I work on.
Power and discharge precautions:
Unplug the cabinet for at least 10 minutes before opening it.
Discharge the CRT anode using a high-voltage probe with a grounded clip. Never touch the anode cup with bare hands.
Keep one hand in your pocket when probing live circuits. This prevents current from passing through your heart.
Never work on a cabinet while standing on a wet floor or in wet shoes.
Tools you should have on hand:
Digital multimeter (autoranging is fine, but a manual-ranging meter is more accurate for arcade voltages)
Insulated screwdriver set with rubber-grip handles rated to 1000V
Replacement fuses in the correct amperage (typically 3A fast blow and 5A slow blow for the main)
Needle-nose pliers and wire strippers
A bright LED flashlight or headlamp
Compressed air for cleaning dust before inspection
Camera (your phone works) to document wire positions before disconnecting anything
Time required: Plan for 30 to 90 minutes for a first-pass diagnostic. If you get stuck, stop and call a professional rather than guessing on high-voltage components.
How to Troubleshoot an Arcade Machine That Won’t Turn On: Step-by-Step
Follow this numbered sequence before you start swapping parts. Order matters because the cheapest and most common causes come first. Skipping ahead has cost me fuses and, once, a perfectly good control board.
Step 1: Verify the wall outlet. Plug a lamp or phone charger into the same outlet. If the outlet is dead, check the breaker panel. GFCI outlets in home game rooms trip often, especially with old cabinets that have minor current leaks.
Step 2: Inspect the power cord. Look for cracked insulation, bent prongs, or a missing ground pin. Flex the cable near the strain relief. If the cabinet flickers when you wiggle the cord, the cable is the failure. Replace the entire cord, not just the plug.
Step 3: Listen and look for signs of life. Stand next to the cabinet and flip the power switch. Listen for a transformer hum, a click from the monitor, or the sound of cooling fans. Even one of these means the machine is partially powering up and you have a different problem than a fully dead cabinet.
Step 4: Open the cabinet and check the door switch. Most arcade cabinets have an interlock switch that cuts power when the coin door is open. If this switch is misaligned, broken, or has a loose wire, the cabinet will appear completely dead. Press the switch manually with a screwdriver to test it.
Step 5: Check the fuses visually and with a multimeter. Pull the main fuse and any secondary fuses. Look for a broken filament or black soot inside the glass. Then test continuity with a multimeter set to Ohms. A reading of “OL” or infinity means the fuse is blown.
Step 6: Test the power supply voltages. With the cabinet powered on and the door switch held closed, probe the PSU output wires. A standard JAMMA wiring harness should show +5V (red), +12V (yellow), and -5V (blue) on the respective pins. Tolerances are typically plus or minus 5 percent. Readings outside this range mean the PSU needs replacement.
Step 7: Listen for clicking or smell for burning. A repeated clicking sound from the PSU usually means the unit is shorting out and trying to restart. A burning smell means stop immediately and unplug the cabinet. Both symptoms point to a failing PSU or a downstream component drawing too much current.
Step 8: Inspect the wiring harness for obvious damage. Look for disconnected Molex connectors, pinched wires near the coin door, and corroded ground lugs. The most common cause of “intermittent no power” symptoms is a loose ground wire on the PSU chassis.
Power Supply Unit (PSU) Diagnosis with a Multimeter
The PSU is the heart of arcade machine troubleshooting and the most common cause of a cabinet that won’t turn on. A typical arcade PSU converts AC wall current into the three DC voltages that arcade boards need to operate: +5V for logic, +12V for sound and lights, and -5V for older JAMMA boards.
What to set the multimeter to: DC voltage, 20V range. Touch the black probe to any chassis ground point (bare metal screw or the PSU ground lug). Touch the red probe to each colored wire on the PSU output. A healthy PSU will show readings within 5 percent of the target voltage.
Interpreting the results:
+5V reading between 4.75V and 5.25V: PSU is healthy.
+5V reading below 4.75V: PSU is failing under load. Replace it.
+12V reading below 11.4V: PSU is failing or the connected board is drawing too much current. Disconnect the load and re-test.
-5V reading absent: Older switching PSUs often skip this rail. Confirm with your board’s documentation.
When to replace the PSU: Replace the unit if any rail is out of tolerance, if the unit makes a high-pitched whine, or if it has visible capacitor bulging on the circuit board. New switching PSUs from Sanwa, Mean Well, or Happ are drop-in replacements for most JAMMA cabinets and run around 1A to 6A at 5V depending on your game’s needs.
Fuse Checking and Replacement Guide
Fuses are sacrificial. They blow to protect more expensive components downstream. If a fuse keeps blowing after replacement, do not just install a higher-amperage fuse. That is a fire waiting to happen. Instead, find the underlying short.
Fast blow vs slow blow: Use the exact type printed on the fuse cap or listed in the cabinet’s manual. Fast blow fuses protect sensitive electronics and trip instantly. Slow blow fuses tolerate the momentary surge of a CRT warming up and a transformer energizing. Swapping one for the other is a common mistake that causes nuisance trips or no protection.
Common amperage values in arcade cabinets:
Main AC fuse: 3A to 5A slow blow
Monitor fuse: 2A to 3A fast blow
Sound amp fuse: 1A to 2A fast blow
Lighting fuse: 1A to 3A fast blow
How to test a fuse without removing it: Set the multimeter to continuity mode. Touch both ends of the fuse in-circuit. A beep means the fuse is good. Use the chassis ground as your reference point if you are checking voltage on either side of the fuse holder.
Why fuses blow repeatedly: A blown main fuse that was fine yesterday almost always means the PSU is shorted internally. A blown monitor fuse usually means the monitor chassis has a failing capacitor or a shorted diode. Replace the root cause, not just the fuse.
Door Switch and Power Switch Troubleshooting
Door switches save lives by cutting power when the coin door is open, but they also cause fake “won’t turn on” symptoms more often than any other component. The switch is a simple mechanical plunger that opens a circuit when the door is closed.
How to test it: With the cabinet unplugged, disconnect the two wires from the door switch. Use your multimeter in continuity mode. The switch should show continuity when the plunger is pressed (door closed) and open circuit when released (door open). If the switch is stuck in either position, replace it. They cost under 10 dollars and clip right in.
Power switch testing: The main power switch is typically a heavy-duty rocker switch rated for 10A or more. Test it the same way. A switch that feels loose or fails to click firmly is failing internally and should be replaced.
Bypass warning: Never bypass the door switch with a wire jumper as a permanent fix. It is there to protect you. A common field workaround is to leave the switch in place but bypass it temporarily for bench testing, then restore the safety circuit before playing.
Arcade Machine Has Power But No Display
If you hear fans and see marquee lights but the screen stays dark, the power supply is working and the issue is downstream. This is its own troubleshooting path.
CRT monitors: A failing monitor chassis is the most common cause. Look for the heater glow inside the neck of the tube (a faint orange line). No glow means no filament voltage, which usually means a bad chassis or a broken connection to the monitor board. A strong glow but no picture means the chassis is putting out high voltage but the game board signal is missing.
LCD conversions: If you have a modern LCD swap, the issue is usually the video board or the HDMI cabling. Reseat the JAMMA-to-video adapter board and check the 12V line is reaching the monitor’s inverter or driver board.
Video boards: Test the game board by swapping in a known-good board from another cabinet. If the picture appears, the original board has a failure. If it stays blank, the wiring harness or monitor is the issue.
Joystick and Button Control Panel Issues
Control panel problems rarely cause a “won’t turn on” symptom, but if your cabinet powers up but won’t accept inputs, the issue is usually here. Modern JAMMA harnesses use standard pinouts, but home builds and Arcade1Up mods use USB encoders that can fail in surprising ways.
Micro-switch testing: Disconnect the harness from the control panel. Press a button or move a joystick and listen for the click. A working micro-switch clicks sharply. A lazy or silent switch is failing. Replace the entire switch rather than trying to clean it. The cost is around 2 dollars and the repair takes 5 minutes.
Wiring harness continuity: Set the multimeter to continuity mode. Touch one probe to the quick-disconnect terminal at the button and the other to the corresponding pin on the JAMMA connector. A beep means the wire is good. No beep means the wire is broken inside the insulation, often where the wire flexes at the control panel hinge.
Arcade1Up control boards: The USB encoder boards in Arcade1Up cabinets are notorious for loose ribbon cable connections. Open the control panel, press each ribbon cable firmly back into its socket, and lock the ZIF connector. A reseat fixes about 60 percent of Arcade1Up input issues based on user reports across forums.
Sound and Coin Mechanism Problems
Sound and coin problems are usually independent of the power-on issue, but they share diagnostic patterns.
No sound diagnosis: Check the volume potentiometer on the control panel. Then follow the speaker wires back to the amplifier board. Most arcade amps run on +12V, so a missing amp usually means the same +12V rail on the PSU is failing. Test the amplifier by touching a fresh 9V battery across the speaker inputs. A click confirms the speaker is good.
Coin mechanism not registering: The coin microswitch is what tells the game a coin went in. Open the coin door and press the switch by hand. If the credit counter advances, the mech is working. If it doesn’t, the switch is dirty or the wire has come off the quick-disconnect terminal.
Free play mode: If you don’t want to fix the coin mech, most games have a free play dip switch or menu option. Set it and forget the coin door entirely until you have time to service the mech.
Arcade1Up Specific Issues That Prevent Power-On
Arcade1Up cabinets are a special case because they use low-power LCD monitors and proprietary power bricks rather than a traditional arcade PSU. The failure modes are different.
Power adapter failures: Arcade1Up power supplies are underrated for the load. After a year or two of use, the 12V adapter often fails partially. The marquee lights up but the monitor doesn’t, or the cabinet only works when cold. Replace the adapter with a higher-amperage unit (typically 4A or more) of the same voltage. Generic replacements work fine for around 15 dollars.
USB board connection issues: The small USB encoder boards inside the control panel and the admin buttons board at the top of the cabinet are connected with thin ribbon cables that work loose over time. Reseat every ribbon cable and check the locking tabs on the ZIF connectors.
HDMI and video board swaps: Many Arcade1Up mods replace the original board with a Raspberry Pi or a MiSTer setup. These have their own bootup quirks. If the modded cabinet won’t turn on, check the mod’s power switch wiring rather than the original Arcade1Up harness.
Common Reddit-reported fixes: Users on the Arcade1Up subreddit consistently report success by swapping the power supply between two cabinets to isolate the problem. If you have a friend with a working Arcade1Up, this is the fastest way to confirm your PSU is bad.
When to Call a Professional Arcade Repair Service
Knowing where to stop is part of good arcade machine troubleshooting. Some repairs are unsafe or uneconomical to DIY, and pushing past your skill level usually makes the problem worse.
Stop and call a professional if:
The CRT flyback transformer shows any sign of failure (cracks, burn marks, or a strong ozone smell). The flyback generates 25,000 volts and is not a beginner repair.
The PCB has visible burnt traces or lifted pads. These require microsoldering skills and a hot air rework station.
The PSU is original to a 1980s cabinet and has never been recapped. Old electrolytic capacitors leak and damage traces.
The cabinet is still under warranty. Arcade1Up and most modders will void your warranty the moment you open the case.
You have replaced the obvious components and the cabinet still has no power. At this point, you are likely looking at a board-level failure that needs bench diagnosis.
DIY vs repair cost rule of thumb: If the estimated professional repair cost is more than 50 percent of the cabinet’s replacement value, replace the cabinet. If the cabinet has sentimental value or is a rare model, the professional repair is worth it even at higher cost.
Finding a tech: Look for arcade repair specialists on the KLOV forums, the ArcadeControls forum, or the r/arcade subreddit. Local arcade route operators usually know a tech in your area. National shipping services like ArcadeShop and BitVint will accept cabinets for repair if no local option exists.
FAQs
Why is my arcade machine not turning on?
The most common causes are a dead wall outlet, a blown main fuse, a failing power supply, a misaligned door switch, or a loose internal power connection. Start by testing the outlet with a lamp, then move to the cabinet’s door switch and main fuse before testing the PSU voltages with a multimeter.
How to troubleshoot arcade machines at home?
Work through the system in order: outlet, power cord, door switch, fuses, power supply voltages, wiring harness, then individual boards. Use a multimeter to test continuity on fuses and switches, and DC voltage on the PSU output wires. Document every disconnected wire with a photo so you can reassemble correctly.
Why won’t my Arcade1Up turn on?
Arcade1Up cabinets use low-voltage power adapters that fail after a year or two of use. The most common fix is replacing the 12V adapter with a same-voltage higher-amperage unit. Reseating the USB ribbon cables on the control board and admin board also clears a large number of no-power symptoms.
What are the common problems with Arcade1Up machines?
The top reported issues are failing power adapters, loose USB ribbon cable connections, dead buttons from worn micro-switches, and monitor backlight failures on older LCD panels. The good news is that all four are inexpensive to fix with widely available parts.
How do I know if my arcade power supply is bad?
Test the PSU with a multimeter while the cabinet is powered on. A healthy switching PSU shows +5V (plus or minus 5 percent), +12V (plus or minus 5 percent), and -5V on the JAMMA harness. Readings outside these ranges, a high-pitched whine, or a clicking sound all indicate the PSU needs replacement.
Final Thoughts on Arcade Machine Troubleshooting
Arcade machine troubleshooting rewards patience and method. The cabinet that looks dead is almost always fixable with a 30 dollar fuse, a 60 dollar power supply, or a 5 dollar door switch. Work the steps in order, document everything, and stop the moment you hit something that feels unsafe. Your cabinet will be back to blowing up pixels before you know it.
If you found this guide helpful, bookmark it for the next time a cabinet goes dark. And if you get stuck, drop a question in the comments below with your cabinet model and the symptoms. I read every one and will help you narrow down the fix.