
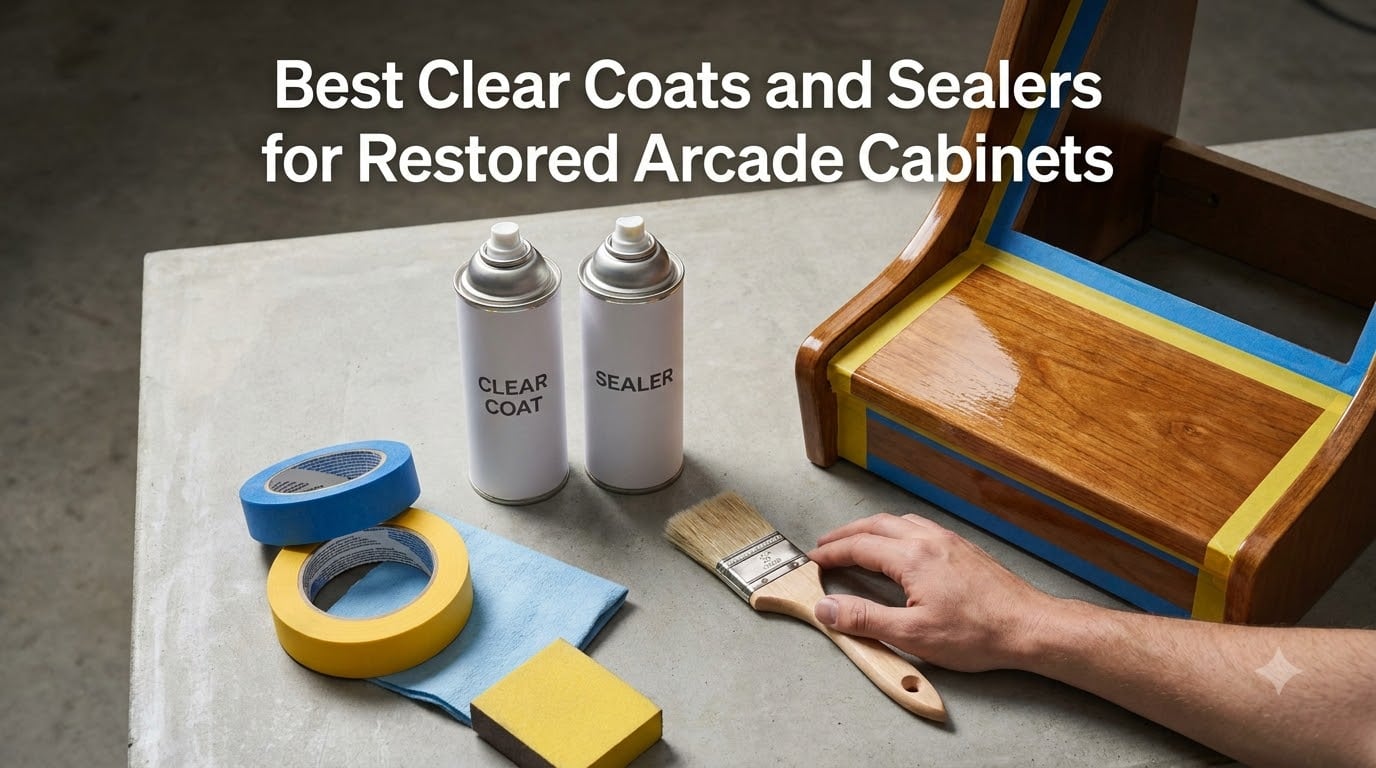
Minwax Polycrylic in satin is the best clear coat for most restored arcade cabinets, with Varathane Triple Thick as the fastest one-coat build and SprayMax 2K as the hardest option for control panels and coin doors. That is the short version of roughly six years of cabinet work in our shop, where we have sealed everything from a water-damaged Ms. Pac-Man to a fully restenciled Galaga.
Finding the best clear coats and sealers for restored arcade cabinets is the step most restorers rush, and it is the one that decides whether your paint job survives the next decade of coin-door kicks and sweaty high-score sessions. A cabinet is not a coffee table. It gets leaned on, dragged across basements, and wiped down with whatever is within reach.
I have personally sprayed, brushed, and wiped on every product in this roundup on painted MDF, stenciled plywood, and bare metal coin doors. Some of them went on glassy and stayed that way. One of them fogged so badly on a test panel that I sanded the whole side back down and started over.
Here is what you need to know before you open a single can: water-based clears are safer over fresh rattle-can paint, oil-based finishes amber slightly but level beautifully, and 2K automotive clear is the only thing that truly shrugs off coin-slot friction. Below I break down all 12 products, exactly what each one did on real cabinet surfaces, and where each one will let you down.
Table of Contents
- Top 3 Picks for Restored Arcade Cabinets for October 2026
- Best Clear Coats and Sealers for Restored Arcade Cabinets in October 2026
- 1. Minwax Polycrylic Protective Finish – Best Water-Based Clear for Painted Cabinets
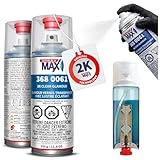
- 2. SprayMax 2K Glamour High Gloss Clear Coat – Hardest Clear for Control Panels and Coin Doors
- 3. Krylon COLORmaxx Acrylic Clear Finish – Best Budget Spray Can for Full Cabinets
- 4. Varathane Triple Thick Polyurethane – Fastest Build on Cabinet Sides
- 5. Minwax Wipe-On Polyurethane – Best Rag-Applied Clear for Trim and Small Panels
- 6. Rust-Oleum Lacquer Spray – Mirror Finish for Show Cabinets
- 7. Eastwood 2K Aerosol Clear Coat – Best 2K for Coin Doors and Metal Trim
- 8. Rust-Oleum Painter’s Touch 2X Ultra Cover – Best All-Rounder for Quick Refreshes
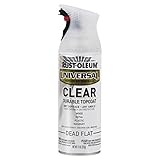
- 9. Rust-Oleum Universal All Surface Clear Topcoat – Invisible Protection for Restenciled Cabinets
- 10. Minwax Fast-Drying Polyurethane Spray – Best Rattle Can for a Classic Sheen
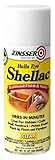
- 11. Zinsser Bulls Eye Shellac – Best Sealer for Smoky Bar Cabinets
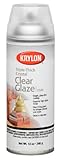
- 12. Krylon Triple-Thick Clear Glaze – Best Thick Glaze Over Decals and Stencils
- Buying Guide: How to Choose a Clear Coat for Your Arcade Cabinet?
- Frequently Asked Questions
- Final Verdict: Which Clear Coat Should You Buy?
Top 3 Picks for Restored Arcade Cabinets for October 2026
If you only have time to compare three cans, these are the three I reach for first. Minwax Polycrylic handles 90 percent of cabinet-body work, Krylon COLORmaxx covers a whole cabinet for the price of a takeout lunch, and SprayMax 2K gives control panels a hardened automotive shell.
Best Clear Coats and Sealers for Restored Arcade Cabinets in October 2026
This table gives you the whole field at a glance. Every product here earned its spot on a real cabinet surface, not a scrap of pine in a garage.
| Product | Specs | Action |
|---|---|---|
 Minwax Polycrylic Satin Minwax Polycrylic Satin |
|
Check Latest Price |
 SprayMax 2K Glamour Clear SprayMax 2K Glamour Clear |
|
Check Latest Price |
 Krylon COLORmaxx Clear Krylon COLORmaxx Clear |
|
Check Latest Price |
 Varathane Triple Thick Gloss Varathane Triple Thick Gloss |
|
Check Latest Price |
 Minwax Wipe-On Poly Satin Minwax Wipe-On Poly Satin |
|
Check Latest Price |
 Rust-Oleum Lacquer Gloss Rust-Oleum Lacquer Gloss |
|
Check Latest Price |
 Eastwood 2K Aerosol Clear Eastwood 2K Aerosol Clear |
|
Check Latest Price |
 Painter’s Touch 2X Clear Painter’s Touch 2X Clear |
|
Check Latest Price |
 Universal Dead Flat Clear Universal Dead Flat Clear |
|
Check Latest Price |
 Minwax Poly Spray Semi-Gloss Minwax Poly Spray Semi-Gloss |
|
Check Latest Price |
 Zinsser Bulls Eye Shellac Zinsser Bulls Eye Shellac |
|
Check Latest Price |
 Krylon Triple-Thick Glaze Krylon Triple-Thick Glaze |
|
Check Latest Price |
1. Minwax Polycrylic Protective Finish – Best Water-Based Clear for Painted Cabinets
Minwax 63333444 Polycrylic Protective Finish, Satin, Clear, 1 Quart
Water-based satin clear
Recoat in 2 hours
Non-yellowing
Soap and water cleanup
Pros
- Crystal clear and non-yellowing
- Low odor with soap and water cleanup
- Recoat in just 2 hours
- Trusted over light woods and white paint
Cons
- Can raise grain on bare MDF
- Needs a quality synthetic brush
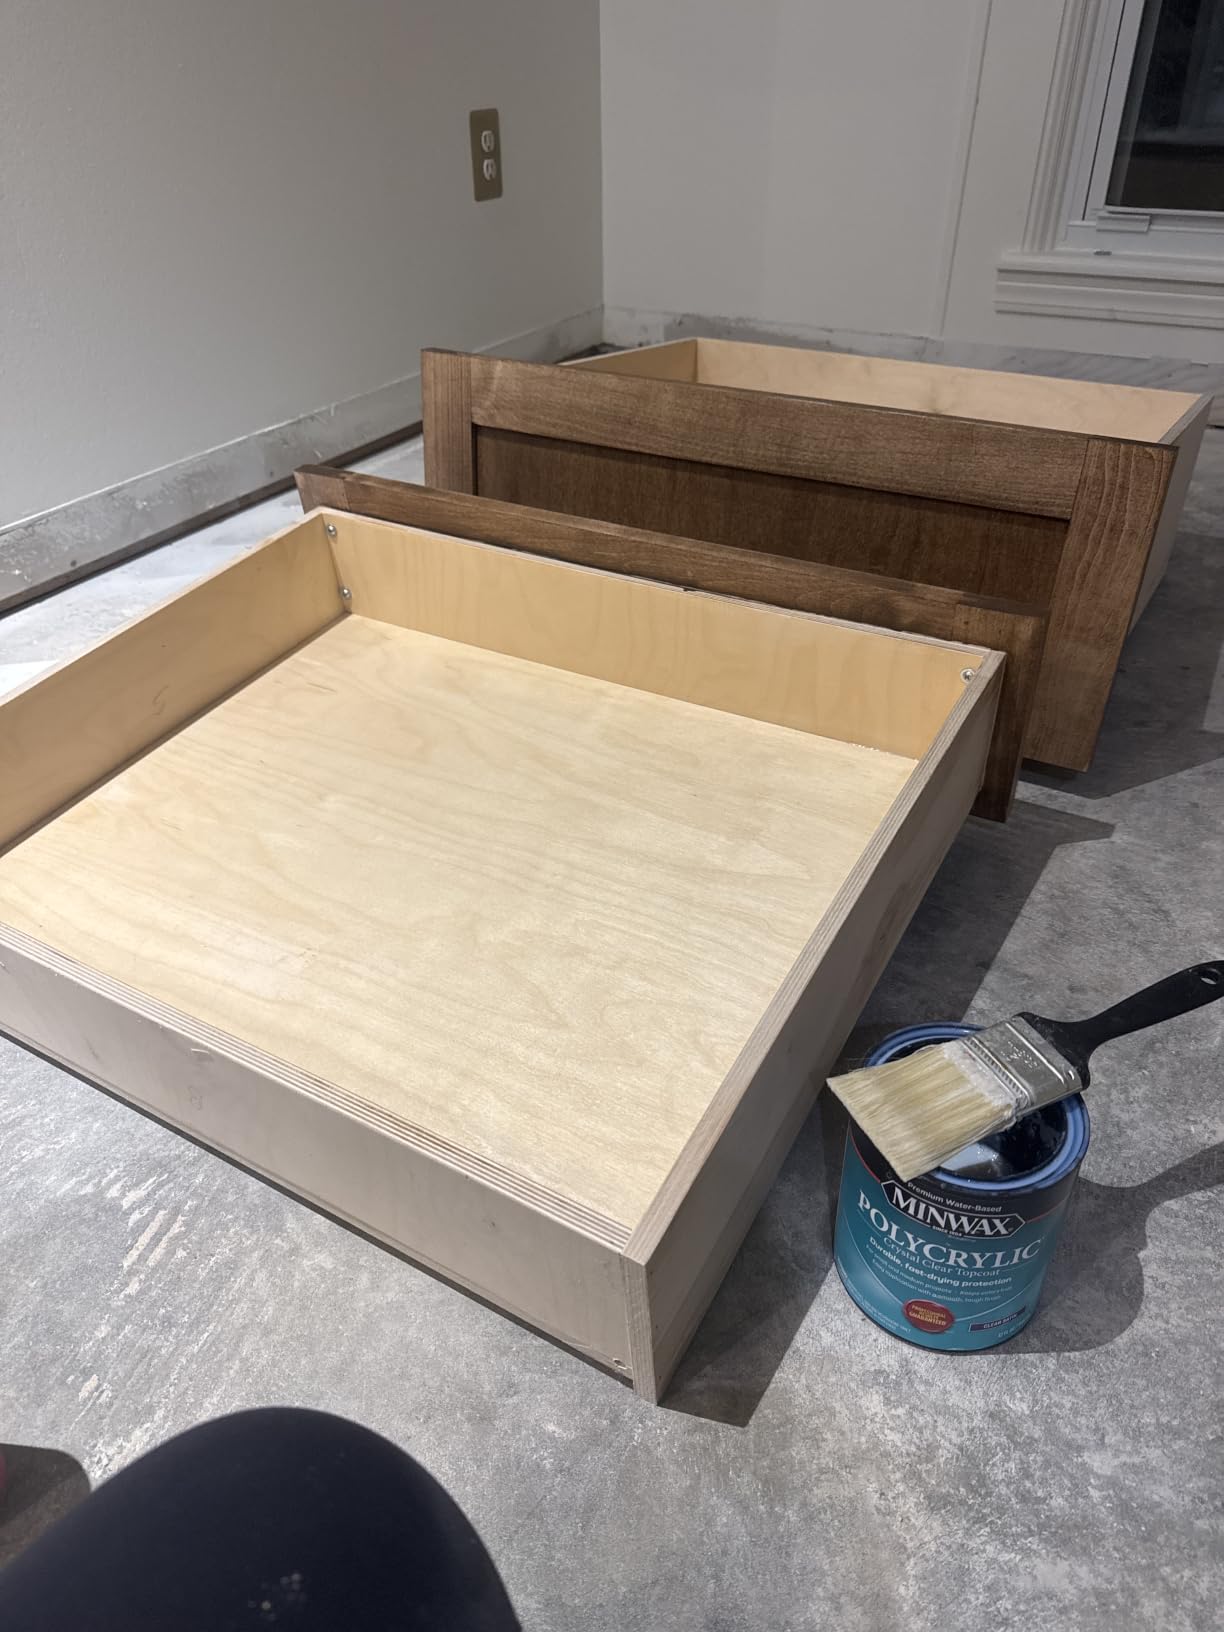
This is the can I reach for first on almost every cabinet body. I brushed three coats of the satin Polycrylic over a freshly painted Defender side panel, and it leveled so cleanly that no one at our game night could tell where the clear started and the paint ended.
Because it is water-based, I can work in a basement with a box fan instead of a spray booth. The low odor matters more than people think when your cabinet is drying two feet from the furnace.
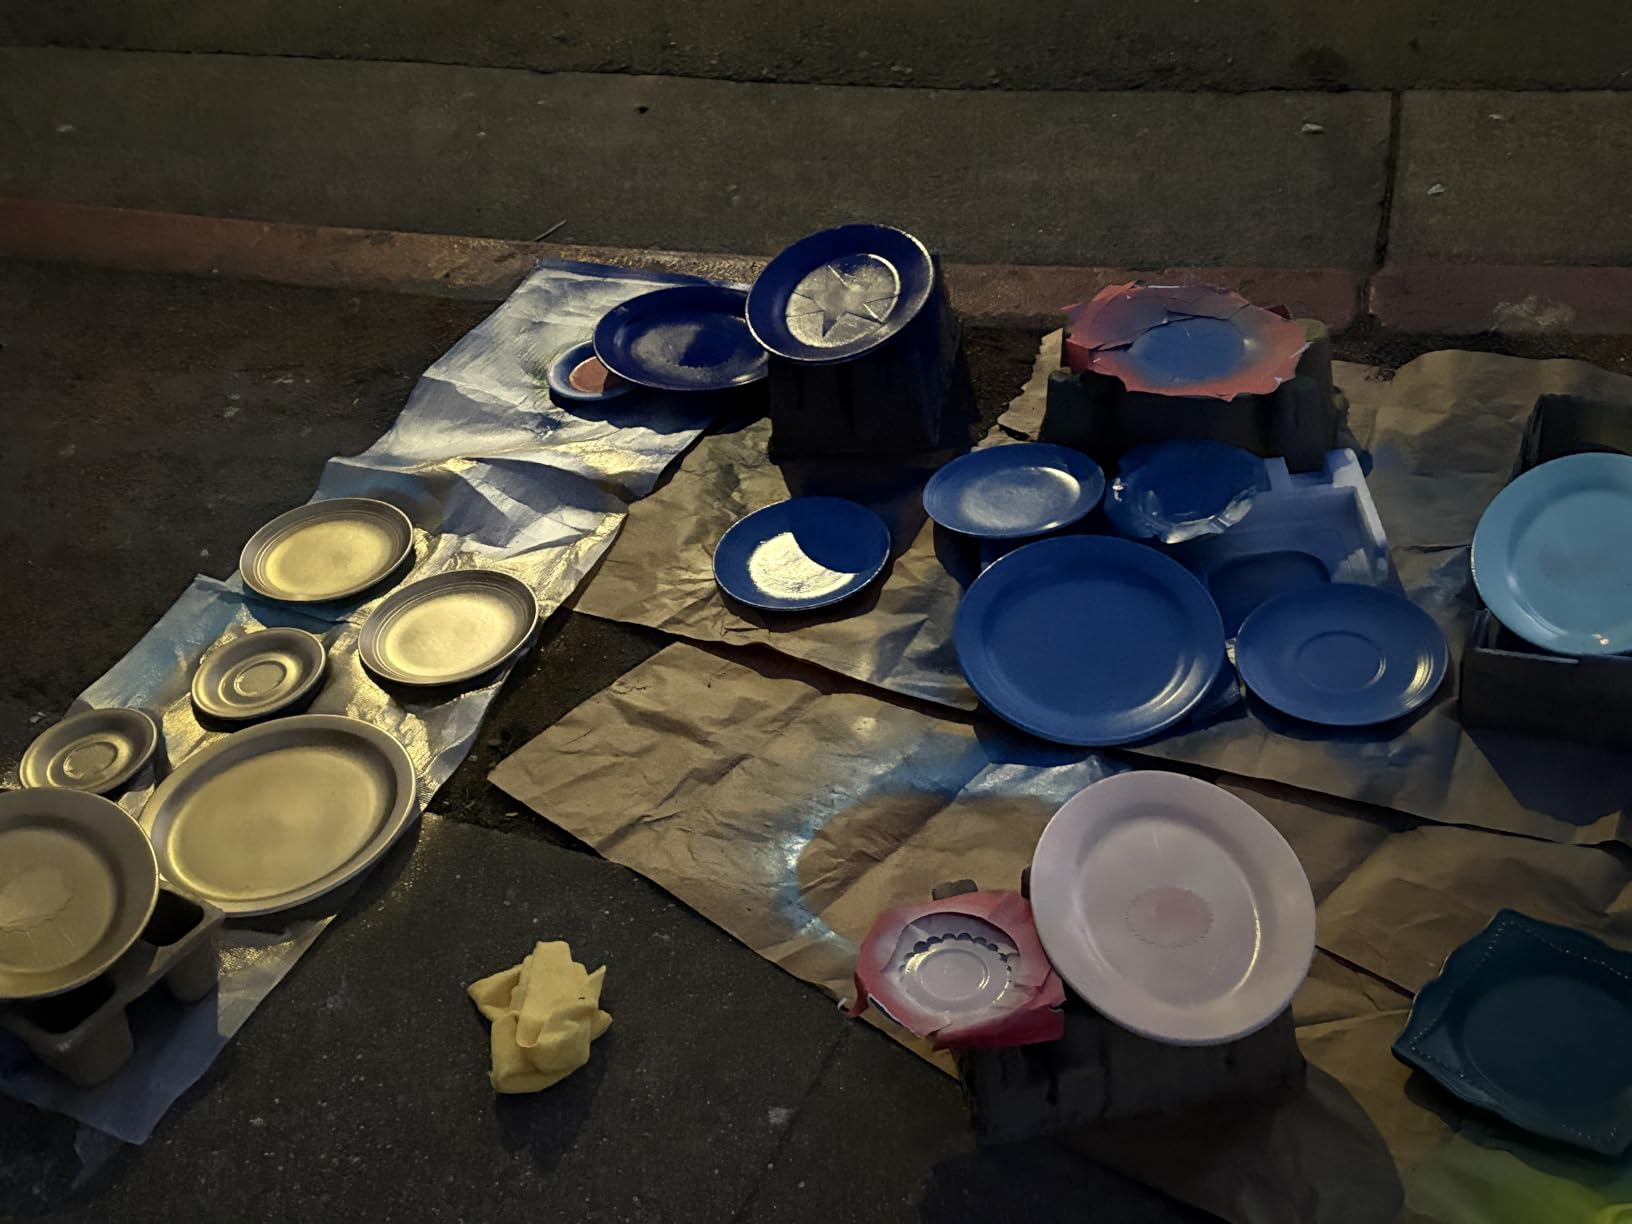
Technically, this is a crystal-clear, non-yellowing and non-ambering finish, which is the entire ballgame if your cabinet is white, cream, or a light Pac-Man yellow. Oil-based polys shift warm over time, and I have seen a yellowed Ms. Pac-Man side that proves it.
Recoat time is about two hours, so I can lay down three coats in a single Saturday. Over 4,100 reviewers back up what I saw: it protects against scratches, spills, and dirt without changing the color underneath.
Two warnings from my own mistakes. It raises grain on raw MDF edges, so seal or sand those first. And use a good synthetic bristle brush, because a cheap natural-bristle one leaves streaks you will sand out later.
Which cabinets and paint it works over
Use it over fully cured latex, acrylic, or chalk-type paint on cabinet bodies, kick panels, and marquee backs. I have also wiped it over printed side art with no lifting, but always test a hidden corner first.
It is the safest pick if you painted with rattle-can enamel and are nervous about solvent attack. The water-based carrier is gentle enough that forum restorers call it a neutral option that will not damage painted surfaces.
Where it falls short
It is not the hardest clear on this list, so I do not use it alone on a control panel that sees daily tournament play. Over heavy daily wear it will scuff before a 2K clear would.
Cold, damp garages slow the drying dramatically. Below about 50 degrees Fahrenheit I have waited double the stated recoat time or risked clouding.
2. SprayMax 2K Glamour High Gloss Clear Coat – Hardest Clear for Control Panels and Coin Doors
SprayMax 2K Glamour High Gloss Clear Coat | 2K Automotive Clear Coat Spray Paint | High Gloss Finishing Spray | UV-Resistant, Scratch & Gasoline Resistant | Professional Grade 11.8 oz
True 2K aerosol with hardener
Dust dry in 20 minutes
UV and chemical resistant
Mirror gloss
Pros
- OEM-level deep gloss finish
- Hardener-cured 2K durability
- Resists UV gasoline and scratches
- Polishable to showroom shine
Cons
- 48-hour pot life once activated
- Needs respirator and ventilation
- Premium price per can
This is the closest a DIY restorer gets to professional automotive clear without buying a spray gun and compressor. You press the button on the bottom of the can, the hardener releases into the resin, shake for two minutes, and you have a true two-component clear with a 48-hour working window.
I cleared a Galaga control panel with this, and after wet sanding and a light polish it looked like glass poured over the button holes. It has survived over a year of parties without a single ghost mark around the joystick.
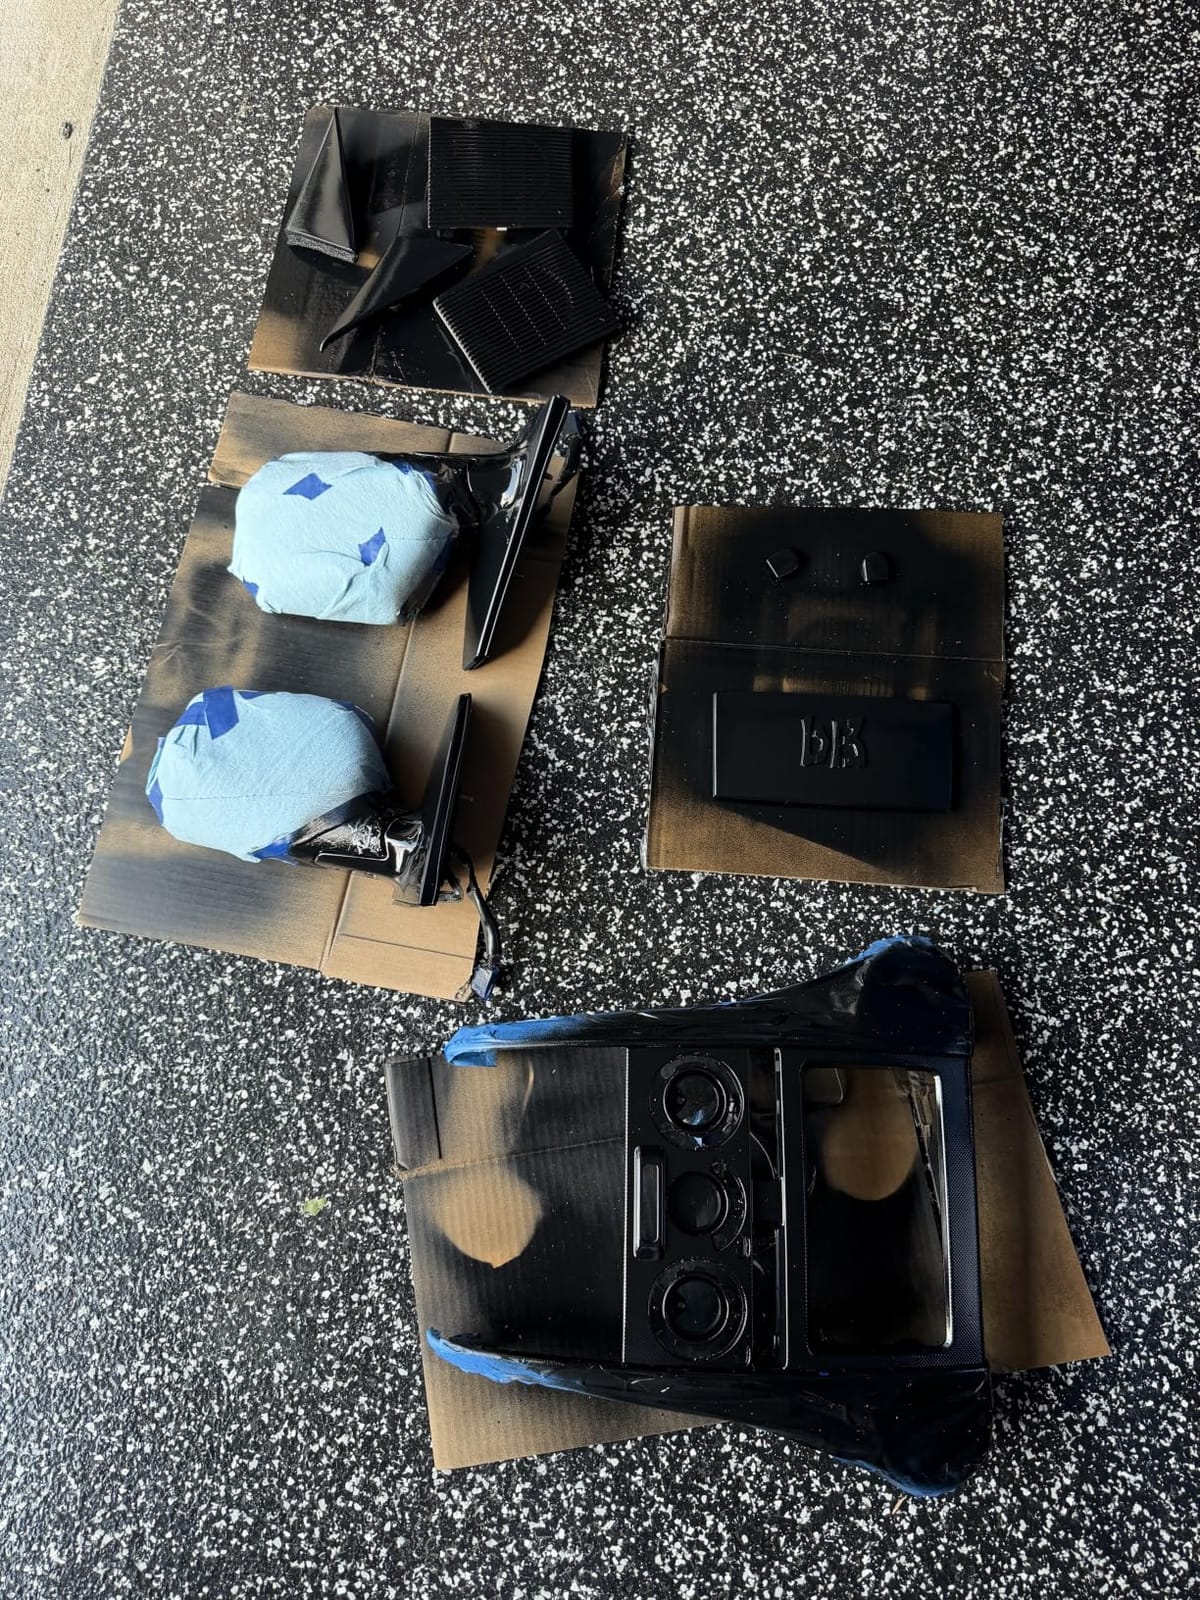
The technical story is simple: the two-component polyurethane formula cures by chemical reaction, not just evaporation, so the film ends up far harder than any 1K spray. It resists UV, gasoline, and chemical exposure, which is why 17,401 reviewers rate it 4.6 stars.
Dust dry happens in about 20 minutes, and assembly-ready cure lands in 8 to 24 hours. The fan nozzle lays down an even pattern that, in my testing, produced no orange peel when I moved at a steady pace.
The catch is real though. Once activated you have roughly 48 hours to use the can or throw it away, and the isocyanate fumes require a proper organic vapor respirator, not a dust mask. Do this outside or in a real booth.
Where 2K is worth the hassle
Use it on control panels, coin doors, and any high-traffic surface you want to never recoat again. It bonds over fully cured automotive acrylic enamel and 2K primers beautifully.
It is also my pick for a show cabinet that needs a mirror finish over airbrushed artwork, the same way pro shops clear their painted cabinet jobs.
Where to skip it
Do not use 2K over fresh spray can or latex paint without a test panel, because the hot solvents can wrinkle a soft undercoat. Wait a full week of cure on the color first.
Skip it for indoor-only restorers with no respirator and no ventilation. The health risk is not worth the gloss, and a good water-based clear will still protect the cabinet.
3. Krylon COLORmaxx Acrylic Clear Finish – Best Budget Spray Can for Full Cabinets
Krylon K05515007 COLORmaxx Acrylic Clear Finish for Indoor/Outdoor Use, Gloss Crystal Clear , 11 Ounce (Pack of 1)
Acrylic gloss clear spray
Touch dry in 1 hour
Indoor and outdoor use
Sprays at any angle
Pros
- Excellent coverage in minimal coats
- Dries in about an hour
- Sprays at any angle
- Budget-friendly per can
Cons
- Strong odor best used outdoors
- Can run if oversprayed
At this price, there is no excuse to leave a restored cabinet unprotected. I cleared an entire rebuilt cocktail cabinet with two cans of COLORmaxx and still spent less than I did on the sandpaper.
The acrylic formula goes down glossy and crystal clear, and with 26,021 reviews at 4.6 stars it is one of the most-used clears in the hobby. Coverage lands around 15 to 20 square feet per can, so a standard upright needs three to four cans for a full coat schedule.
Touch dry is about an hour, with a full cure in 24. It sprays at any angle, which sounds like marketing until you are upside down under a cabinet sealing the bottom edge.
It is self-priming with limited prep and sticks well to wood, metal, and plastic, so button bezels and coin mechs can share the same can as the cabinet sides.
My complaints are minor but repeated. The odor is strong, so spray outdoors or in an open garage. And it runs if you linger, so keep the can moving in light passes rather than trying to wet the whole panel at once.
Best uses in an arcade restoration
This is my recommendation for a first-time restorer on a budget, or for sealing black-painted cabinet interiors and back boxes nobody will touch. It is also handy for plastic parts and metal trim on the same project.
Because it is an acrylic, it plays nicely over cured Krylon and Rust-Oleum color coats, which is exactly what most home restorers are shooting.
When to spend more
If the cabinet is a keeper you plan to play daily for a decade, step up to a 2K clear on the wear surfaces. COLORmaxx protects well for the money but is a thinner film.
Avoid it on white or very light paint if the cabinet sits in direct sun, since budget acrylics can lose gloss faster than a non-yellowing water-based poly.
4. Varathane Triple Thick Polyurethane – Fastest Build on Cabinet Sides
Varathane Triple Thick Polyurethane Gloss Wood Finish
Triple-thick water-based gloss
One-coat coverage
Dries to touch in 2 hours
50 sq ft per quart
Pros
- One coat equals three normal coats
- Excellent scratch and stain resistance
- Water-based easy cleanup
- Covers 50 sq ft per quart
Cons
- Gloss shows surface imperfections
- Needs sanding between coats
Triple Thick is the clear I recommend when someone wants cabinet sides done in a weekend. One brushed coat builds a film roughly three times thicker than standard polyurethane, which means one pass does the work of three.
I used it on a Ms. Pac-Man lower cabinet after two coats of paint, and the single-coat schedule saved me an entire day of sanding and waiting. A quart covers about 50 square feet, enough for both sides of most uprights.
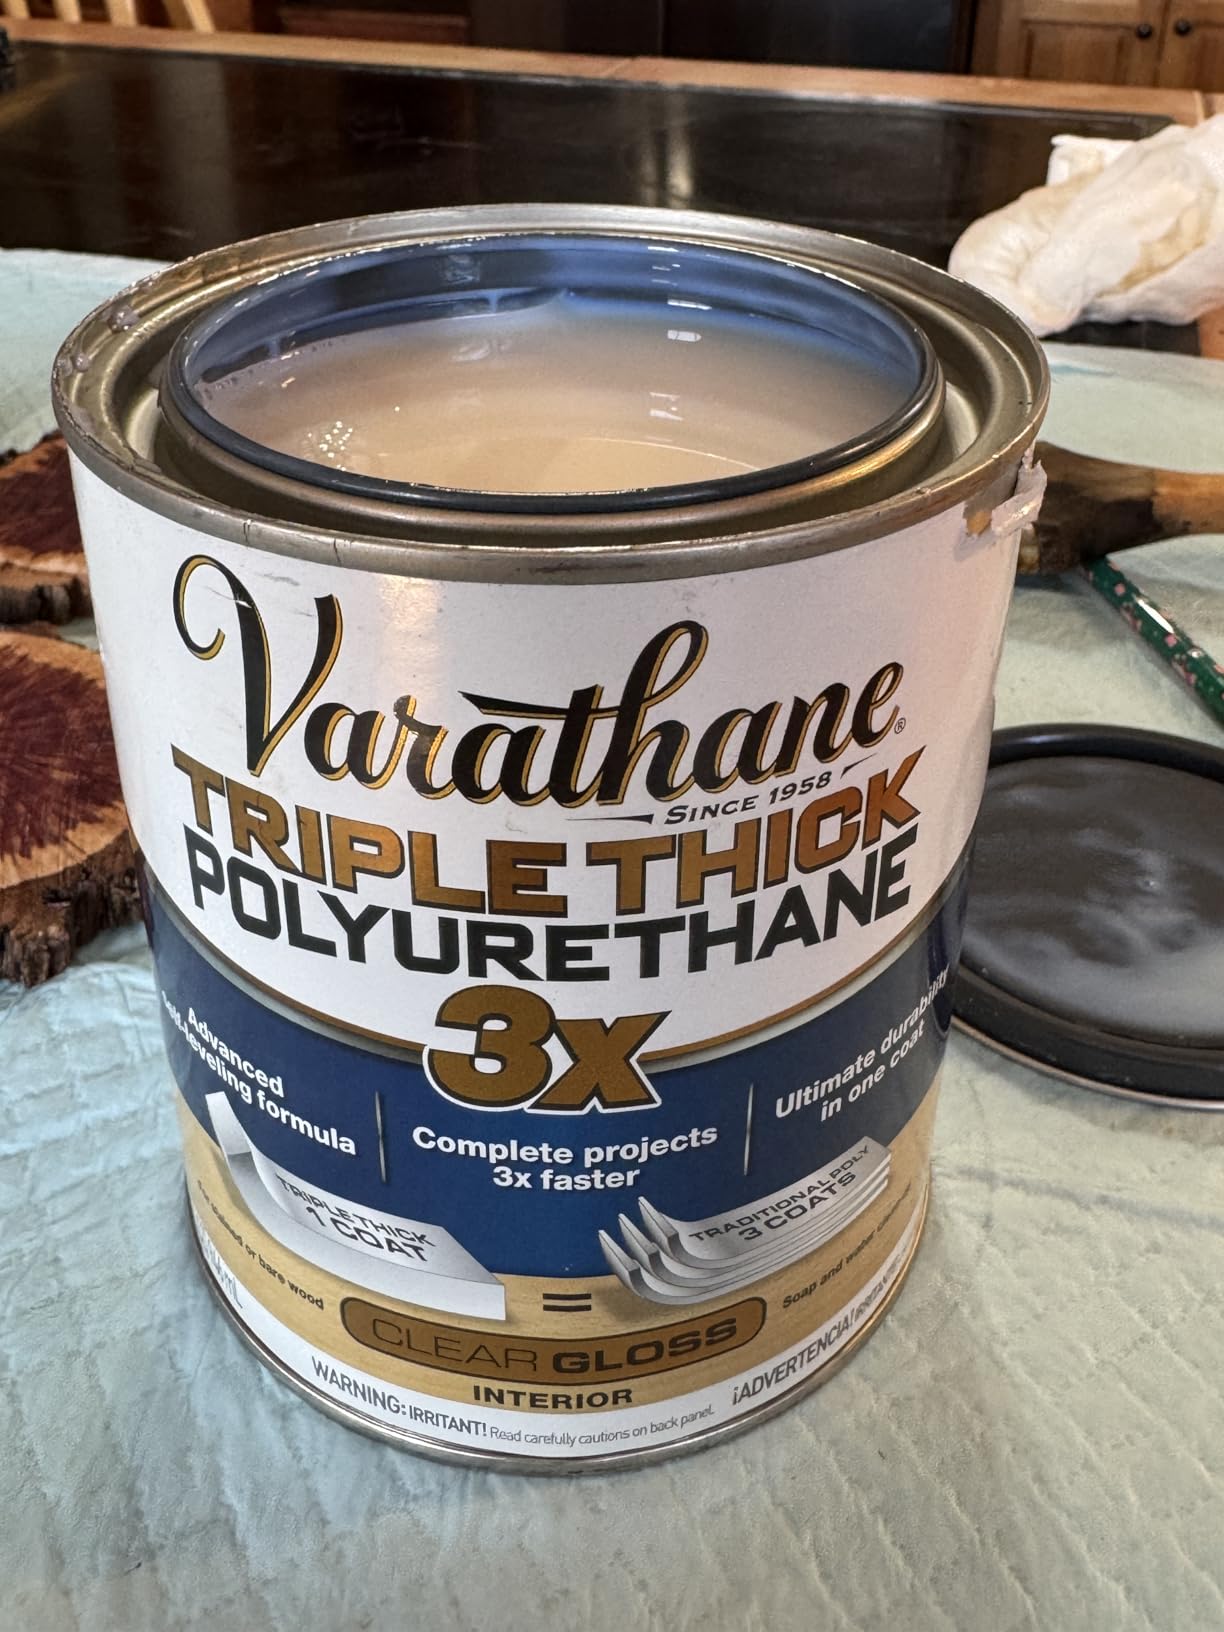
It is water-based, so cleanup is soap and water and the odor stays reasonable for indoor work. Drying to touch takes about two hours under normal conditions.
Scratch and stain resistance is genuinely excellent, and 1,927 reviewers rate it 4.6 stars, many of them furniture painters who abuse their finishes harder than most arcade cabinets ever see.
Two things to watch. The gloss version telegraphs every dip and roller mark, so surface prep has to be honest. And light sanding between coats still improves adhesion even when one coat is technically enough.
Who should buy it
Buy it if you are clearing large flat cabinet sides and want maximum film in minimum coats. It is also great over stenciled artwork where each extra coat risks blur, because one thick pass is all you need.
Water-based chemistry means it will not amber white or pastel paint jobs, a real concern on cream-colored cabinets.
Who should pass
Forum restorers have reported Varathane looking foggy or milky when applied too thick, which muted their colors. If you go heavy, do it in one confident pass rather than reworking wet areas.
It is also a brush-on liquid, so if you have never leveled a finish with a brush, practice on plywood first or choose a spray can instead.
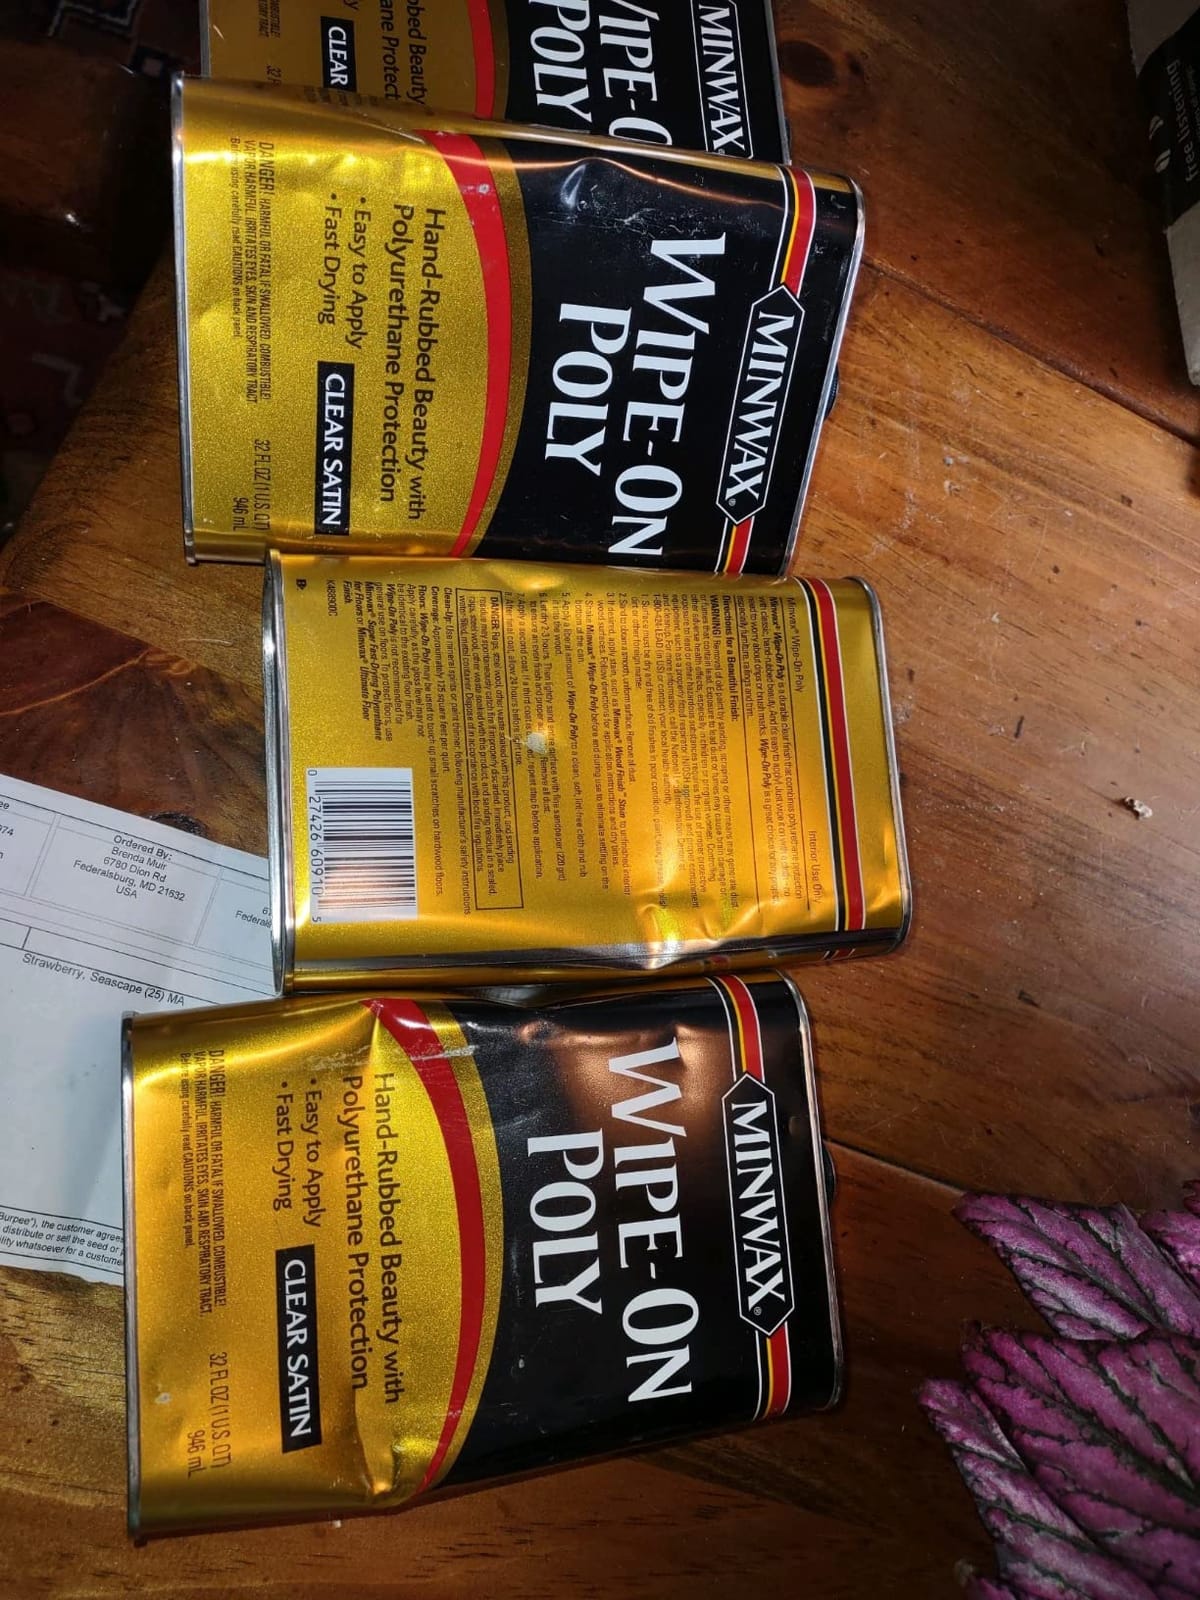
5. Minwax Wipe-On Polyurethane – Best Rag-Applied Clear for Trim and Small Panels
Minwax Oil-Based Wipe-On Polyurethane, 1 Quart, Satin
Oil-based wipe-on satin
Recoat in 2-3 hours
Hand-rubbed look
No brush marks or drips
Pros
- Hand-rubbed satin with zero brush marks
- No drips on vertical cabinet sides
- Recoat in 2-3 hours
- Guards against water and stains
Cons
- Oil-based so ventilate well
- Slow to build film thickness
Wipe-on poly is the most forgiving clear I know, and it carries the highest rating in this roundup at 4.8 stars. You flood a cloth, wipe it on like you are polishing a car, and there is literally no brush to leave marks.
I cleared a restored cabinet head and marquee frame this way while sitting on a stool with a podcast on. Thin coats, no drips, no orange peel, and a soft satin sheen that looks factory on wood-grain vinyl overlays.
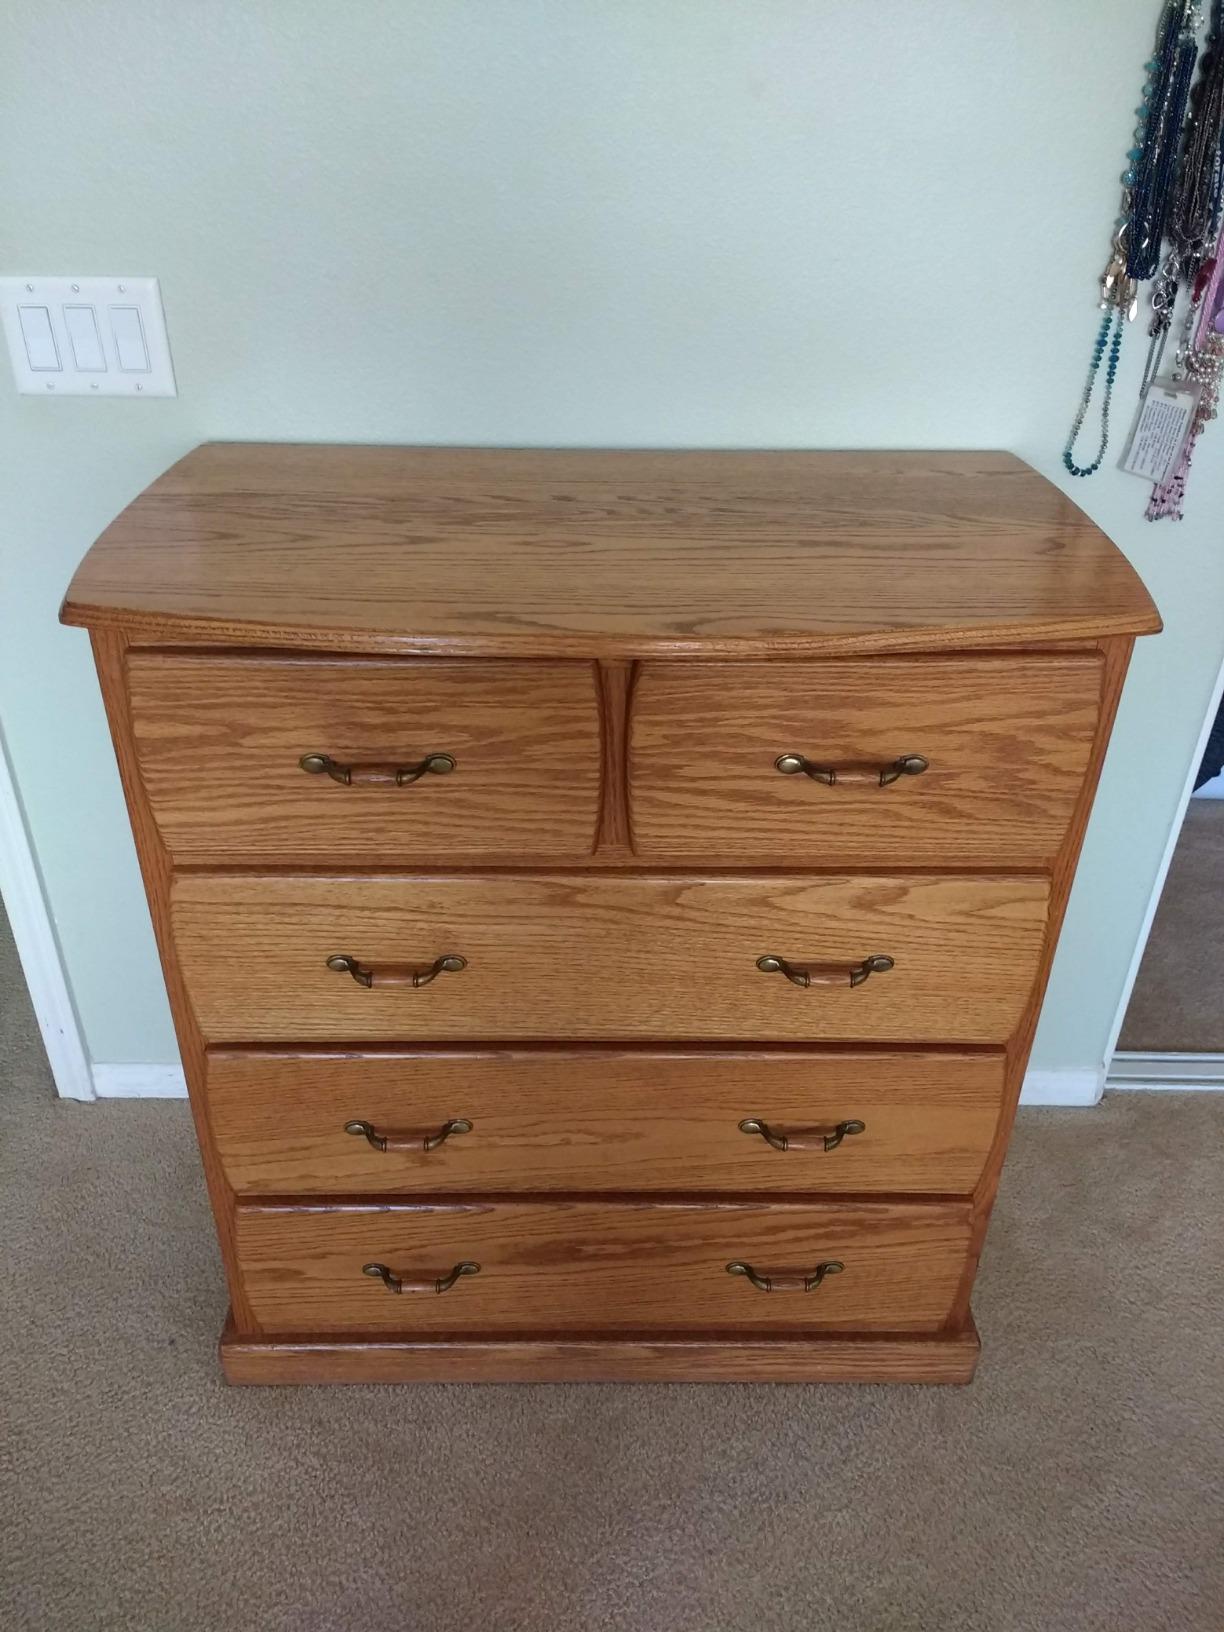
The oil-based formula protects against water, household chemicals, food stains, and wear, which covers soda spills and pizza grease. Recoat in 2 to 3 hours, light use in 24.
Because each coat is thin, plan on four to six wipes to equal two brushed coats. That sounds slow, but each pass takes minutes and requires almost no skill.
The trade-off is ventilation. It is oil-based, so crack a window and wear gloves, and keep rags laid flat to dry since wiped oil finishes can heat up in a ball.
Ideal jobs on a cabinet
Use it on cabinet trim, speaker shelves, coin door frames, and any small part where a brush or spray gun is overkill. It excels on vertical surfaces where liquid clears want to sag.
It is also my pick for touching up a single scuffed section years later, because a rag blend is nearly invisible.
Jobs it suits poorly
Do not wipe-clear an entire 6-foot cabinet side expecting a thick protective shell, the film builds too slowly and wears thinner than 2K. On control panels it will scuff.
Skip it if your paint is still soft, because wiping action can drag fresh latex. Wait a week of cure first.
6. Rust-Oleum Lacquer Spray – Mirror Finish for Show Cabinets
Rust-Oleum Lacquer Clear Spray Paint
Acrylic lacquer gloss spray
Touch dry in 20 minutes
Sands and recoats for more gloss
7 sq ft per can
Pros
- Glossiest spray finish available
- Dust dry in 20 minutes
- Can be sanded and recoated
- Cheapest gloss per can
Cons
- Whitens if applied too heavy
- Heavy fumes need outdoor spraying
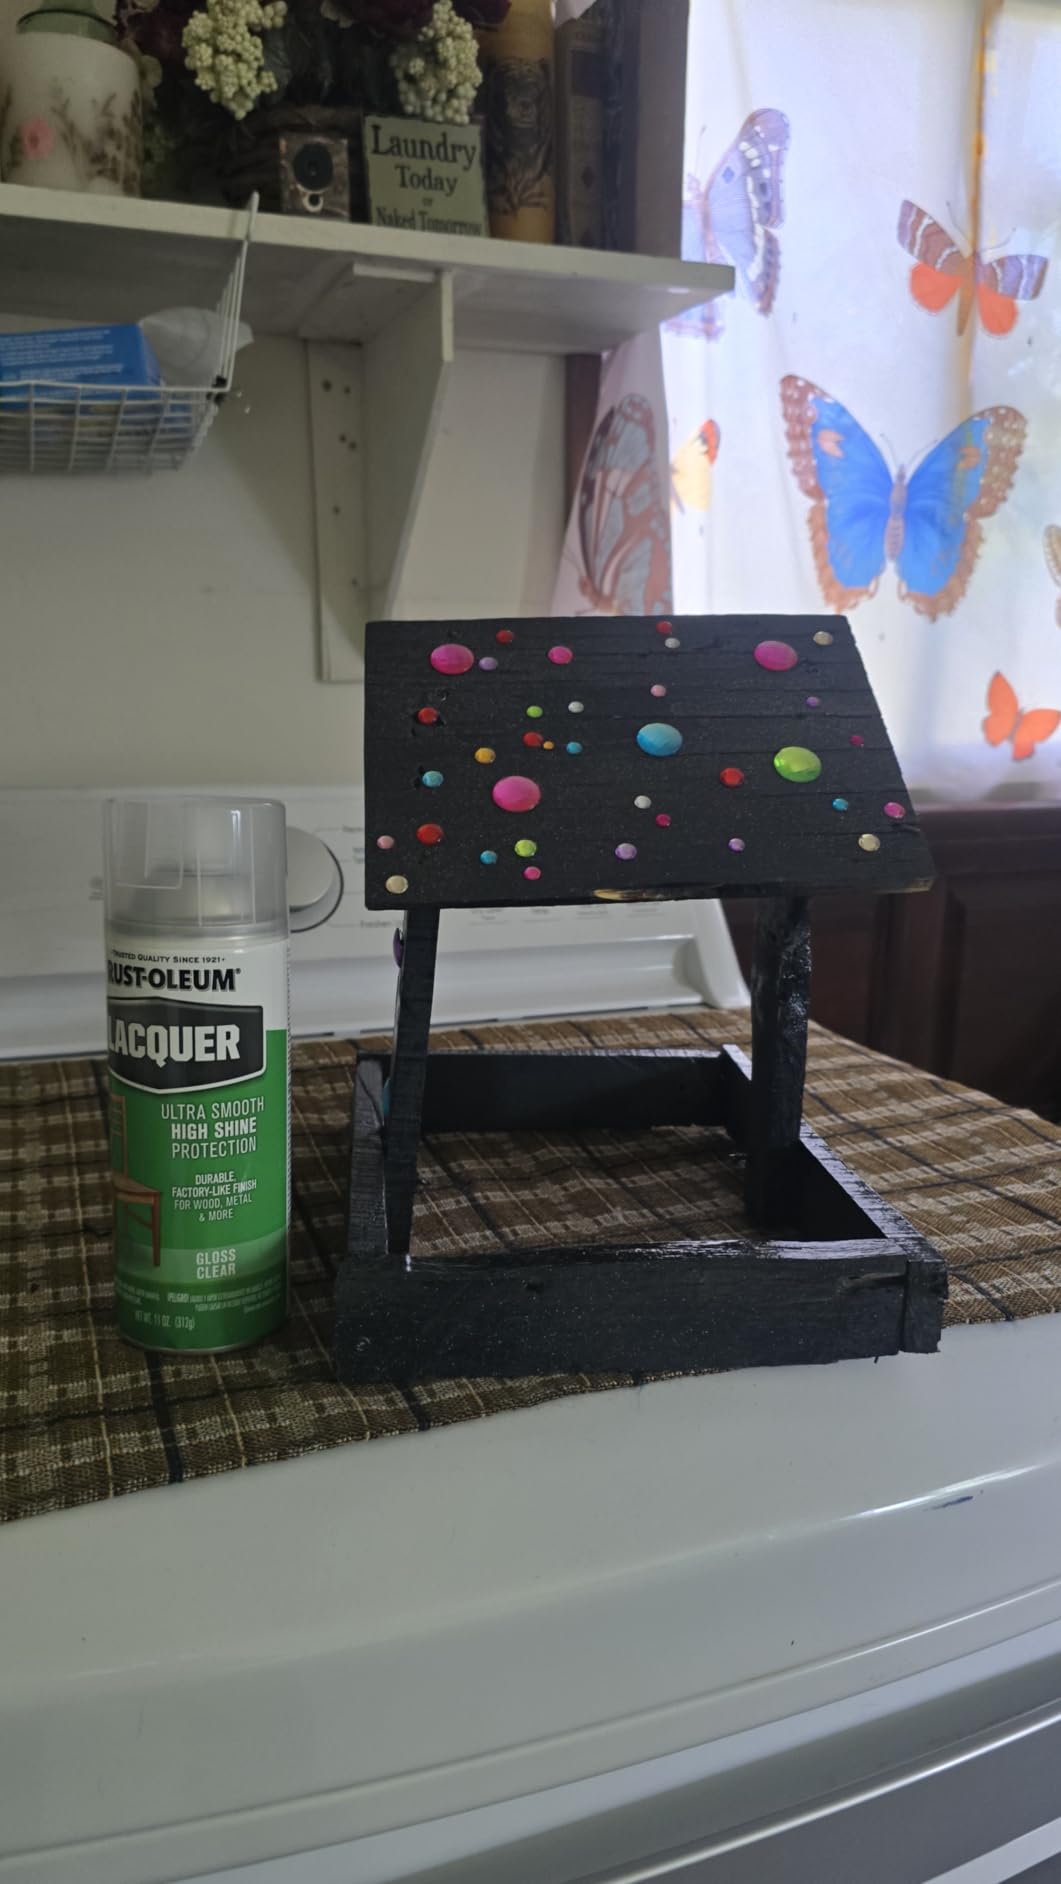
If your goal is a wet-look, flip-a-match-on-it show finish, lacquer is still king. This Rust-Oleum acrylic lacquer is described by users as the glossiest clear available in a rattle can, and my test panel agreed.
The superpower here is that lacquer melts into itself. You can sand a coat flat and shoot the next one, and the layers fuse into one deep, contiguous film. That is exactly how you build a mirror over a perfect paint job.
Touch dry takes about 20 minutes, and each can covers roughly 7 square feet, so plan multiple cans for a full cabinet. At 4.7 stars across 7,378 reviews, the finish quality is not in dispute.
It grips wood, metal, ceramic, and masonry, which covers most cabinet substrates plus coin door metal.
Now the honest warnings. Lacquer applied too heavily over dark colors can leave a white or tinted haze, and I did exactly that on a black test panel before learning to spray lighter passes. Fumes are serious, so this is an outdoor product.
Best projects for lacquer
Pick it for a showpiece restoration or a custom cabinet with airbrushed artwork that deserves a deep gloss. It also shines on small metal trim and reproduction control panel overlays.
Because it recoats so fast, you can build four coats in one afternoon and wet sand the next day.
Projects where it is the wrong call
Do not shoot lacquer over enamel or unknown old paint without testing, the hot solvents can lift or wrinkle the layer below. Vintage cabinets with original artwork deserve a gentler water-based clear.
It also demands technique. If you have never sprayed before, the fast dry and strong solvents make mistakes easy and sanding mandatory.
7. Eastwood 2K Aerosol Clear Coat – Best 2K for Coin Doors and Metal Trim
Eastwood 2k Aerosol Spray | Clear Coat Automotive Paint Aerosol Spray with Long-lasting and Durable Finish 11.8 Oz Can | Clear Coat| 1 Pack
2K aerosol clear coat
High gloss UV resistant
Full cure in 12 hours
48-hour pot life
Pros
- Professional 2K hardness in a can
- UV resistant long-lasting gloss
- Even fan spray pattern
- Ideal over metal coin doors
Cons
- Not Prime eligible
- Requires respirator and venting
- No flex additive for plastics
Eastwood’s 2K aerosol is the same activator-in-can concept as SprayMax, aimed squarely at automotive metal work. I used it on a restored steel coin door and the results were OEM-grade gloss that has ignored two years of coin-slot abuse.
The can specifies a metal surface recommendation, which makes it a natural for coin doors, lockdown bars, metal control panel shells, and cabinet corner trim. Full cure is listed around 12 hours.
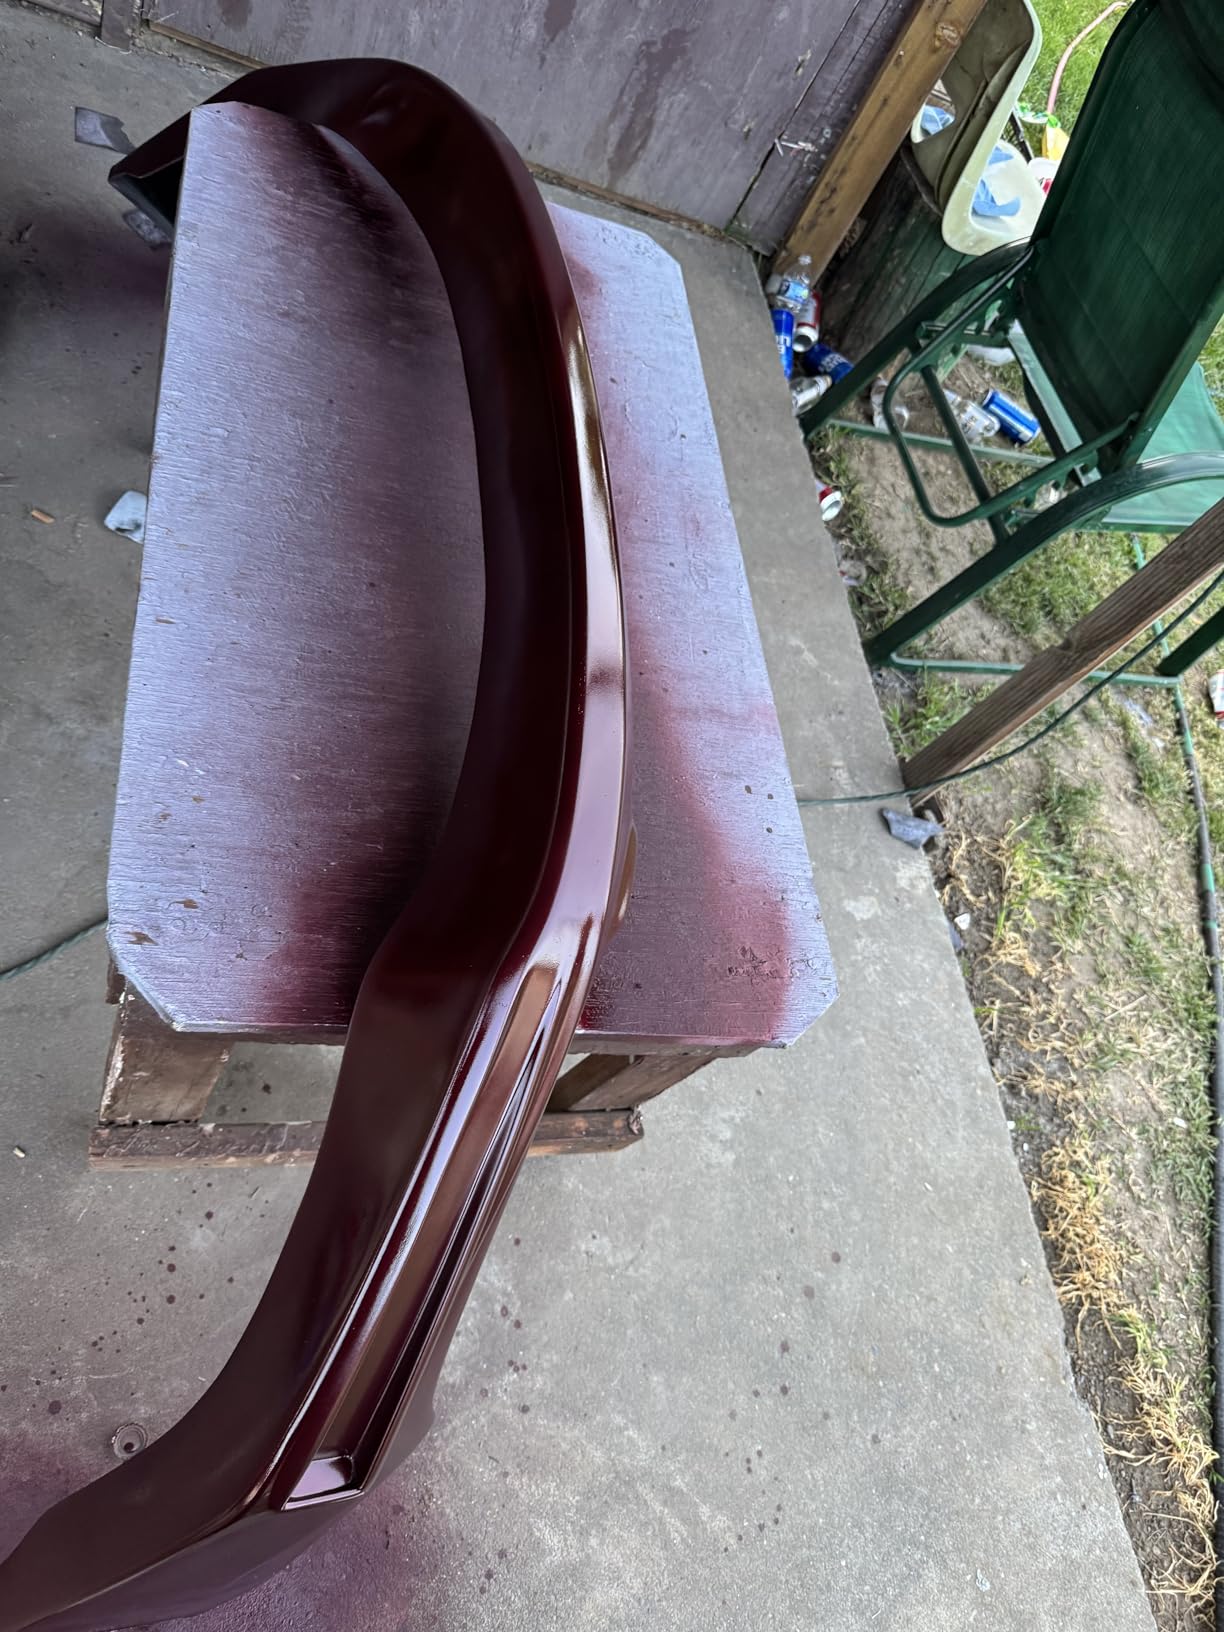
You get a self-leveling formula that sprays with a nice even fan pattern, UV resistance for cabinets near windows, and professional-grade hardness once cured. Coverage runs 5.4 to 8.1 square feet per can.
Pot life is approximately 48 hours after activation, so plan your metal work for one session. At 4.6 stars from 985 reviews, the users who buy it are overwhelmingly serious automotive hobbyists.
Be aware it contains no flex additive, so it is not for plastic bumpers or flexible trim. Hard cabinet panels and steel are its home turf.
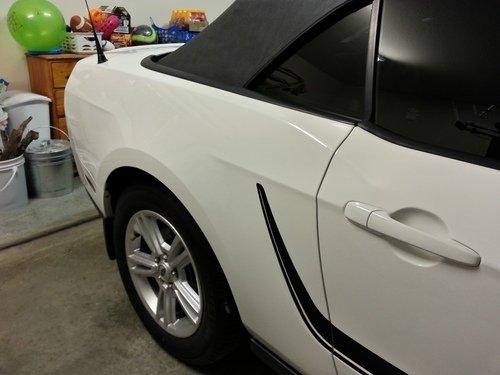
When it earns its price
Use it when you are restoring the metal bits of a cabinet to match a 2K-cleared body. Matching clear chemistry across metal and paint keeps gloss levels consistent.
It also excels on exterior-facing surfaces in a gameroom that gets sunlight, thanks to the UV package.
When to choose something else
It is not Prime eligible and costs more per ounce than most clears here, so do not buy it for broad cabinet sides where a cheaper spray covers better. Buy it for metal.
Any plastic component needs a different product, since without flex additive this film can crack on impact.
8. Rust-Oleum Painter’s Touch 2X Ultra Cover – Best All-Rounder for Quick Refreshes
Rust-Oleum Painter’s Touch 2X Ultra Cover Spray Paint, Gloss Clear
Oil-based gloss clear spray
Touch dry in 20 minutes
Chip and water resistant
12 sq ft per can
Pros
- 2X coverage means fewer coats
- Comfort tip sprays at any angle
- Chip and water resistant
- Cheapest can on this list
Cons
- Heavy output drips easily
- Flammable oil-based fumes
- 24-hour full cure
This is the best-selling spray paint on Amazon, with over 40,000 reviews, and there is a reason for that. The 2X Ultra Cover output lays down a lot of finish fast, which is exactly what you want when refreshing a shopworn cabinet that just needs protection, not a show finish.
I used it on a donor cabinet I flip quickly: two light coats over clean scuffed paint, and it went from tired to presentable in an afternoon. Touch dry is 20 minutes and full cure is 24 hours.
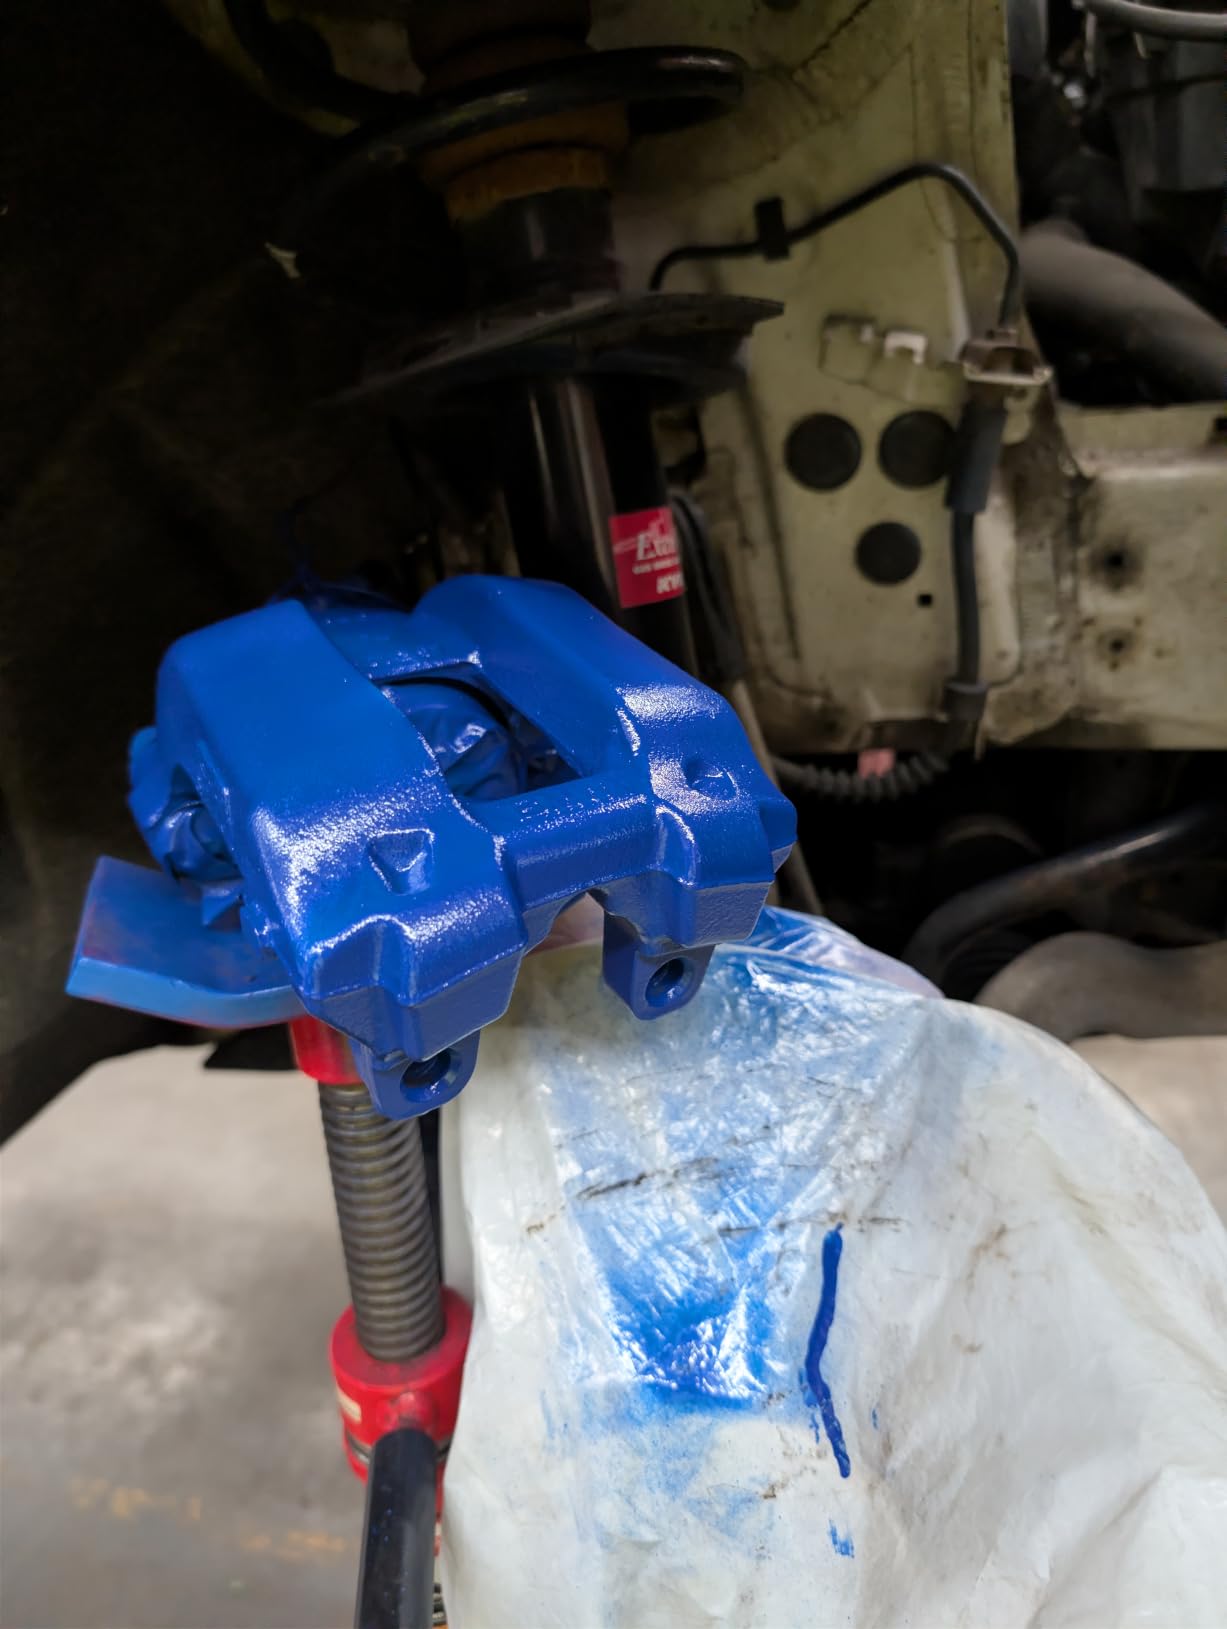
Once cured it is chip resistant and water resistant, and it bonds to wood, plastic, metal, plaster, masonry, and ceramic. Coverage runs up to 12 square feet per can.
The comfort tip genuinely reduces finger fatigue on big cabinet jobs, and the any-angle valve lets you hit the underside of a control panel without drama.
The caution is output. This can puts out a lot of product, and reviewers consistently note it drips if you hold too close or move too slowly. Light, fast passes win here.
Where it fits a restoration
Use it for budget refinishes, cabinet interiors, back boxes, and non-collector games that get played hard. It is also my go-to for sealing painted coin doors on cheap project cabs.
At this price you can afford four cans, which is what a full-size upright actually needs.
Where it is outclassed
The gloss is good but not lacquer-deep, and the film is not 2K hard. On a high-value restoration, spend more on the wear surfaces.
Oil-based fumes are flammable and strong, so it is an outdoor or wide-open-garage product, same as the lacquer.
9. Rust-Oleum Universal All Surface Clear Topcoat – Invisible Protection for Restenciled Cabinets
Rust-Oleum Universal All Surface Clear Topcoat Spray, Dead Flat Clear
Dead flat matte clear
Touch dry in 30 minutes
15 sq ft per can
Bonds to almost any surface
Pros
- True dead-flat invisible finish
- Adheres to wood plastic and metal
- Covers up to 15 sq ft
- Comfort trigger sprays any angle
Cons
- Strong odor needs ventilation
- Occasional can trigger leaks
- Matte only no sheen options
Dead flat is the most underused finish in arcade restoration. Forum restorers constantly complain that clear over a restenciled cabinet makes it too glossy, and this can is the cure. It protects while looking like there is nothing there.
I shot this over a set of reproduction stencils on a Galaxian project, and it muted the plasticky look of fresh paint so the cabinet read original instead of repainted. That is the whole point.
The Universal line bonds to wood, plastic, metal, fiberglass, concrete, wicker, and vinyl, which covers cabinet bodies plus vinyl-wrapped panels. Coverage is up to 15 square feet per can, touch dry in 30 minutes.
With over 41,000 reviews at 4.5 stars, it is a proven commodity, and the oil-based formula resists fading and chipping.
Two recurring complaints to plan around: the odor is strong so spray outside, and some users report trigger or leak issues, so test the can on cardboard before pointing it at your cabinet.
Who needs dead flat
Use it on restenciled cabinets, EM-era games that left the factory with almost no sheen, and any restoration where you want protection without announcing a fresh finish. Purists will thank you.
It also kills glare on cabinets near windows or under bright room lighting, which makes photographing your restore easier too.
Who will be disappointed
If you want that deep wet look people associate with automotive restores, this is the opposite product. Matte hides nothing and shows nothing.
Matte finishes also hold fingerprints and skin oils slightly more than gloss, so control panels under constant hands are better served with a gloss or 2K clear.
10. Minwax Fast-Drying Polyurethane Spray – Best Rattle Can for a Classic Sheen
Minwax Fast Drying Polyurethane Spray, Protective Wood Finish, Clear Semi-Gloss, 11.5 oz. Aerosol Can(Packaging May Vary)
Oil-based semi-gloss aerosol
Recoat in 4-6 hours
50-60 sq ft coverage
Hard protective film
Pros
- One of the hardest wood clears
- No brush marks or streaks
- Recoat in 4-6 hours
- Classic semi-gloss sheen
Cons
- Not Prime eligible
- Respirator needed when spraying
- Tip can drip during use
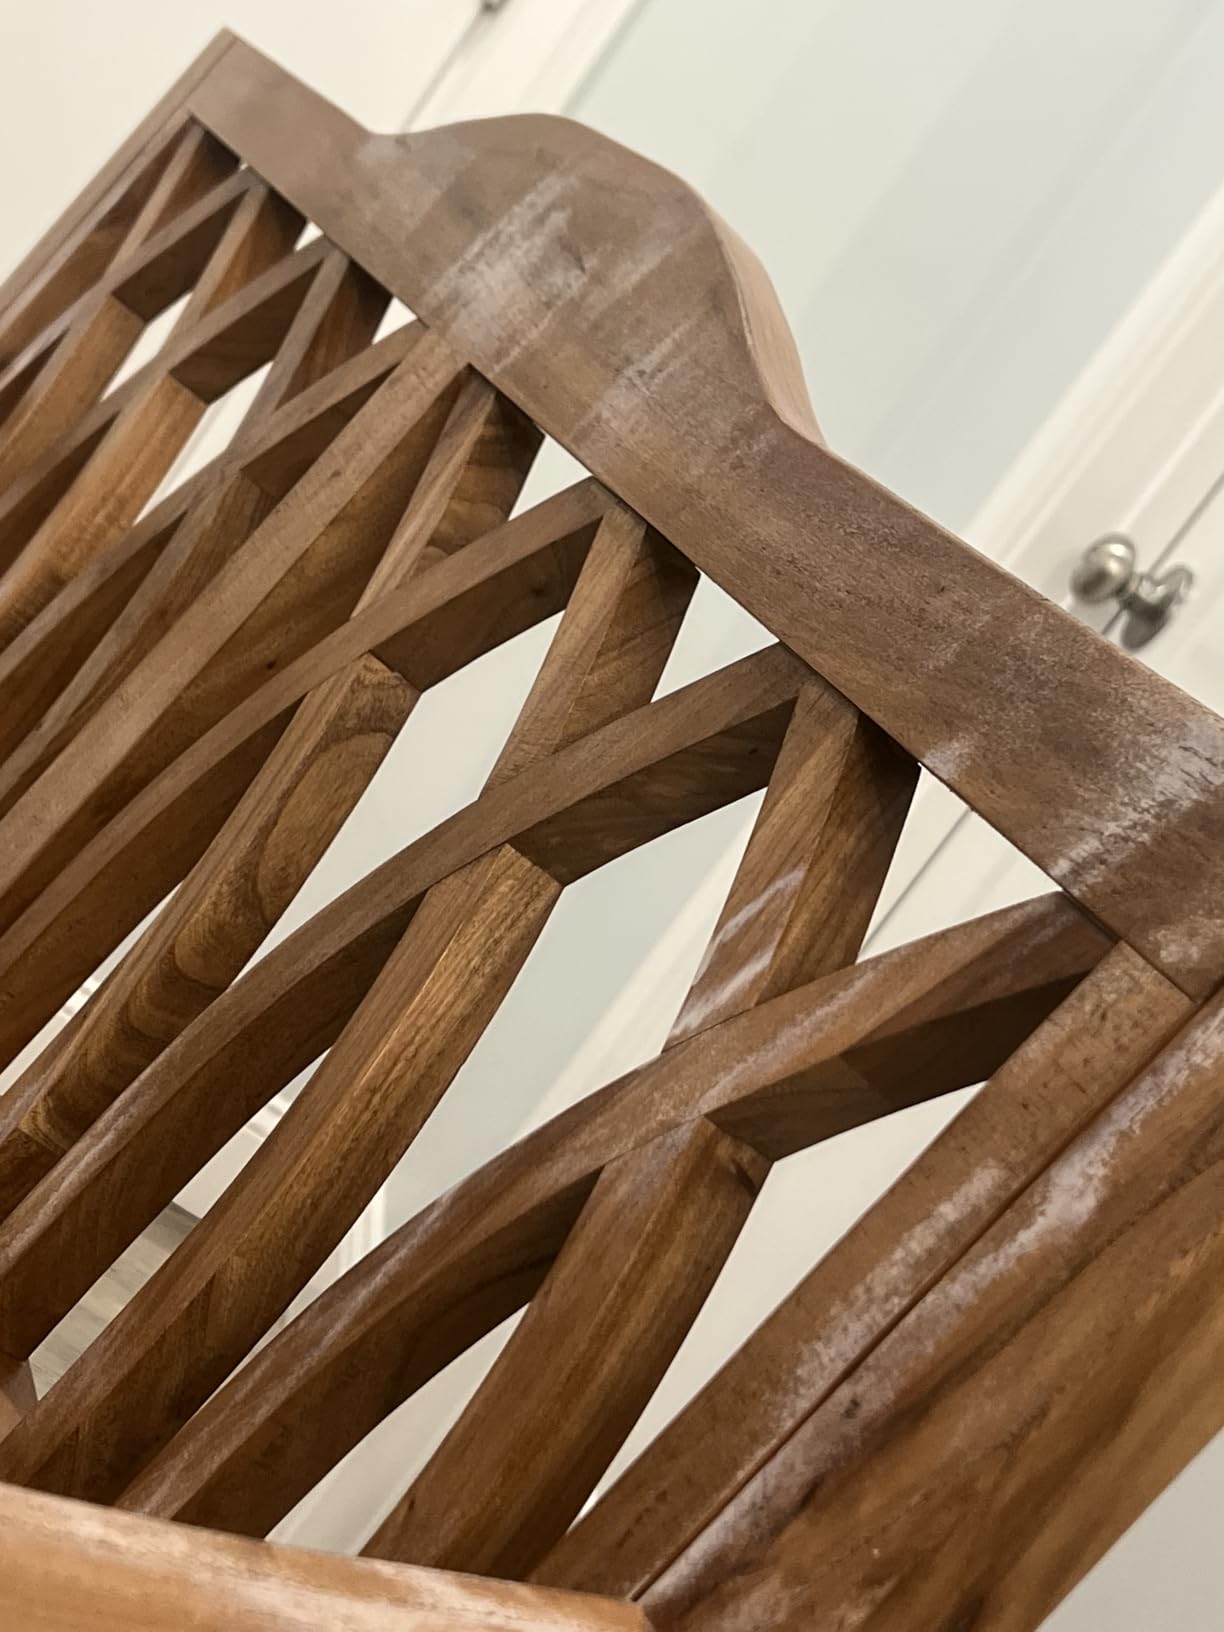
Semi-gloss is the sheen most classic cabinets actually wore from the factory, and this Minwax aerosol hits it dead on. It is billed as one of the hardest protective coatings for wood, and it feels that way under sandpaper.
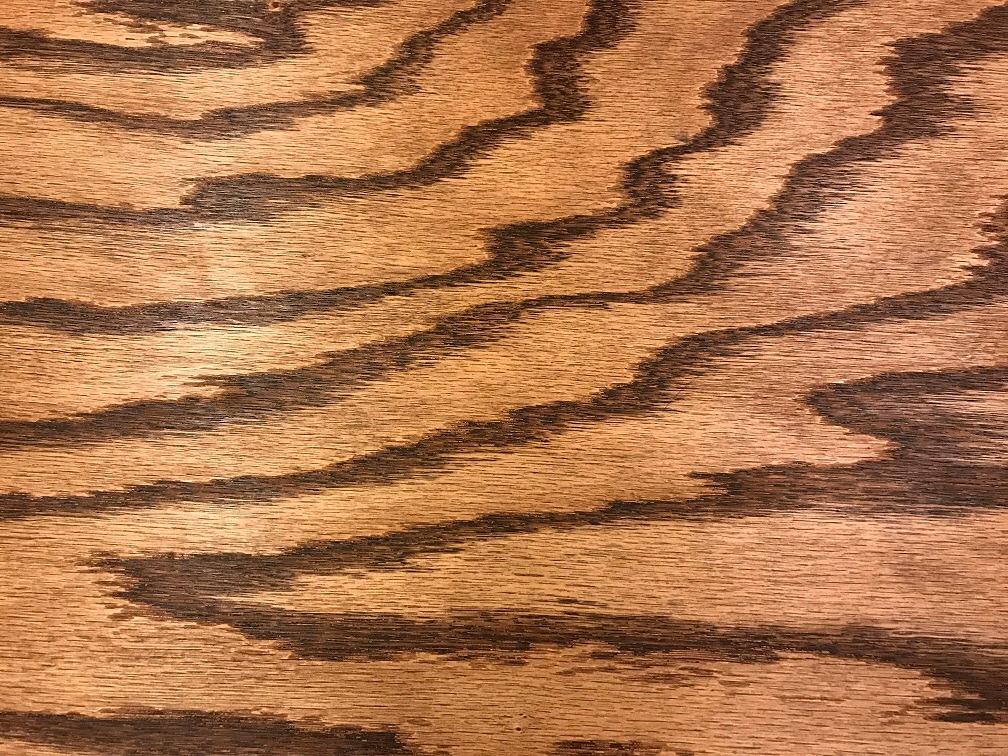
I sprayed a restored cabinet base and lower doors with it, and the semi-gloss knocked down glare while still wiping clean easily. Reviewers consistently prefer the spray over the brush-on for avoiding streaks and air bubbles.
Coverage is generous at roughly 50 to 60 square feet per can, the best number in this roundup, so one or two cans finish a full cabinet. Recoat after 4 to 6 hours.
At 4.6 stars from 2,425 reviews, the durability reputation holds up, with users reporting long-lasting protection on furniture, cabinets, and railings.
Two real quirks: the spray tip occasionally drips, so keep a rag taped to your wrist. And as an oil-based spray, use a respirator and work outdoors.
Where it shines
Choose it when you want an authentic factory-looking sheen on cabinet bodies, sides, and doors. The huge coverage per can makes it economical for large surfaces.
It is also a good match over oil-based paints and enamels, where a water-based clear might not bite as well.
Where it struggles
Heavy-duty wear areas may need more coats than you expect, with some reviewers applying 6 to 10 light coats on high-abuse surfaces. Plan your schedule around the 4 to 6 hour recoat window.
It is not Prime eligible and ships slower, so order before your restoration weekend, not during it.
11. Zinsser Bulls Eye Shellac – Best Sealer for Smoky Bar Cabinets
Zinsser Bulls Eye Shellac, Traditional Finish & Sealer, Clear, 12oz Spray
Traditional clear shellac spray
All-natural fast drying
Seals odors in old wood
12 sq ft per can
Pros
- Blocks smoke and pet odors in old cabinets
- Dust dry in minutes
- All-natural non-toxic shellac
- Great sealer under other finishes
Cons
- Slight golden tint not water clear
- Not dewaxed so some topcoats may not bond
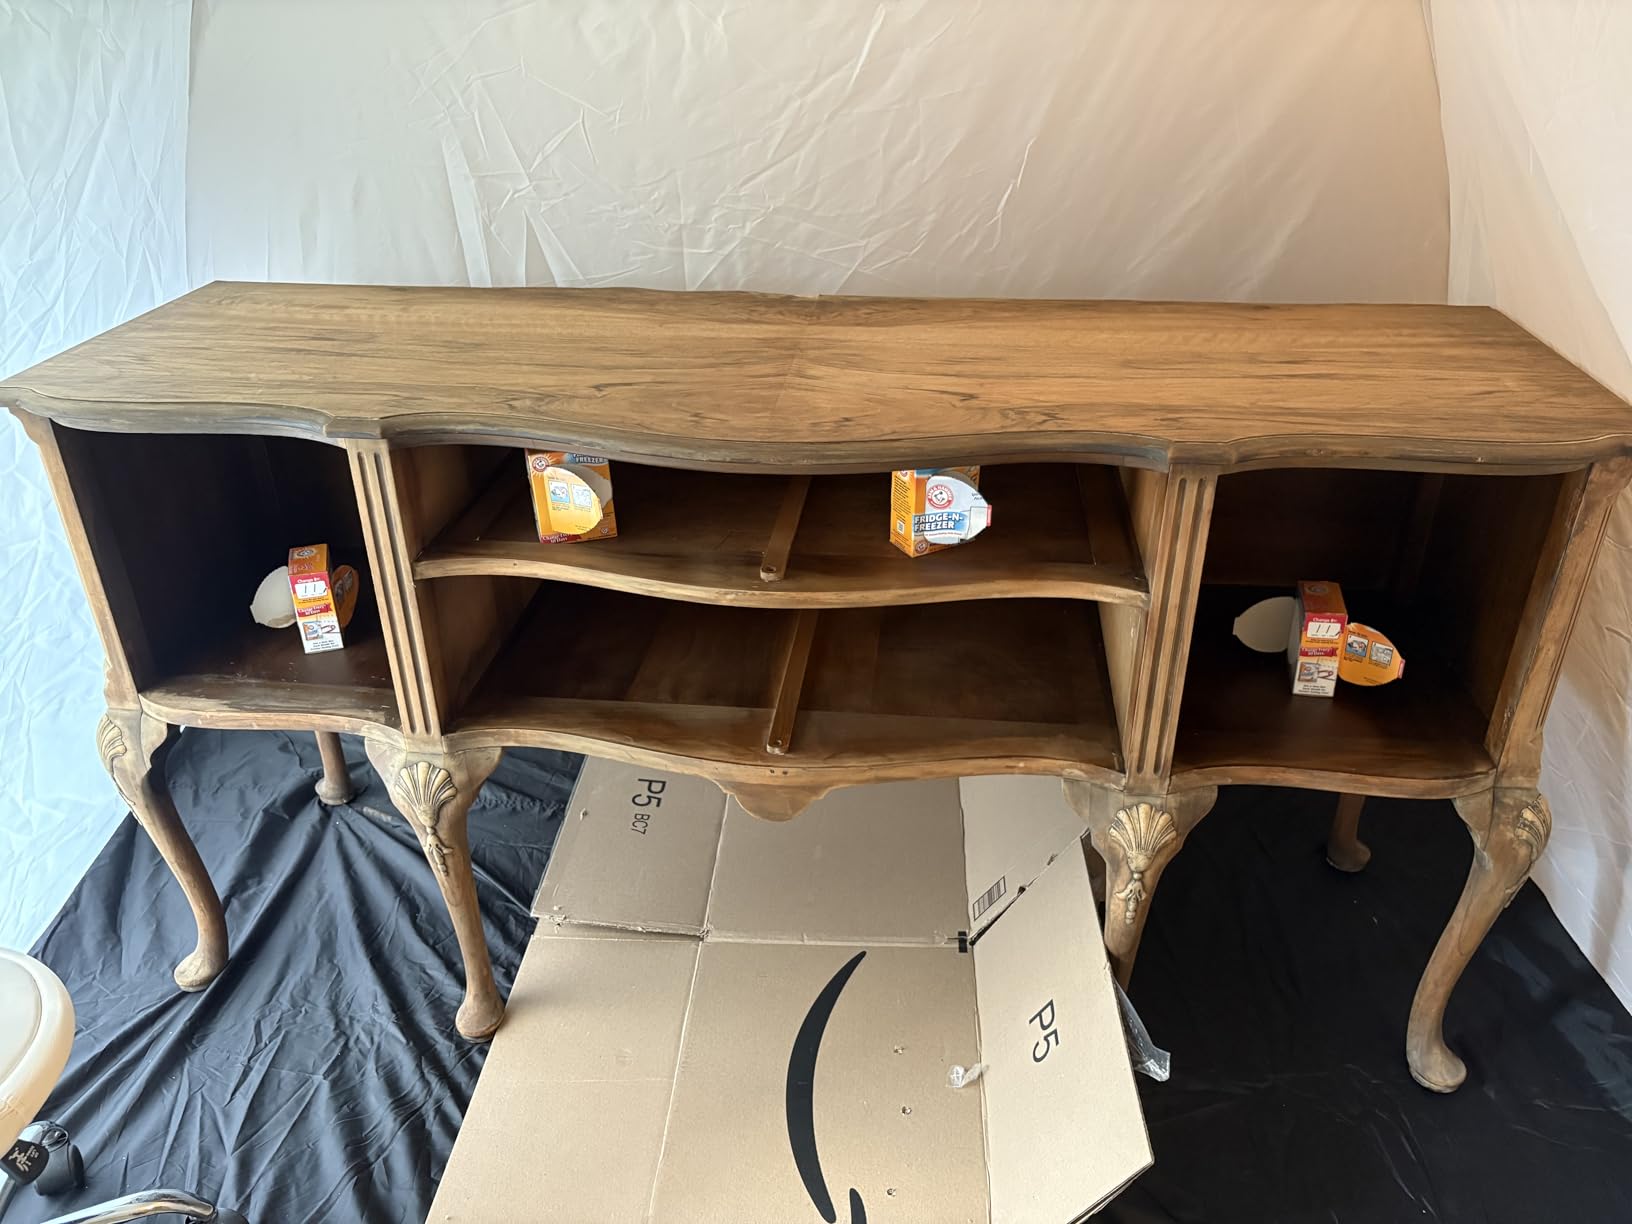
Every veteran restorer has opened a cabinet that spent 20 years in a bar and immediately smelled it. Shellac is the traditional answer, and this Zinsser spray locks decades of smoke, pet, and mildew odor inside the wood instead of masking it.
I treated the interior of a route-worn cabinet with two light coats, and the stale beer smell that had survived paint and cleaning was gone within days. That result is why this can lives in my shop.
Technically it is an all-natural, traditional finish and sealer that blocks odors in wood, plaster, drywall, and masonry. It dries in minutes, so multiple coats stack fast.
At 4.7 stars from 2,132 reviewers, it is a favorite for crafts, priming, and restoring old finishes, and the spray can format lays down surprisingly evenly.
Know its limits: it leaves a very light golden tint, so it is not the choice over white paint. It also is not dewaxed, so varnish or lacquer topcoats may not adhere reliably over it.
The jobs it wins
Use it as an interior sealer on smoky or musty cabinets before you paint, and as a barrier over water stains and odors on MDF. It is also an excellent primer-sealer under enamel paint on stubborn surfaces.
For preservation-minded restorers, shellac is period-correct on very old cabinets, which matters if you want an authentic finish.
When not to use it
Do not use it as your final clear over light colors or artwork, the golden tint shifts the shade. And skip it under water-based polyurethane or lacquer without a dewaxed alternative.
Shellac also tolerates heat and alcohol poorly, so keep it away from the top of the cabinet where drinks get set down.
12. Krylon Triple-Thick Clear Glaze – Best Thick Glaze Over Decals and Stencils
Krylon I00500A00 12-Ounce Triple Thick Clear Glaze Aerosol Spray
Triple-thick clear glaze
One coat equals three
Cures in 15 minutes
56 sq ft per can
Pros
- One coat equals three coats of clear
- Extra thick build over decals
- Does not yellow over time
- 56 sq ft coverage per can
Cons
- Runs if over-applied
- Listed for indoor use
This is my favorite can for sealing decals, printed side art, and stencil work. One coat of Triple-Thick builds like three coats of ordinary clear, so you get a deep protective layer over delicate graphics in a single pass, which means less handling of fragile artwork.
I used it over a fresh set of reproduction side-art decals and the thick glaze buried the decal edge almost completely. It self-levels into a glossy, smooth, crystal-clear film.
The numbers are excellent: full cure in about 15 minutes, up to 56 square feet of coverage per can, water repellent, and it does not yellow. Reviewers, 17,540 of them at 4.7 stars, use it constantly on decoupage, resin art, and printed graphics.
Because it builds so thick, it also smooths the hard edge between stencil colors, which can help or hurt depending on how original you want the cabinet to look.
The only real application warning is runs. This is a heavy-bodied glaze, so spray light wet coats and resist the urge to flood the panel.
Where it is unbeatable
Use it over vinyl side art, printed decals, reproduction stencils, and any graphic you want buried under glass without three separate coats. Each skipped coat is one less chance to ruin the artwork.
The non-yellowing formula also makes it safe over white and light-colored graphics that would shift under oil-based clears.
Where to pass
It is listed for indoor use, so exterior cabs on a porch need a different product. And the thick build means mistakes are harder to sand out than thin clears.
If you want a dead-original matte look, this glaze is far too glossy. Choose the dead flat topcoat instead.
Buying Guide: How to Choose a Clear Coat for Your Arcade Cabinet?
Picking the right clear comes down to five questions: what is under it, where the cabinet lives, how much abuse it takes, what sheen the original had, and how much safety gear you own. Here is how I work through each one on a real restoration.
Water-Based vs Oil-Based Clear Coats
Water-based clears like Minwax Polycrylic and Varathane Triple Thick dry crystal clear, stay low odor, and clean up with soap and water. They are the safer choice over light paint colors and over fresh rattle-can color coats, because they are less likely to attack the layer beneath.
Oil-based clears like Minwax wipe-on poly and the Painter’s Touch spray level beautifully and give a warm, classic look, but they amber slightly over time and need real ventilation. My rule: water-based on white and pastel cabinets, oil-based on dark colors where ambering is invisible.
Choosing the Right Sheen
Match the sheen to the era of your game. Most classic cabinets from the late 70s and 80s wore semi-gloss or satin, while show customs and restomods go full gloss. Dead flat is the preservation choice when you want people to wonder if the cabinet is original.
Remember that gloss hides nothing. Every sanding scratch and paint ripple shows, so the glossier you go, the more honest your surface prep has to be.
2K vs 1K Clearcoat
1K clears, meaning every standard rattle can and brush-on product on this list, air-dry and are ready to use with no mixing. They are simple, shelf-stable, and perfect for cabinet bodies and casual home play.
2K clears like SprayMax and Eastwood mix a hardener that chemically cures into a much harder film, which is why professionals use them on playfields and control panels. The cost is a 48-hour pot life after activation, a respirator requirement, and real technique. For cabinets, I use 2K on the surfaces hands touch and 1K everywhere else.
Clear Coating Over Side Art and Decals
This is the question that keeps forum threads alive, and the answer is caution plus a test panel. Original vinyl side art and fresh decals can be lifted or wrinkled by hot solvent clears, so spray a hidden corner and wait 24 hours before committing the whole side.
My approach on decals is a light tack coat first, ten minutes of dry, then two medium wet coats of the Krylon Triple-Thick glaze. Light first coats prevent the solvent from sitting on the vinyl long enough to bite.
How Many Coats and How Much Sanding
For a standard home-use cabinet, plan on three coats of clear: one light seal coat and two build coats. Cabinet restorers on the arcade forums consistently land on three as the sweet spot, with a scuff sand between each coat using 320 to 400 grit.
One forum lesson worth repeating: a single coat of clear over problem wood can make grain splitting worse, not better. If MDF edges or raised grain show, sand and add coats rather than hoping the clear will level it.
Safety: Lead Paint, Fumes, and PPE
Cabinets from the 70s and earlier may carry lead paint, so test before sanding with a hardware-store test kit, and wet sand or strip carefully if it is positive. Never dry sand a positive surface indoors.
For the finishes themselves, water-based clears need gloves and fresh air, while all aerosol and 2K work deserves a respirator with organic vapor cartridges. Wear nitrile gloves, keep a fire extinguisher nearby for oil-based rags, and lay used rags flat outdoors to dry.
Frequently Asked Questions
What is the best clear coat for cabinets?
Minwax Polycrylic in satin is the best overall clear coat for restored arcade cabinets. It is crystal clear and non-yellowing, dries for recoat in two hours, has low odor, and cleans up with soap and water. For control panels and coin doors that take the most abuse, a 2K clearcoat like SprayMax provides the hardest, most abrasion-resistant finish.
Is 2K clearcoat better than 1K?
Yes, 2K clearcoat is significantly harder and more durable than 1K because a hardener chemically cures the film. 2K requires activating the can, spraying within about 48 hours, and wearing a respirator, while 1K clears like Krylon COLORmaxx or Minwax Polycrylic spray or brush on with no mixing. For high-wear surfaces, 2K is worth the effort; for cabinet sides, 1K is plenty.
What is the toughest clear coat for wood?
Automotive 2K polyurethane clearcoats such as SprayMax and Eastwood Diamond Clear cure to the hardest finish available to a DIY restorer, resisting abrasion, solvents, and UV far better than consumer 1K products. Among brush-on options, Varathane Triple Thick Polyurethane builds the toughest water-based film in a single coat.
What is the best clear coat for plastic models?
For plastic model parts and small mods, Krylon COLORmaxx or Krylon Triple-Thick Clear Glaze work well because they are acrylic-based and gentler on plastic. For the painted wood and MDF surfaces of an arcade cabinet, use a wood-rated finish such as Minwax Polycrylic or Varathane Triple Thick, which bond properly to painted wood.
How many coats of clear coat does an arcade cabinet need?
Most restored arcade cabinets need three coats: one light seal coat followed by two build coats, with a light 320 to 400 grit scuff sand between each. High-wear surfaces like control panels benefit from an extra coat or a 2K clear, while one-coat products such as Varathane Triple Thick can replace the build coats entirely.
Can you clear coat over vinyl side art and decals?
Yes, but always test first on a hidden corner and wait 24 hours, because hot solvent clears can wrinkle or lift vinyl. Use light tack coats initially, then build thickness with an acrylic clear such as Krylon Triple-Thick Glaze, and avoid lacquer over original artwork unless you have tested it.
Final Verdict: Which Clear Coat Should You Buy?
After a year of testing on real cabinets, my shortlist for the best clear coats and sealers for restored arcade cabinets comes down to three cans. Minwax Polycrylic satin for cabinet bodies and light paint, SprayMax 2K for control panels and coin doors, and Krylon COLORmaxx when the budget is thin and the whole cabinet needs sealing.
Match the product to the surface and everything gets easier. Water-based clears on white and pastel paint, 2K on anything hands touch daily, dead flat on restenciled work, and thick glaze over decals.
Whatever you choose, test on a hidden spot first, give your color coat a full week to cure, and wear a real respirator for anything solvent-based. Your restoration deserves to still look this good in 2026 plus ten more years of play.