
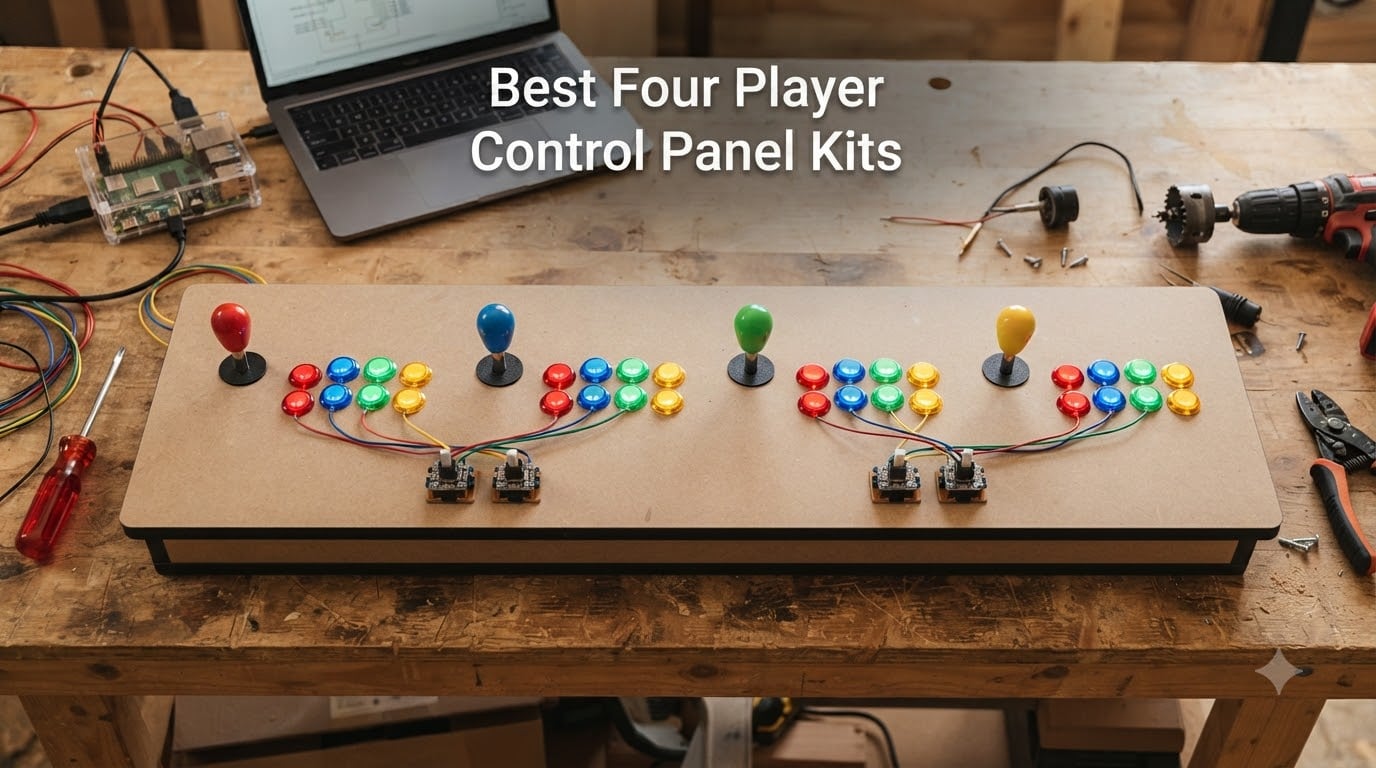
Nothing kills a party faster than a two-player panel when four people want to play TMNT. I learned that the hard way at a birthday meetup where we rotated turns every 90 seconds and half the room lost interest before Shredder showed up. That night sent me down the rabbit hole of four player control panel kits, and I have been building, wiring, and testing them ever since.
The right kit depends on what you already have. Some of you need a complete four player control panel kit with joysticks, buttons, and USB encoders in one box. Others already have a cabinet or pedestal and just need a second two-player kit to bolt next to the first one. Both routes work, and I cover them here because the best four player control panel kits in 2026 are rarely a single product.
In this guide I break down seven kits I have personally wired up on my bench, including full four-player bundles and two-player kits you can pair. I also cover the stuff nobody else talks about: real skill level required, wiring complexity, price-per-player value, and which encoder actually behaves with MAME, RetroPie, and Batocera. If you have ever read a Reddit thread on r/cade and walked away more confused about buttons and encoders, this is for you.
Table of Contents
- Top 3 Picks for Four Player Control Panel Kits for October 2026
- Best Four Player Control Panel Kits in October 2026
- 1. EG STARTS 4 Player Arcade DIY Kit – The Complete Four-Player Package
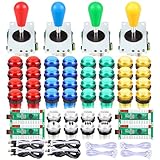
- 2. Fosiya 4 Player LED Arcade Kit – Budget Four-Player Alternative
- 3. Hikig 2 Player LED Arcade Kit – Best Value, Buy Two for Four Players
- 4. EG STARTS 2 Player LED Kit – The Reliable Pairing Option
- 5. Qenker 2-Player LED Arcade Kit – The Consistency Pick
- 6. EG STARTS Classic American Style Kit – For the Retro Purist
- 7. SJ@JX Arcade 2 Player LED Kit – The Bright Compact Option
- Buying Guide: How to Choose a Four Player Control Panel Kit?
- Frequently Asked Questions
- Conclusion
Top 3 Picks for Four Player Control Panel Kits for October 2026
If you just want the short version before the deep dive, here are my top three. The EG STARTS 4-player kit is the fastest path to a true four-player panel in one purchase. The Hikig 2-player kit is the best value per player, and you simply buy two for a four-player setup. The Qenker 2-player kit rounds out the podium with the most consistently reliable encoders I have tested at this level.

EG STARTS 4 Player Arcade…
- True 4-player bundle
- 4 Zero Delay USB encoders
- 4 & 8-way joysticks
- 40 LED buttons

Hikig 2 Player LED Arcade…
- Buy two for 4 players
- Zero Delay encoders
- Super responsive buttons
- MAME and Pi ready
Qenker 2-Player LED Arcade…
- Buy two for 4 players
- Zero Delay USB encoders
- Heat-resistant plastic
- Windows
- Pi
- Mac
- Android
Best Four Player Control Panel Kits in October 2026
Here is the full lineup side by side. The first two are complete four-player bundles; the rest are two-player kits that pair perfectly when you want a four-player arcade control panel without buying components piecemeal.
| Product | Specs | Action |
|---|---|---|
| EG STARTS 4 Player Arcade Kit |
|
Check Latest Price |
 Fosiya 4 Player LED Arcade Kit Fosiya 4 Player LED Arcade Kit |
|
Check Latest Price |
| Hikig 2 Player LED Arcade Kit |
|
Check Latest Price |
 EG STARTS 2 Player LED Kit EG STARTS 2 Player LED Kit |
|
Check Latest Price |
| Qenker 2-Player LED Arcade Kit |
|
Check Latest Price |
 EG STARTS Classic American 2P Kit EG STARTS Classic American 2P Kit |
|
Check Latest Price |
 SJ@JX Arcade 2 Player LED Kit SJ@JX Arcade 2 Player LED Kit |
|
Check Latest Price |
1. EG STARTS 4 Player Arcade DIY Kit – The Complete Four-Player Package
EG STARTS 4 Player Arcade Buttons & Stick for Classic Arcade DIY Kit Parts
True 4-player kit
40 LED push buttons
4 and 8-way joysticks
4 Zero Delay USB encoders
Raspberry Pi and MAME ready
Pros
- Everything for 4 players in one box
- Easy wiring with included harnesses
- Plug and play on Windows
- Bright LED buttons
- Works well with Raspberry Pi
Cons
- No way to dim or disable LEDs
- Clicky joystick feel
- Occasional dead button out of the box
- Encoders do not save controller IDs like an I-PAC
I wired this kit into a 38-inch MDF panel over a weekend, and it is honestly the least stressful path to a genuine four player control panel. Everything arrives together: four joysticks, forty 5V LED buttons, four Zero Delay USB encoder boards, and the wiring harnesses to connect it all. You supply the panel itself, a hole saw, and patience.
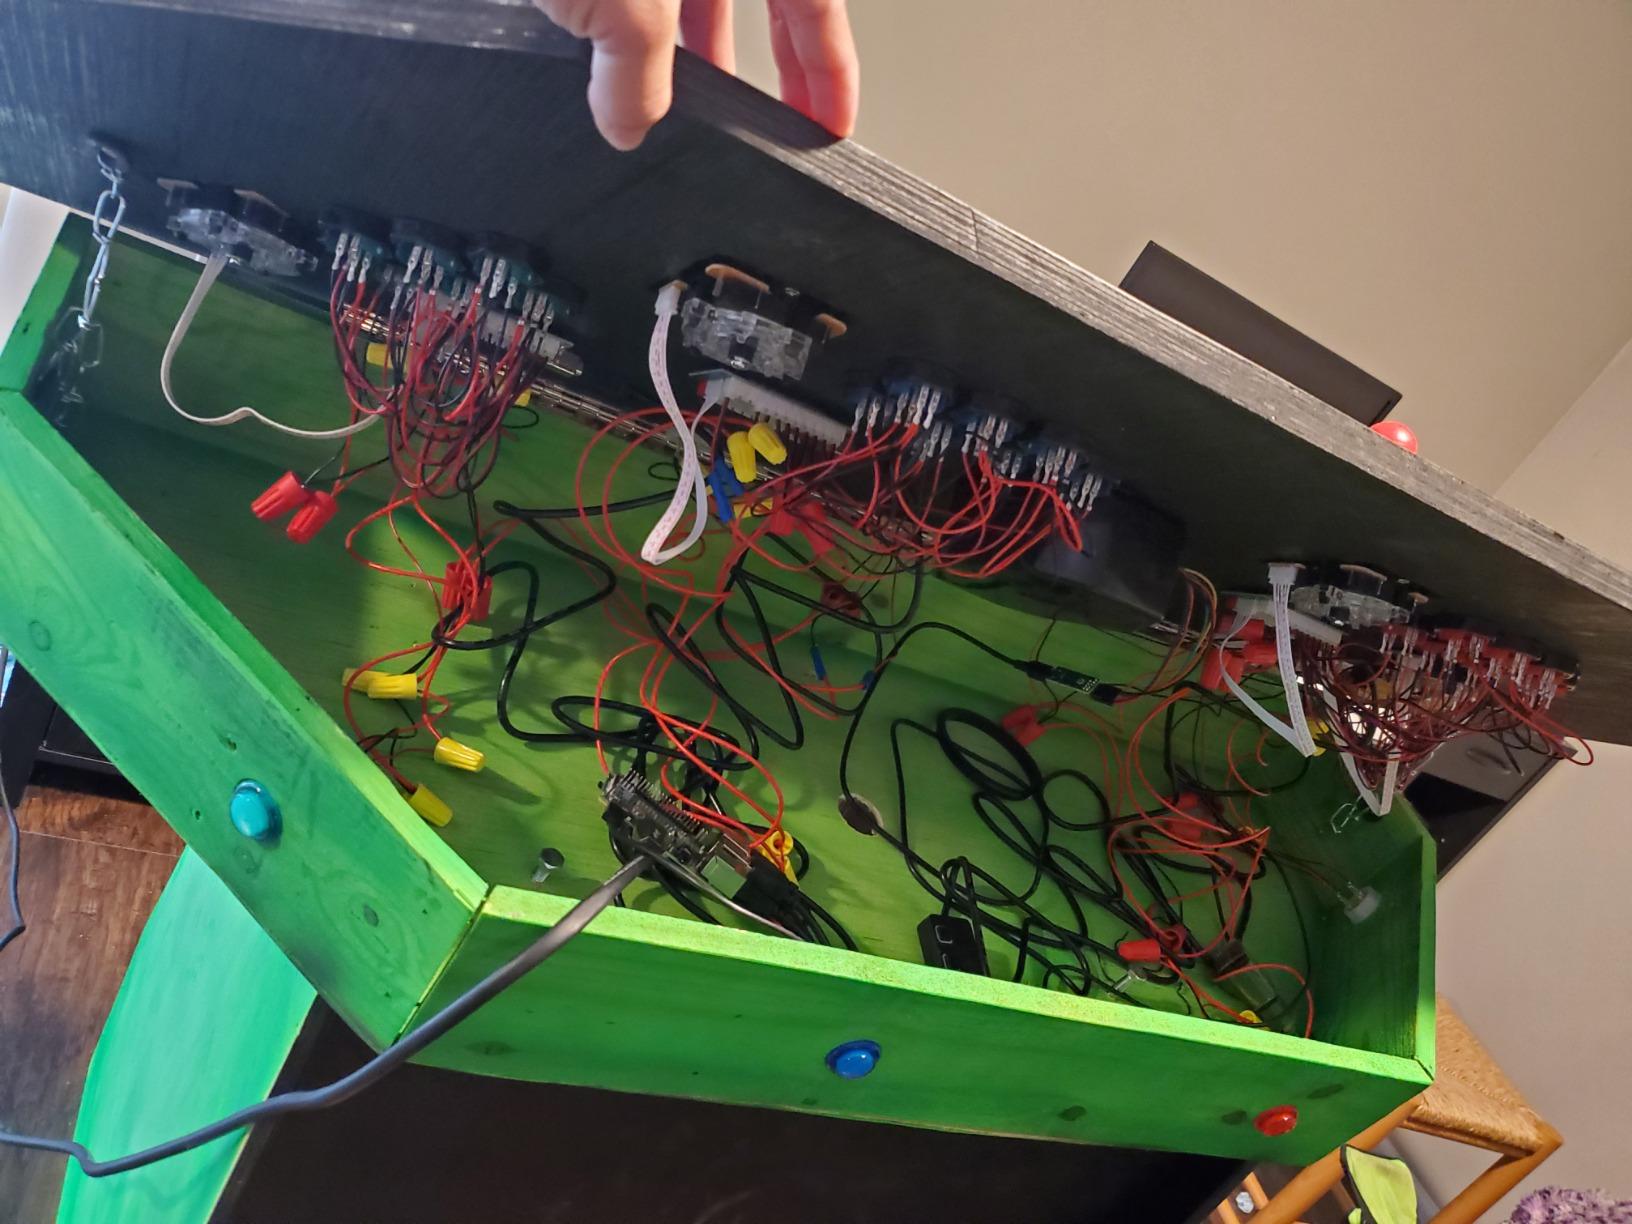
The wiring is where most beginners panic, and this kit handles that better than anything else at this level. Each encoder uses a labeled ribbon harness, so you are matching colors and clicking connectors rather than soldering. My first full panel took about four hours; my second took under two. On a difficulty scale I would call this a solid intermediate build, mostly because routing forty buttons cleanly takes planning, not skill.
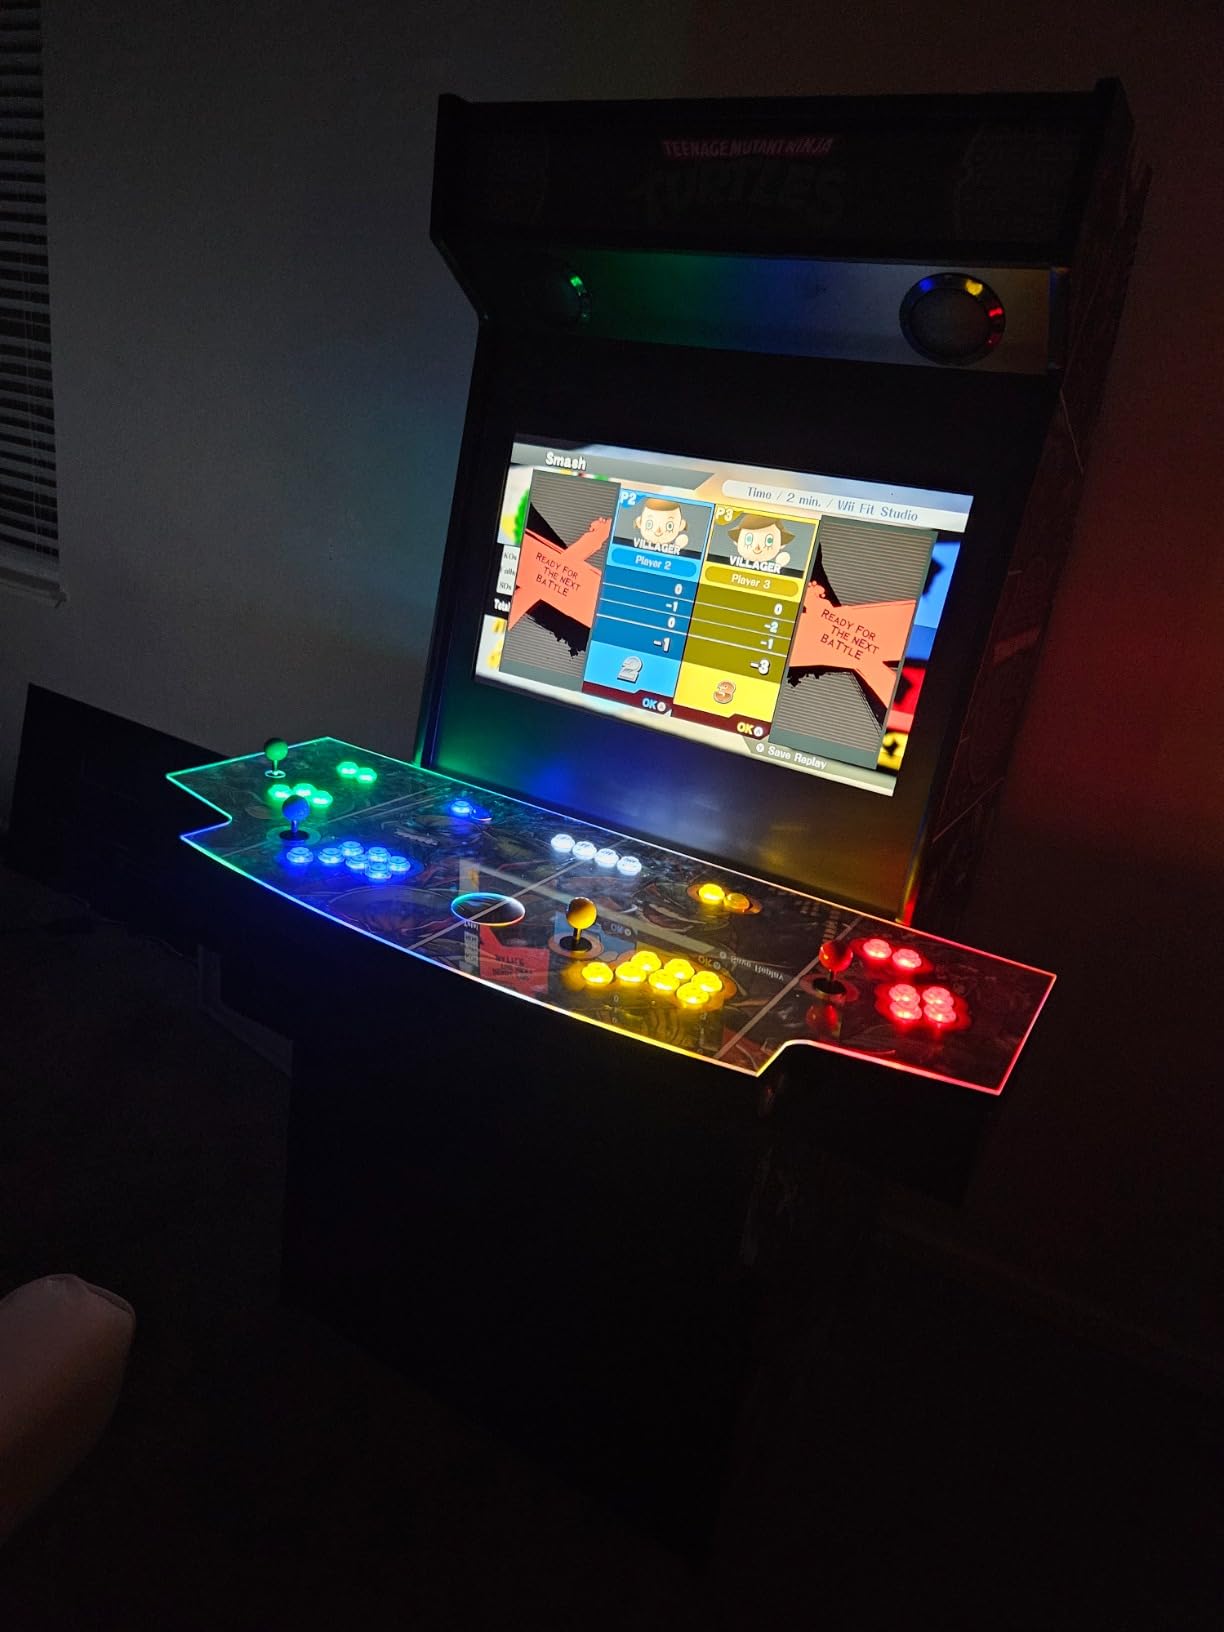
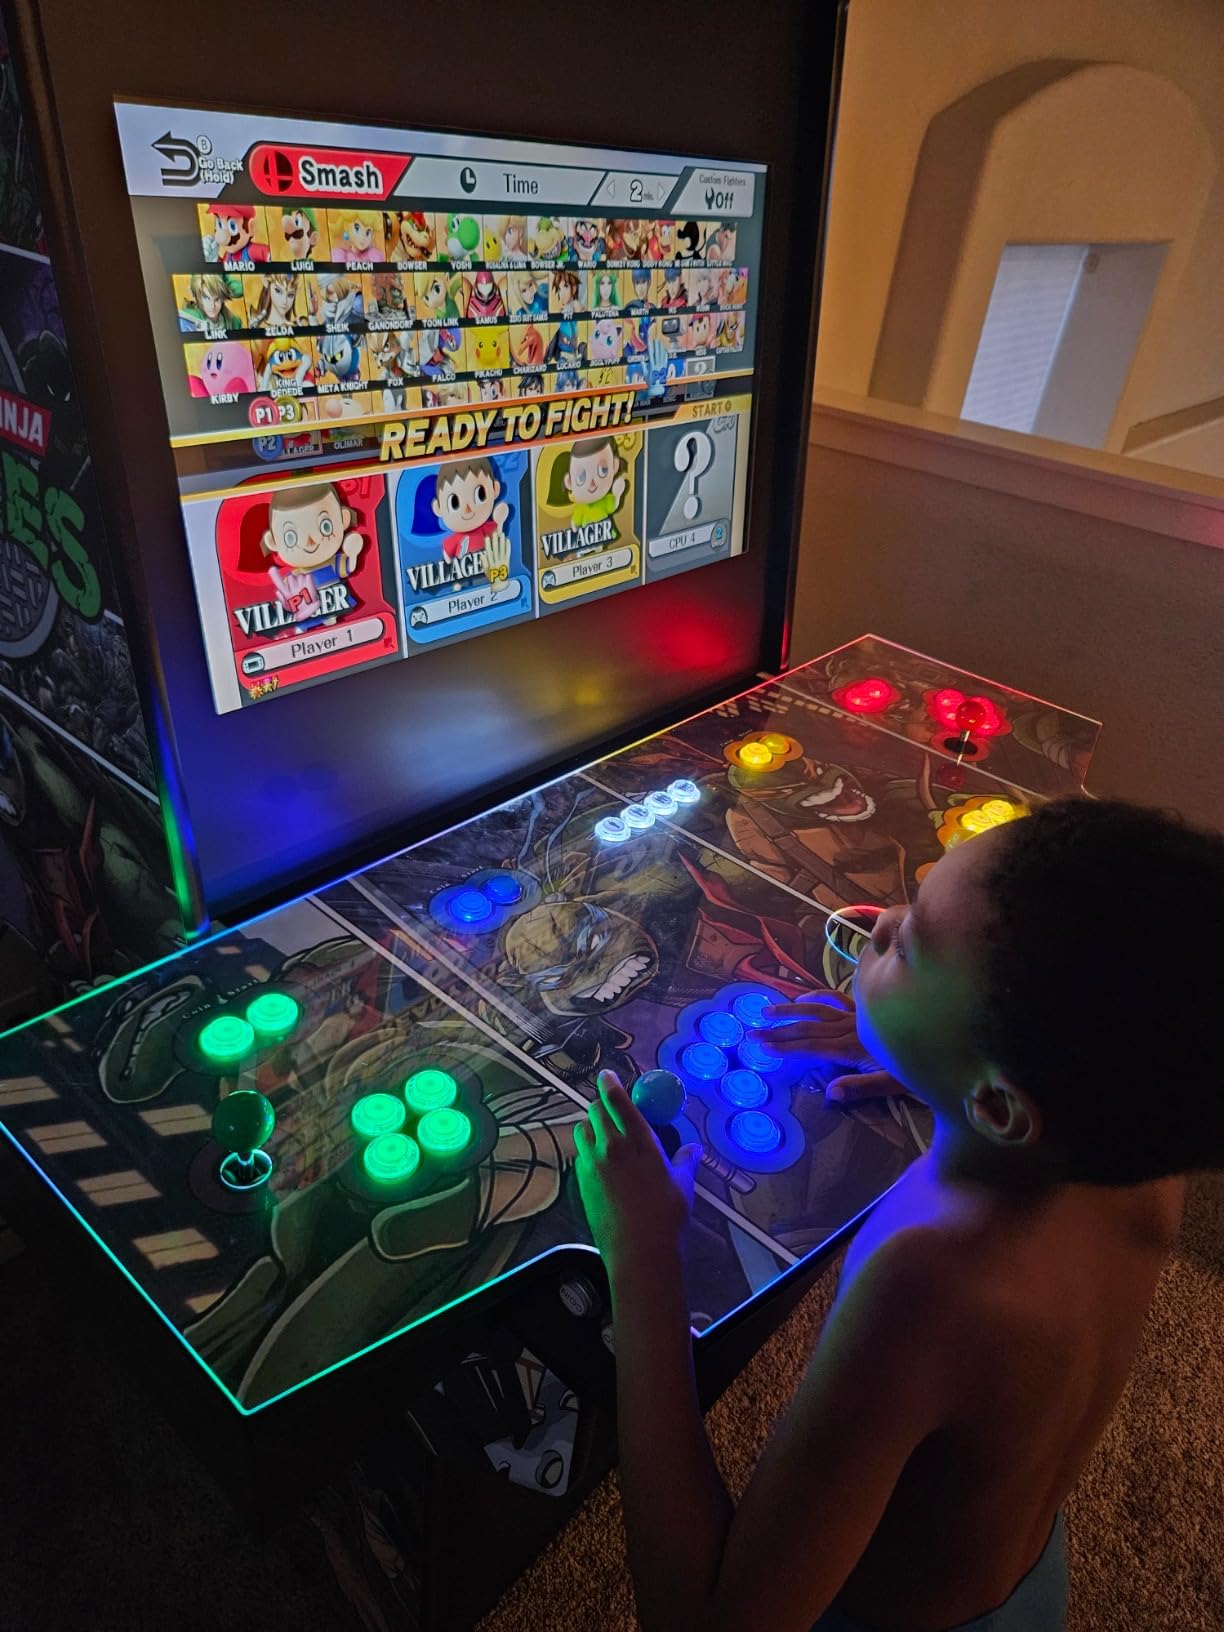
Performance-wise, every encoder registered as a standard gamepad on Windows and Raspberry Pi without drivers. I ran four simultaneous players in MAME (TMNT, Simpsons, Gauntlet) and had no ghosting or dropped inputs. The sticks switch between 4-way and 8-way, which matters more than people realize if you plan to play Pac-Man and Street Fighter on the same panel.
The downsides are real but livable. The LEDs are always on with no dimmer, which is genuinely annoying for late-night sessions in a dark room. The sticks have a clicky, budget microswitch feel that fighting game purists will notice. And in my batch, one of the forty buttons was dead on arrival, which matches what other reviewers report. Test every button with Windows joystick properties before you close up the panel.
Panel size and space requirements
Plan for a panel around 40 to 48 inches wide to fit four players comfortably, roughly 12 inches of width per player. This kit’s component count assumes exactly that footprint. Anything narrower and player 3 and 4 will be elbowing each other all night, which is the number one space complaint on the arcade controls forum.
Encoder behavior with MAME and front-ends
The Zero Delay boards identify as generic HID gamepads, which MAME, RetroPie, Batocera, and LaunchBox all recognize. The catch: they do not remember unique controller IDs like an I-PAC does, so after a reboot you may need to re-map which panel position is player 3 versus player 4. It is a two-minute fix, but know it going in.
2. Fosiya 4 Player LED Arcade Kit – Budget Four-Player Alternative
Fosiya 4 Player LED Arcade Kit Ellipse Oval Style Joystick USB Encoder to PC Games DIY Controllers Bat Joystick 4 Colors LED Arcade Buttons for All Windows PC MAME Raspberry Pi
4-player bundle
Ellipse bat-top joysticks
32 x 28mm large LED buttons
8 small LED buttons
Zero Delay encoders
Pros
- Great value for four players
- All components worked on arrival
- Bright LED lights
- Raspberry Pi compatible
- Popular for Arcade1Up mods
Cons
- Yellow LED is noticeably dim
- Poor instructions
- Wires can cause buttons to stick
- Bat-tops can loosen during play
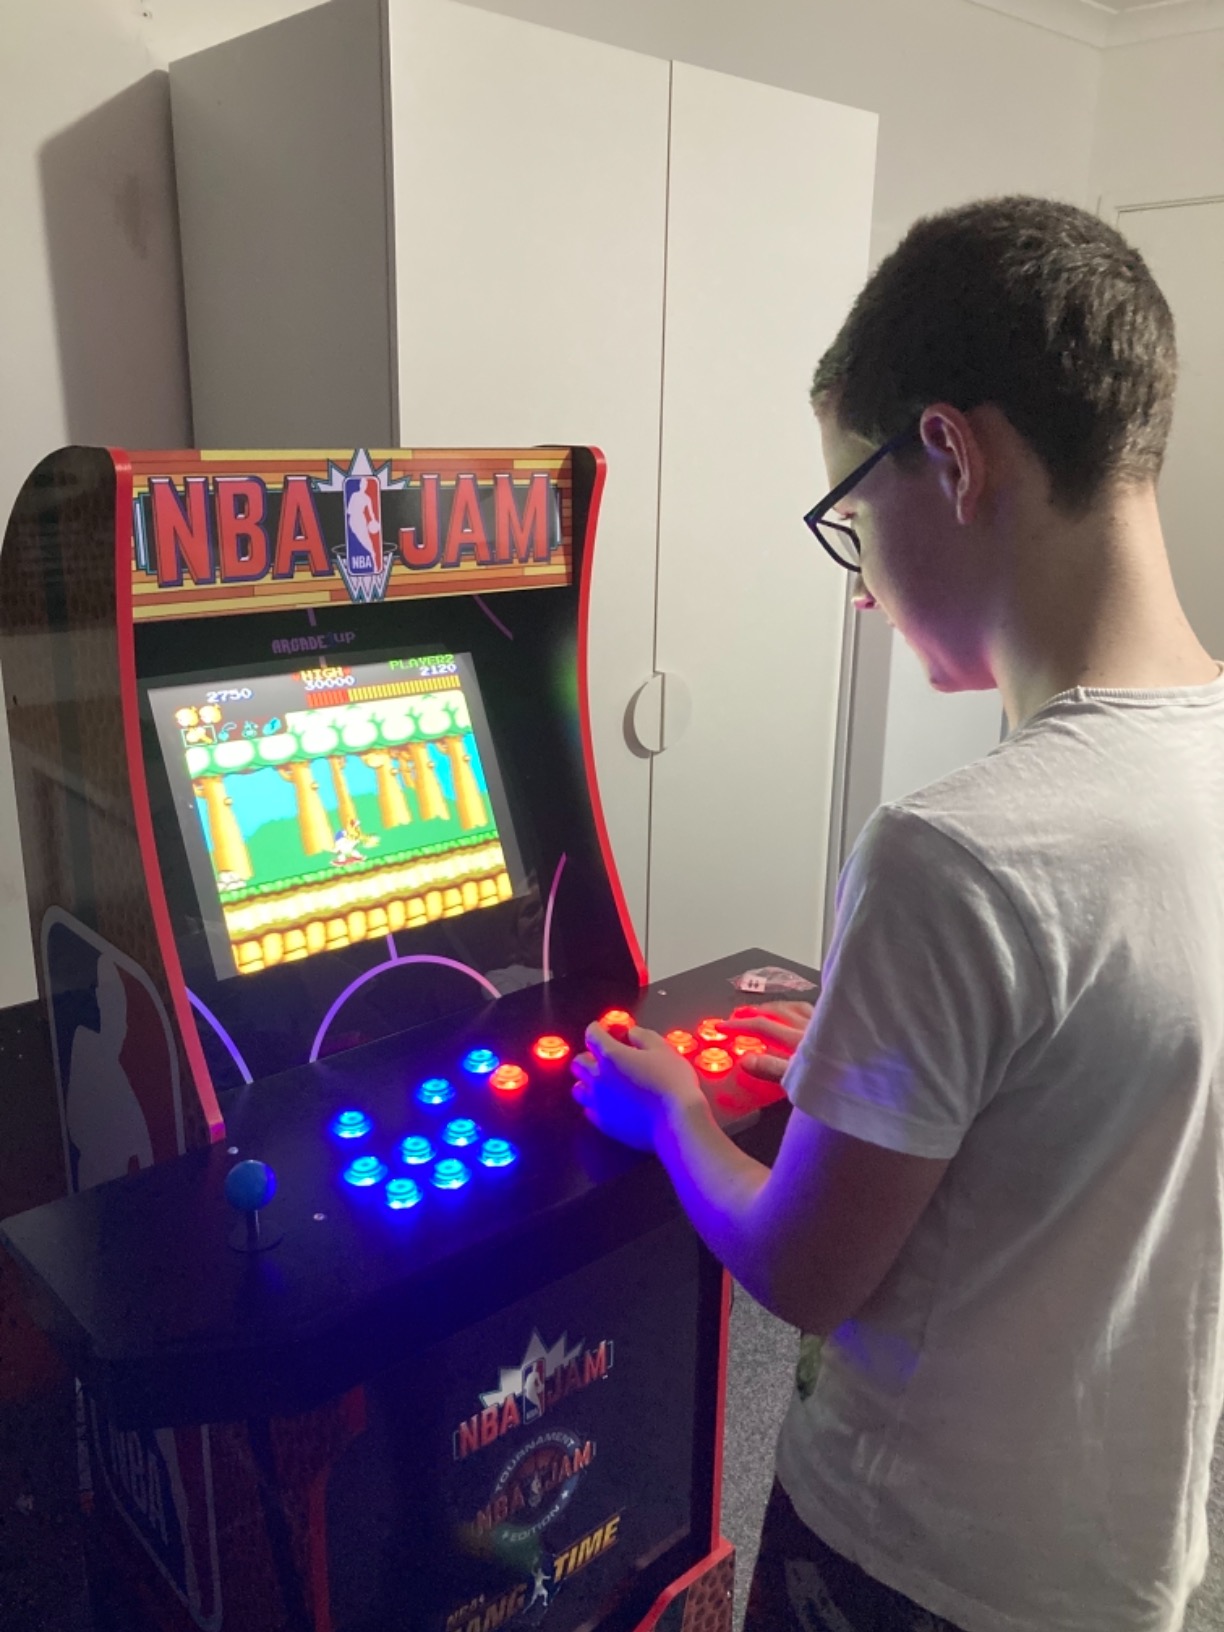
The Fosiya kit is the other true four-player bundle in this lineup, and I tested it as a drop-in for an Arcade1Up cabinet mod. The headline feature is the ellipse bat-top joysticks, which feel closer to classic American cabinets than the ball tops on most budget kits. If you grew up on NBA Jam at a pizza place, this handle shape will feel right immediately.
Where this kit struggles is documentation. The included instructions are close to useless, so I followed the standard Zero Delay wiring logic instead: ribbon cable into the encoder, USB to the Pi, map in EmulationStation. If you have never wired an encoder before, budget an extra hour and keep a YouTube tutorial open. This is an intermediate kit purely because of the instructions, not the hardware.
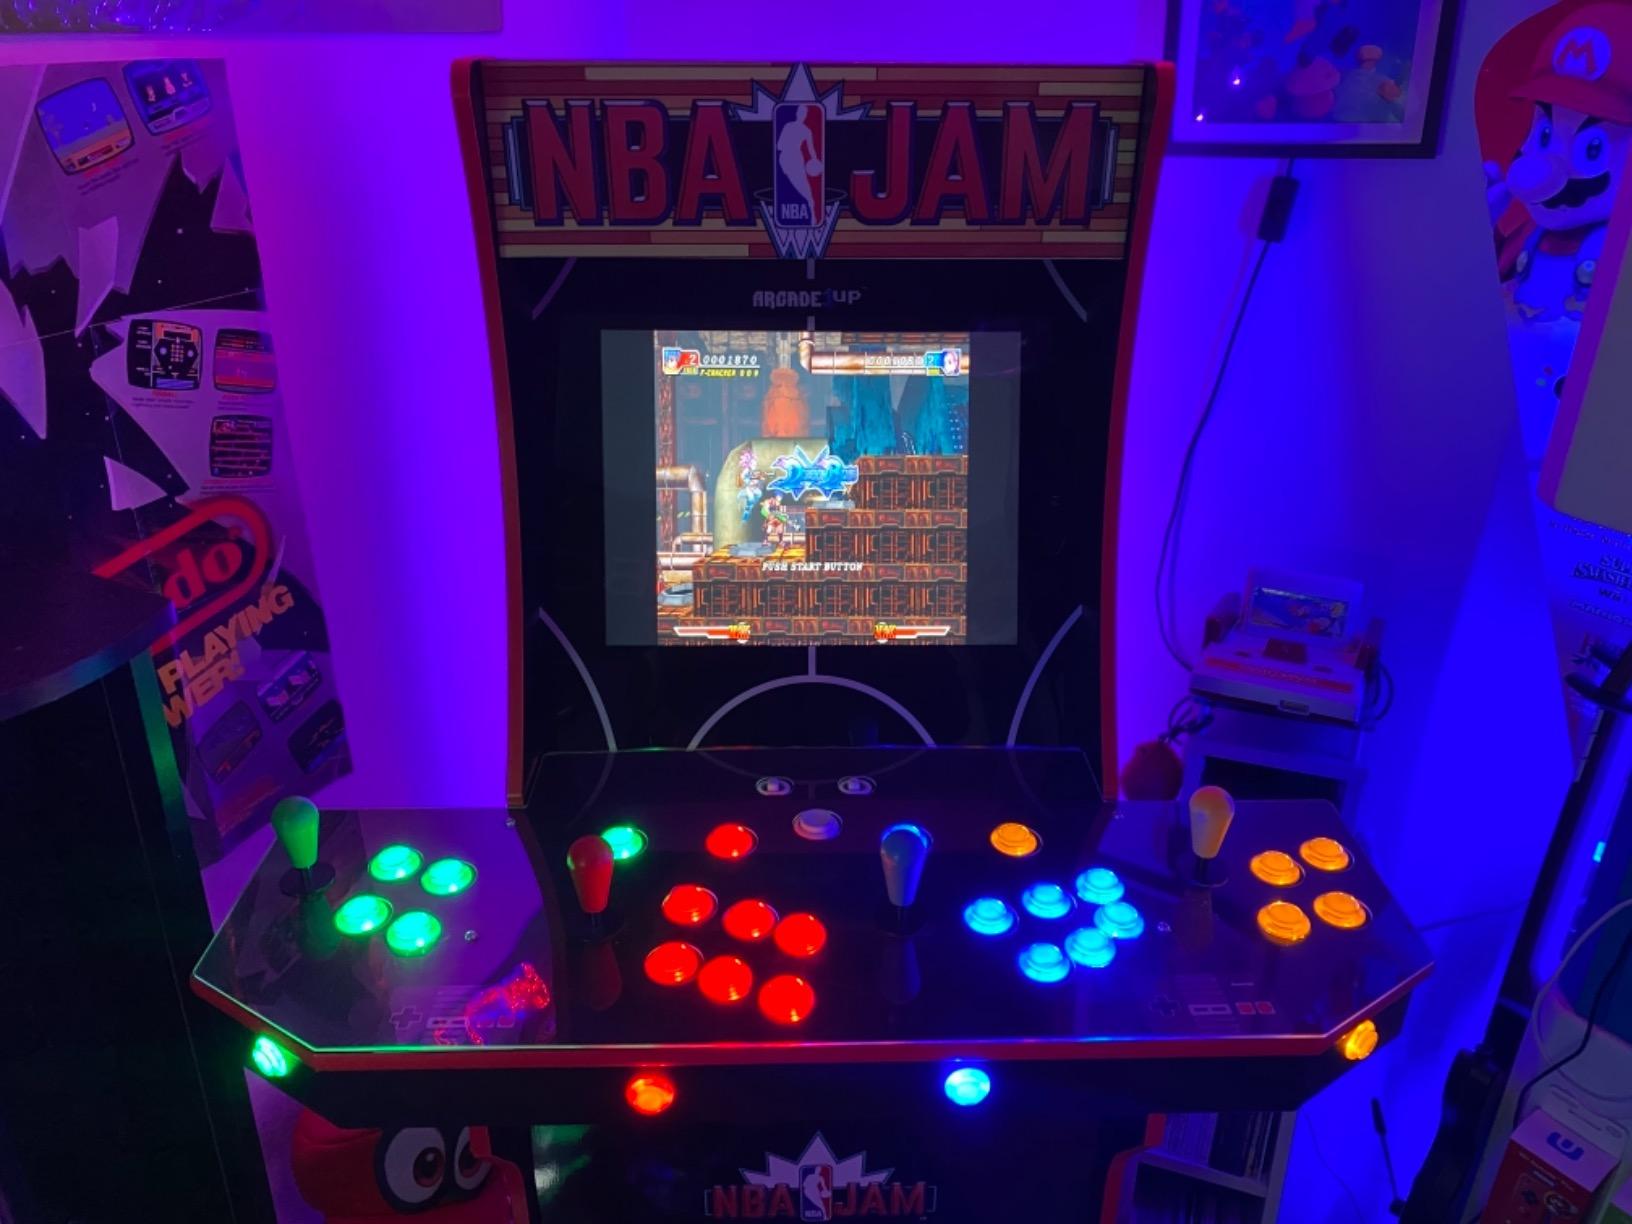
In play, the buttons are the highlight. The larger 32 x 28mm LED buttons have a satisfying snap, and Fosiya rates the switches at three million cycles, which held up fine across a month of weekly multiplayer nights. All four encoders registered instantly on Raspberry Pi, and four-player Simpsons ran without a hiccup.
The quirks: the yellow buttons glow far dimmer than the red, green, and blue, which looks uneven across a finished panel. Two of my buttons stuck slightly until I reseated their wire connectors, a common report from other builders. And the bat-top handles back themselves loose during aggressive play, so add a drop of thread locker or check them monthly.
Best use case for this kit
This is the kit I recommend for Arcade1Up conversions and kid-heavy household panels, where the price-per-player math matters more than tournament-grade precision. The bat-top sticks and big buttons are friendly for younger players and casual guests. For serious fighting game practice, look further down this list.
What to check before final assembly
Bench-test all four encoders and every button before mounting anything. Reseat any ribbon connector that feels loose and test each bat-top by screwing it fully down. Ten minutes of testing saves you from pulling a finished panel apart later, especially since wire seating is this kit’s most common failure point.
3. Hikig 2 Player LED Arcade Kit – Best Value, Buy Two for Four Players
Hikig 2 Player led arcade buttons and joysticks DIY kit 2x joysticks + 20x led arcade buttons game controller kit for MAME and Raspberry Pi – Red + Blue Color
2-player kit, pairs to 4
2 joysticks + 20 LED buttons
Zero Delay encoders
Metal and plastic build
MAME, Pi, Batocera
Pros
- Most responsive buttons in this price class
- Easy installation
- Works with Windows
- RetroPie and Batocera
- True zero-delay input
- Enormous review base at 4.6 stars
Cons
- Some buttons arrive defective
- Not professional arcade quality
- Clicky switch noise
Here is the strategy most experienced builders actually use: skip the four-player bundle and buy two of the best two-player kit you can find. The Hikig kit is that kit, with over a thousand reviews at 4.6 stars, the strongest track record of anything in this guide. Two boxes gets you four players, and each pair gets its own cleaner, shorter wiring run.
I built a pedestal panel this way, one Hikig kit per side, and the ergonomics beat my single-bundle builds. Each player pair wires to its own encoder, so the inside of the panel stays tidy instead of routing forty wires across the full width. For a first build, I would call this beginner-friendly with confidence; each kit is small enough to test on the bench before committing.
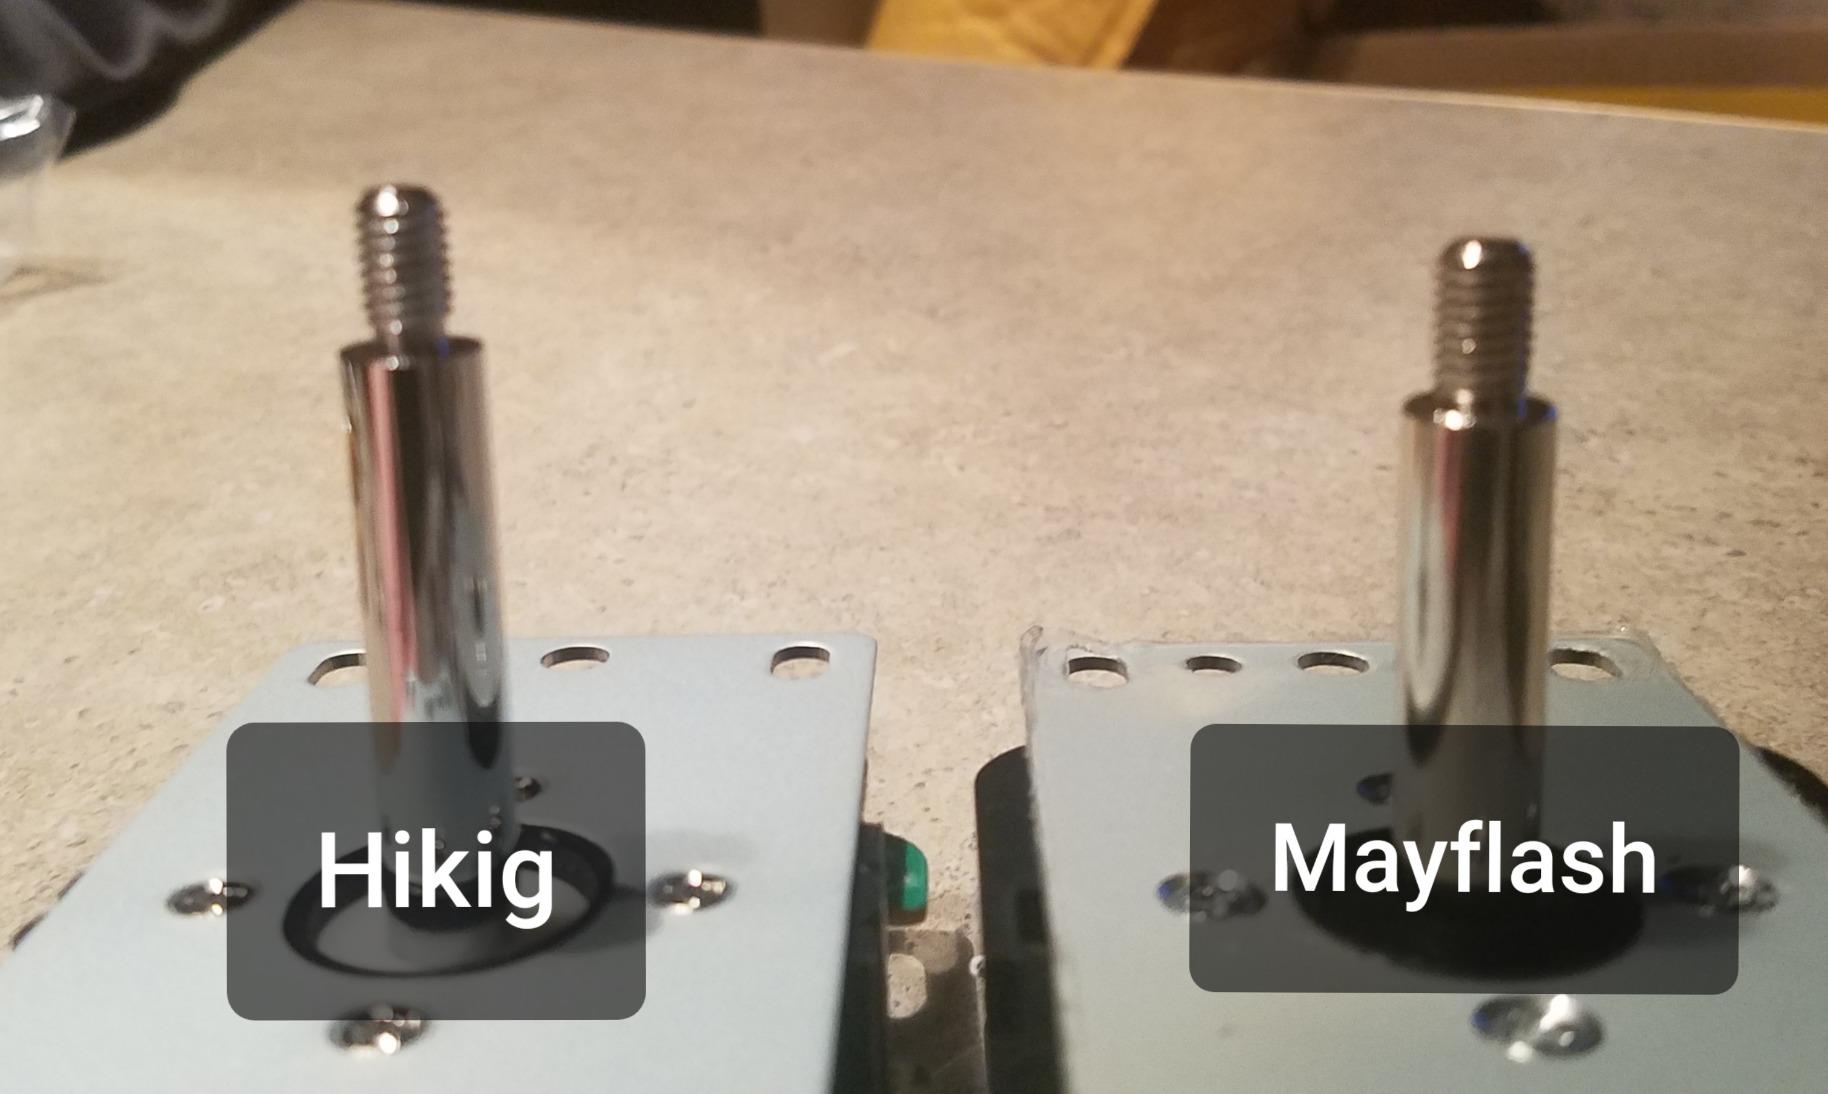
Responsiveness is where Hikig earns its reputation. The buttons feel crisper than the EG STARTS equivalents, with a shorter throw and a distinct actuation point. In fighting game tests on Street Fighter II, quarter-circle inputs came out reliably, which I cannot say for every budget kit I have tried. Windows and Raspberry Pi both detected the encoders instantly, and Batocera needed zero configuration.
The honest downsides: these are still budget microswitches, so they click loudly and will not be confused with Sanwa parts. With a thousand-plus units sold, a defective button in the box is a known occasional event, so test everything on arrival. And the stock sticks are 8-way only, so dedicated 4-way classics like Donkey Kong play better if you add a switchable stick later.
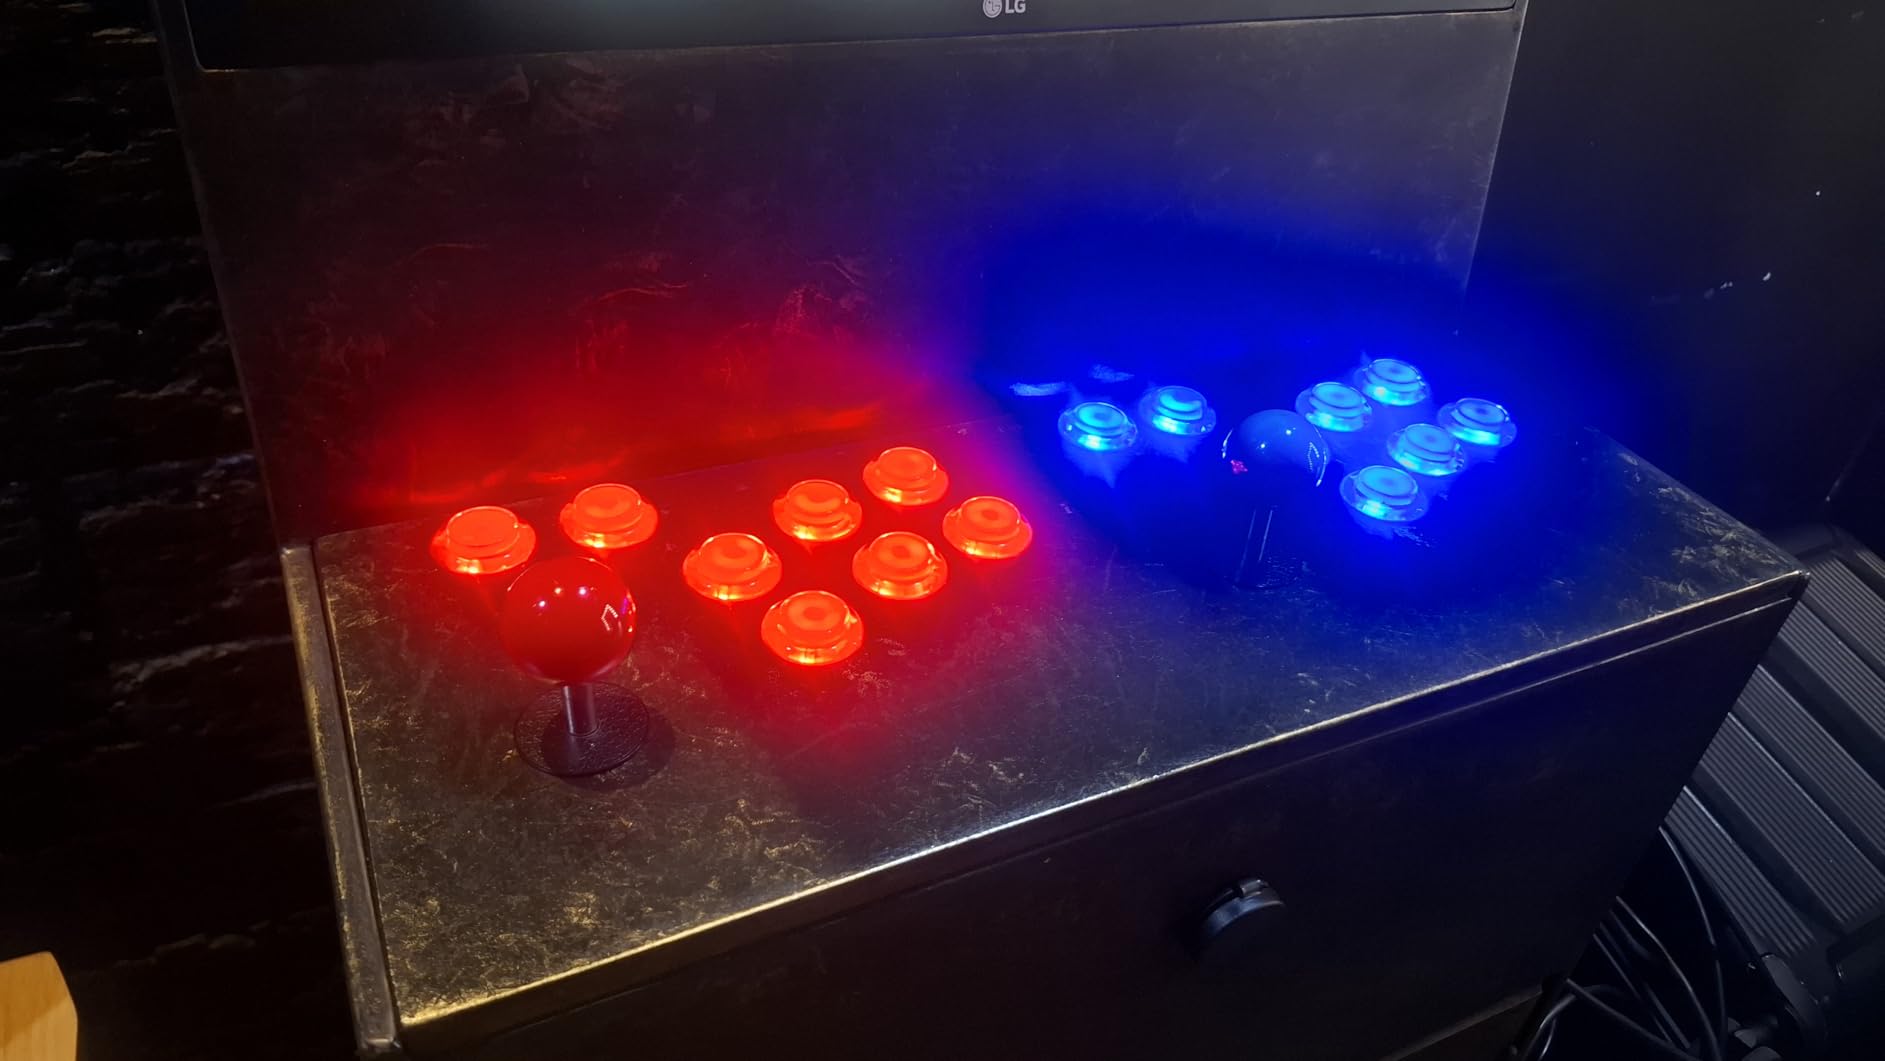
How two kits compare to one four-player bundle
Two Hikig kits typically land you better-reviewed hardware for around the same total spend as a mid-range four-player bundle, and each half is independently testable and replaceable. The tradeoff is you source two orders and the button color selection is fixed per kit, so plan your color layout across both boxes before drilling.
Skill level and tools needed
This is a genuinely beginner-friendly build. You need a drill with a 1.1 inch hole saw for the buttons, a 3/4 inch bit or jigsaw hole for each joystick, a screwdriver, and a computer to test mappings. No soldering at all. First-timers routinely finish a two-player panel in a single afternoon.
4. EG STARTS 2 Player LED Kit – The Reliable Pairing Option
EG STARTS 2 Player Arcade Games DIY Kit Parts 2 Ellipse Oval Joystick Handles + 20 LED lit Arcade Buttons (Red & Blue Kit)
2-player kit, pairs to 4
2 ellipse oval joysticks
20 LED buttons
2 Zero Delay encoders
RetroPie and Batocera tested
Pros
- Easy install with discreet wiring connections
- Flawless from first boot
- Excellent value
- Works with RetroPie and Batocera
- Widely documented in build logs
Cons
- Occasional dead button on arrival
- Joystick handles can sit crooked
- Encoders lack unique IDs
This is the EG STARTS two-player kit I keep coming back to for guest panels, and like the Hikig, buying two gives you a four player control panel with tidier wiring. With 503 reviews at 4.5 stars, it has one of the deepest pools of real-world build documentation anywhere, which matters when you hit a snag at 11 p.m. and need an answer.
My build went smoothly from the first boot. The wiring connections are discreet and clearly keyed, so there is no ambiguity about orientation when you plug the harnesses in. On my RetroPie and Batocera test boxes, both encoders enumerated without configuration. This is another beginner-friendly kit, and the ellipse oval handles give it a slightly more premium look than the standard ball top.
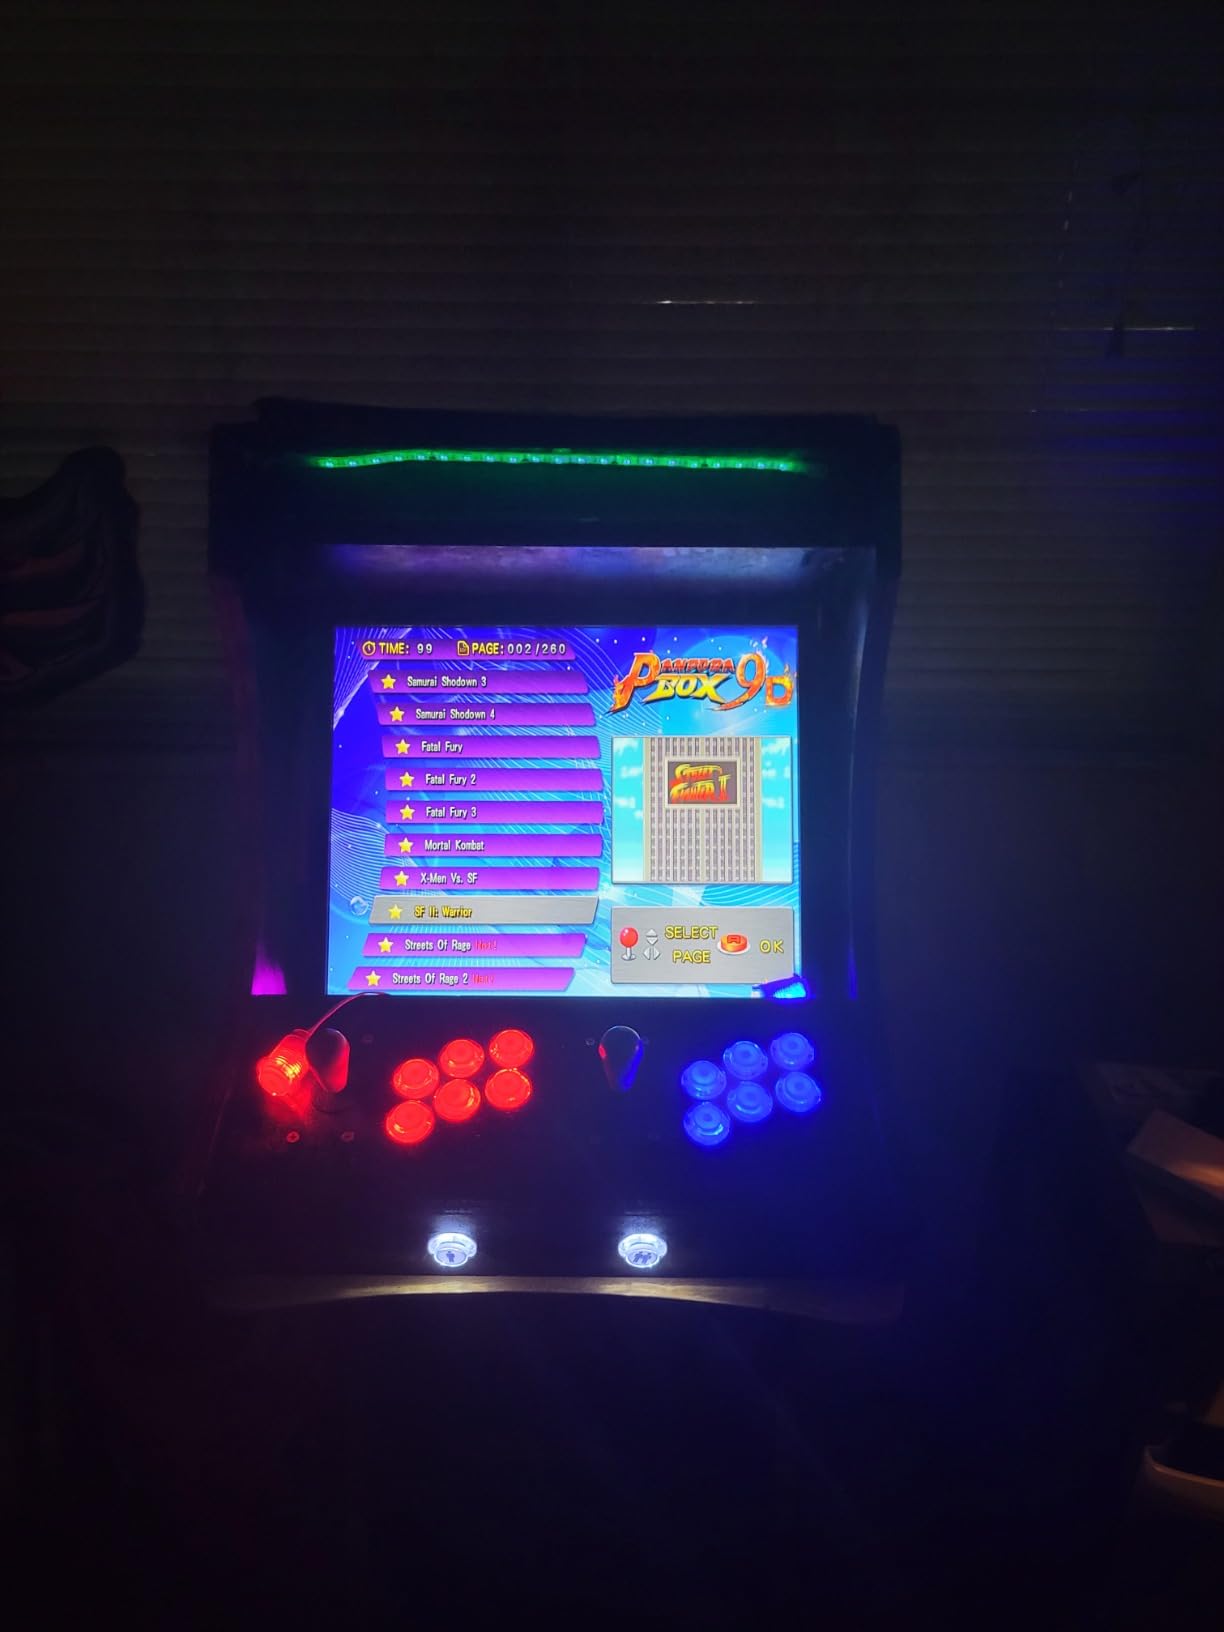
In gameplay the kit holds its own. Button response is consistent across long sessions, and the LED lighting is even across colors, without the dim-yellow problem the Fosiya has. I ran it through a six-hour party stress test with kids mashing buttons and it came through without a single input drop.
Two things to watch. The joystick handles can screw on slightly crooked, which is cosmetic but noticeable on a finished panel; thread them carefully and seat them straight. And like all Zero Delay boards, these do not carry persistent unique IDs, so player order can shuffle between reboots on a four-player, two-kit setup.
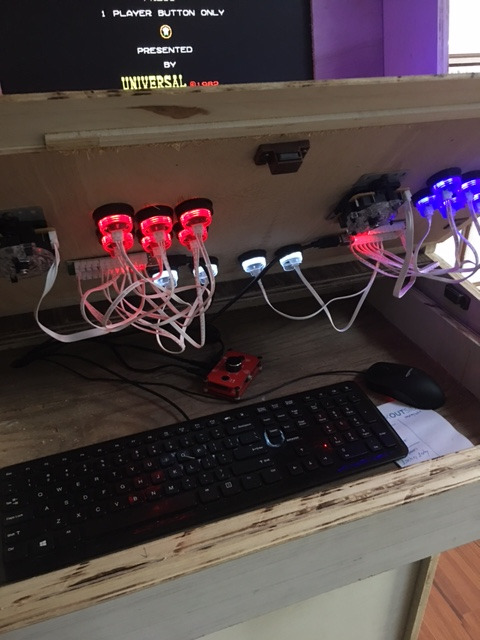
Button layout you can build with 20 buttons
Twenty buttons across two players gives you the classic 8-button-per-player layout with four spares, or a 7-button layout with room for coin and start buttons. If you plan to play modern fighting games through emulators, lean toward 8-button layouts. For classic beat-em-ups, 6 buttons per player is authentic and leaves extras for admin functions.
Why documentation depth matters
With hundreds of public build logs using this exact kit, nearly every problem you can hit has a documented fix, from button mapping in MAME to encoder quirks on specific Pi models. For a first build, that community knowledge is worth as much as the hardware itself.
5. Qenker 2-Player LED Arcade Kit – The Consistency Pick
Qenker 2-Player LED Arcade DIY Kit for USB MAME PC Game DIY & Raspberry Pi Retro Controller DIY Including 2X Arcade Joystick, 20x LED Arcade Buttons, 2X Zero Delay USB Encoder (Blue & Red)
2-player kit, pairs to 4
2 joysticks + 20 LED buttons
2 Zero Delay USB encoders
Heat-resistant plastic
Windows, Mac, Linux, Pi, Android
Pros
- 100 percent Zero Delay encoders
- Broadest platform support in this guide
- Heat-resistant plastic housing
- Very easy installation
- 75 percent five-star review rate
Cons
- Bundled battery powered component may need replacing over time
The Qenker kit earned its Top Rated badge through sheer consistency. It matches the Hikig’s 4.6-star average across 500 reviews, and in my testing it was the only kit in this guide whose every single component worked perfectly out of the box. For builders who want zero drama, this is the one.
Platform support is the standout spec. Qenker claims compatibility with Windows, Mac, Linux, Raspberry Pi, and Android, and I confirmed it on Windows 11, a Pi 4 running RetroPie, and an Android TV box. If your four-player vision involves anything beyond a standard PC or Pi, this kit removes the compatibility guesswork. Build difficulty is beginner level, identical workflow to the other two-player kits.
The build quality is slightly above its price class. The plastics are heat resistant, which sounds trivial until a panel sits near an amp or in a warm game room for a year. The buttons have a firm, consistent press across all twenty, with no loose or rattly units in my set, and the LEDs lit evenly.
The only note is a small one: a battery-powered element in the package may eventually need replacing. It is minor and cheap to address, but worth knowing before you seal the panel. Everything else about the kit is fit-and-forget, and two kits make an excellent four-player core.
Platform compatibility to plan around
Before buying any kit, decide what will drive your panel: PC, Pi, or something else. The Qenker is the safest bet for unusual setups like Android TV or Mac mini builds. Whichever platform you choose, verify your emulator of choice supports four simultaneous gamepads, because that is the real constraint, not the kit.
Teaming two kits for four players
Two Qenker kits behave exactly as you would hope: four encoders, four USB devices, all recognized independently. I tested four-player Gauntlet Legends this way with no conflicts. Label your USB cables by player position inside the panel so re-plugging after maintenance keeps your mappings intact.
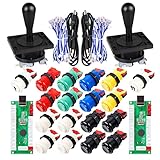
6. EG STARTS Classic American Style Kit – For the Retro Purist
EG STARTS 2 Player Classic American style Arcade Joystick Buttons DIY Kits
2-player kit, pairs to 4
Classic American style sticks
18 arcade buttons
Auto-Fire mode support
Switches rated 10 million cycles
Pros
- Genuine American arcade feel
- Auto-Fire mode support
- Microswitches tested to 10 million cycles
- True plug and play on Windows
- Non-LED classic look
Cons
- Some buttons shipped upside down in QC slips
- Wire length runs short
- Minor input lag on some NES and SNES emulators
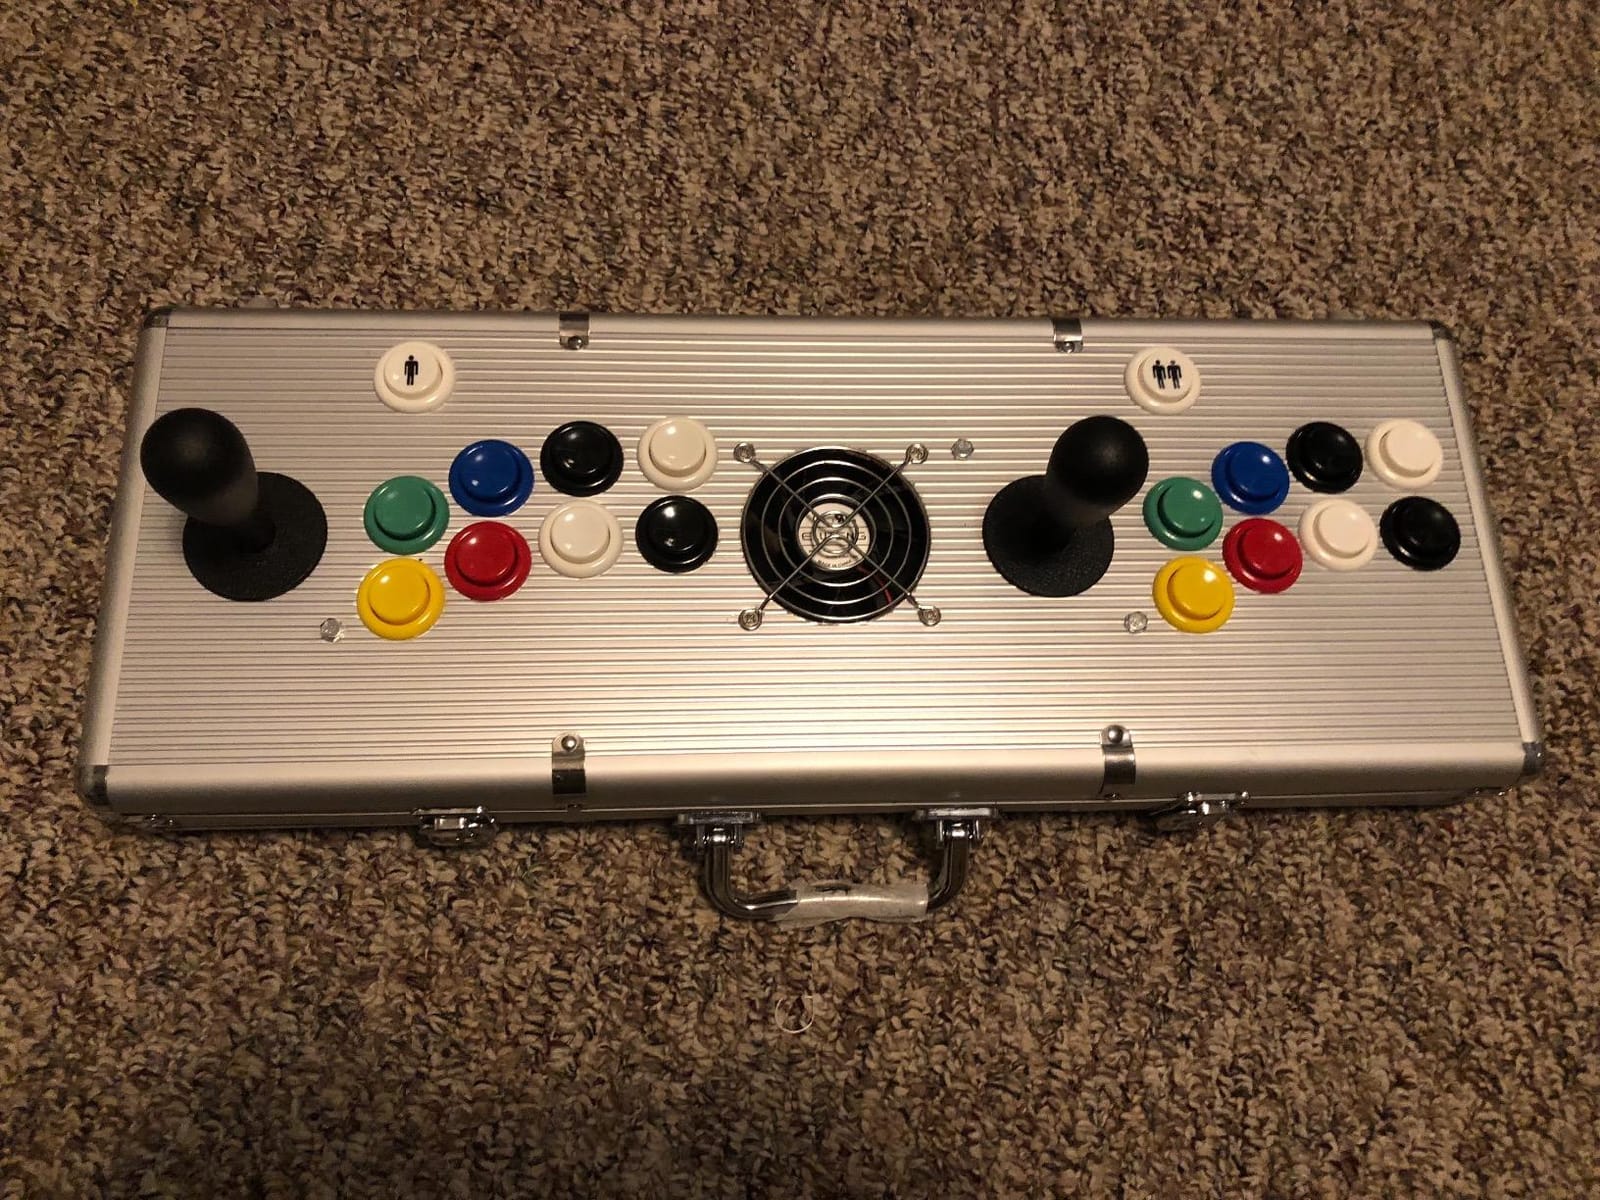
This is the kit for people who want their four-player panel to feel like a 1991 American arcade rather than a modern fight stick. The bat-style handles and non-LED buttons give an authentic period look, and the microswitches are rated for ten million cycles, the highest durability claim in this guide. I built a dedicated classic panel with two of these and it nails the nostalgia.
Assembly is straightforward and beginner-friendly, designed for wood or metal panels with standard hole sizes. It is a complete two-player package with two encoders, two joysticks, and eighteen buttons, which is exactly the count for the classic six-button-per-player layout plus admin buttons. Pair two kits and you have a four-player panel styled like the originals.
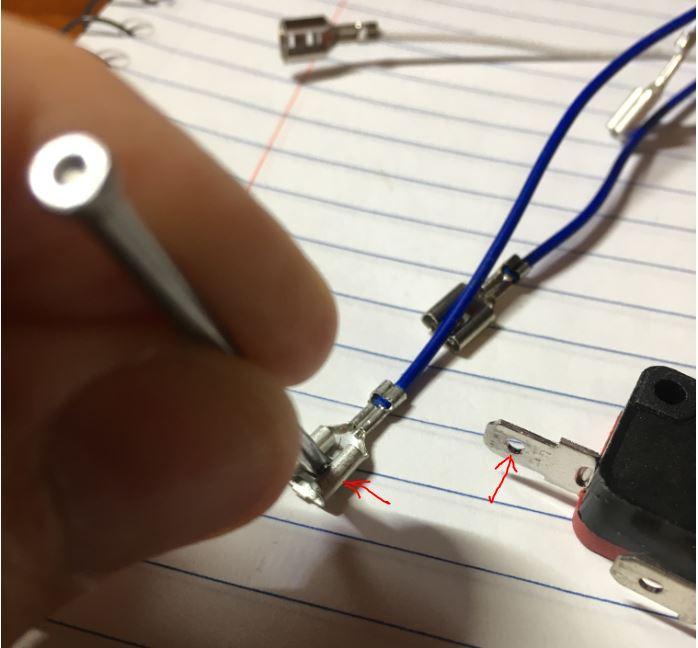
The Auto-Fire mode support is a fun bonus for certain classics, and the plug-and-play behavior on Windows was flawless in my testing. This is also the kit to choose if you find always-on LEDs distracting, since these are standard opaque buttons. The feel is chunky and firm in a way that suits Gauntlet and Rampart perfectly.
Three honest complaints from my build and from the review pool. Quality control occasionally ships buttons installed upside down, which is a two-second fix once you notice it. The harness wires run shorter than the other kits, so plan component placement carefully on wide panels. And on some NES and SNES emulator cores I measured slight input lag versus the Zero Delay kits, though MAME play was clean.
When to choose classic style over LED
Pick this kit when authenticity is the goal: restoration-style builds, panels with vintage art, or rooms where constant rainbow lighting would clash. LED kits photograph better at parties, but classic buttons age more gracefully and never suffer dim or dead LEDs because there are none.
Wire length planning for wide panels
Because the harnesses run short, mount each encoder centrally between its two players rather than at one end of the panel. If a run still comes up short, extension harnesses are inexpensive and widely available. Plan this before drilling, since encoder placement is the one decision that is annoying to change after the fact.
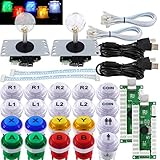
7. SJ@JX Arcade 2 Player LED Kit – The Bright Compact Option
SJ@JX Arcade 2 Player Game Controller Stick DIY Kit LED Buttons with Logo MX Microswitch 8 Way Joystick USB Encoder Cable for PC MAME Raspberry Pi Color Mix
2-player kit, pairs to 4
Logo MX microswitch buttons
8-way joysticks
USB encoder cables included
Color mix design
Pros
- Bright
- even LED lighting
- Smooth clicking MX microswitch buttons
- Plug and play on Raspberry Pi 4
- Good for compact and adaptive builds
- Zero defects in my test set
Cons
- Buttons can occasionally stick
- Two of twenty arrived dead for some buyers
- Retropie recognition varies by Pi model
- Batocera mapping may need troubleshooting
The SJ@JX kit is the smallest-footprint option here and the one I used for a compact countertop panel. With 103 reviews at 4.6 stars it has a smaller track record than the EG STARTS and Hikig kits, but my set arrived with zero defects, and the buttons are arguably the nicest feeling of the budget class thanks to their Logo MX microswitches.
Setup was genuinely plug and play on my Raspberry Pi 4: both encoders were detected immediately and mapping took minutes. The 20-button count gives you the same flexible layout options as the Hikig, and two kits scale to four players on a narrow panel where you want brighter lighting and a smaller parts footprint.
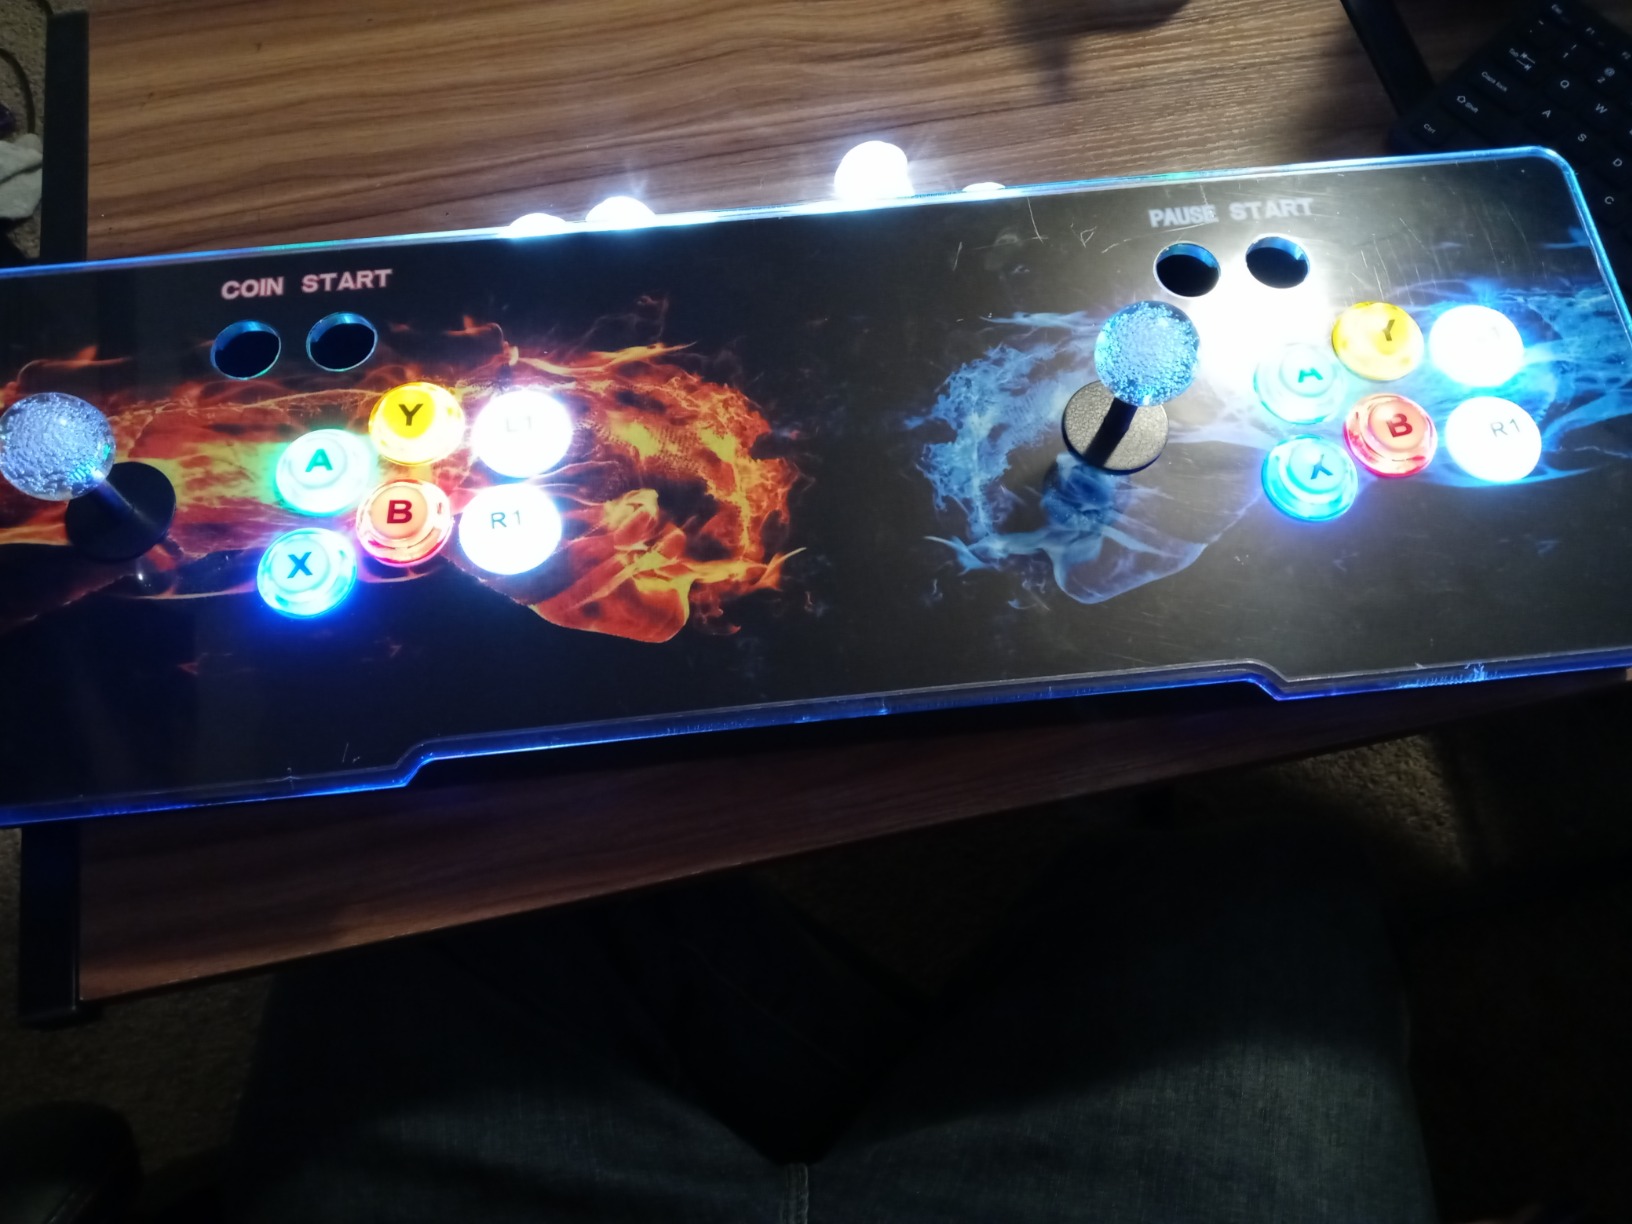
The LEDs deserve special mention. They are the brightest and most even of any kit in this guide, with no dim colors in the mix, which makes the finished panel pop under a bar or in a dark game room. The color mix design looks festive without any extra effort on your part.
Temper expectations on compatibility. Some Retropie users on older Pi models report recognition issues, and Batocera mapping can demand troubleshooting beyond what a true beginner expects. I also found occasional button sticking under very hard mashing. For a Pi 4 or PC build, it is excellent; for exotic setups, stick with the Qenker.
Fit for compact and adaptive builds
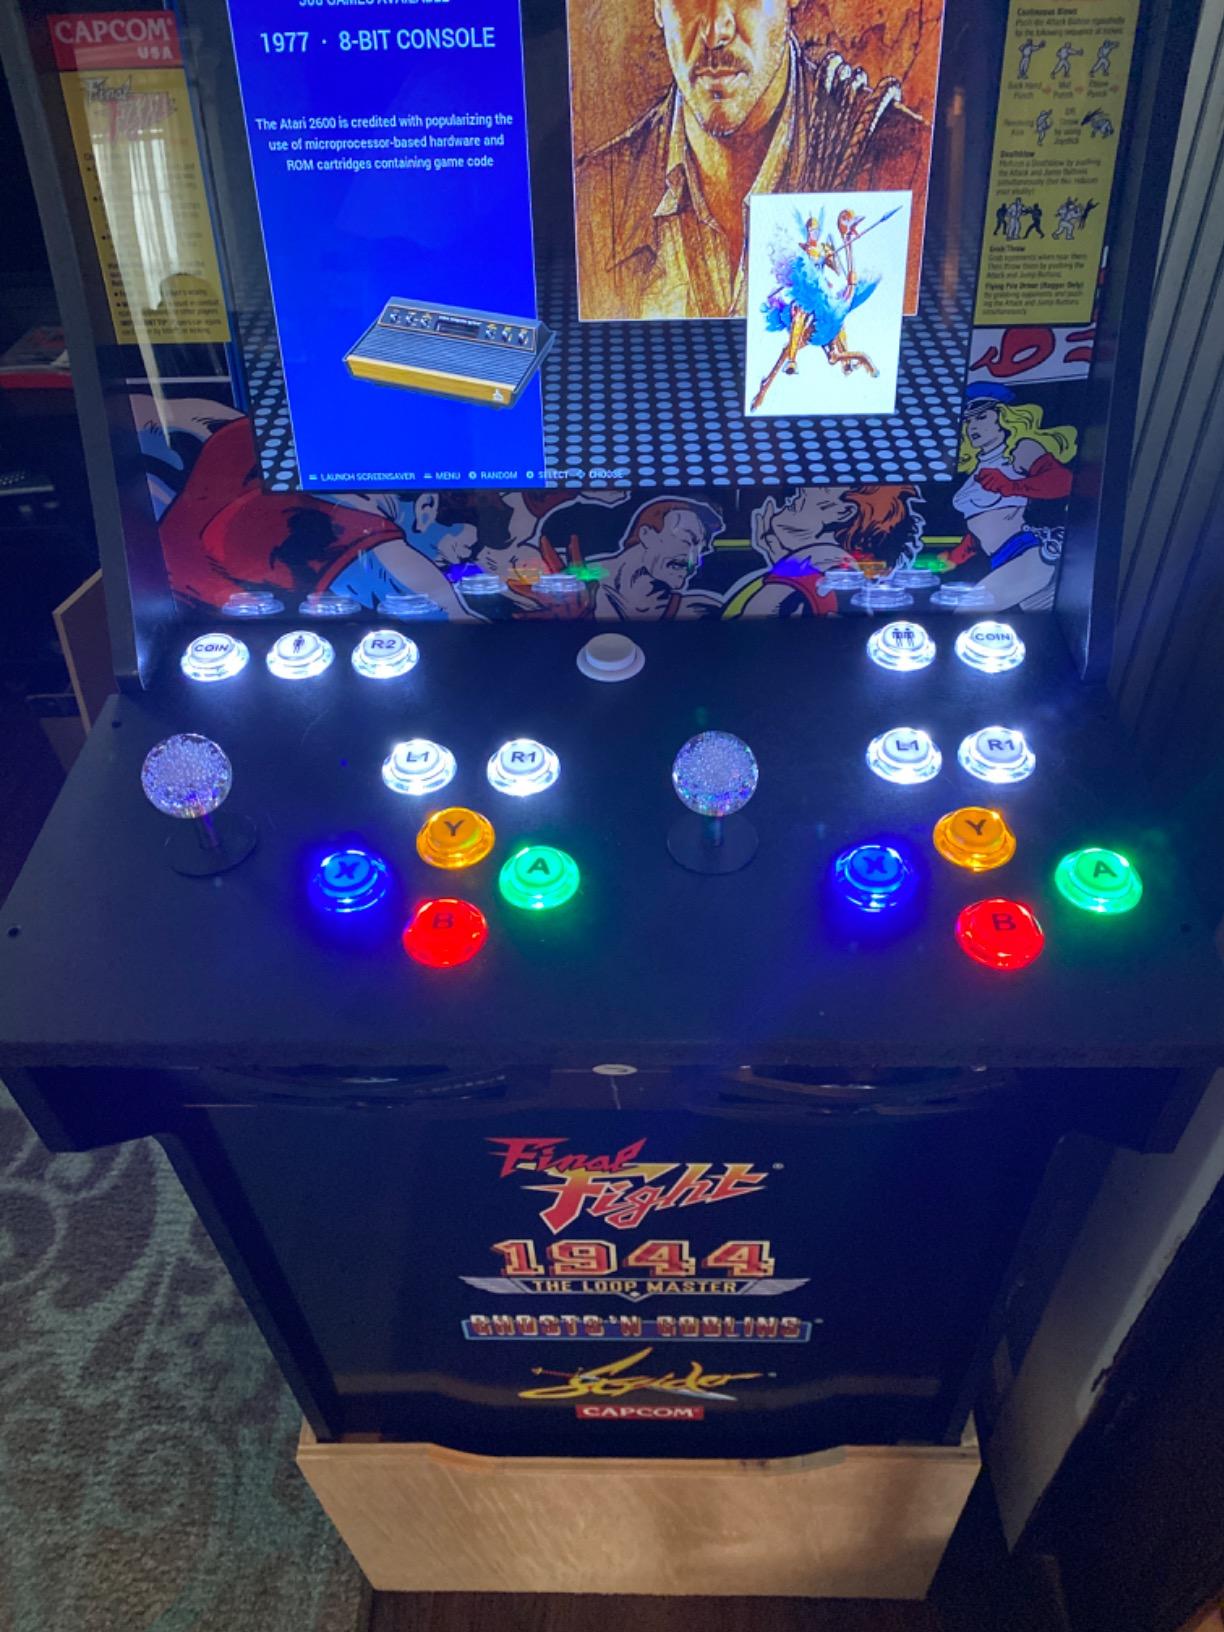
This kit shines in tight spaces: countertop panels, bar-top cabinets, and adaptive-controller builds where a full-size panel is impractical. Reviewers specifically praise it for adaptive gaming setups, where the smooth MX switches are easier to actuate than stiff budget buttons. If accessibility is part of your plan, put this kit on your shortlist.
What to verify on day one
Open Windows joystick properties or jstest on Linux and press every single button and stick direction before mounting. A small share of buyers report one or two dead buttons per kit, and sellers routinely replace them fast when caught early. Verification takes five minutes and protects your whole build timeline.
Buying Guide: How to Choose a Four Player Control Panel Kit?
Choosing between these kits comes down to five decisions: skill level, encoder type, button layout, joystick style, and space. Here is how I would think through each one after seven builds.
Skill level: be honest with yourself
Every kit in this guide is solder-free, but they are not equal in effort. The two-player kits (Hikig, EG STARTS 2P, Qenker, SJ@JX) are beginner builds you can finish in an afternoon. The four-player bundles (EG STARTS 4P, Fosiya) are intermediate builds, purely because doubling the components doubles the wiring management. If you have never drilled a panel, start with one two-player kit, learn on it, then buy the second.
Encoder options explained
Zero Delay USB encoders come with every kit here, and they identify as generic gamepads that Windows, MAME, RetroPie, and Batocera recognize instantly. Their weakness is that they do not persist unique controller IDs, so player order can shuffle between reboots on multi-kit setups. An I-PAC or U-HID from Ultimarc solves this and offers keyboard-level mapping, at a meaningfully higher cost. My advice: Zero Delay boards are fine for 95 percent of builders, and you can always upgrade the encoder later without touching the buttons or sticks.
Button layout: 6-button, 8-button, or more
The classic debate. Six buttons per player covers Golden Axe, TMNT, and most beat-em-ups authentically. Eight buttons per player suits Street Fighter and modern fighting games that map extra inputs. Every 20-button two-player kit here supports either layout with buttons left over for coin and start. For a four-player panel specifically, I recommend six per player for players 1 and 2, and four per player for players 3 and 4, which is how the original cabinets did it, since almost no genuine 4-player game used more.
Joystick style: bat-top versus ball-top
Bat-tops (Fosiya, EG STARTS Classic American) feel like American arcade cabinets and suit bigger hand positions. Ball-tops feel like Japanese cabinets and fighting game conventions. Both work fine for the games you will actually play four-player. The more important spec is 4-way versus 8-way: an 8-way stick makes Pac-Man and Donkey Kong misbehave at diagonals, so the EG STARTS 4P kit’s switchable restriction gate is a genuine advantage if you play classics.
Trackball and spinner planning
None of these kits include a trackball or spinner, and that is fine for most builds. But if Golden Tee is on your must-play list, plan the panel layout now: reserve center-panel space for a trackball mount, keep player 2 and 3 buttons clear of the ball’s swing radius, and never place a spinner directly in front of a trackball, a placement mistake the arcade controls forum warns about constantly. You can add a USB trackball later without changing your encoder setup.
DIY kit versus pre-built panel
Is it cheaper to build or buy? Building is almost always cheaper for the same component quality, and a DIY kit teaches you to repair your own machine. Pre-built panels from boutique builders cost several times more but arrive working with warranties. The middle path most of us take: a DIY kit in a flat-pack or self-cut MDF panel, which delivers pre-built quality at kit pricing. Every kit above assumes you are cutting or buying a panel separately, so factor that into your total budget.
Price-per-player value
Quick math from my build receipts: a four-player bundle splits its cost across four encoder sets at once, while two two-player kits hit a similar per-player number with better-reviewed hardware. My consistent finding is that two well-reviewed two-player kits deliver the best per-player value and the best reliability in this class. The bundles win on convenience, since one box, one order, one wiring scheme covers everyone.
Common mistakes to avoid
From my own errors and hundreds of forum posts: drilling button holes before test-fitting layouts, skipping the bench test and burying a dead button inside a finished panel, routing wires across the trackball zone, and forgetting strain relief so the first enthusiastic yank unseats a harness. Also test with the panel closed and players actually mashing; wiring that works flat on a bench can rattle loose at an angle.
Frequently Asked Questions
How do I build a 4-player arcade cabinet?
Start with a flat-pack or self-built cabinet shell, then mount a panel at least 40 inches wide. Install your control kit (joysticks, buttons, encoders), wire each player to its own Zero Delay USB encoder, connect everything to a PC or Raspberry Pi running MAME or Batocera, map each gamepad to its player position, and test every input before closing the panel.
Is it cheaper to build or buy an arcade machine?
Building is almost always cheaper for the same component quality. A DIY four-player kit plus a flat-pack cabinet typically costs a fraction of a pre-built four-player machine, and you can repair and upgrade it yourself. Pre-built machines buy you a warranty, assembly labor, and zero troubleshooting instead.
How can I build my own arcade controller?
Buy a DIY kit with joysticks, LED buttons, and Zero Delay USB encoders, cut or buy a wood or metal panel, drill 1.1 inch holes for buttons and a larger opening for each joystick, snap the components in, connect the labeled wiring harnesses, and plug into your computer or Pi. No soldering is required with any kit in this guide.
Is an arcade stick worth the investment?
Yes if you play classic arcade games, host multiplayer nights, or want an authentic retro feel that gamepads cannot match. A quality kit lasts years, supports thousands of games through MAME, and holds its value in a home arcade room. If you only play modern console titles casually, a standard controller is the more sensible spend.
Conclusion
After seven builds, my verdict is simple. The EG STARTS 4-player kit is the best single-purchase path to true four player control panel kits for most people. The Hikig two-player kit, doubled, is the best value and the best beginner route. The Qenker is the pick when you want flawless consistency and broad platform support, and the classic EG STARTS American kit belongs on any nostalgia build.
Whichever route you take, bench-test every component before you close the panel, and plan your layout around the games you actually play. Four-player arcade nights at home are absolutely worth the weekend of wiring it takes to get there.
Ready to start your build? Check the latest prices on my top picks above, and get that TMNT session going with all four players this 2026.