
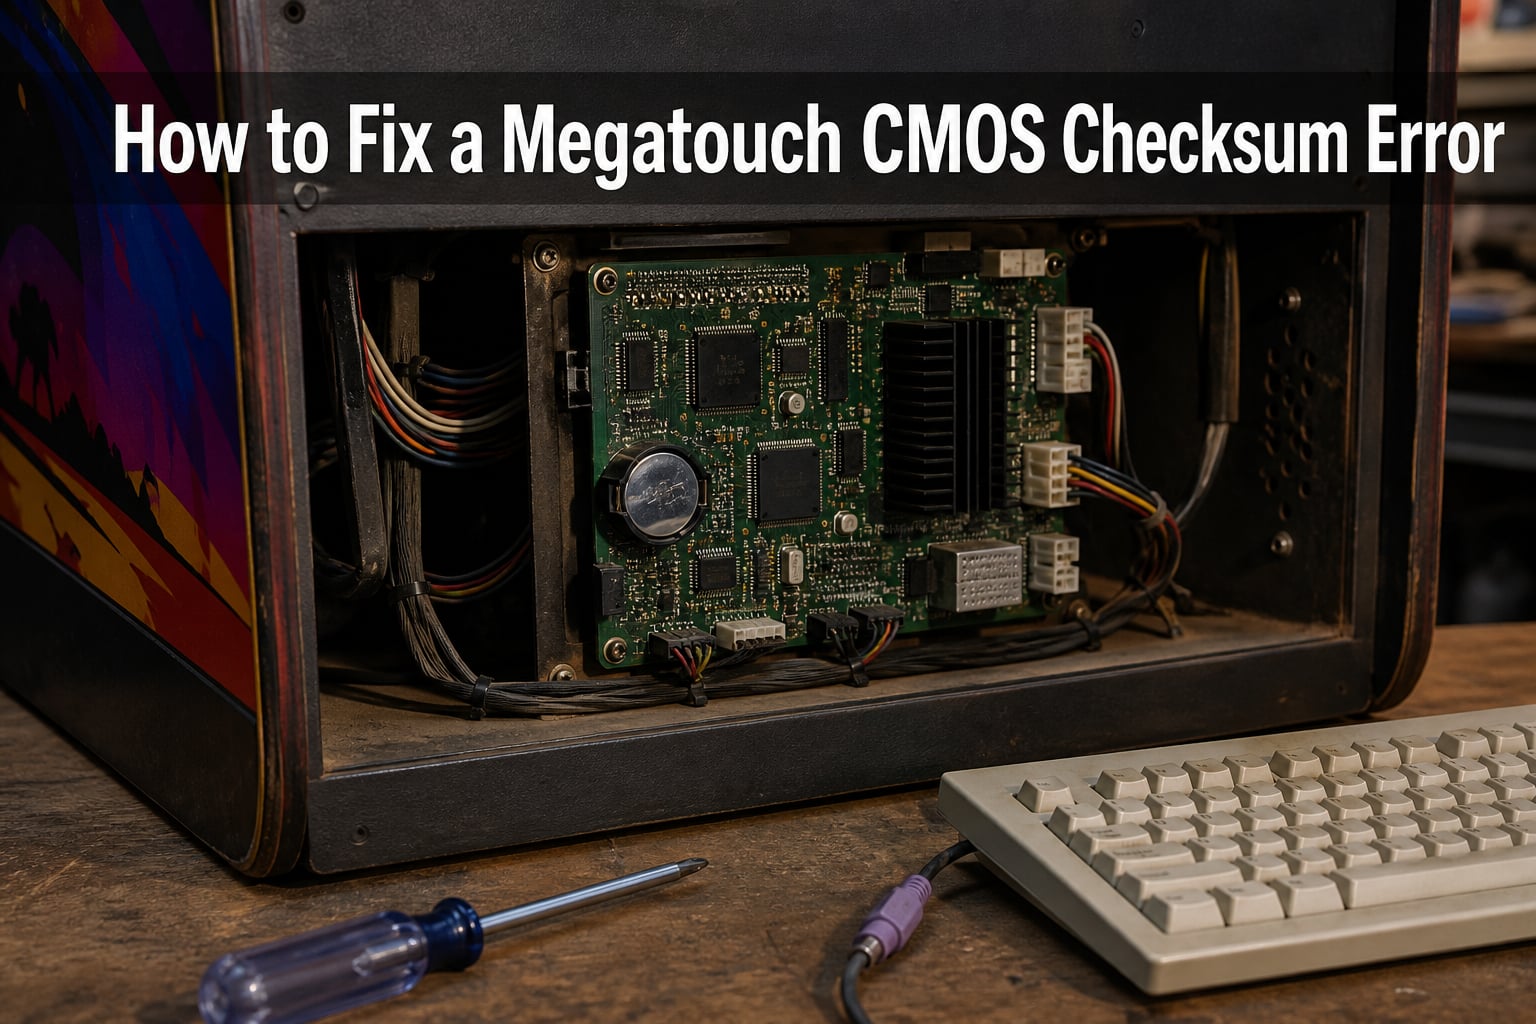
I still remember the first time a Megatouch Force booted to a black screen with the words “CMOS Checksum Error – Defaults Loaded.” I had just bought it from an estate auction, and I figured it would be a 30-minute fix. It took me three weekends. If you are staring at a similar screen today, I will walk you through exactly how to fix a Megatouch CMOS checksum error without wasting hours on forums. This guide covers Force, Maxx, XL, and ION models, the parts you need, and the mistakes I have made so you do not have to repeat them.
By the end of this article you will know where the CMOS battery lives on your model, the exact steps to clear the error, how to tell the security key apart from the battery, and what to do if your touchscreen calibration is off after the fix.
Table of Contents
Quick Answer: What a Megatouch CMOS Checksum Error Means
A CMOS checksum error on a Megatouch means the BIOS settings stored in the arcade machine’s CMOS memory do not match the calculated checksum, almost always because the CR2032 battery on the motherboard is dead or missing. The fix is to replace the battery, reset the BIOS, and reconfigure any settings the board requires to boot. In most cases you can complete the repair in under an hour with a screwdriver, a new CR2032, and a PS/2 keyboard.
What Is a Megatouch CMOS Checksum Error?
CMOS stands for Complementary Metal-Oxide Semiconductor. Inside every Megatouch motherboard there is a small memory chip that holds BIOS settings, the system clock, and a few hardware flags. That chip is kept alive by a coin-cell battery, usually a CR2032, even when the cabinet is powered off.
A checksum is a simple math value the BIOS uses to confirm the stored data is intact. On boot, the BIOS recalculates the checksum and compares it to the stored value. If the numbers do not match, you see “CMOS Checksum Error” or “CMOS Checksum Failed – Defaults Loaded.” The cabinet then boots with factory defaults because it does not trust the corrupted data.
On Megatouch machines this is more than an inconvenience. The CMOS also stores part of the security key handshake that pairs the mainboard with the game pack. When the battery dies, the security data can scramble, which is why so many owners confuse a dead battery with a bad security key dongle. Both problems look like the same bricked cabinet, but they are different repairs.
Common Causes of CMOS Checksum Errors on Megatouch
From the dozens of repair threads I have read and the cabinets I have worked on, four causes account for nearly every CMOS checksum error on a Megatouch.
Dead or missing CR2032 battery. The CR2032 is a 3-volt coin cell that typically lasts 5 to 10 years. If your machine sat in storage or was unplugged for months, the battery has likely drained below the threshold the BIOS needs to hold memory. This is the single most common cause.
Corrupted BIOS settings. Even with a healthy battery, a failed flash, an interrupted update, or a power surge can corrupt the BIOS data. The checksum no longer matches and the boot fails. This usually requires a BIOS reset in addition to a battery swap.
Loose board or ISA card connection. On Megatouch Maxx and some XL models the security and I/O boards plug into the motherboard through ISA slots. Vibration, shipping, or just old age can make these cards walk out of their slots. Reseating them often resolves phantom CMOS errors that a battery swap alone does not fix.
Confusion with the security key slot. This is not a true cause but it is the leading cause of failed repair attempts. Owners see a small slot on the mainboard and try to insert a CR2032 battery into it. The slot is actually for the security key dongle. Forcing a battery into the wrong slot can damage the dongle interface, so learn the difference before you start.
Step-by-Step: How to Fix a Megatouch CMOS Checksum Error?
Work through these steps in order. About 80 percent of cabinets clear the error on Step 1 or Step 2. The rest need a deeper look.
Step 1: Replace the CR2032 CMOS Battery
Unplug the cabinet and open the rear service panel. The CMOS battery is a shiny silver coin cell, 20 mm wide and 3.2 mm thick, held in a small plastic clip on the motherboard. On a Megatouch Force the battery sits near the Nforce mainboard chipset. On a Maxx it is usually near the ISA riser. On an XL you will find it close to the BIOS chip.
Pop the old battery out with a flat screwdriver or your fingernail. Do not pry hard; the clip is plastic and will snap if you force it. Fit a fresh CR2032 with the positive side facing up, the side with the plus sign and the wider metal face.
Tip: buy a name-brand CR2032 such as Panasonic, Energizer, or Duracell. Off-brand cells often have shorter lifespans and can leak, which corrodes the motherboard clip.
Step 2: Reset the BIOS and Configure Settings
With the new battery in, plug a PS/2 keyboard into the PS/2 port on the motherboard. Power the cabinet on. You should see the CMOS error message followed by “Press F1 to continue” or “Press DEL to enter setup.”
Press DEL to enter the BIOS. Load optimized defaults, then save and exit. Most Megatouch boards will boot to the game menu after this. If the cabinet still asks for time and date every boot, the new battery is not making contact, or you bought a dud.
For Megatouch Force and Maxx boards, the BIOS usually needs the onboard NIC or serial port enabled so the security handshake completes. If the game launches but complains about an “invalid key” after the BIOS reset, check that the onboard peripherals are set to Enabled in the BIOS.
Step 3: Bypass the Error Using a PS/2 Keyboard
You need a wired PS/2 keyboard, not USB. The Megatouch BIOS does not recognize USB keyboards during POST, so a USB keyboard will do nothing and you will think the cabinet is frozen. I learned this the hard way on my first Force.
Plug the PS/2 keyboard in before you turn the cabinet on. When the CMOS error appears, press the indicated key, usually F1, to continue. If you want to enter the BIOS, press DEL. From there you can load defaults, save, and exit. The bypass only works when the keyboard is connected at power-on, so do not hot-plug it mid-boot.
Step 4: Reseat the ISA Board and Internal Connections
If the CMOS error returns after every boot, even with a fresh battery, the next likely culprit is a loose ISA board. On Megatouch Maxx and XL 5000 models, the I/O board sits in an ISA slot on the riser card. Power off, unplug, and press the board firmly back into its slot until both ends click evenly.
While the panel is open, reseat the RAM, the power connectors to the motherboard, and the hard drive or CompactFlash data cable. A slightly dislodged SATA or IDE cable can cause similar boot errors that mimic a CMOS problem. Reconnect everything before powering back on.
Step 5: Recalibrate the Touchscreen After the Fix
After clearing the CMOS error, your touchscreen may register touches in the wrong spots. This is normal because the calibration data is part of the BIOS settings that just got reset. Enter the touchscreen calibration menu, usually under Operator Menu or Settings, and run the 3-point or 5-point calibration routine.
Tap each target accurately with a stylus or your fingertip. If the on-screen targets are far from where you actually tapped, the screen is still uncalibrated. Run the calibration twice for good measure. I have found that a second pass gives a much more accurate result on Elo and Microtouch panels.
Model-Specific Notes: Force, Maxx, XL, and ION
Megatouch models share the same general repair flow, but the battery location and BIOS quirks differ. Use this quick reference before you start.
Megatouch Force. The CR2032 sits on the Nforce mainboard near the chipset heatsink. The Force runs a Phoenix-based BIOS and uses a PS/2 keyboard for configuration. After a CMOS reset you may need to enable the onboard LAN in the BIOS for the security key to pair.
Megatouch Maxx and Ruby 2. The battery is on the mainboard, usually near the ISA riser. Maxx boards are sensitive to ISA card seating, so always reseat the I/O board while you have the panel open. Some Maxx units also have a small capacitor near the battery that can leak; check for green or white corrosion before installing the new battery.
Megatouch XL and XL 5000. These later models use a similar CR2032 but the BIOS is Award-based. The battery is often tucked behind the I/O board, so you may need to remove one cable to access it. Touchscreen calibration is in the Operator Menu under Diagnostics.
Megatouch ION. The ION generation uses a more modern motherboard, but the CMOS battery is still a CR2032. The biggest difference is the BIOS type, which may be UEFI-style on newer ION units. The repair steps are the same: replace the battery, reset BIOS, recalibrate touchscreen.
Common Mistakes to Avoid
Do not insert a CR2032 into the security key dongle slot. The slot is shaped differently and forcing a battery in can bend the pins. The security key is a small rectangular dongle, not a coin cell.
Do not use a USB keyboard for the BIOS bypass. The Megatouch BIOS does not support USB keyboards during POST. Use a wired PS/2 keyboard only.
Do not skip the touchscreen recalibration. A CMOS reset wipes the calibration data, and a misaligned touchscreen will make you think the repair failed.
Preventive Maintenance Tips
Replace the CR2032 every 7 years as a preventive measure, even if you have not seen the error. Mark the replacement date on the battery with a Sharpie so you know when to change it next.
Leave the cabinet plugged in when possible. The CMOS battery only drains when the motherboard has no power at all. A plugged-in cabinet draws a small amount of standby current that keeps the battery topped up.
Run the cabinet for at least 15 minutes every month. This recharges the battery slightly and keeps the capacitors healthy. If the cabinet has been off for months, expect a CMOS reset on the first boot.
Frequently Asked Questions
What causes a CMOS checksum error on a Megatouch?
A CMOS checksum error on a Megatouch is almost always caused by a dead or missing CR2032 battery on the motherboard. It can also be triggered by corrupted BIOS settings from a failed flash, a loose ISA board, or a power surge. Replacing the battery and resetting the BIOS resolves the error in most cases.
How do I bypass the CMOS checksum error on Megatouch Force?
To bypass the CMOS checksum error on Megatouch Force, plug a wired PS/2 keyboard into the motherboard before powering on. When the error appears, press F1 to continue or DEL to enter the BIOS. Load optimized defaults, save, and exit. The cabinet should boot to the game menu.
Where is the CMOS battery located on Megatouch Maxx?
On a Megatouch Maxx, the CR2032 CMOS battery is located on the mainboard near the ISA riser card. You may need to remove one I/O cable to access the battery clip. The battery is a standard 20 mm coin cell with the positive side facing up.
Can I replace the security key with a battery on Megatouch?
No. The security key dongle and the CMOS battery are two completely different components. The security key is a small rectangular dongle that plugs into a dedicated slot on the motherboard, while the CMOS battery is a CR2032 coin cell in a separate clip. They are not interchangeable, and forcing a battery into the security key slot can damage the pins.
Why does my Megatouch keep losing CMOS settings?
Megatouch cabinets lose CMOS settings when the CR2032 battery can no longer hold a charge. This happens when the cabinet has been unplugged for extended periods, when the battery is more than 7 years old, or when the battery clip has corrosion. Replace the battery with a fresh name-brand CR2032 and reset the BIOS to stop the settings from resetting on every boot.
Final Thoughts
Knowing how to fix a Megatouch CMOS checksum error comes down to three things: a fresh CR2032 battery, a PS/2 keyboard for the BIOS reset, and the patience to reseat the boards while you have the cabinet open. Most repairs finish in under an hour, and almost every forum thread I have read confirms the same root cause. If your cabinet still refuses to boot after following these steps, the issue is likely the security key dongle or a failed motherboard, and it is worth reaching out to a specialist such as Arcade Doctor or a long-time KLOV community member for advanced help.