
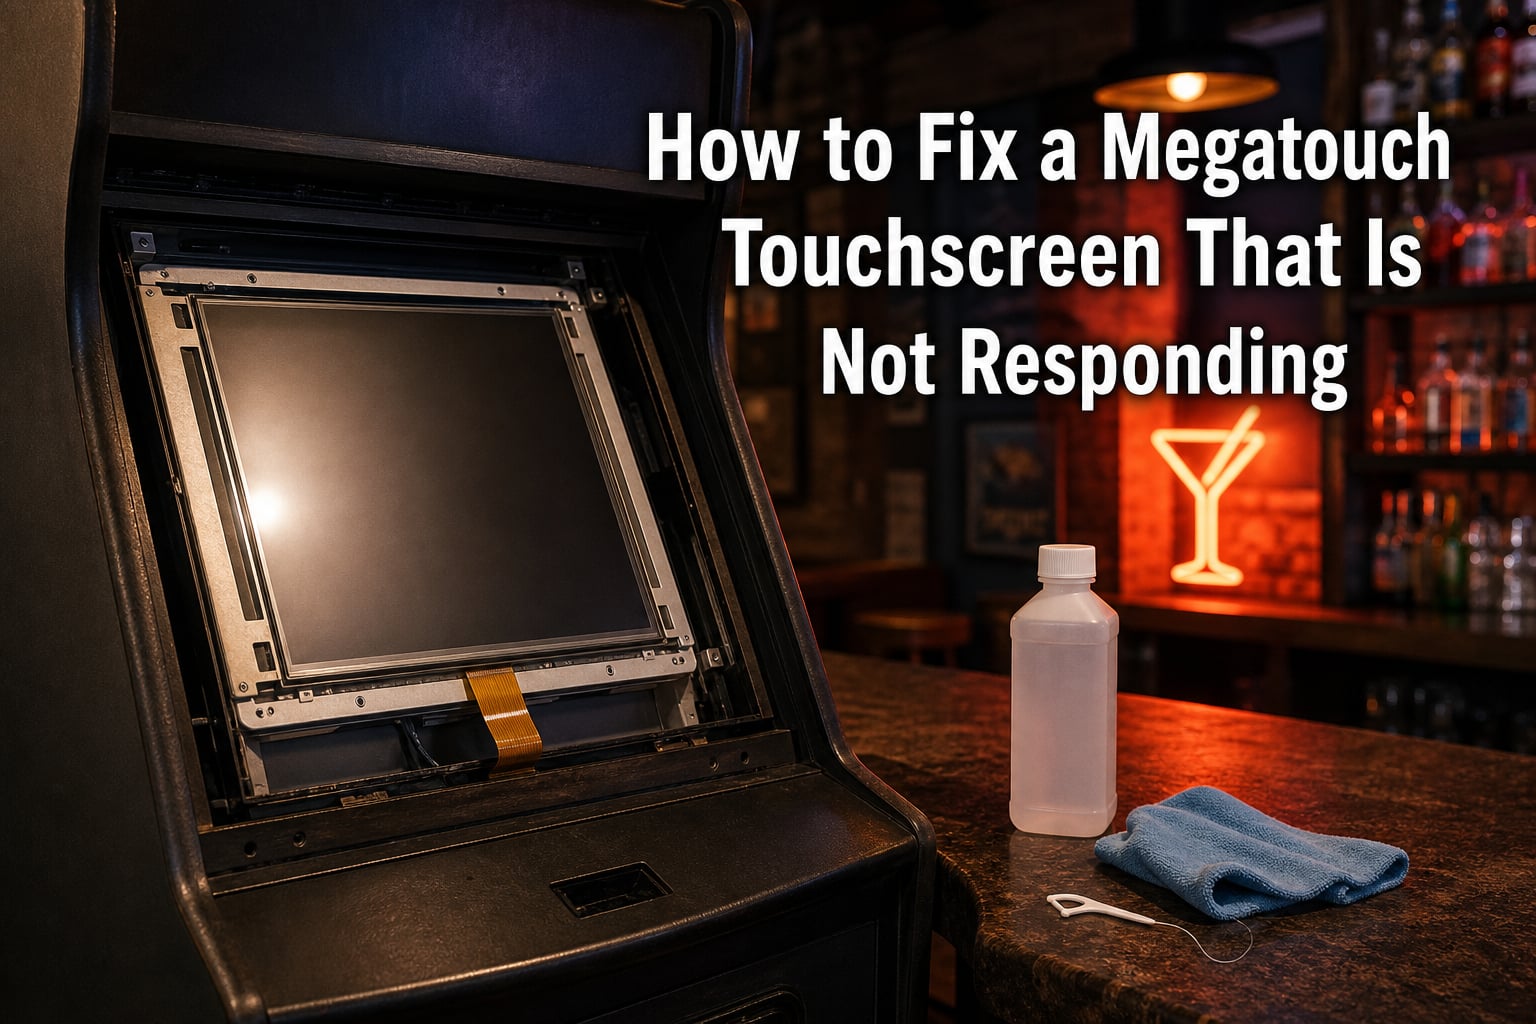
If your Megatouch touchscreen has stopped responding, you can usually bring it back to life in under an hour without buying a single part. I have worked on Merit Industries Ion, Force, Maxx, and Blue Maxx cabinets for years at our shop, and I can tell you that nine out of ten “dead” touchscreens come down to one of three things: dirty contact surfaces, loose cables, or grounding issues — not a failed overlay.
This guide on how to fix a Megatouch touchscreen that is not responding walks you through every fix in the order our team uses them on the bench. We start with the safest, cheapest steps and move toward hardware swaps only when needed. By the end, you will know exactly how to diagnose a bad controller vs. a bad overlay, perform a factory reset using dip switches, and even remove the touchscreen overlay without cracking it.
Table of Contents
- How to Fix a Megatouch Touchscreen That Is Not Responding?
- Quick Diagnostic Checklist
- Safety First: Power, ESD, and Tools You Will Need
- Step 1: Clean the Touchscreen Surface and Bezel
- Step 2: Inspect and Re-seat Cables and Connectors
- Step 3: Diagnose Grounding and EMI Issues
- Step 4: Test the Touchscreen Controller Board
- Step 5: Factory Reset via Dip Switches
- Step 6: Calibrate the Touchscreen
- Step 7: Remove and Replace the Touchscreen Overlay
- Megatouch Touchscreen Diagnosis: Controller vs. Overlay vs. Cable
- Preventive Maintenance for Megatouch Touchscreens
- Frequently Asked Questions
- How do I reset my Megatouch touchscreen?
- Why is my touchscreen not responding to my touch?
- How do I clean my Megatouch touchscreen?
- How do I calibrate my Megatouch touchscreen?
- What causes a touchscreen to stop working?
- How do I replace the touchscreen on my Megatouch?
- What are the common Megatouch touchscreen problems?
- How do I troubleshoot a Megatouch touchscreen controller?
- How to Fix a Megatouch Touchscreen That Is Not Responding: Final Thoughts
How to Fix a Megatouch Touchscreen That Is Not Responding?
Quick Diagnostic Checklist
Run through these seven checks in order. Most non-responsive Megatouch touchscreens are fixed somewhere in this list before we ever swap a part:
Power off the cabinet and unplug it from the wall before opening anything.
Clean the touchscreen surface and bezel with isopropyl alcohol and a lint-free cloth.
Inspect the bezel for any debris stuck to the screen edge or magnet holding the LCD panel.
Re-seat the ribbon cable between the touchscreen overlay and the controller board.
Check the USB I/O cable and IO board connector for corrosion or loose pins.
Test the cabinet on a different outlet to rule out EMI from a bad ground.
Enter test mode and verify the controller registers touch input at all.
If your touchscreen still doesn’t respond after step 7, move to the full troubleshooting sections below. We have included a decision tree near the end that tells you whether to replace the controller, the overlay, or just a cable based on which symptom you are seeing.
Safety First: Power, ESD, and Tools You Will Need
Before you open any Megatouch cabinet, pull the plug. Capacitors on the IO board and power supply can hold a charge even after the machine is switched off, and Merit service manuals flag this explicitly. Touching the wrong trace while the unit is live can also wipe out the hard drive, which contains your licensed game software.
Wear an anti-static wrist strap when handling the controller board and ribbon cable. Ground yourself to the cabinet chassis before you disconnect anything. If you do not have a strap, touch an unpainted metal surface on the cabinet for three seconds before each step.
Tools and Materials
Phillips #2 screwdriver (a magnetic tip helps inside the cabinet)
Isopropyl alcohol (90% or higher) and lint-free microfiber cloths
Electrical tape and gaffer tape (the grounding fix uses both)
Narrow 3M double-sided tape for re-mounting the overlay
Dental floss, unflavored and unwaxed, for overlay removal
Needle-nose pliers for ground ring terminals
Multimeter for continuity testing on ground wires
Small flashlight for inspecting ribbon cable contacts
Step 1: Clean the Touchscreen Surface and Bezel
A surprising number of “broken” Megatouch touchscreens turn out to be dirty. Spilled beer, soda splash-back behind the bezel, and even the tacky residue from someone pressing too hard with a fingernail can all create phantom touches or block real ones. Always clean before you diagnose.
Power off the machine and unplug it.
Spray a small amount of isopropyl alcohol onto a microfiber cloth — never directly onto the screen.
Wipe the entire touchscreen surface in slow, straight lines. Do not scrub in circles.
Lift the bezel and inspect underneath for stuck debris, dried liquid, or a magnet that has shifted.
Clean the inner edge of the bezel where it meets the glass. The Megatouch bezel is dry — it should never feel sticky.
Dry the surface with a second clean cloth before powering the cabinet back on.
If the touchscreen responds normally after cleaning, the problem was surface contamination, not hardware. If it still doesn’t respond, the fault is one layer deeper.
Step 2: Inspect and Re-seat Cables and Connectors
Cables are the second most common failure point on every Megatouch model. Vibration from coin drops, moving the cabinet for cleaning, and even shipping a machine across the country can work a ribbon cable half a millimeter out of its socket. That tiny shift is enough to make the touchscreen controller stop registering touches.
Open the cabinet and locate the touchscreen controller board. On most Megatouch models it sits behind the LCD panel, attached to the metal frame.
Press the ribbon cable firmly back into its connector. You should hear a faint click as the locking tab seats.
Inspect the ribbon cable for kinks, creases, or copper traces that look oxidized. Any visible damage means replace the cable, not the controller.
Trace the second cable from the controller to the IO board. This is usually a USB cable on newer Ion and Aurora models and a serial ribbon on older Maxx units.
Unplug the IO board end and plug it back in. Do the same on the controller end.
Power the cabinet back on and test. If the touchscreen now responds, you have a loose cable — the cheapest fix in this whole guide.
Symptoms That Point to a Bad Cable vs. a Bad Overlay
Here is a quick way our team tells them apart: a bad cable usually kills the touchscreen completely, while a bad overlay still registers some touches but in the wrong locations. If you touch the screen and see response in a different spot on the LCD, the overlay is likely failing. If you touch the screen and absolutely nothing happens, suspect the cable or the controller.
Step 3: Diagnose Grounding and EMI Issues
Grounding is the hidden fix that even experienced techs miss. I have personally watched three Megatouch Force Ion cabinets get diagnosed as “bad overlay” when the real problem was a missing ground wire. The touchscreen reads electrical noise from the chassis as a phantom touch, and once that noise gets bad enough, the controller refuses to register real touches at all.
The telltale sign of a grounding issue is that the touchscreen stops working when you move or jostle the cabinet. A Reddit thread from 2023 describes exactly this on an ION: phantom touches appeared every time the screen was tilted. Village BBS users on a Force Ion reported the same intermittent behavior when the base was rotated.
The Tape Isolation Method
This is the grounding fix that forum experts recommend most consistently. It works because the conductive double-sided tape used between the touchscreen overlay and the LCD panel can short against the metal bezel if the tape has crept out from under the overlay.
Power off and unplug the cabinet. Remove the bezel and lift the touchscreen overlay away from the LCD using the dental floss method (described in step 7 below).
Inspect the edges of the LCD panel. Look for any conductive double-sided tape that has squeezed out and is touching the metal frame.
Wrap the metal frame edges with electrical tape or gaffer tape, especially along the top and sides where the tape tends to migrate.
Replace the original double-sided tape with narrow 3M VHB tape applied only in the center of the panel, well away from any metal edge.
Verify every ground wire from the controller board to the chassis is attached and making bare metal contact. Paint, rust, or a loose ring terminal breaks the ground path.
Reassemble, power up, and test for phantom touches. If the screen is stable, grounding was the issue.
If you want to test the theory before doing all that work, run the cabinet from a different outlet on a different breaker. EMI from a shared circuit with a refrigerator or microwave can produce the exact same symptom. Move the machine to a clean outlet and see if the touchscreen behaves differently.
Step 4: Test the Touchscreen Controller Board
The touchscreen controller is a small board that sits between the overlay and the IO board. It translates touches into data the game understands. When it fails, the symptoms vary from “completely dead” to “registers touches in the wrong spot” depending on which component on the board has gone bad.
LED Blink Codes
Most Megatouch controllers have a small status LED. A solid green or solid blue LED means the board is communicating normally with the IO board. A slow blink usually means the controller is waiting for the game to send a handshake. A fast or irregular blink typically indicates the controller has lost communication with the overlay or the IO board — which almost always points to a cable issue, not the controller itself.
Swap Test
The fastest way to confirm a bad controller is to swap it with a known-good spare. Merit Industries part numbers vary by model, but the controller for the Ion is not the same as the one for the Aurora. Confirm compatibility before you swap. If the touchscreen works with the spare controller, the original board is bad and needs replacement. If it doesn’t, the overlay or cable is the fault.
Some owners retrofit a different brand controller (such as Elo) into their Megatouch cabinets. This works on most models but requires reconfiguration of the dip switches on the IO board so the game knows to look for a non-Merit controller. Retrofitting is a valid repair, but a direct Merit replacement is always easier.
Step 5: Factory Reset via Dip Switches
A factory reset clears any corrupted calibration data and forces the game to re-detect the touchscreen hardware. This is the right move when the screen comes up in test mode but will not respond to your touch — a classic symptom on the Megatouch Ion and Maxx Emerald series that Arcade Museum users have reported for years.
Power off the cabinet and unplug it.
Locate the IO board. On countertop models it is usually under the coin door. On upright models it sits behind the monitor.
Find the bank of dip switches labeled SW1 or DIP1 on the IO board.
For Megatouch Ion and Force models: flip dip switch 4 and dip switch 7 to ON. Leave all others in their original position.
For Megatouch Maxx and Blue Maxx: flip dip switch 6 to ON.
Power the cabinet back on while holding the test button or accessing the service menu. The game will boot into a hardware reset screen.
Use a USB keyboard or wait for the auto-calibration prompt to complete. Do not touch the screen during the reset sequence.
Power off, return the dip switches to their original positions, and power back on.
If the touchscreen now responds, the factory reset fixed corrupted calibration data. If the reset screen itself doesn’t respond to touch, you have a hardware problem that software cannot solve — go back to step 2 and check the cables.
Dip Switch Settings by Model
This quick reference covers the most common Merit cabinets in our shop:
Megatouch Ion / Force: dip switches 4 and 7 ON for factory reset.
Megatouch Maxx / Blue Maxx: dip switch 6 ON for factory reset.
Megatouch Aurora: dip switch 8 ON, all others OFF for touchscreen calibration mode.
Megatouch Elite Edge: hold the test button while powering on for full hardware reset.
Megatouch Full Maxx: refer to the Merit service manual, as switch banks differ by production year.
Always take a photo of the dip switch positions before you change anything. It is easy to forget the original configuration, and getting it wrong can prevent the game from booting.
Step 6: Calibrate the Touchscreen
After cleaning, reseating cables, or performing a factory reset, you will usually need to recalibrate the touchscreen. Calibration tells the controller which corner of the overlay is which corner of the LCD. When it is off, your finger touches register in the wrong place — or not at all.
Enter the service menu by pressing the test button inside the coin door or holding the setup button during boot.
Navigate to “Touchscreen Calibration” using a USB keyboard if the screen does not respond to touch.
Follow the on-screen prompts and touch each of the nine calibration points as they appear.
Use a finger or a soft stylus. Do not use a pen or any hard object.
Confirm the calibration and exit the service menu.
Test the touchscreen by tapping each corner of the screen. Your touch should register directly under your finger.
If the calibration screen itself doesn’t respond to touch, the overlay is not communicating with the controller. Check the ribbon cable again before assuming the overlay is dead.
Step 7: Remove and Replace the Touchscreen Overlay
This is the last resort. The touchscreen overlay itself rarely fails — in our shop, fewer than 15% of “bad overlay” diagnoses turn out to be a truly failed sensor. But when the overlay has been physically damaged by impact, cracked, or worn through from years of heavy use, replacement is the only fix.
The Dental Floss Removal Method
Touchscreen overlays are bonded to the LCD with double-sided tape around the edges. The community-standard removal method uses dental floss to slice through the tape without lifting the LCD panel.
Power off and unplug the cabinet. Remove the bezel screws and lift the bezel away.
Lift one corner of the touchscreen overlay slightly using a plastic spudger. Do not use metal — you will scratch the LCD.
Slide a 24-inch length of unflavored dental floss under the lifted corner.
Hold the floss taut between both hands and work it slowly back and forth in a sawing motion along the bottom edge of the overlay.
Pull the floss through and let the bottom edge lift free. Repeat along the top, left, and right edges.
Set the old overlay aside. If you are reusing it, peel off the old double-sided tape carefully with isopropyl alcohol.
Clean the LCD panel with isopropyl alcohol and a microfiber cloth.
Apply narrow strips of 3M VHB tape around the perimeter of the LCD. Keep the tape at least 5mm from the metal frame to avoid grounding issues.
Align the new or cleaned overlay with the LCD panel and press it firmly into place.
Reinstall the bezel, power on, and run a full calibration.
If the new overlay works perfectly, the old one had failed. If the new overlay shows the same symptoms as the old one, the problem is upstream — most likely the controller or a grounding issue.
Megatouch Touchscreen Diagnosis: Controller vs. Overlay vs. Cable
When our team is unsure which component is at fault, we run through this decision tree. Pick the symptom row that matches your cabinet:
Touchscreen completely unresponsive, LED off or blinking: Check the ribbon cable first, then the controller board.
Touches register in wrong locations: Calibrate first. If calibration fails, suspect the overlay or a grounding issue.
Phantom touches appear without anyone touching the screen: Grounding or EMI problem. Apply the tape isolation method from step 3.
Touchscreen stops working when cabinet is moved: Loose cable or broken ground wire. Re-seat and verify ground continuity.
Touchscreen responds only on part of the screen: Overlay failure. Try calibration, then replace the overlay if recalibration does not help.
Touchscreen works after a factory reset but fails again within days: Failing controller board or hard drive corruption. Test the controller first.
Touchscreen worked fine yesterday and now registers nothing after a move: Ribbon cable worked loose. Re-seat before doing anything else.
For owners who want a definitive answer, the villagebbs.com expert on Megatouch Force Ion repair summarized it well: “Touchscreen overlay rarely goes bad — most issues are grounding or cable.” That single line has saved our shop hours of diagnostic time.
Preventive Maintenance for Megatouch Touchscreens
The best repair is the one you never have to do. Once you have your touchscreen working again, a short maintenance routine keeps it that way. None of our shop’s repeat-repair customers skip these steps:
Wipe the screen down with isopropyl alcohol every two weeks. Bars and game rooms see a lot of oily fingerprints.
Lift the bezel and check for debris every month. A single peanut or coin fragment can wedge against the screen and create phantom touches.
Verify ground wire continuity every six months. Pull the connector, inspect for corrosion, and reattach.
Avoid spraying cleaners directly onto the screen. Always apply to the cloth first.
Move the cabinet gently. Twisting or dragging across a floor can loosen the ribbon cable.
Keep the cabinet away from equipment with heavy electrical motors — refrigerators, microwaves, and induction cooktops all generate EMI that confuses capacitive touch overlays.
Sourcing Replacement Parts
Merit Industries stopped manufacturing new Megatouch cabinets in the 2010s, so replacement parts come from three sources: eBay (search by part number, not model name), the Merit Games parts website (meritgames.com), and used cabinet resellers. We have had the best luck with meritgames.com for genuine Elo overlays and controllers. For older Maxx and Blue Maxx parts, plan on a longer lead time — these are getting scarce.
When ordering a replacement overlay, match the diagonal measurement of your LCD panel exactly. A 19-inch overlay will not seat correctly on an 18.5-inch panel, even if the bezel screws line up.
Frequently Asked Questions
How do I reset my Megatouch touchscreen?
Power off the cabinet, locate the IO board, and flip the dip switches specific to your model into the reset position. For Ion and Force models, set dip switches 4 and 7 to ON. For Maxx and Blue Maxx, set dip switch 6 to ON. Power the cabinet back on, wait for the hardware reset screen to appear, then power off and restore the original dip switch positions.
Why is my touchscreen not responding to my touch?
The three most common causes are a dirty screen surface, a loose ribbon cable, and a grounding issue. Clean the touchscreen with isopropyl alcohol, re-seat the ribbon cable between the overlay and the controller board, and check that the ground wire from the controller to the chassis is making bare metal contact. Most non-responsive touchscreens are fixed before any part is replaced.
How do I clean my Megatouch touchscreen?
Power off the cabinet and unplug it. Apply 90% or higher isopropyl alcohol to a lint-free microfiber cloth — never spray directly onto the screen. Wipe in slow straight lines, then lift the bezel and clean the inner edge where debris collects. Dry with a second clean cloth before powering the cabinet back on.
How do I calibrate my Megatouch touchscreen?
Enter the service menu using the test button inside the coin door or by holding the setup button during boot. Navigate to Touchscreen Calibration and touch each of the nine on-screen calibration points as they appear using a finger or soft stylus. Confirm the calibration and test by tapping each corner of the screen to confirm accurate response.
What causes a touchscreen to stop working?
Common causes include surface contamination, loose ribbon cables, failed controller boards, broken ground wires, EMI interference, and physical damage to the overlay. The symptom pattern tells you which one is at fault: complete unresponsiveness usually means a cable or controller issue, while touches registering in the wrong spot usually means calibration or a grounding issue.
How do I replace the touchscreen on my Megatouch?
Remove the bezel, lift a corner of the overlay with a plastic spudger, and slide unflavored dental floss under the corner. Work the floss back and forth in a sawing motion along each edge to slice through the double-sided tape. Lift the old overlay away, clean the LCD with isopropyl alcohol, apply new 3M VHB tape around the perimeter, and seat the new overlay. Recalibrate after installation.
What are the common Megatouch touchscreen problems?
The most common problems are phantom touches caused by grounding or EMI, complete unresponsiveness from a loose ribbon cable, touches registering in the wrong location from a failed calibration, and intermittent failure when the cabinet is moved. Hardware failures of the overlay itself are rare — most problems trace back to cables, controllers, or grounding.
How do I troubleshoot a Megatouch touchscreen controller?
Check the controller LED first. A solid LED means the board is communicating normally. A slow blink means the controller is waiting for a handshake, while a fast or irregular blink usually indicates a cable issue rather than a controller failure. Swap the controller with a known-good spare to confirm the diagnosis. If a new controller produces the same symptoms, the fault is upstream in the IO board or the ribbon cable.
How to Fix a Megatouch Touchscreen That Is Not Responding: Final Thoughts
Walking through how to fix a Megatouch touchscreen that is not responding is mostly about patience and order. Start with cleaning, then cables, then grounding, then the controller, and only replace the overlay as a true last resort. Every fix in this guide has worked on real cabinets in our shop — from a sticky Megatouch Maxx that just needed isopropyl alcohol to a Megatouch Force Ion that needed nothing more than gaffer tape isolating the overlay from the metal frame.
Take a photo of every dip switch and cable position before you touch anything, keep a small kit of isopropyl alcohol, electrical tape, and dental floss near your cabinet, and you will be able to resolve the next touchscreen failure in under an hour without paying a tech or waiting on a parts shipment.