
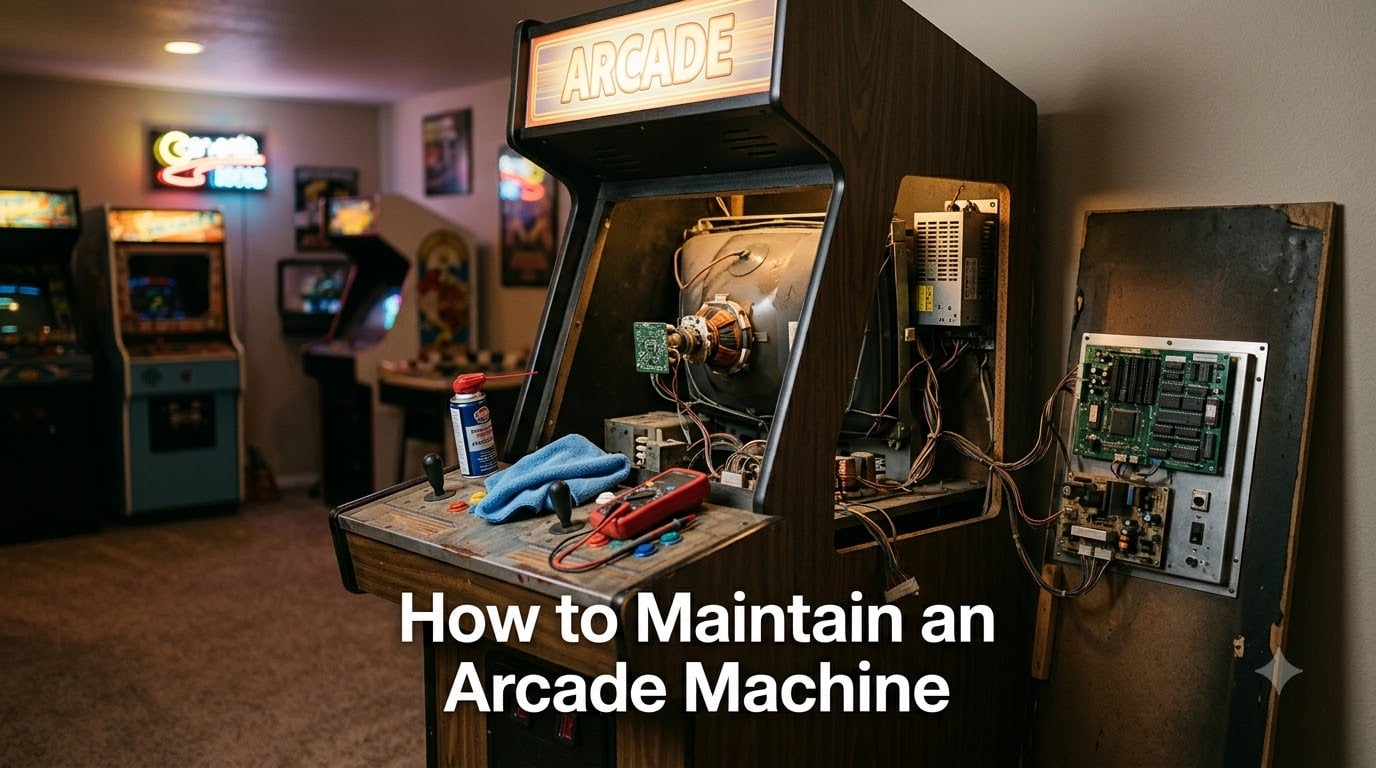
When I bought my first arcade cabinet back in 2018, I made every mistake in the book. I skipped inspections, ignored a sticky joystick, and let dust pile up inside the control panel. Two years later, that cabinet was on the fritz more than it was playable. The fix wasn’t a bigger repair budget; it was a smarter maintenance routine.
This guide on how to maintain an arcade machine is everything I wish someone had handed me on day one. Our team at Coin-OP Games has pulled together the practical steps professional operators use, the routines forum regulars swear by, and the seasonal tips most guides skip. Whether you’re running a single cabinet in your game room or managing a row of redemption machines, the routine below will keep your arcade humming.
Table of Contents
- Safety Inspection Checklist Before You Start
- Exterior Cleaning Guide for Cabinet and Screen
- Control Maintenance for Joysticks, Buttons, and Trackball
- Interior Cleaning, Dust Control, and Ventilation
- Power Supply Monitoring and Electrical Safety
- Tools and Parts to Keep in Stock
- Routine Maintenance Schedule You Can Follow
- Troubleshooting Common Arcade Machine Problems
- Frequently Asked Questions
- Keep Your Arcade Running for Years to Come
Safety Inspection Checklist Before You Start
Every solid maintenance routine starts with a safety inspection. Power down the cabinet and unplug it before your hands go anywhere near the internals. A 60-second walkaround catches the small issues before they snowball into expensive repairs.
Visual Cabinet Inspection
Look over the entire cabinet with a flashlight. Check for loose screws on the control panel, cracked T-molding along the edges, and any peeling artwork or laminate. These aren’t just cosmetic problems. A loose side panel lets dust migrate straight onto your circuit boards.
Inspect the coin door, marquee, and any glass surfaces for hairline cracks. Tiny fractures spread fast when humidity shifts. I learned this the hard way when a hairline crack in my Pac-Man marquee turned into a full replacement after one cold winter.
Power and Electrical Safety
Confirm the power cord is intact, with no exposed copper or melted sections. Test your surge protector to make sure it’s still functional; surge protectors wear out, usually after a major electrical event. A multimeter reading on your outlet tells you if you’re getting the right voltage under load.
If your cabinet uses a switching power supply, listen for a high-pitched whine or notice random reboots. Those are early warning signs of a failing supply. Catching it now beats troubleshooting a fried motherboard later.
Exterior Cleaning Guide for Cabinet and Screen
Outside surfaces take the most abuse from players. Sweat, soda, and constant touching leave residue that slowly damages both the artwork and the electronics underneath. A simple weekly wipe-down keeps the cabinet looking sharp and prevents grime from migrating inward.
Cabinet and Artwork Cleaning
Use a microfiber cloth lightly dampened with a mild, non-ammonia cleaner. Wipe the side panels, control panel surface, and base in straight lines. Ammonia-based cleaners will haze the protective laminate and fade the artwork over time.
For sticky spots, a 1:1 mix of distilled water and isopropyl alcohol works wonders. Test it on a hidden corner first to make sure it doesn’t affect the finish. Dry everything with a clean microfiber cloth before powering the cabinet back on.
Screen and Marquee Care
Modern LCD screens respond well to a dry microfiber cloth followed by a screen-safe cleaner. Avoid spraying anything directly onto the display. For older CRT monitors, a gentle dry wipe is plenty; CRT glass attracts dust magnetically, so a quick pass every week keeps picture quality sharp.
Clean the marquee Plexiglass with the same mild cleaner you use on the cabinet. Smudges on the marquee make the whole cabinet look neglected, even when everything else is spotless.
Control Maintenance for Joysticks, Buttons, and Trackball
Controls are the highest-touch components on any arcade machine. They also fail the fastest. Stickiness, dead microswitches, and grimy trackballs are the most common complaints we hear from owners. The good news is that control maintenance is also the most satisfying work.
Joystick Cleaning and Repair
Pop the top ball off the joystick by unscrewing it counterclockwise. Clean the shaft with isopropyl alcohol and a cotton swab. If the shaft is gummy, a light coating of silicone lubricant restores smooth action. Avoid grease; it attracts dust and creates a paste over time.
Test each direction by flicking the stick and listening for a clean click. A mushy or silent click means the microswitch underneath is wearing out. Replacement microswitches cost very little and take about ten minutes to swap with a soldering iron. For an American-style joystick, the entire assembly usually pulls out with a few screws.
Button Sanitization and Microswitches
Remove each button by unscrewing the retaining ring from underneath the control panel. Wipe the button housing and the mounting hole with isopropyl alcohol. This single step eliminates most of the stickiness players complain about.
If a button registers only sometimes, the microswitch leaf may be bent or corroded. A quick bend back into shape, or a full microswitch swap, fixes the issue. Keep a handful of spare microswitches on hand; they fail in clusters.
Trackball Cleaning
Trackballs collect skin oil, dust, and snack crumbs faster than any other control. Pull the ball out and wipe it down with a microfiber cloth. Inside the housing, use a cotton swab soaked in isopropyl alcohol to clean the three rollers and the optical sensors.
On optical trackballs, check the sensor windows for grime. On mechanical trackballs, look for belt wear or stretched springs. Centipede and Missile Command owners know exactly how much a sluggish trackball kills the fun.
Interior Cleaning, Dust Control, and Ventilation
Dust is the silent killer of arcade electronics. It insulates components, causes overheating, and creates random shorts across exposed contacts. A clean interior keeps every part of your cabinet running cooler and longer.
Removing Dust from Internal Components
Open the back panel and vacuum the inside thoroughly. Use a soft brush attachment and gentle pressure. Compressed air works too, but it tends to push dust into crevices rather than remove it. A small vacuum designed for electronics is the safest tool for the job.
Pay special attention to the area around the power supply and any PCBs. Dust bunnies in those zones block airflow and trap heat. Forum regulars often recommend pulling the entire computer or board stack out once a year for a deep clean.
Fan and Vent Cleaning
Check every fan in the cabinet. Cabinet cooling fans, CPU fans, and power supply fans all need to spin freely. Hold the fan blade still with a finger while you blow dust off; spinning a dusty fan under compressed air can damage the bearings.
Vacuum the vent slots on the back and sides of the cabinet. Blocked vents trap heat inside, which is the most common cause of arcade machine overheating. If your cabinet feels warm to the touch near the vents, airflow is the first thing to check.
Power Supply Monitoring and Electrical Safety
The power supply is the heart of your arcade cabinet. When it fails, everything downstream fails with it. A few minutes of monitoring each month prevents the kind of cascading damage that ends with a full motherboard replacement.
Checking the Power Supply
Most modern arcade cabinets use an AT-style switching power supply with multiple voltage rails. Check the +5V and +12V outputs with a multimeter while the cabinet is running. Voltages should hold within 5 percent of the rated value under load.
Older linear power supplies need occasional capacitor checks. Bulging or leaking capacitors are a clear sign of failure. If you’re not comfortable around high-voltage capacitors, this is the perfect job to hand off to a technician.
Surge Protection Best Practices
Always run your cabinet through a quality surge protector, not a basic power strip. Arcade-grade surge protectors handle the inductive loads from monitors and speakers better than residential models.
Test the surge protector’s indicator light monthly. A dead surge protector is worse than no protector at all because it gives a false sense of security. Replace surge protectors every few years or after any major electrical event in your area.
Tools and Parts to Keep in Stock
Half the battle of arcade machine maintenance is having the right tool on hand when something breaks. Nothing kills momentum like waiting three days for a screwdriver set to arrive while your prize cabinet sits dark.
Essential Maintenance Tools
- Multimeter for voltage checks
- Soldering iron and lead-free solder
- Phillips and flathead screwdrivers in multiple sizes
- Socket and nut driver set
- Isopropyl alcohol (90 percent or higher)
- Microfiber cloths and cotton swabs
- Compressed air or electronics vacuum
- Silicone lubricant for joysticks
Spare Parts to Stock
Keep a small bin of consumables near your cabinet. Microswitches, leaf switches, button plungers, and a couple of joystick dust covers will cover most routine repairs. For pinball machines, stock flipper bats, rubber rings, and a few solenoids.
Buy OEM parts when possible. Aftermarket parts often fit poorly or use cheaper materials. One forum regular put it perfectly: cheap parts become expensive problems. Spend a few dollars more and your cabinet will thank you.
Routine Maintenance Schedule You Can Follow
A consistent schedule beats heroic repair sessions every time. Below is the routine our team uses on our own cabinets, built from operator manuals and years of forum wisdom. Adjust the timing to match how often each cabinet gets played.
Daily and Weekly Tasks
Wipe down high-touch surfaces daily with a microfiber cloth. Once a week, do a deeper clean of the control panel, buttons, and screen. Test a few credits through each game to confirm everything functions properly.
Power your cabinets on at least once a week, even if nobody plays. Arcade electronics benefit from regular warm-up cycles; capacitors and CRTs last much longer when they aren’t left cold for months.
Monthly and Seasonal Tasks
Once a month, vacuum the vents and check the power supply voltages. Every three months, open the cabinet for a deep interior clean. Seasonally, inspect the coin mechanisms, ticket dispensers, and any moving parts for wear.
Climate matters more than most owners realize. Keep humidity between 40 and 60 percent to protect wood cabinets and prevent static buildup. A small dehumidifier in a damp game room can add years to your cabinet’s life.
Troubleshooting Common Arcade Machine Problems
Even with a perfect maintenance routine, things break. Knowing which problems you can fix in an afternoon versus which ones need a professional saves both time and money.
Sticky Controls and Coin Jams
Sticky buttons almost always come down to grime in the housing. A quick alcohol wipe usually fixes it. Coin jams usually point to a worn coin acceptor or a dirty coin path. Cleaning both with isopropyl alcohol and a soft brush solves most issues.
Joystick stickiness often traces to old lubricant or spilled drinks. Disassemble, clean with alcohol, and apply a thin layer of silicone lubricant. Avoid spraying lubricant directly into the joystick while it’s mounted; overspray migrates onto nearby buttons.
When to Call a Professional
Some repairs go beyond routine maintenance. CRT monitor repair, motherboard-level diagnostics, and anything involving the high-voltage section of a power supply are best left to a trained technician. The risk of electric shock or further damage outweighs the cost of a service call.
Repetitive failures, even after you fix them, often point to a deeper issue. A joystick that keeps sticking may signal a bent mounting plate. A monitor that flickers after a capacitor swap may need a full alignment by someone with the right equipment.
Frequently Asked Questions
How often should you maintain an arcade machine?
Wipe down high-touch surfaces weekly and do a deeper interior clean every three months. Power the cabinet on at least once a week, even if nobody plays, to keep capacitors and CRTs in good shape.
What tools do I need to repair arcade machines?
A multimeter, soldering iron, screwdriver and nut driver set, isopropyl alcohol, microfiber cloths, compressed air, and silicone lubricant cover most routine repairs. Add spare microswitches, leaf switches, and button plungers to handle the most common failures.
How profitable is owning an arcade?
Profitability depends on location, traffic, and machine mix, but well-maintained cabinets earn noticeably more than neglected ones. Regular maintenance reduces downtime, keeps players coming back, and extends the lifespan of expensive electronics.
Why is my arcade machine overheating?
Blocked vents, dust buildup on fans, and failing power supplies are the three most common causes. Vacuum the vents, clean the fans, and check the power supply voltages with a multimeter. If overheating continues, a failing fan or capacitor may need replacement.
Keep Your Arcade Running for Years to Come
Learning how to maintain an arcade machine is less about expensive tools and more about consistent habits. A weekly wipe-down, a monthly vacuum, and a quarterly deep clean will keep your cabinet running smoothly for years. Combine that routine with the right spare parts and a watchful eye on the power supply, and most breakdowns never happen at all.
Start with the safety inspection this week, build out your tools and parts bin, and stick to the maintenance schedule above. Your arcade cabinet will reward you with longer life, fewer repair bills, and players who keep coming back to drop that next quarter.