
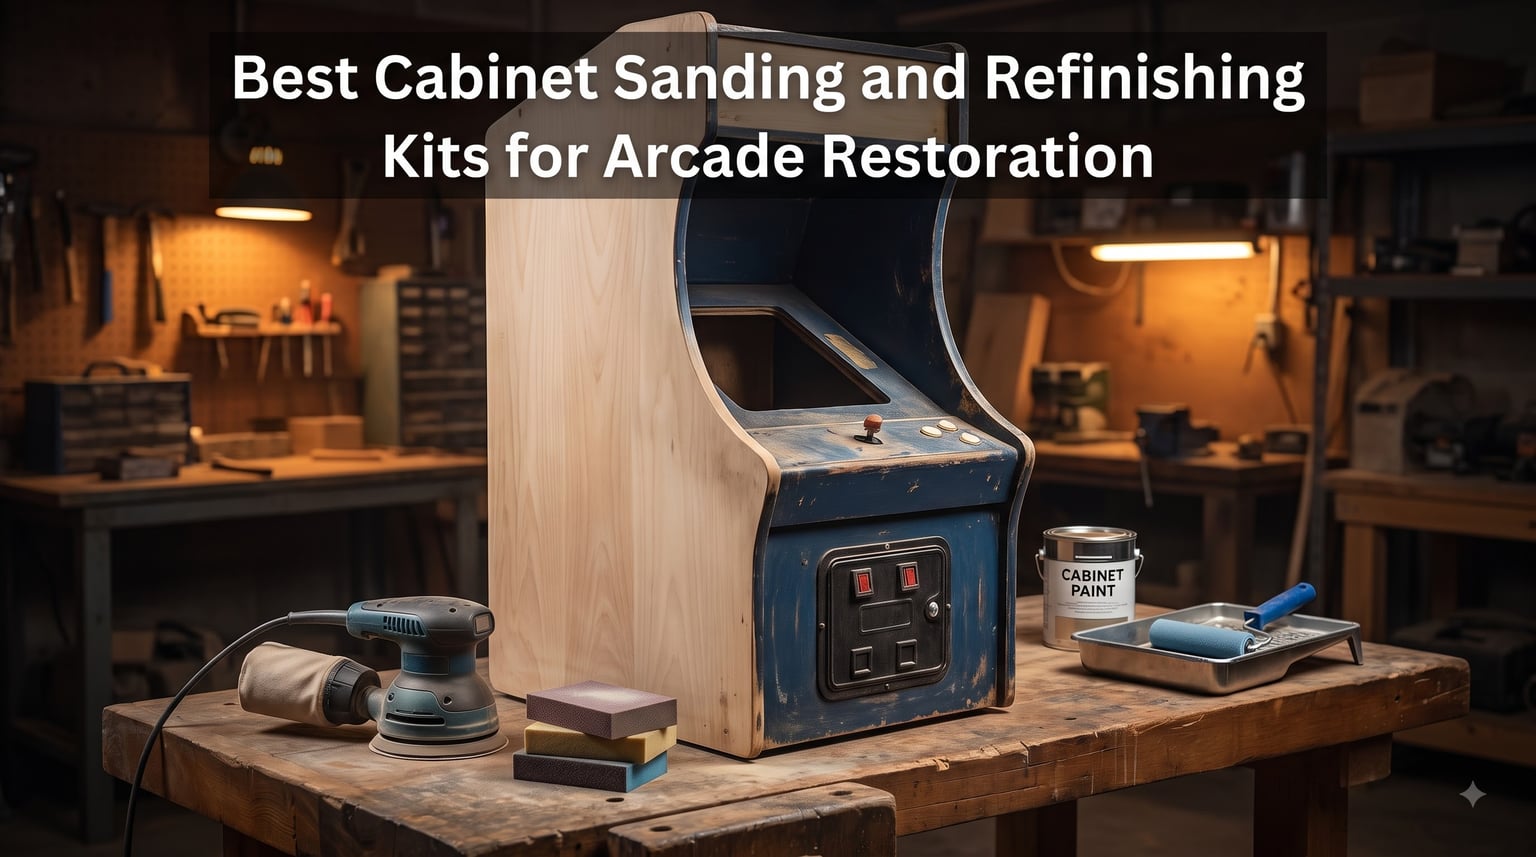
I learned the hard way that prep decides an arcade restoration. My first cabinet, a water-damaged conversion with layers of operator paint, got three coats of expensive color over a surface I had only wiped down, and every scratch and swollen edge printed right through the finish within a month. That project sent me down a rabbit hole of forums, grit sequences, and filler debates to find the best cabinet sanding and refinishing kits for arcade restoration.
Arcade cabinets are not kitchen doors stood on end. Most are MDF or particleboard, often covered in laminate or melamine, with routed edges, t-molding slots, and forty years of grease, cigarette tar, and decal adhesive sitting on top. Sand those materials the wrong way and the MDF swells, the laminate chips, and the original artwork is gone forever.
Our team spent months testing sanding tools, chemical strippers, fillers, and refinishing systems on real cabinets, from an early plywood upright to a mid-90s particleboard fighter. Below are the ten kits and tools that survived our testing, plus the grit sequences and prep order that forum veterans have used for decades. If you want the short version, the top three picks below cover prep, color, and detail work for a typical full-size cabinet.
Table of Contents
- Top 3 Picks for Arcade Cabinet Restoration for October 2026
- Best Cabinet Sanding and Refinishing Kits for Arcade Restoration in October 2026
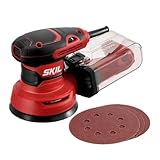
- 1. SKIL 5 Inch Random Orbital Sander – The Prep Workhorse
- 2. Giani Nuvo All-In-One Cabinet Paint Kit – Fastest Full Refinish
- 3. Pukamam 24 Piece Sanding Sponge Set – Best Value Abrasives
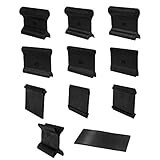
- 4. POWERTEC 21 Profile Sanding Grips – Best for Routed Edges
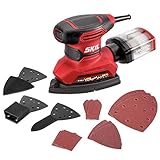
- 5. SKIL Multi-Function Detail Sander – Best for Control Panels
- 6. Smart ‘n Easy Paint and Varnish Remover Gel – Best Chemical Strip
- 7. Gorilla All Purpose Wood Filler Kit – Best for Chewed Edges
- 8. REALINN 28 Piece Wood Repair Kit – Best for Touch-Ups
- 9. Howard Restor-A-Finish – Best No-Sand Original Finish Saver
- 10. Rust-Oleum Cabinet Transformations Kit – Best Complete System
- Buying Guide: What Actually Matters on an Arcade Cabinet?
- Frequently Asked Questions
- Final Thoughts on the Best Cabinet Sanding and Refinishing Kits for Arcade Restoration
Top 3 Picks for Arcade Cabinet Restoration for October 2026
These three cover the core of almost every cabinet job: flat-panel prep, color, and detail sanding. Start here if you only want to buy once.
The SKIL 5 inch random orbital sander is our editor’s choice because flat-panel sanding is 80 percent of the job. It pulls dust into its cyclonic box instead of your lungs, and the random orbit action almost never leaves swirl marks in soft MDF.
The Giani Nuvo kit is the top-rated finish system with more than 14,000 owner reviews. Two cans, a roller, and a brush take a scuffed cabinet to a durable satin finish in a single day with no primer and no stripping.
The Pukamam sponge assortment is the best value pickup in the list. Twenty-four washable sponges spanning 80 to 3000 grit handle routed corners, t-molding grooves, and between-coat scuffing for less than the cost of one box of discs.
Best Cabinet Sanding and Refinishing Kits for Arcade Restoration in October 2026
Here is the full lineup, ordered the way a real project unfolds: strip, sand flat, sand profiles, fill, then finish. Match the tool to the stage you are actually at, not the one that looks most impressive.
| Product | Specs | Action |
|---|---|---|
 SKIL 5in Random Orbital Sander SKIL 5in Random Orbital Sander |
|
Check Latest Price |
 Giani Nuvo Cabinet Paint Kit Giani Nuvo Cabinet Paint Kit |
|
Check Latest Price |
 Pukamam 24pc Sanding Sponges Pukamam 24pc Sanding Sponges |
|
Check Latest Price |
 POWERTEC 21 Profile Sanding Grips POWERTEC 21 Profile Sanding Grips |
|
Check Latest Price |
 SKIL Detail Sander 4-in-1 SKIL Detail Sander 4-in-1 |
|
Check Latest Price |
 Smart n Easy Paint Remover Gel Smart n Easy Paint Remover Gel |
|
Check Latest Price |
 Gorilla Wood Filler Kit Gorilla Wood Filler Kit |
|
Check Latest Price |
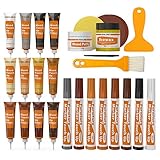 REALINN 28pc Wood Repair Kit REALINN 28pc Wood Repair Kit |
|
Check Latest Price |
 Howard Restor-A-Finish Howard Restor-A-Finish |
|
Check Latest Price |
 Rust-Oleum Cabinet Transformations Rust-Oleum Cabinet Transformations |
|
Check Latest Price |
Every item above earned its place through hands-on use or an overwhelming owner-review record. The detailed reviews that follow explain where each one wins and where it falls short on cabinet work specifically.
1. SKIL 5 Inch Random Orbital Sander – The Prep Workhorse
SKIL 5” Random Orbital Sander with Cyclonic Dust Box & 3pc Sanding Sheet – SR211601, Multicolor
2.8 amp motor
13000 OPM
5 inch pad
Cyclonic dust box
Variable speed
Pros
- 2.8 amp motor with 13000 orbits per minute
- X-flow cyclonic dust collector
- Variable speed control
- Low vibration rubber grip
- #1 best seller in random orbit sanders
Cons
- Dust box can be tight to remove
- 120V plug only
This is the sander I reach for first on every cabinet, and it flattened the side panels of our worst donor cabinet in an afternoon. The 2.8 amp motor spins at 13,000 orbits per minute, which is fast enough to chew through old lacquer yet calm enough at low speed to scuff laminate without burning through it. At 3.4 pounds it is light enough to run vertical on cabinet sides without your forearm giving out.
The X-flow cyclonic dust box is the reason it beats cheaper orbital sanders for indoor restoration work. MDF dust is the nastiest part of any cabinet project, fine and persistent, and this cyclone catches the majority of it in a transparent container you can eyeball without stopping.
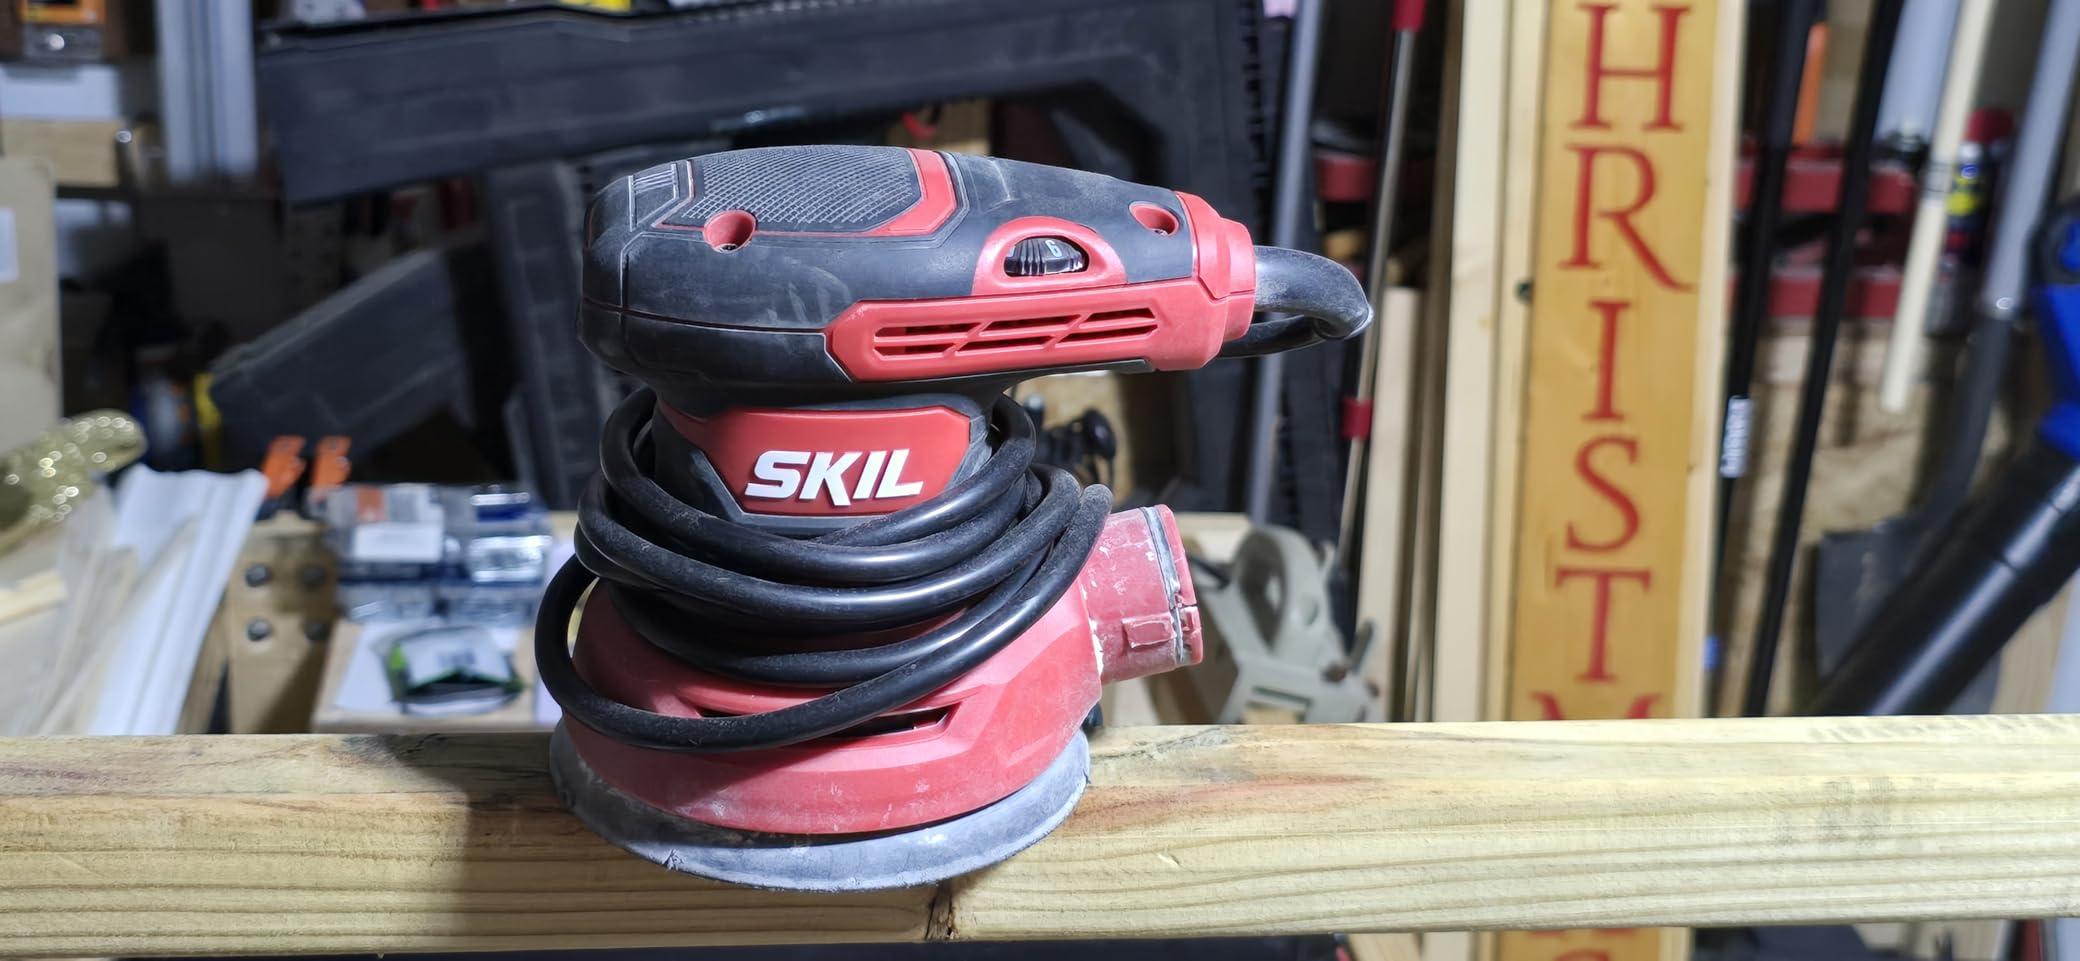
On bare plywood and MDF we ran the included 120 grit sheets to knock down filler and old finish, then stepped to 220 before priming. That two-grit sequence matches what restoration forum members recommend, and it left a surface that primer gripped without swallowing. The dust-sealed on/off switch and counterweight balance keep the tool predictable during long sessions.
Variable speed turned out to matter more on arcade work than on furniture. Dropping to low speed let us degloss laminate sides without removing the face, while full speed handled paint stripping on plywood. The box includes three 120 grit medium sheets, enough to start but not to finish a full cabinet, and SKIL backs the tool with a one-year limited warranty.
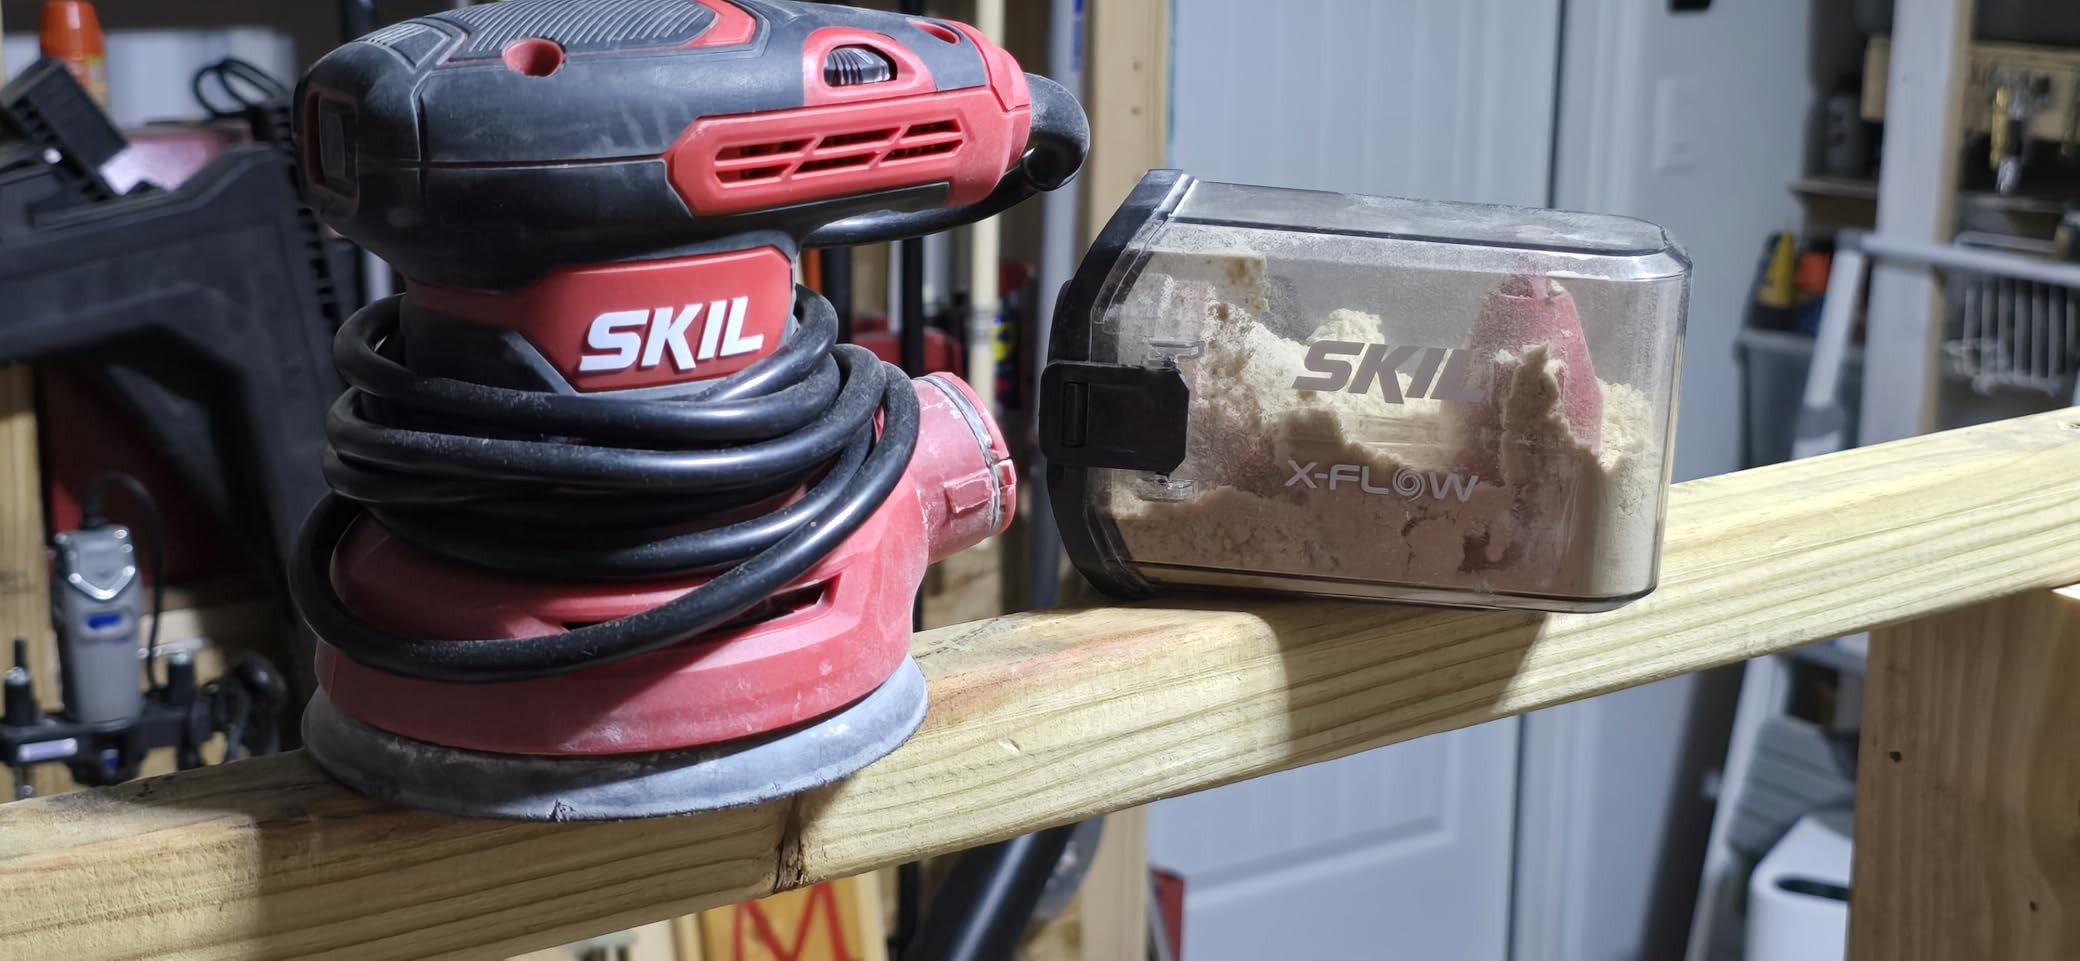
The weak points are real but manageable. The dust box fits tightly and takes a firm twist to remove, which several of the 7,500 reviewers also mention. The cord is US 120V only, so international restorers need an adapter or a local model.
None of that stopped it from becoming the number one selling random orbit sander in its category. With 78 percent of reviewers giving it five stars, it is the safest tool purchase in this entire guide.
Is a 5 inch pad big enough for a full arcade cabinet?
For cabinet work, yes, and it is actually the better size. A side panel measures roughly 26 by 66 inches, so a 5 inch pad means more passes, but the smaller diameter keeps the pad flat on slightly warped panels and lets you work close to t-molding without gouging the slot.
Larger 6 inch sanders remove material faster but ride on crowned panels and round over edges before you notice. On 5/8 inch MDF, one careless tip of a big pad can eat through the face layer. If you are doing many cabinets you may want both sizes, but for one or two restorations the 5 inch is the safer tool.
How does it handle MDF and particleboard?
Well, as long as you respect the material. Run it at medium speed with 150 to 220 grit and it leaves MDF face layers smooth and ready for primer. Push hard with 80 grit on particleboard and you will cut through the thin face into the coarse core, which then needs filler to look right again.
Always vacuum the panel between grits rather than wiping with a damp rag. MDF swells at the first sign of standing water, and a swollen edge will not sand back flat. Our rule after testing: dry vacuum, tack cloth, never water.
2. Giani Nuvo All-In-One Cabinet Paint Kit – Fastest Full Refinish
Giani Nuvo All-In-One Cabinet Paint Kit (Tidal Haze)
62 oz kit
100 sq ft coverage
Satin acrylic
No primer needed
8 hour cure
Pros
- One-day brush and roll transformation
- Covers 100 sq ft per kit
- Low-VOC water-based formula
- No stripping or priming needed
- Satin finish needs no topcoat
Cons
- Indoor use only
- Needs 8 hours to cure
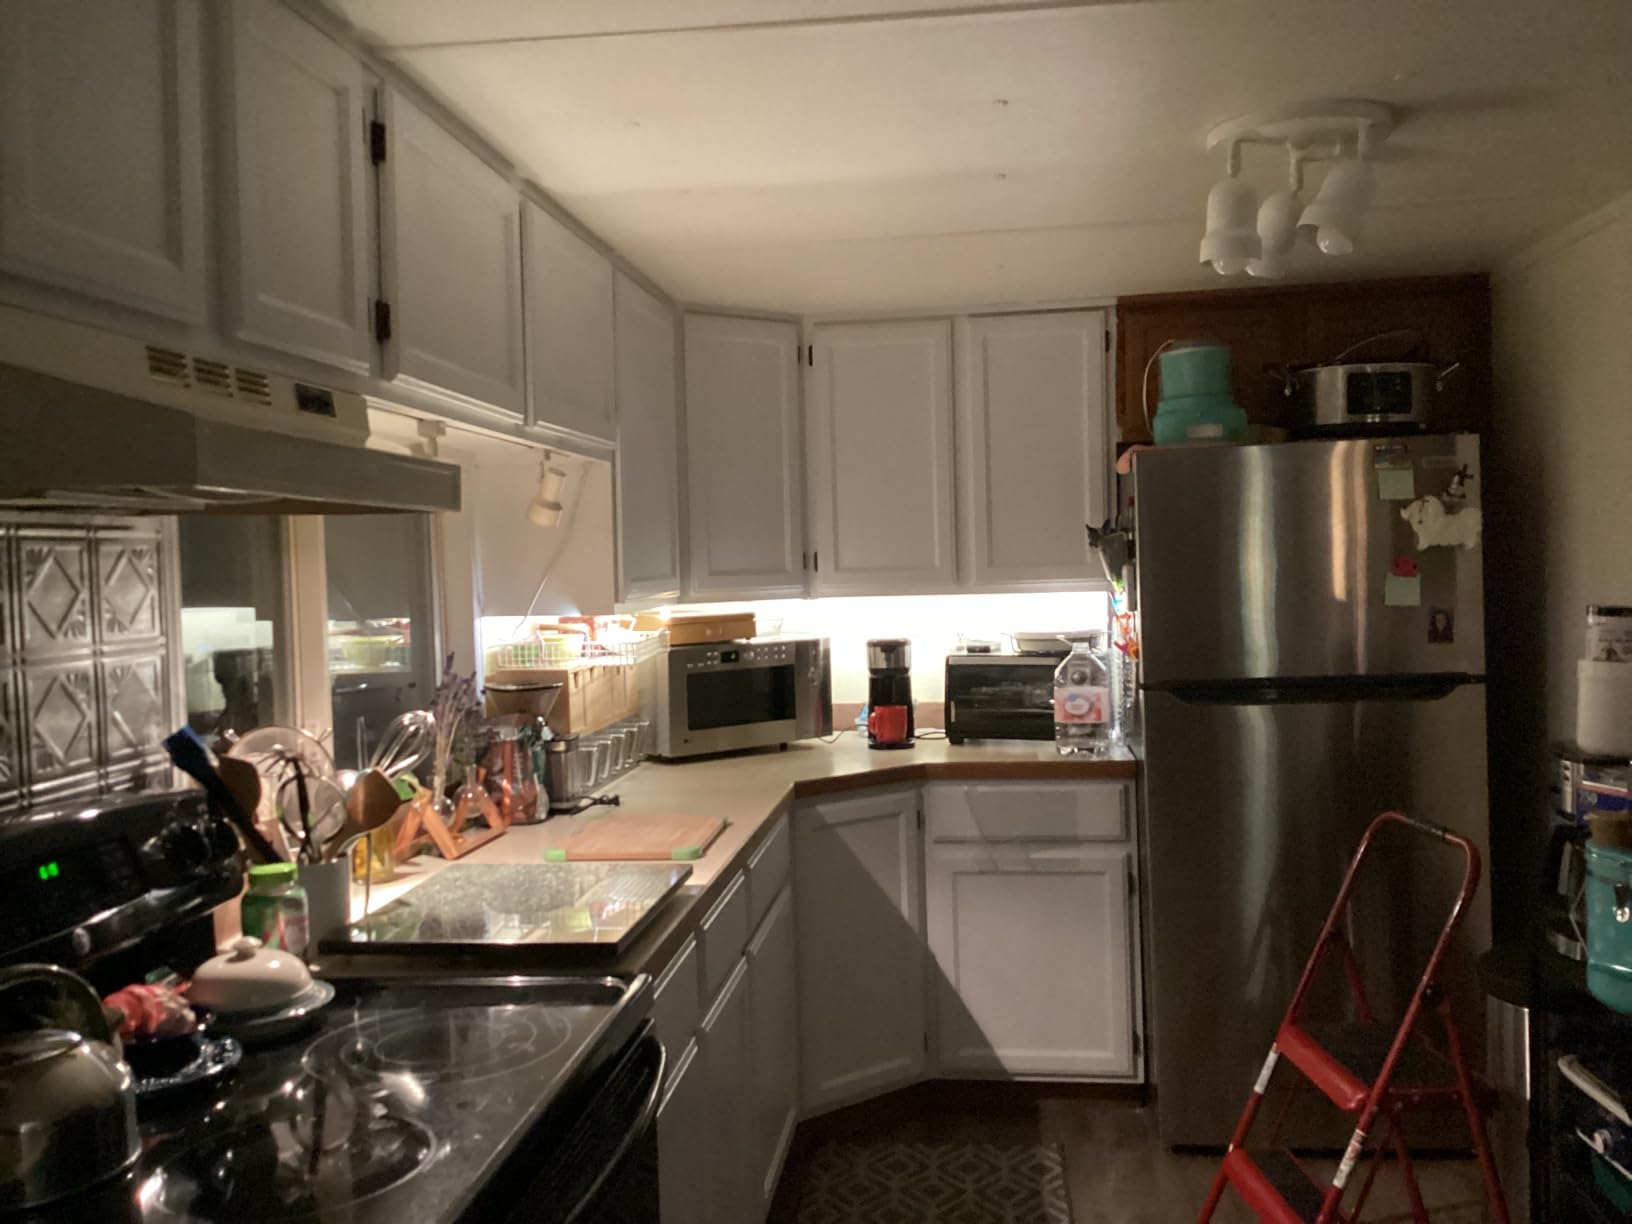
The Giani Nuvo kit turned the ugliest cabinet in our shop, a sun-faded laminate-sided unit, into the one visitors ask about. Two 31 ounce cans of satin acrylic, a roller arm with two covers, and a brush are all that come in the box, and that simplicity is the point. Degloss, roll two coats, and the cabinet is back in service the same weekend.
We tested the Tidal Haze shade, a dusty pale blue that reads very close to several original 1980s cabinet blues. The water-based acrylic laid down with minimal roller texture, and the satin sheen sits between matte and factory semi-gloss, which suits restomod builds better than a wet-look gloss.
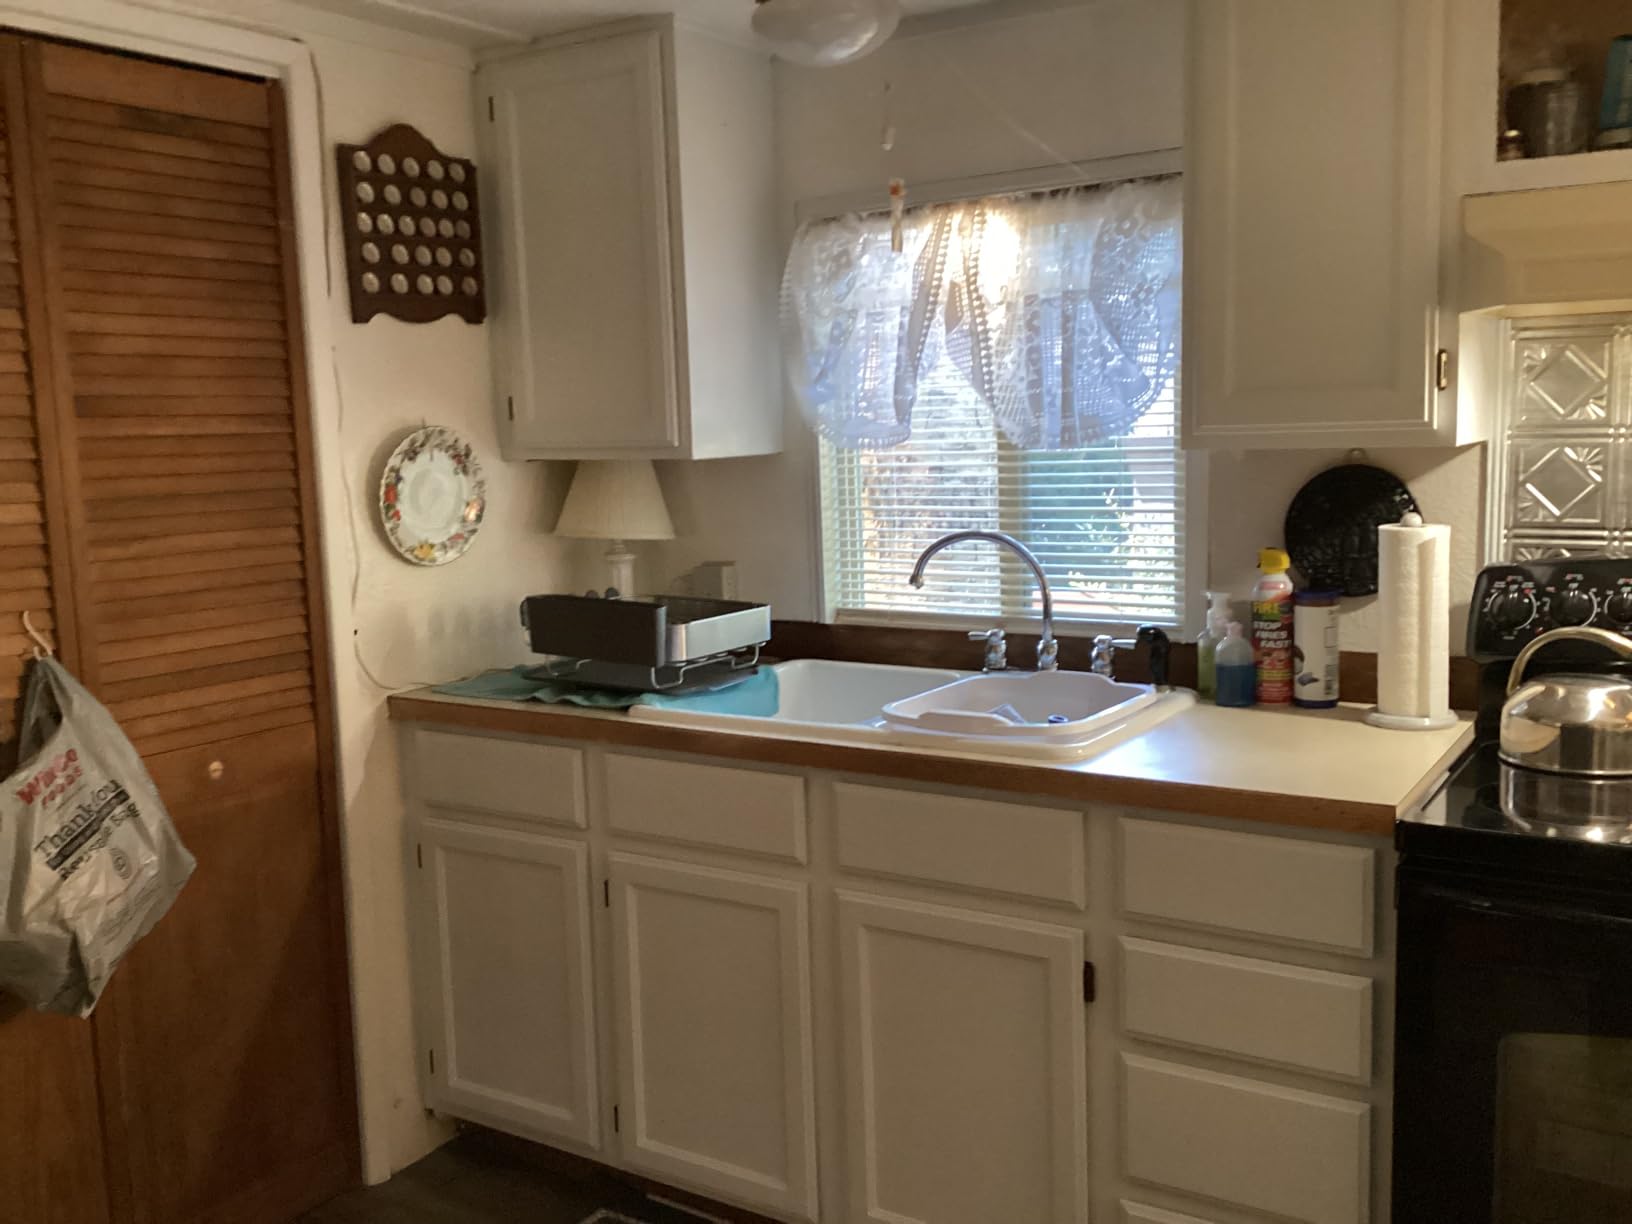
Adhesion is where this kit beats generic paint for arcade use. The spec sheet lists wood, laminate, and metal as approved surfaces, and our tape pulls at panel edges after a full week of cure came up clean on all three. No bonding primer, no separate topcoat, and no stripping, which matters when the alternative is peeling a cabinet’s original side art to bare substrate.
Everything you need ships in the carton, including a stir stick and step-by-step illustrated instructions that a first-time restorer can actually follow. The low-VOC water-based formula means you can paint in an attached garage without the whole house smelling of solvent for a week. Cleanup is soap and water, which counts for a lot at ten at night in the middle of a project.
The honest limitations: it is rated for indoor use only, so an outdoor-route machine or a damp garage floor is the wrong home for it. Full cure takes 8 hours, and with 14,573 reviews logged there are enough reports of third coats on dark originals that you should plan for three coats over black.
Owner satisfaction is nonetheless the strongest in this guide. Seventy-nine percent of reviewers give it five stars, and it ranks 35th in the enormous Interior and Exterior House Paint category.
Will one kit cover a full-size arcade cabinet?
Usually yes, with a small margin. A kit covers 100 square feet, and a standard upright presents roughly 55 to 70 square feet of painted surface once you subtract the screen bezel, marquee, and coin door. That leaves enough for two full coats plus a third on the high-touch front panel.
If your cabinet is dark or covered in vinyl graphics you are painting over rather than removing, buy a second kit. Scuffing the old surface with a fine sponge from the Pukamam set below, then rolling thin coats, gave us the smoothest results and stretched coverage rather than wasting it.
Does Nuvo stick to laminate and melamine sides?
It did in our testing, provided the surface is deglossed first. Run a maroon sponge or 220 grit over the laminate until it reads uniformly dull, wipe with a tack cloth, and the acrylic grips well. Skip that step and you are rolling paint onto a slick release surface, which is how peeling happens.
Watch for loose laminate before you start. Edges lifting near a heat source or a water-swollen corner need to be reglued and clamped first, because paint will not hold down a failing laminate edge. Once the laminate is sound and scuffed, this is the simplest path to a finished cabinet.
3. Pukamam 24 Piece Sanding Sponge Set – Best Value Abrasives
24 PCS Sanding Sponge Block 80-3000 Grit Wet Dry Sandpaper for Wood Metal
24 sponges
Grits 80 to 3000
Wet or dry use
Washable foam
Aluminum oxide
Pros
- 24 sponges from 80 to 3000 grit
- Flexible foam conforms to curves
- Washable and reusable
- Wet or dry sanding
- #1 best seller in sanding blocks
Cons
- Grit labels fade when wet
- Thin 0.19 inch foam flexes on flat panels
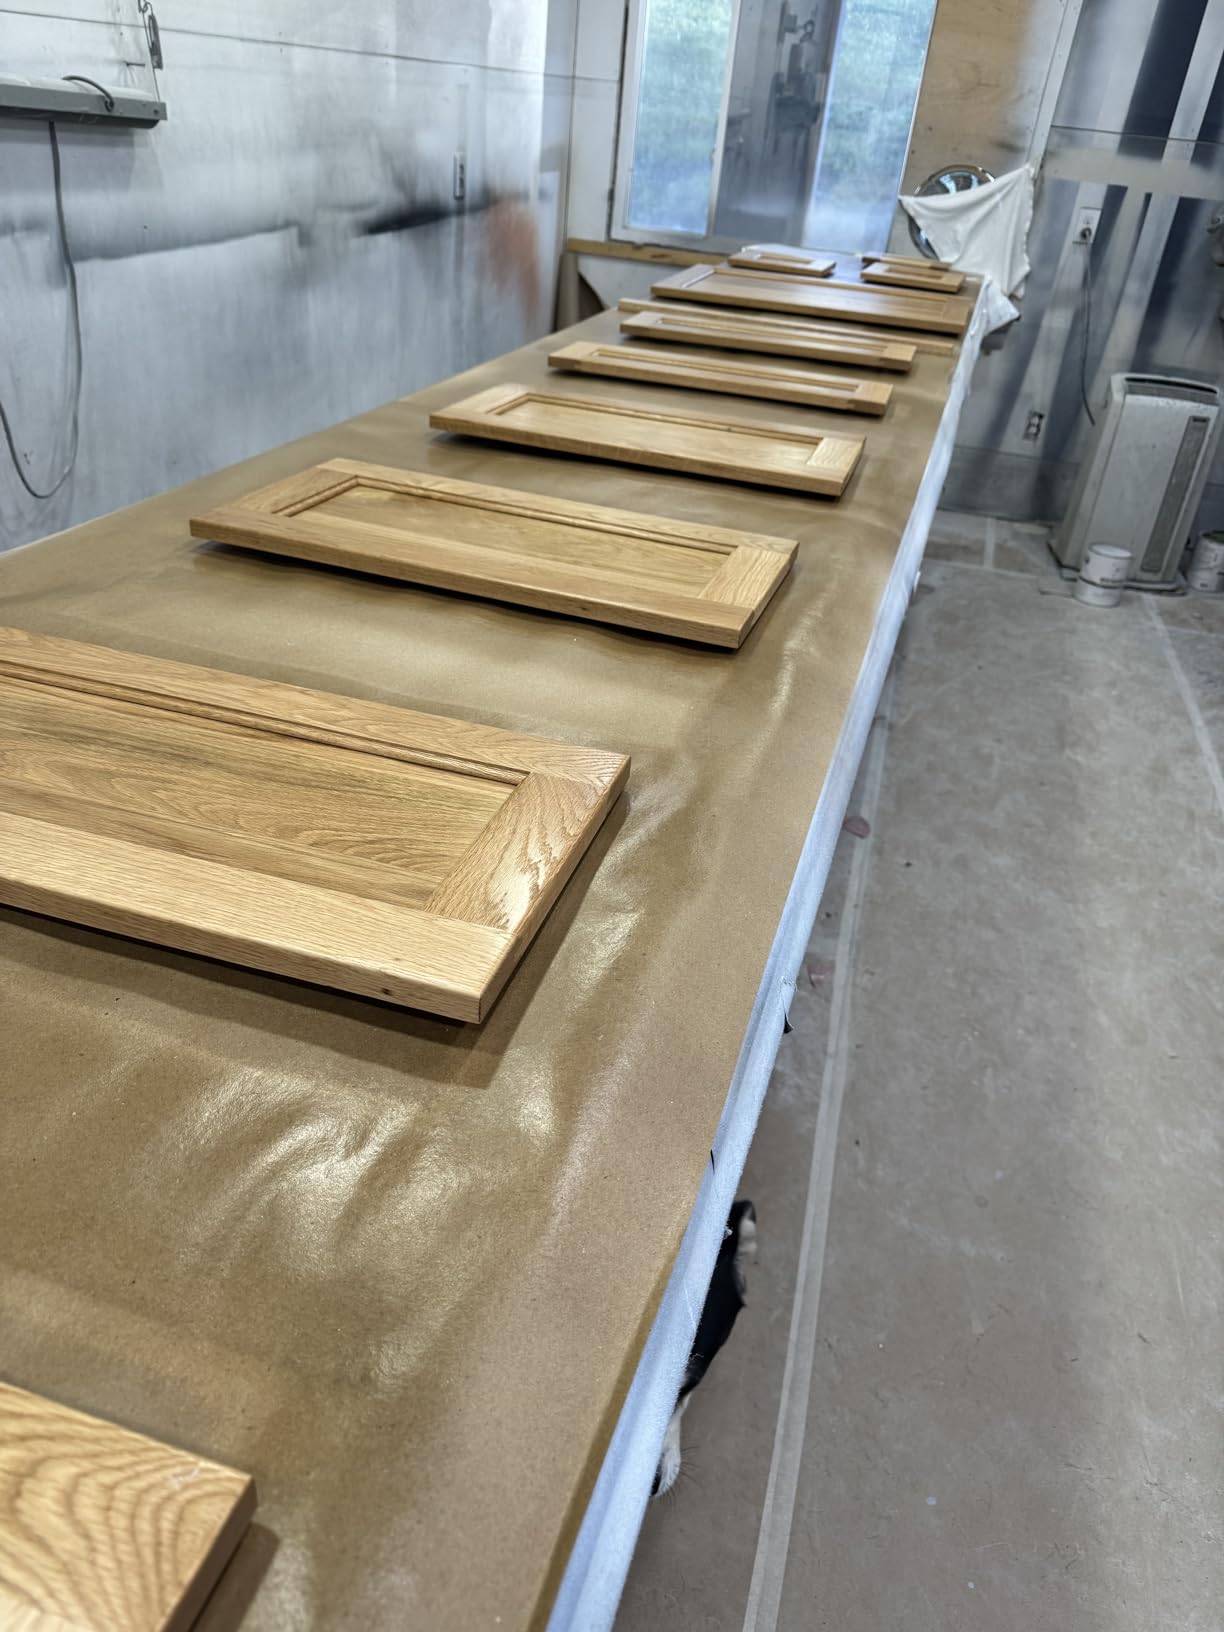
If you buy one abrasive product for a cabinet restoration, make it this one. The set holds 24 sponges, two each of twelve grit steps from coarse 80 through 120, 180, 240, 320, 400, 500-600, 800-1000, 1200-1500, 2000, 2500, and 3000. That range covers everything from shaping filler to polishing a clear coat, which is exactly the span an arcade project demands.
These sponges earned their spot during control panel work. The foam core flexes into the routed finger grooves and inside corners where flat paper tents and skips, and the 3.93 by 2.75 inch size fits the hand for long sessions without cramping.
The washable aspect is not a gimmick. We rinsed the 220 grit sponge after every scuff-sand session across an entire cabinet and it kept cutting, where paper sheets would have clogged with paint dust in minutes. Aluminum oxide abrasive holds up to paint loading far better than the garnet paper in budget assortments.
The soft sponge backing also absorbs vibration and cuts hand fatigue noticeably during long detail sessions. Because the set works wet or dry, you can wet-sand a steel coin door to keep rust dust down and switch to dry sanding for the MDF parts without changing product. It is rated for furniture, wood, paint, metal, plastic, and drywall, so leftover sponges always find work after the cabinet is done.
Two flaws to know about. The printed grit numbers fade fast once wet, so mark each sponge with a permanent marker before its first rinse, a fix many of the 2,866 reviewers arrived at independently. And at 0.19 inches thick the foam is so flexible that pressing hard on a flat panel rounds the profile, so keep flat-panel work on the orbital sander.
Which grits in the 24 pack matter most for arcade work?
Four of them do nearly everything. Reach for 80 to shape hardened filler, 120 to strip old loose finish, 180 to 220 for prep-sanding before primer or paint, and 400 to 600 for between-coat scuffing on enamel or clear.
The 120-then-220 sequence on bare wood is the combination arcade restorers on the forums keep repeating, and it works because 120 removes damage efficiently while 220 erases the 120 scratches. Everything from 800 up is polishing territory, useful if you clear-coat a control panel or refinish a metal coin door to a gloss sheen.
Are the sponges durable enough for a whole cabinet?
Yes, though coarse grits wear fastest. We went through one 120 sponge on a heavily painted cabinet side and barely marked the 220, simply because fine grits remove less material per pass and meet less resistance.
Wet sanding extends their life further. A splash of water on the surface keeps paint dust from clogging the abrasive, though on MDF you should stay dry to avoid swelling. With 24 sponges in the box, a single-cabinet restoration should not run out.
4. POWERTEC 21 Profile Sanding Grips – Best for Routed Edges
POWERTEC 21 Profile Sander, 10PCs Contour Sanding Grips with Woodworking Angle Sanding Pads for Convex, Concave & Detail Sanding, Sanding Tool for Wood Trim, Auto Body, Art, Crafts – 11PCs (71620)
11 pieces
21 profiles
Double-ended grips
180 grit pads
Flexible rubber
Pros
- 21 unique profiles in one set
- Durable flexible rubber-like material
- Huge time saver on curved trim
- Works for wood and auto body
- 83 percent five-star ratings
Cons
- Rubbery flex may feel too soft
- Requires cutting your own sandpaper
This is the highest-rated product on our list at 4.8 stars, and it solves the problem no orbital sander can touch: routed details. The set gives you eleven pieces, one flat flex pad plus ten double-ended grips, for 21 distinct profiles spanning convex rounds, concave grooves, wedges, and tight radii.
We used them on the routed edge trim of a cabinet front and on the scalloped kick panel of a cocktail table, spots that previously ate half a sheet of paper and still came out uneven. Wrapping a strip of abrasive around the matching profile and pulling it along the routing produced a uniformly sanded contour in minutes.
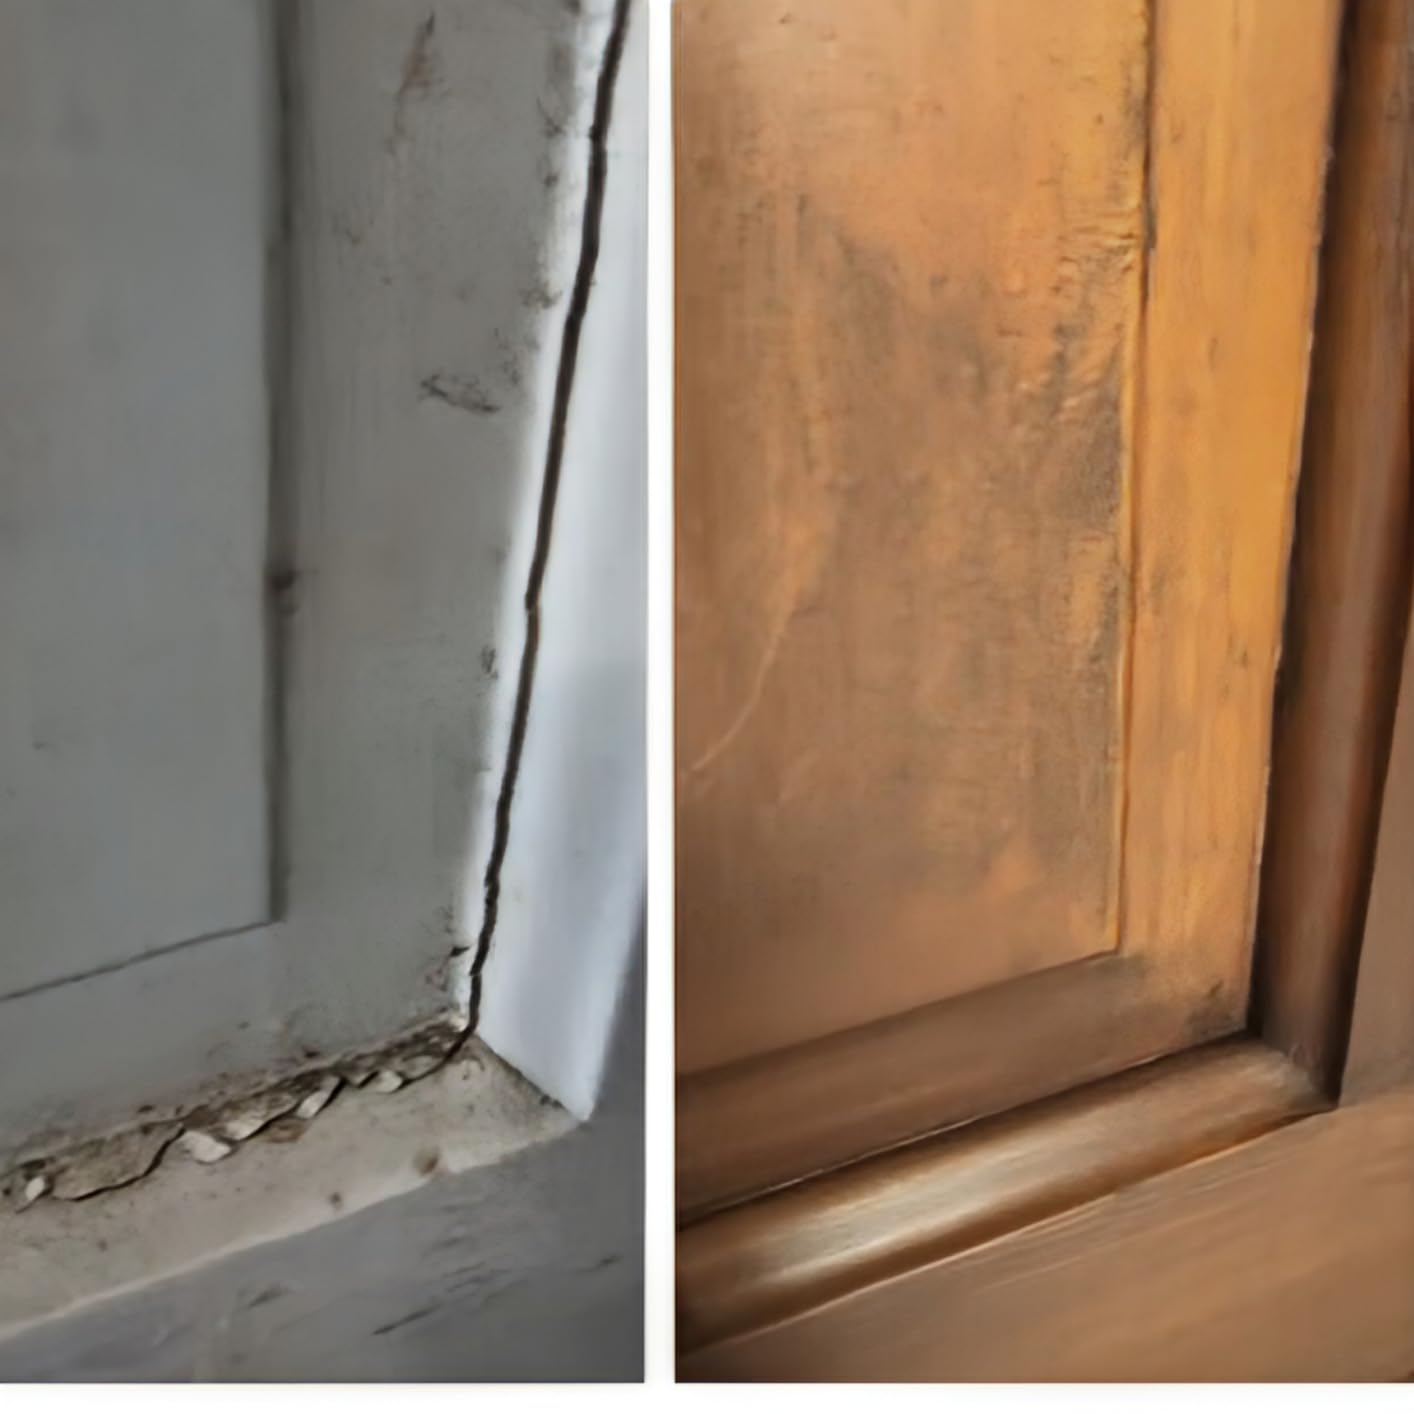
The system is simple. Cut sandpaper to size, wrap it around the padded profile, and sand. Because you supply your own abrasive, one set of grips works with every grit you own, from 80 for shaping to 320 for finish passes on trim, and the included pads ship at 180 grit.
The whole set weighs about a third of a kilogram and stores in a drawer, so it earns its keep on any restoration bench. POWERTEC also rates it for auto body, art, and craft work, which tracks with our experience using the convex grips to clean up body filler edges on a cabinet corner. Reviewers repeatedly describe it as a genuine time saver on furniture refinishing, and 83 percent rate it five stars.
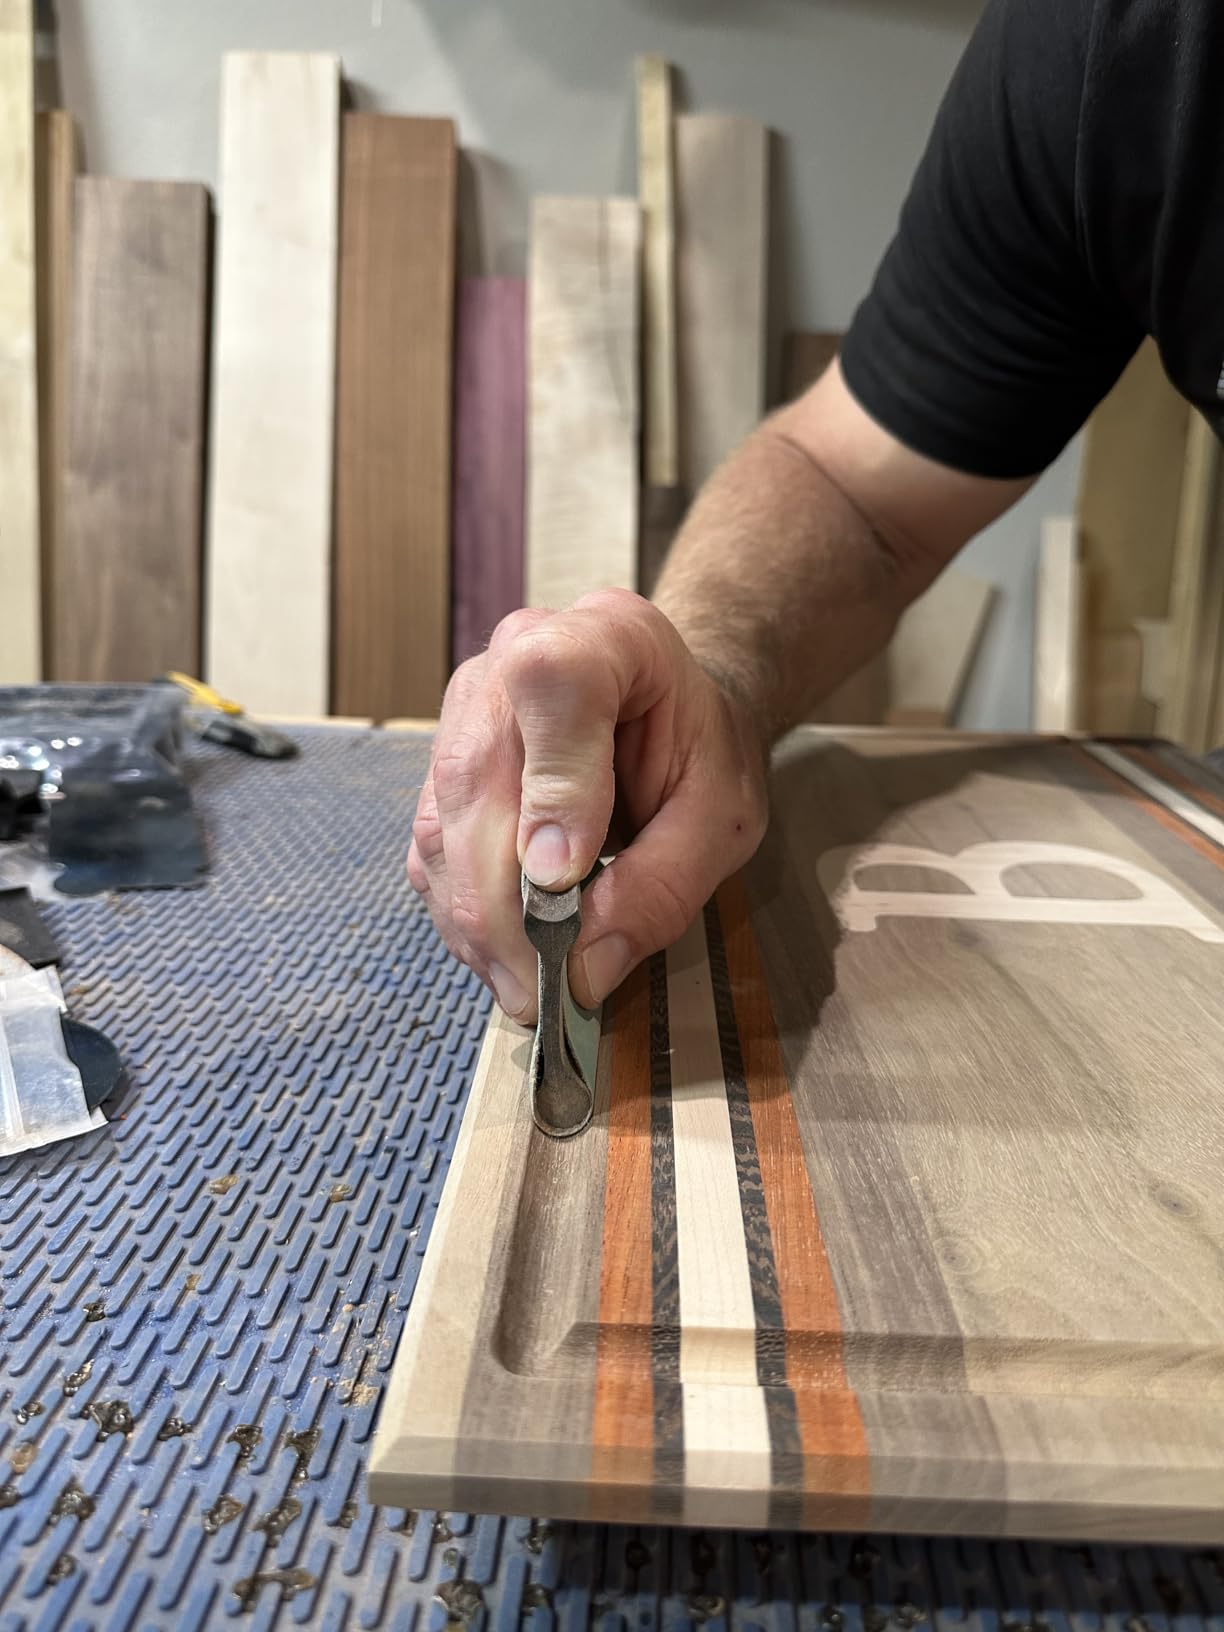
The tradeoff is stiffness. Some users, and we agree on flat sections, would prefer a firmer compound because the rubbery body flexes under heavy pressure.
For deep contours that flex is an advantage, letting the pad follow curves instead of cutting a flat facet into them. Treat it as a companion to your orbital sander rather than a replacement and the design makes sense.
Do the profiles fit arcade t-molding slots and routed corners?
Most of them, yes. The wedge and fine-radius ends slide along t-molding grooves to clean old adhesive and paint without widening the slot, which matters because t-molding barb spacing is unforgiving once a groove is enlarged.
For outside rounded corners, match the convex profile to the radius and sand along the curve rather than across it. We restored the rounded top corners of a cabinet this way and got a consistent surface that wrapped cleanly with new vinyl. On inside corners the concave profiles reach where a folded sheet of paper simply tears.
What sandpaper works with contour grips?
Any sheet or roll stock you can cut to size. We cut quarters from standard 9 by 11 sheets and found one quarter covers two to three profiles per session.
Hook-and-loop disc sheets are the upgrade if you sand profiles often, since you can pull and reposition them quickly. Whatever you use, keep the wrap tight over the profile, because loose paper shifts and leaves uneven scratch marks you will see under finish.
5. SKIL Multi-Function Detail Sander – Best for Control Panels
SKIL Corded Multi-Function Detail Sander with Micro-Filter Dust Box 3 Additional Attachments & 12pc Sanding Sheet- SR232301
1.2 amp motor
13500 OPM
4-in-1 design
3 attachments
Micro-filter dust box
Pros
- 1.2 amp motor at 13500 orbits per minute
- 4-in-1 versatility with 3 attachments
- Micro-filtration dust collection
- Hook and loop sheet changes
- Low vibration ergonomic grip
Cons
- Corded power limits mobility
- Only 12 sheets included
A detail sander is the tool I did not know I needed until the third cabinet. The SKIL multi-function unit pairs a 1.2 amp motor running 13,500 orbits per minute with three extra attachments, making it a 4-in-1 platform for the fiddly zones a 5 inch pad cannot enter.
Control panels are where it earns its keep. Between button holes, joystick shafts, and trackball openings there is very little flat real estate, and the pointed pad shape works into those gaps to scuff old paint and clean up rust rings around the button bores. We prepped a full panel in about twenty minutes.
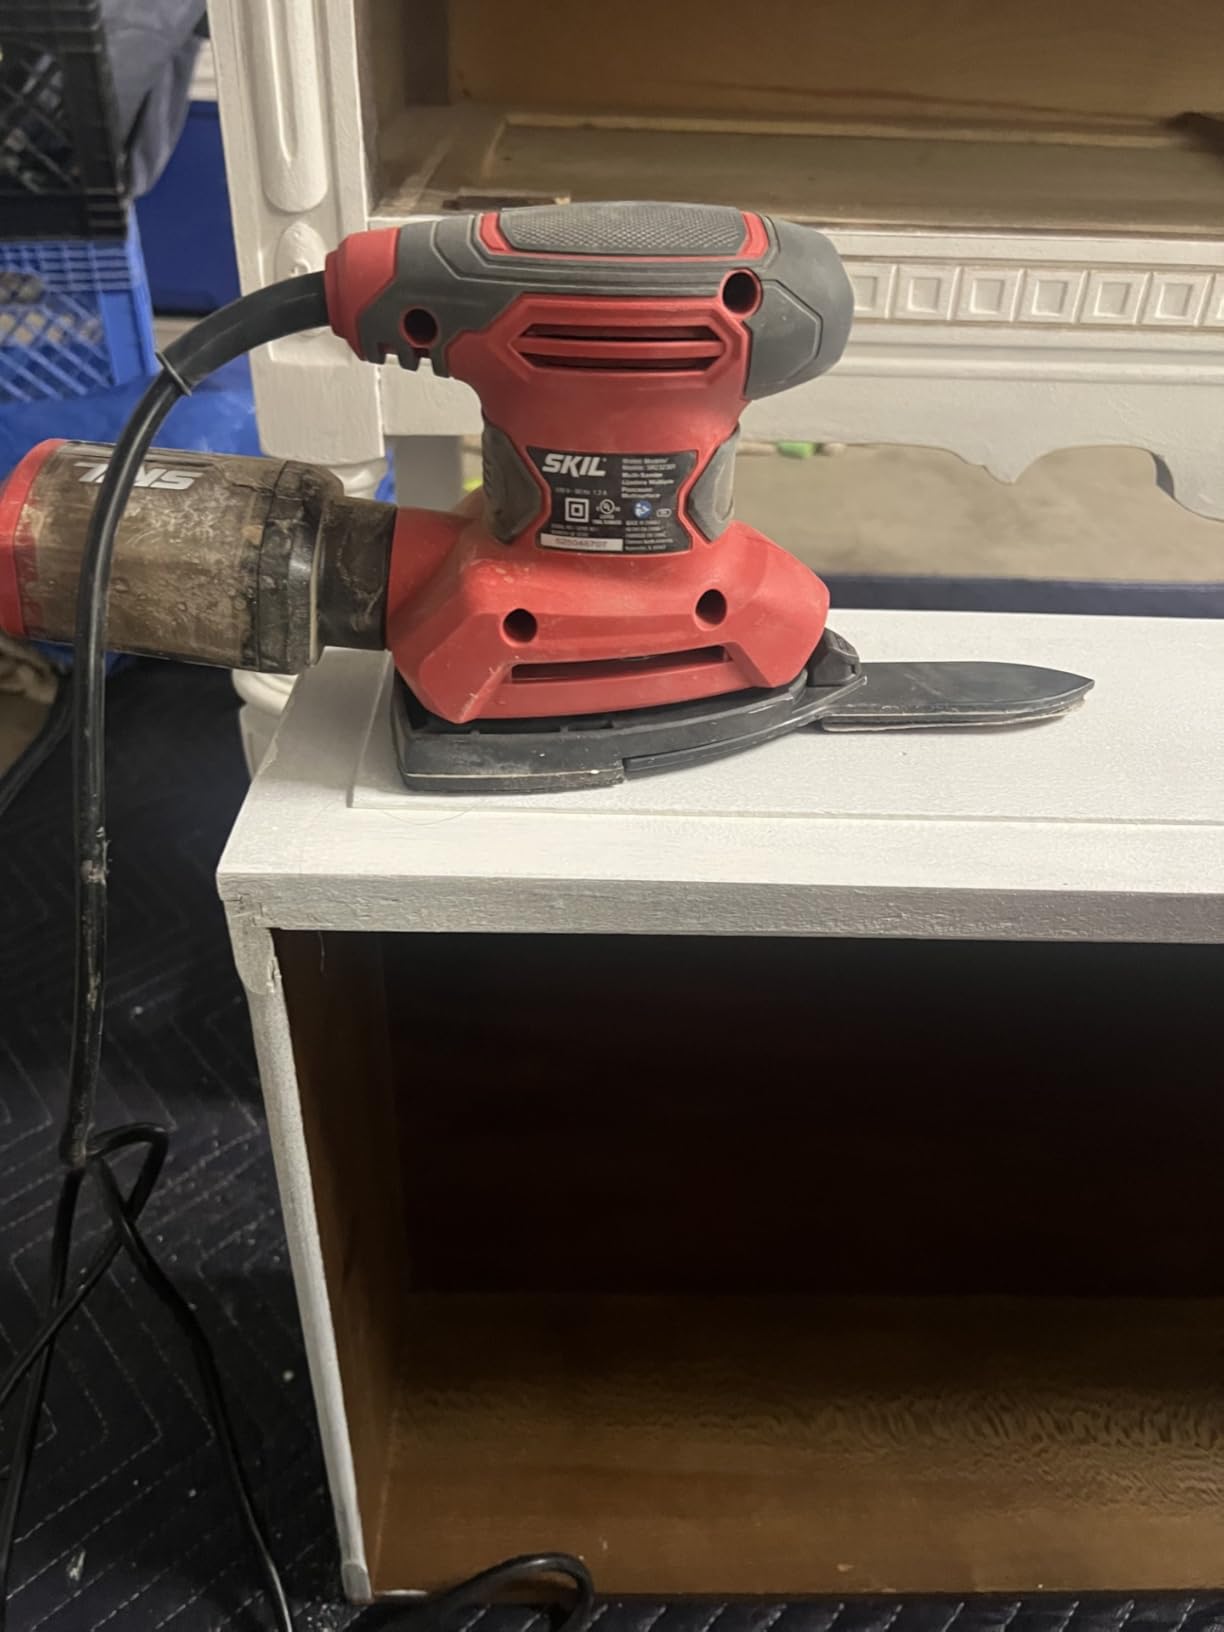
Dust management is better than expected for a small tool. The micro-filtration box catches the fine paint dust that detail sanding generates, and the 1-1/4 inch dust port accepts a shop vacuum hose for near-dustless work indoors. Hook-and-loop sheets swap in seconds when you step from 120 to 220 grit.
The three included attachments are what turn it from a corner sander into a cabinet tool, reaching recessed areas and shaped edges that would otherwise mean hand sanding. At 2.6 pounds with a soft rubber grip, vibration stays low enough for hour-long sessions without numb fingers. SKIL covers it with a one-year limited warranty.
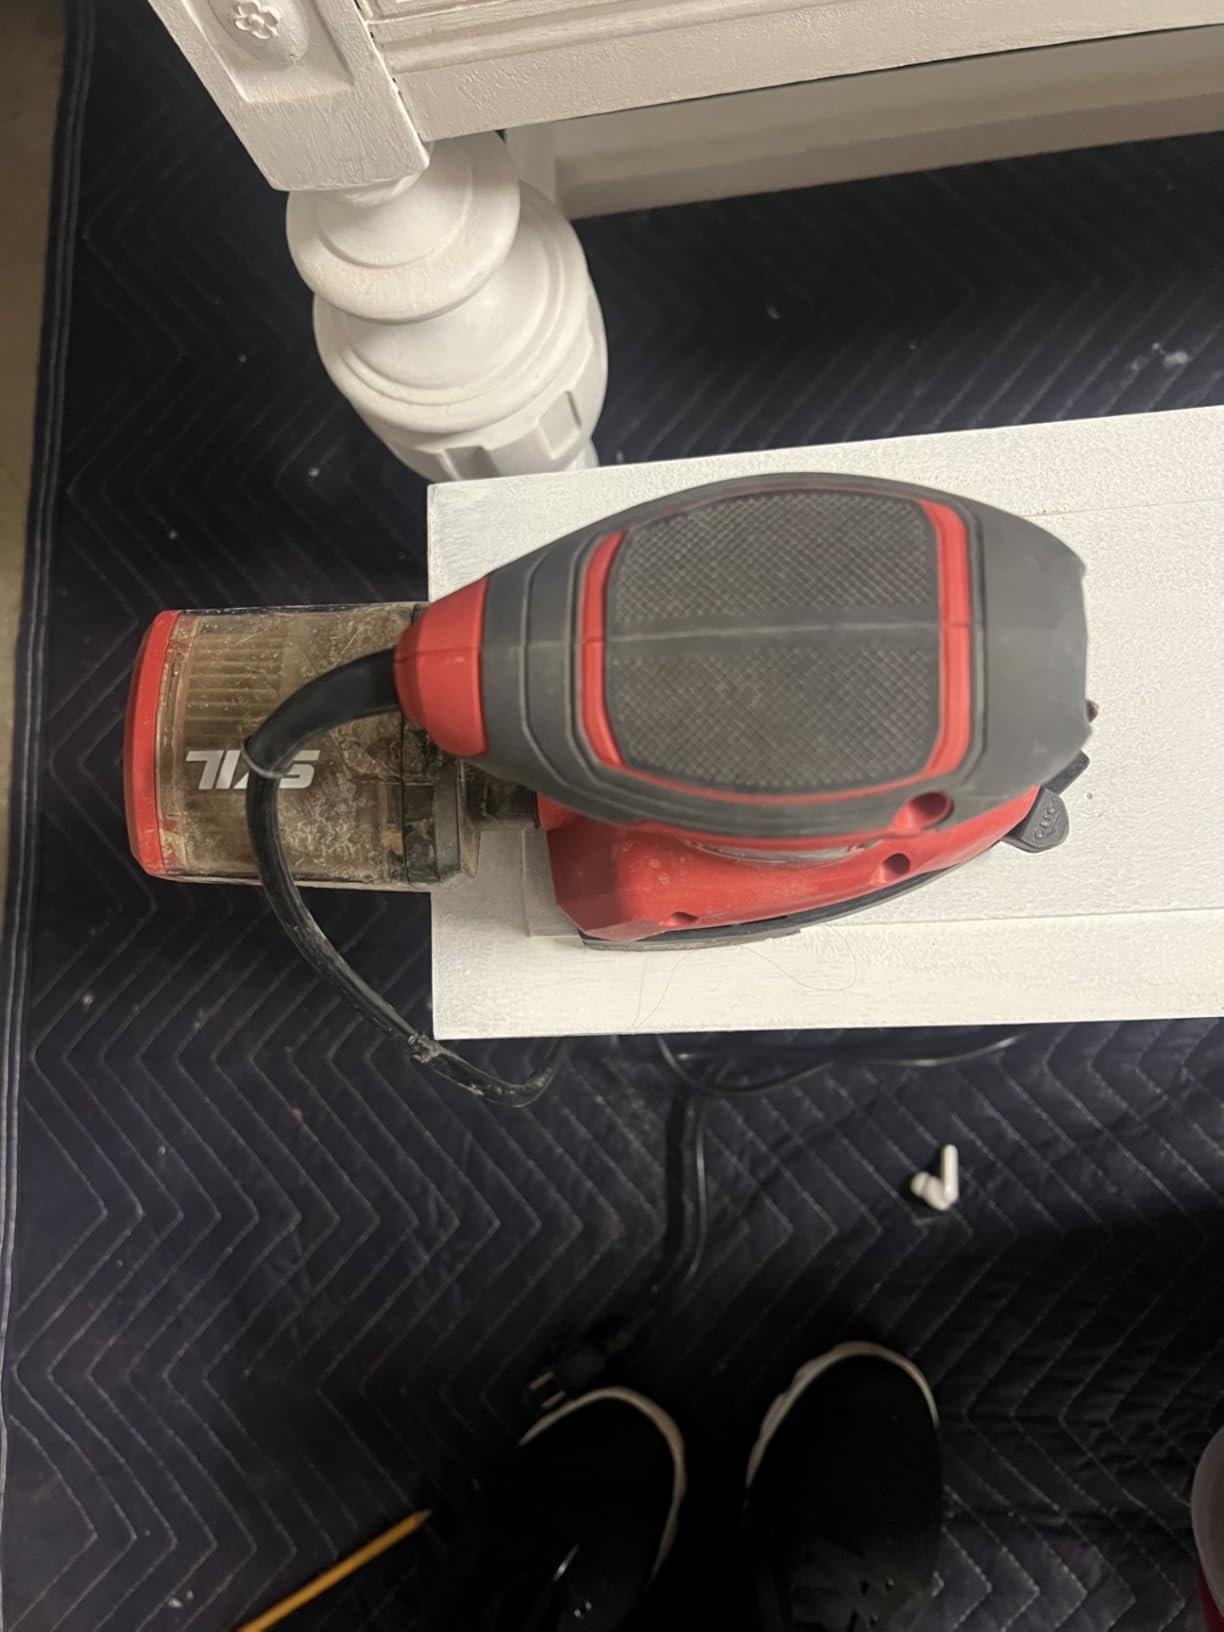
The catches are minor. It is corded, so plan your outlet layout before starting, and the box includes only twelve sheets, which a single panel-heavy restoration will outlast.
It ranks number one in its category with 6,988 reviews at 4.5 stars, a strong signal for a tool many people buy as a second sander. If your project list includes more than one cabinet, it stops being optional.
Is a detail sander worth it if you own an orbital already?
For arcade work, yes, because the two tools barely overlap. The orbital handles the big flats, while this one handles recessed bezel frames, coin door frames, marquee channels, and the area around t-molding where a round pad would chew the slot.
If you restore furniture with mostly flat surfaces, skip it and use sponges for corners. If you work on cabinets with routed trim, metal coin doors, and crowded control panels, it pays for itself in saved hours. Our panel prep time dropped by more than half once this entered the rotation.
How does it handle coin doors and control panels?
On steel coin doors it works well with 220 grit to knock down rust and old paint before a metal primer. Keep the pad moving, since dwelling in one spot on thin steel builds heat and can burnish rather than cut.
On control panels, pull the buttons and joysticks first rather than sanding around them. With the hardware out, the detail sander plus a few sponge grits gets into the bores and leaves the panel ready for primer. Working around installed buttons always leaves a ring of unsanded crust that shows through paint.
6. Smart ‘n Easy Paint and Varnish Remover Gel – Best Chemical Strip
Smart ‘n Easy Paint & Varnish Remover Gel – Do It Yourself Friendly Paint Remover – Strips Multiple Layers of Acrylic, Latex, Oil & Water-Based Paints & Varnishes – 32oz
Half gallon
Water-based gel
Citrus scent
No caustic chemicals
Pros
- Strips acrylic latex oil and water paints
- Water-based with no caustic chemicals
- Citrus scent with low odor
- Typically works in a single application
- Safe enough for DIY indoor use
Cons
- Thick old layers need repeat applications
- Dries out unless covered with plastic
Some cabinets should not be sanded at all, and that is where this gel from Dumond Chemicals comes in. Any cabinet built before the mid-1980s may carry lead-based paint, and chemical stripping keeps that hazard out of the air instead of grinding it into breathable dust.
The water-based formula contains no caustic chemicals, does not burn skin on contact, and carries a citrus scent instead of the solvent wallop of old-school strippers. We tested it on a cabinet side carrying what appeared to be three generations of paint, and the gel clung to the vertical surface without sagging off.
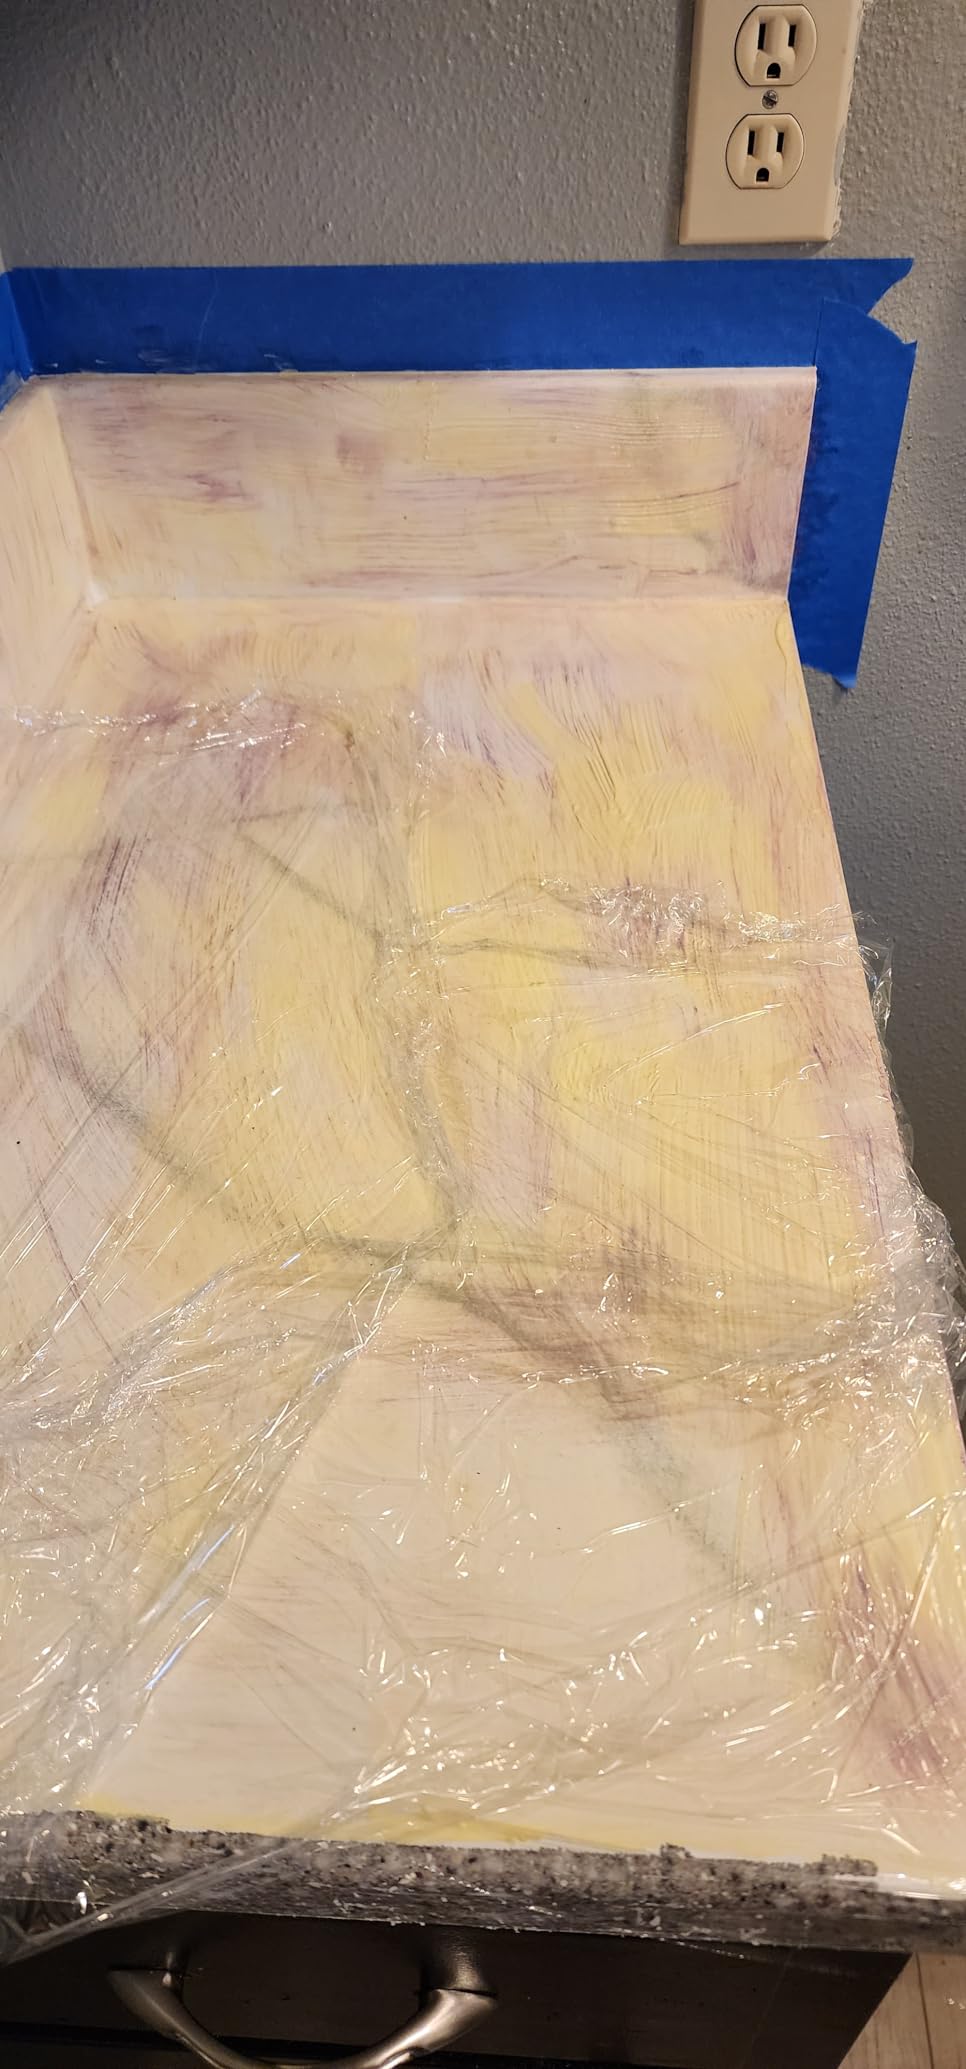
Application is a three-step rhythm: brush on, wait, scrape. On our test panel the acrylic topcoat lifted in a single application within a couple of hours, sliding off the squeegee in ribbons. It removes acrylic, latex, oil, and water-based paints along with varnishes and stains, so mixed-finish cabinets do not need two different products.
Beyond cabinets, the maker lists it for wood furniture, decks, brick, stone, plaster, fiberglass, and concrete, and it ships in sizes from 32 ounces up to a 640 ounce pail for multi-cabinet jobs. The half-gallon jug we tested was enough for two full cabinet sides plus a control panel. Contractors and first-timers use the same product, which says something about how forgiving it is.
Where it struggles is exactly where the 4,227 reviewers say it does. Thick, decades-old oil enamel needed a second and third pass, and the gel dries out if left uncovered, so lay plastic wrap over the work to keep it active.
Patience is genuinely the only skill required. It ranks sixth in the Paint Strippers category, which is strong standing for a product this specialized.
Will it strip an old cabinet without wrecking MDF?
Yes, with controlled dwell times and dry scraping. Because the formula is water-based rather than solvent-based, it does not dissolve adhesive lines the way harsh strippers can, and it did not swell our MDF edges when we kept the dwell under four hours and scraped clean before any wiping.
Two rules protect the substrate. Scrape with plastic or wood blades rather than steel, and wipe residue with a barely damp rag rather than a wet one. If the cabinet is particleboard rather than MDF, test a hidden spot first, because cheaper cores drink moisture faster.
How long should the gel sit on decades-old paint?
Start at two hours for single-layer acrylic and extend from there. Wrinkling and bubbling at the surface is your signal that the bond has broken and it is time to scrape.
On our worst panel, three layers of old enamel needed an overnight dwell under plastic wrap plus a second application. It sounds slow, but it is hands-off time you can spend sanding other parts. Anything beyond a full day adds little, so remove what has lifted and reapply rather than waiting indefinitely.
7. Gorilla All Purpose Wood Filler Kit – Best for Chewed Edges
Gorilla All Purpose Wood Filler Kit, with Putty Knife and Sanding Block
8 oz filler
3 inch putty knife
Sanding block
Shrink and crack resistant
Pros
- Strong durable repairs for gouges and holes
- Shrink and crack resistant
- Stainable paintable and sandable
- Interior and exterior use
- Includes putty knife and sanding block
Cons
- Some tubs arrive dried out
- May need water to restore consistency
Bottom edges and back corners take the most abuse in an arcade’s life, and this kit exists for them. You get an 8 ounce tub of acrylic wood filler, a 3 inch putty knife, and a sanding block, which is the complete triage set for the damage route operators never fixed.
We rebuilt a badly chipped bottom back edge, roughly a 6 inch span of missing material, in two passes. The filler spread smoothly off the knife, feathered into the surrounding MDF, and hardened without the shrink-cratering that plagues cheaper fillers. Next day it sanded easily with the included block to a surface indistinguishable from the substrate.
The performance claims held up under paint. It sands without clogging, takes primer and acrylic evenly, and because it is rated water resistant for interior and exterior use, it suits cabinets that live in garages or damp basements.
Gorilla also rates it for staining, which matters if you are patching a natural wood cabinet rather than painting one. Repairs are described as shrink and crack resistant, and ours held a crisp sanded edge through priming and two finish coats without a single callback. It currently ranks first in its category.
The known issue is freshness. A share of the 1,543 reviewers received tubs that had dried out in storage, and our first tub arrived stiff enough to need a splash of water kneaded in.
Order from a high-turnover listing and check the consistency as soon as it arrives. Once opened, keep the lid seated tightly between sessions.
Gorilla filler or body filler for cabinet corners?
For deep structural rebuilds on edges that take impact, body filler is the forum favorite because it cures rock hard and machines cleanly. One restorer’s thread describes sanding body filler with 120 then 220 to a factory-flat edge, and that matches our results on a shattered corner.
Gorilla wood filler wins everywhere else. It is easier to apply, needs no catalyst mixing, sands with less effort, and is far more forgiving for first-timers. Our approach: body filler for missing chunks bigger than a coin, acrylic filler for gouges, screw holes, and veneer checks.
How far does one 8 oz tub go on a cabinet?
For a typical restoration, one tub is enough. Filling screw holes from a removed lockbar, edge chips along the bottom, and scattered gouges across two cabinets consumed under half of ours.
Deep losses are the exception. A missing corner rebuild can eat a quarter of the tub across two layered passes, so if your cabinet has rot along a full bottom edge, grab a second tub or switch to body filler. Fill in layers no thicker than a quarter inch to avoid trapped soft spots.
8. REALINN 28 Piece Wood Repair Kit – Best for Touch-Ups
REALINN Wood Furniture Repair Kit- Set of 28 – Touch Up Markers
28 pieces
12 filler colors
8 markers
Wood putty and wax
Brushes included
Pros
- 12 filler colors and 8 marker colors
- Easy apply and scrape process
- Handles scratches chips and holes
- Color mixing tips for custom shades
- Includes brushes putty and sandpaper
Cons
- Not for large structural repairs
- Colors need experimenting to match
Not every cabinet needs a full respray. Plenty of restorations end with a good cleaning, a scuff, and this 28-piece touch-up kit handling the dings, and that is a legitimate way to preserve original finish. The set packs 12 wax-style fillers, 8 markers, wood putty, beeswax, two brushes, two sandpaper sheets, a sponge, and a scraper.
We used it on a cabinet with sound original sides but a career’s worth of move damage around the edges. The workflow is genuinely simple: press matching filler into the ding, slice the excess with the scraper, then blend with the marker. Small scratches took under a minute each.
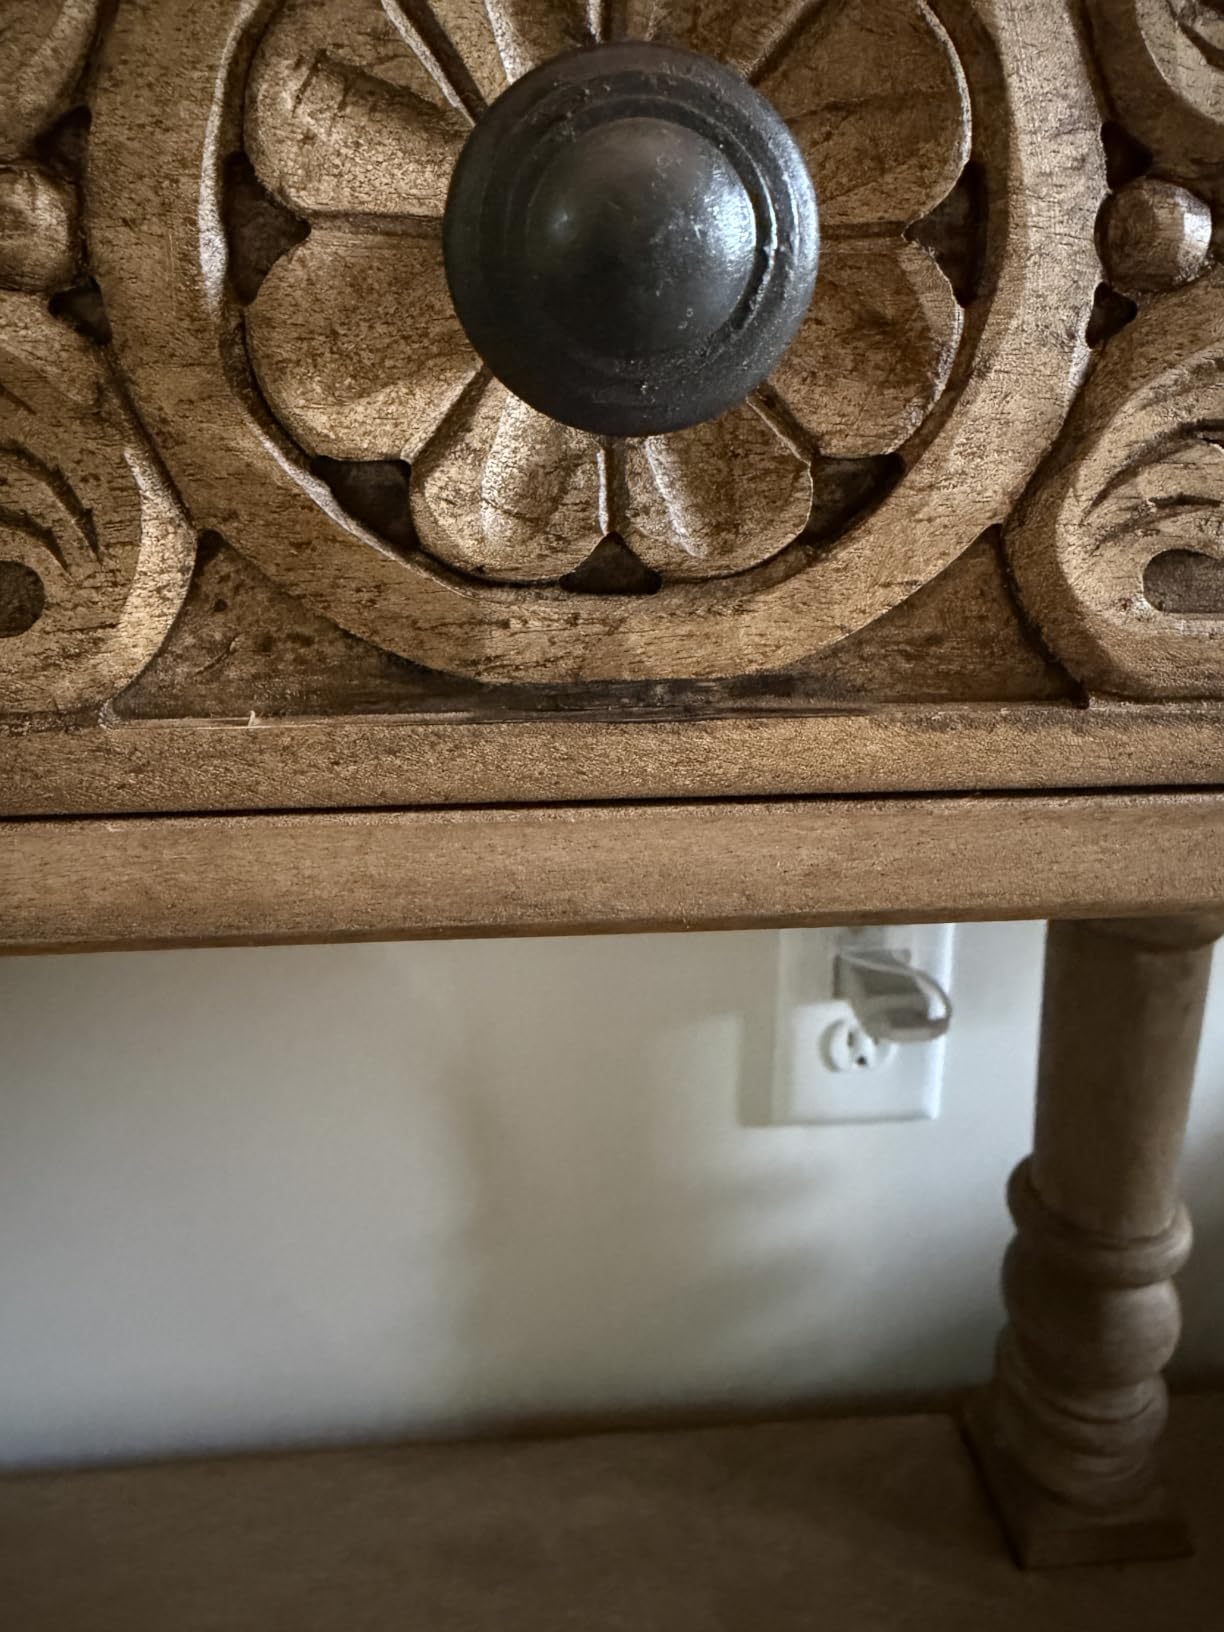
The color range is the selling point. Twelve fillers from White and Light Gray through Yellow Teak, Red Cherry, Cedar, Dalbergia, and Walnut cover most veneer tones found on 1970s and 80s cabinetry, and the eight markers handle grain-line touch-ups.
Where a single color misses, mixing gets you a custom blend, and REALINN includes mixing tips for exactly that. The two sandpaper sheets and sponge are fine finishing grades, sized for feathering a repair rather than stripping a panel. Everything packs into one box that lives happily in a restoration toolbox.
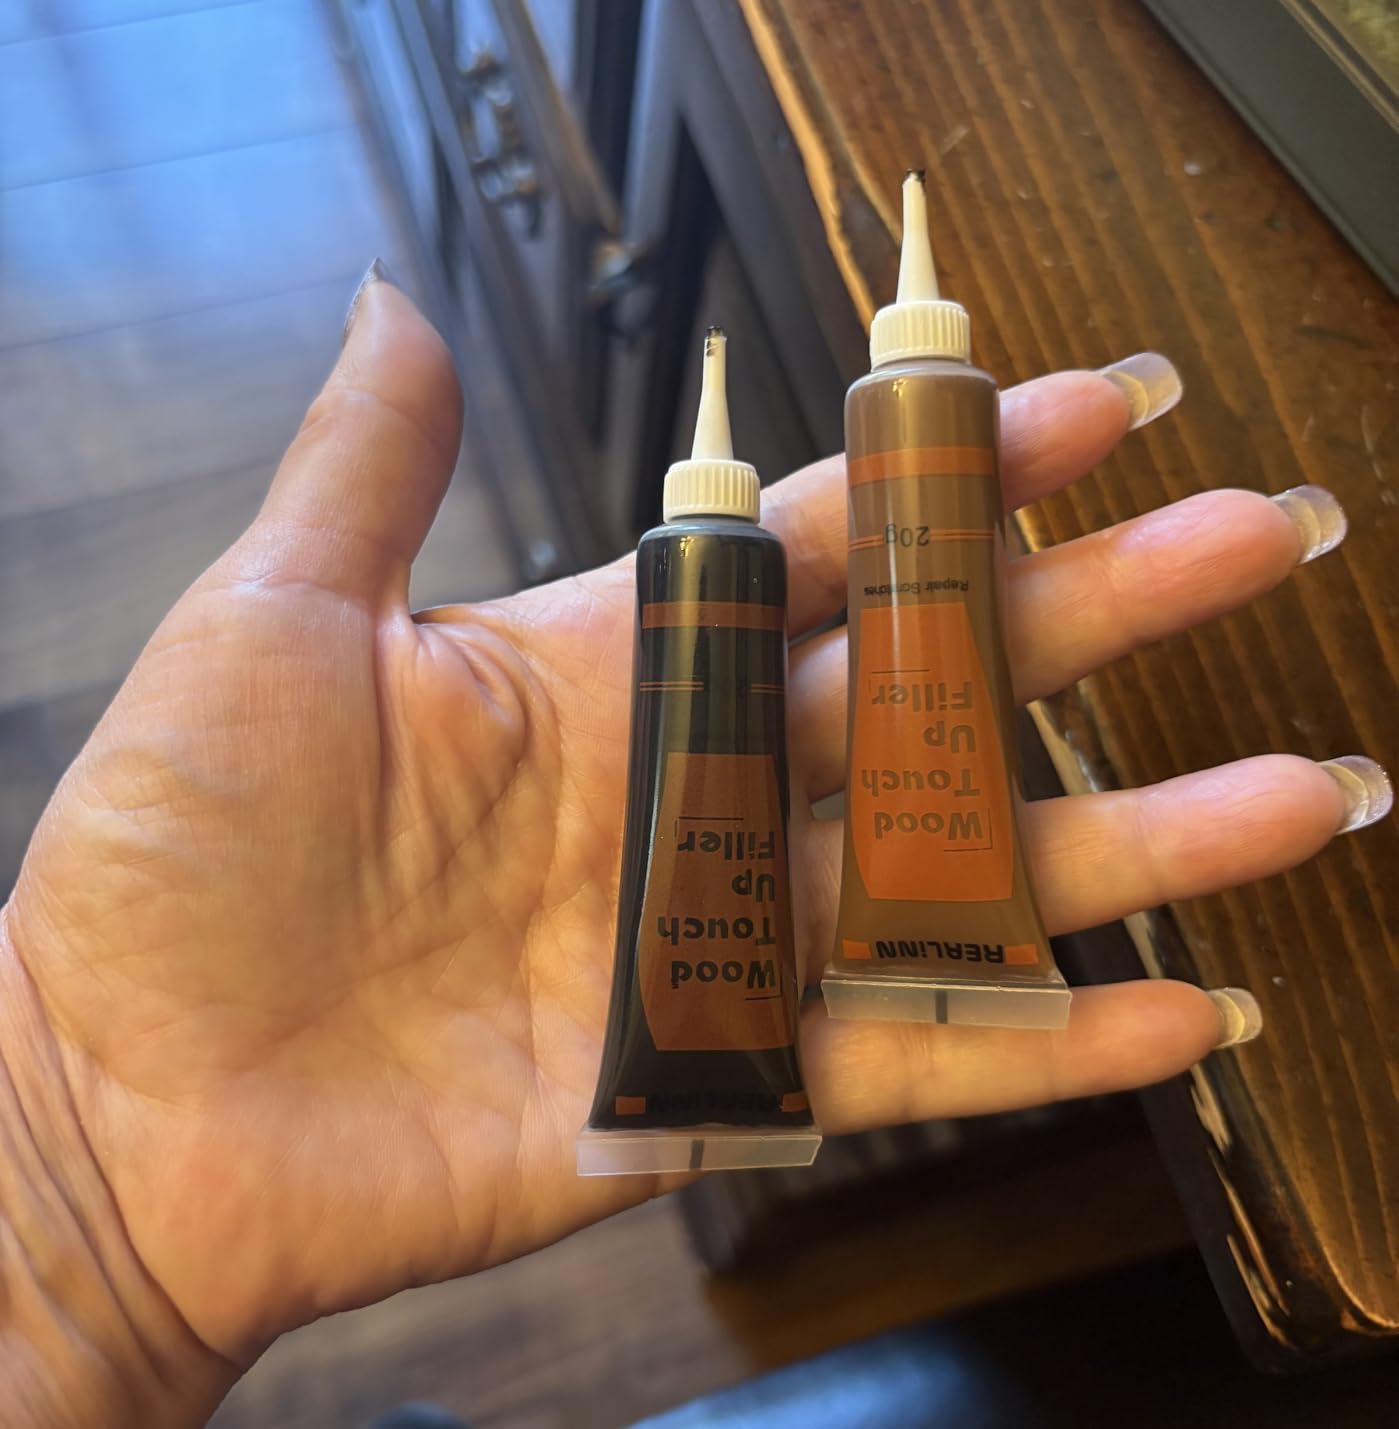
Set expectations correctly, because the 2,324 reviewers at 4.3 stars are consistent about scope. This is cosmetic repair, not structural, so a flexing corner or crumbling edge still needs real filler from the Gorilla kit. Note also that the color mixing chart is not included in the physical kit, so save it from the listing before you start.
Can these colors match 1980s cabinet veneers?
Usually after some blending. Original veneers have yellowed for decades, so the straight Walnut filler often reads too red against a faded cabinet side, while mixing Walnut with a touch of Yellow Teak lands close.
Test on a scrap of similar wood or inside the cabinet’s back panel before committing to a visible face. Restorers on the forums also suggest sealing wax fills with a drop of clear finish, since bare wax can smear if a cleaning cloth rubs it repeatedly. Markers blend best applied in short grain-direction strokes rather than one long line.
Is this a real repair or just cosmetic cover-up?
It is a surface repair that stabilizes small damage and hides it well. The filler fills the void so the ding no longer collects grime, and the color hides it visually, but it will not restore strength to a compromised edge.
Think of it as the final ten percent of a restoration rather than a substitute for prep. After sanding, filling major damage, and refinishing, this kit is what makes the last few dings disappear. Used that way it is one of the handiest small purchases in the hobby.
9. Howard Restor-A-Finish – Best No-Sand Original Finish Saver
Howard Products Restor-A-Finish, Wood Stain to Restore a Finish for Wood Surfaces, Golden Oak, 16 Fl Oz, Pack of 1
16 fl oz
9 wood tones
Wipe-on formula
Use with 0000 steel wool
Pros
- Blends out white rings and watermarks
- Simple wipe-on wipe-off process
- Preserves the original finish
- 9 colors to match wood tones
- Long-lasting blended results
Cons
- Cannot fill chips or gouges
- Cannot lighten a dark finish
- Solvent rags need careful disposal
Some cabinets deserve conservation instead of refinishing, and this is the conservator’s tool. Howard Restor-A-Finish is a wipe-on stain blend that re-dissolves and evens an existing finish, erasing white heat rings, watermarks, oxidation, and minor scratches without stripping anything.
Our test case was a cocktail table with a ring-marked oak exterior and completely original art underneath. A cloth dampened with the Golden Oak shade, worked over the rings with 0000 steel wool, made years of cup marks fade and the surrounding finish re-wet into one even tone. Nothing was sanded off, so nothing original was lost.
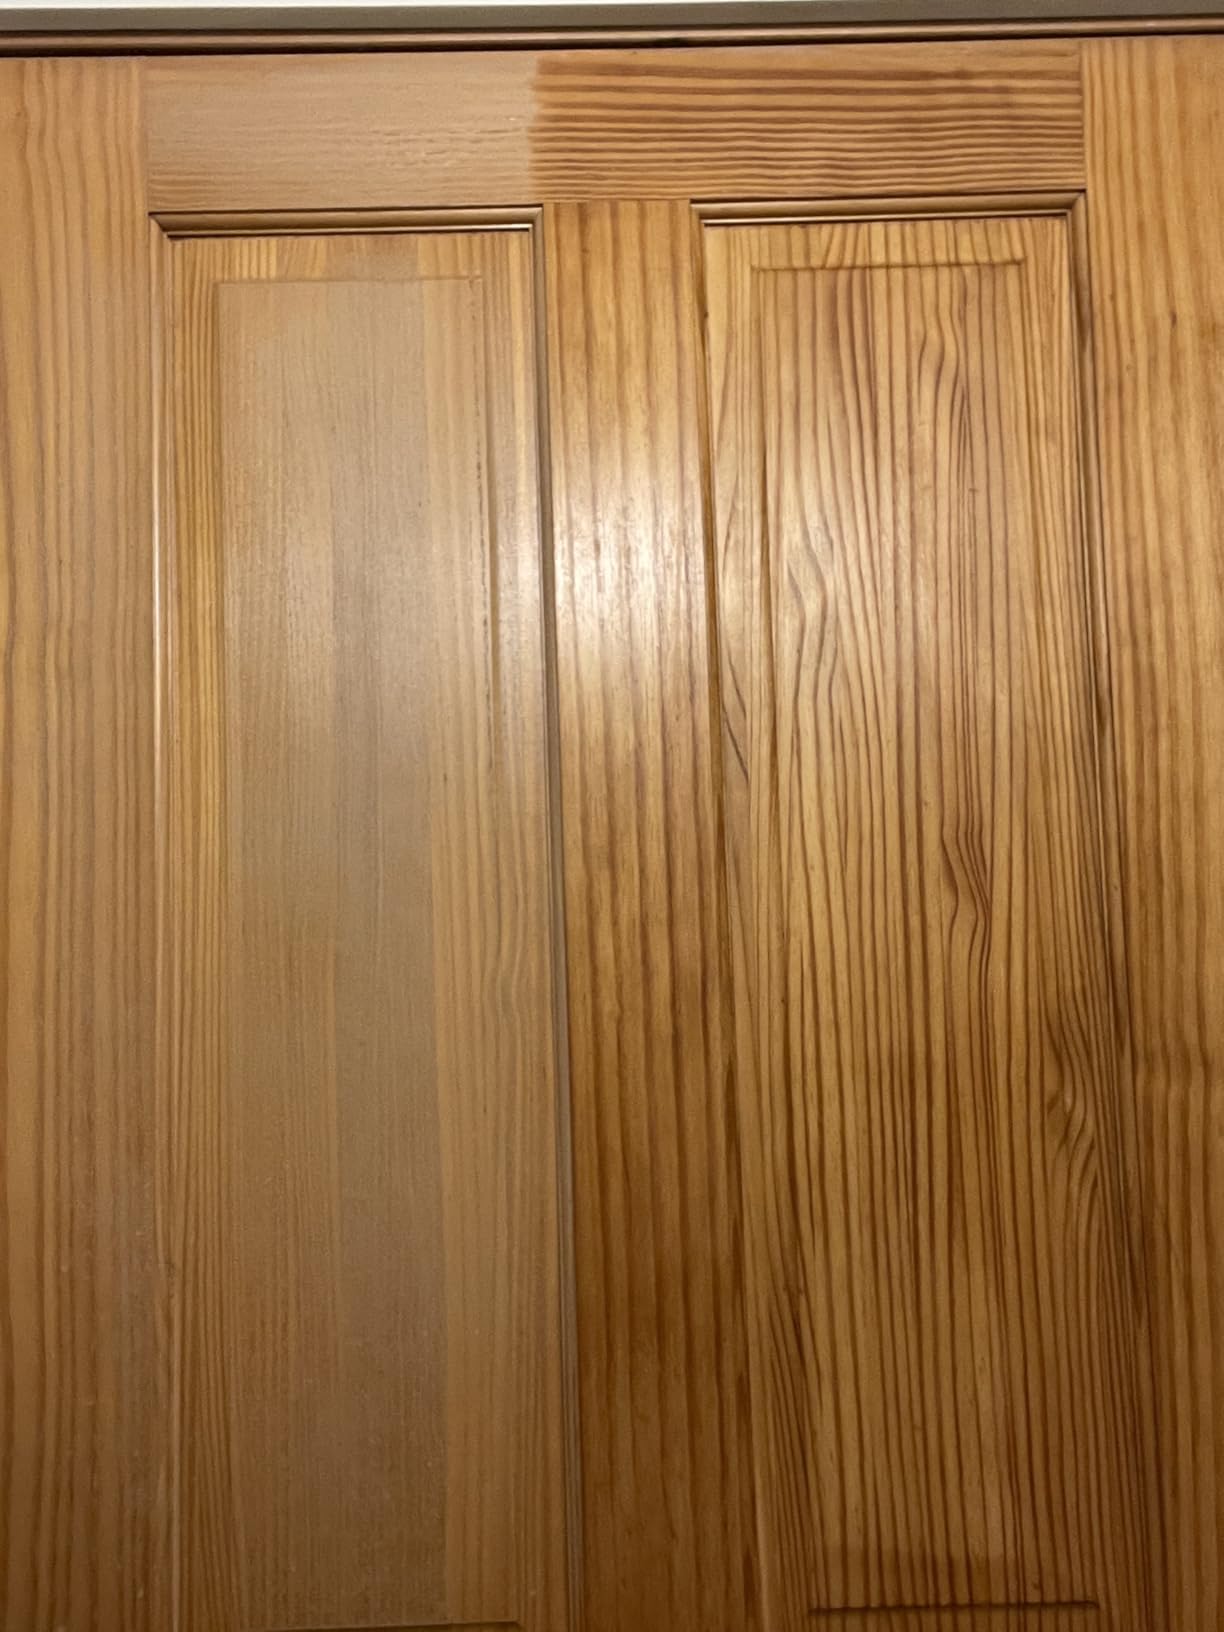
It comes in nine tones from Neutral through Maple-Pine, Golden Oak, Cherry, Walnut, Mahogany, Dark Walnut, Dark Oak, and Ebony Brown. Because it re-dissolves finish rather than coating over it, the tone blends instead of sitting on top, which is why the result does not look painted on.
The process is wipe-on, wipe-off, with 0000 steel wool doing the gentle agitation, and a 16 ounce bottle covers far more cabinet surface than a single project demands. Howard recommends following it with a furniture polish to feed the renewed finish, and our cocktail table still looked right months later with no reapplication. That longevity is why it ranks 26th in its category with 4,377 reviews at 4.5 stars.
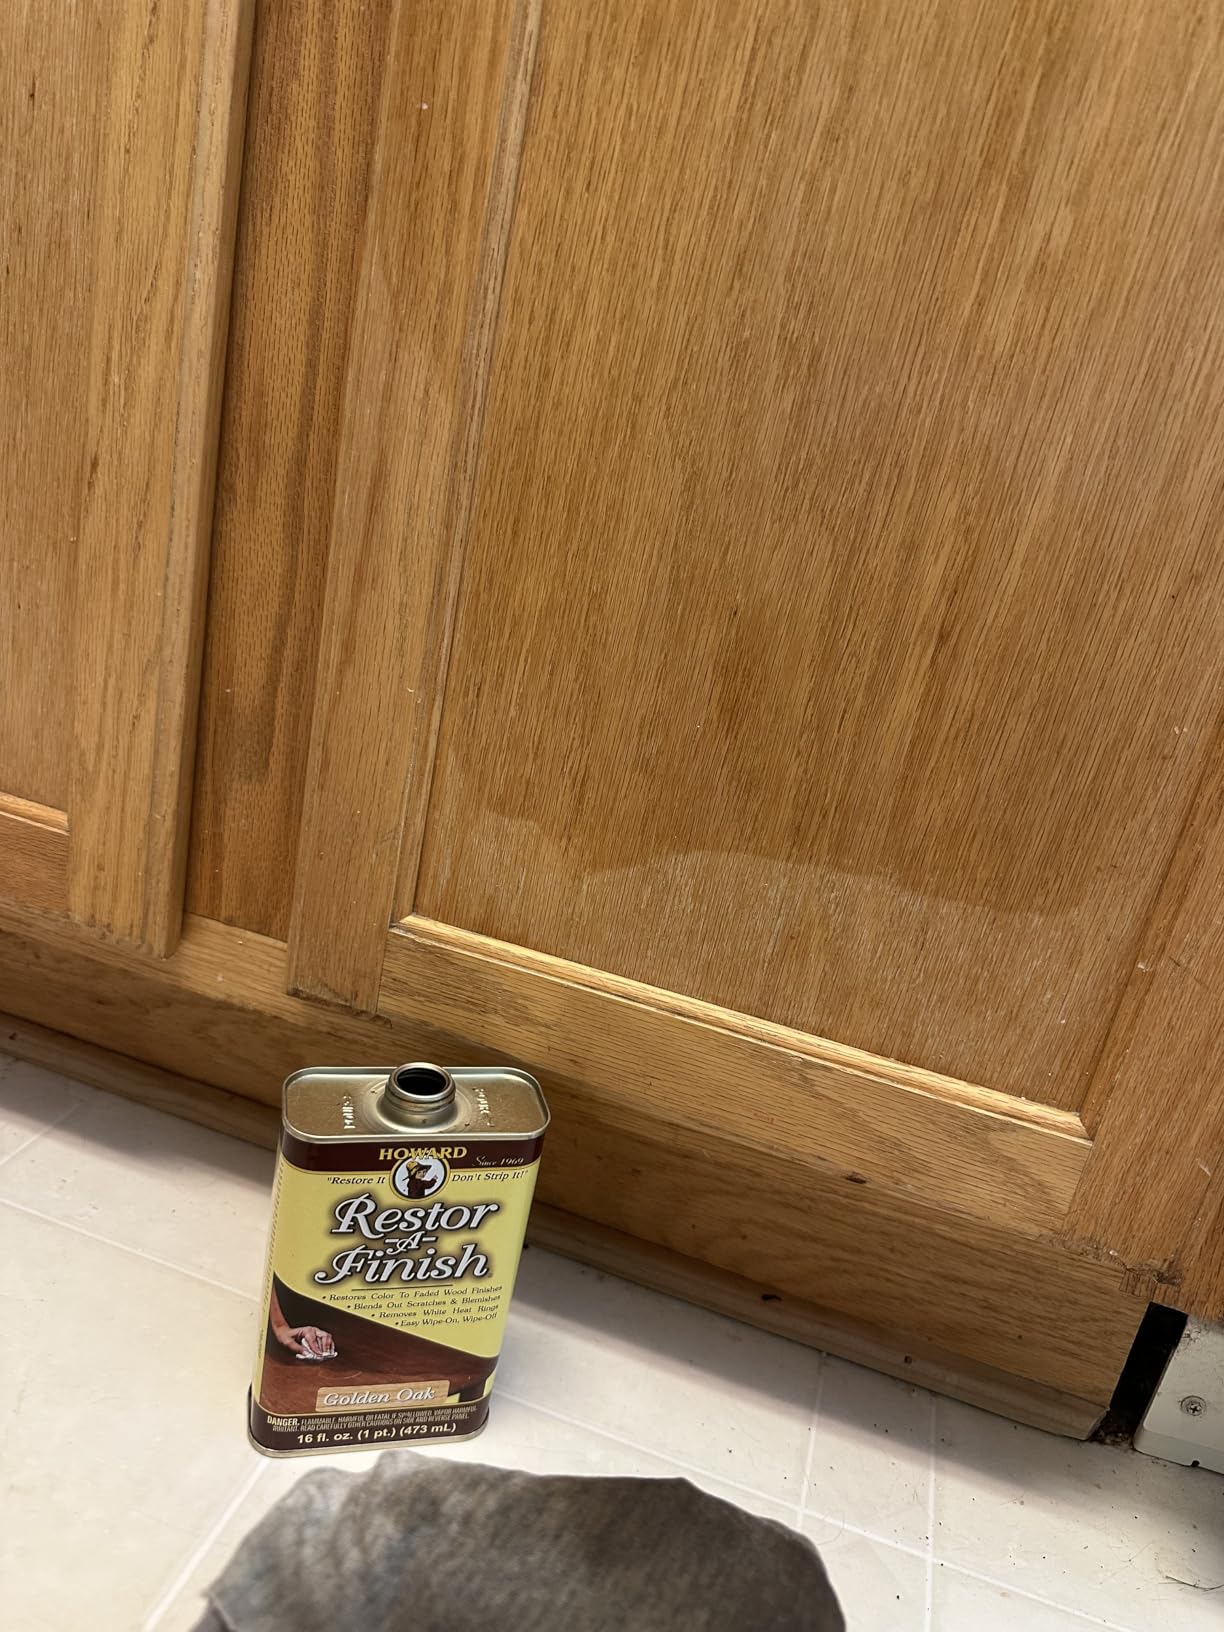
The limits are clearly defined. It cannot fill chips or gouges down to bare wood, those still need filler, and it cannot take a dark cabinet lighter, since you are working with the existing finish rather than replacing it.
One safety note worth repeating: rags soaked with this product retain solvent and can self-ignite, so dry them flat outdoors or submerge them in water before disposal. Handle that correctly and it is a remarkable product for original-finish cabinets.
When should you restore instead of repainting a cabinet?
Restore when the original finish and artwork are at least 80 percent intact and the damage is discoloration, rings, and light scratches. If the art is complete and the issues are cosmetic, repainting destroys collectible originality for a modest visual gain.
Repaint when the finish is flaking wholesale, the substrate has structural damage, or the cabinet was already painted over by a past operator. A cabinet that has already lost its art has nothing left to conserve, and a full refinishing kit is the honest path. Deciding this before you buy anything saves the most money in this hobby.
Which color should you choose for a golden oak cabinet?
Match the lightest wood tone on the cabinet, not the darkest, and when in doubt go one shade lighter than you think. A tone slightly lighter than the surrounding finish blends in as it re-wets, while a shade too dark leaves a visible patch.
Neutral is the safe opening move for first-time users since it adds no color at all, only re-dissolves and clears the existing finish. Step up to Golden Oak when the wood needs its tone refreshed as well as its finish revived. Test inside the cabinet first, as always.
10. Rust-Oleum Cabinet Transformations Kit – Best Complete System
Rust-Oleum Cabinet Transformations Complete Coating Kit, Espresso
32 oz system
Degreaser + bond coat + top coat
100 sq ft
Satin Espresso
Pros
- Complete degreaser bond coat and top coat system
- Adheres to wood laminate melamine and metal
- Scratch resistant protective top coat
- Covers up to 100 sq ft
- Ready for use in 24 hours
Cons
- May need multiple coats
- Topcoat can bubble if applied wrong
This is the only boxed system on the list that puts every chemical step in one carton. Inside you get a Krud Kutter cleaner and degreaser, a bond coat in Satin Espresso, and a protective top coat, which is degrease, color, and seal in a single purchase with instructions sized for a 100 square foot project.
We ran it on a plywood cabinet with decades of hand grease baked into the front panel, and the degreaser step proved why kits include it. Forum restorers repeatedly stress that degreasing before sanding decides adhesion, because sanding over grease just drives it into the grain. The bond coat covered in two rolls and the top coat sealed with a satin sheen close to original factory finishes.
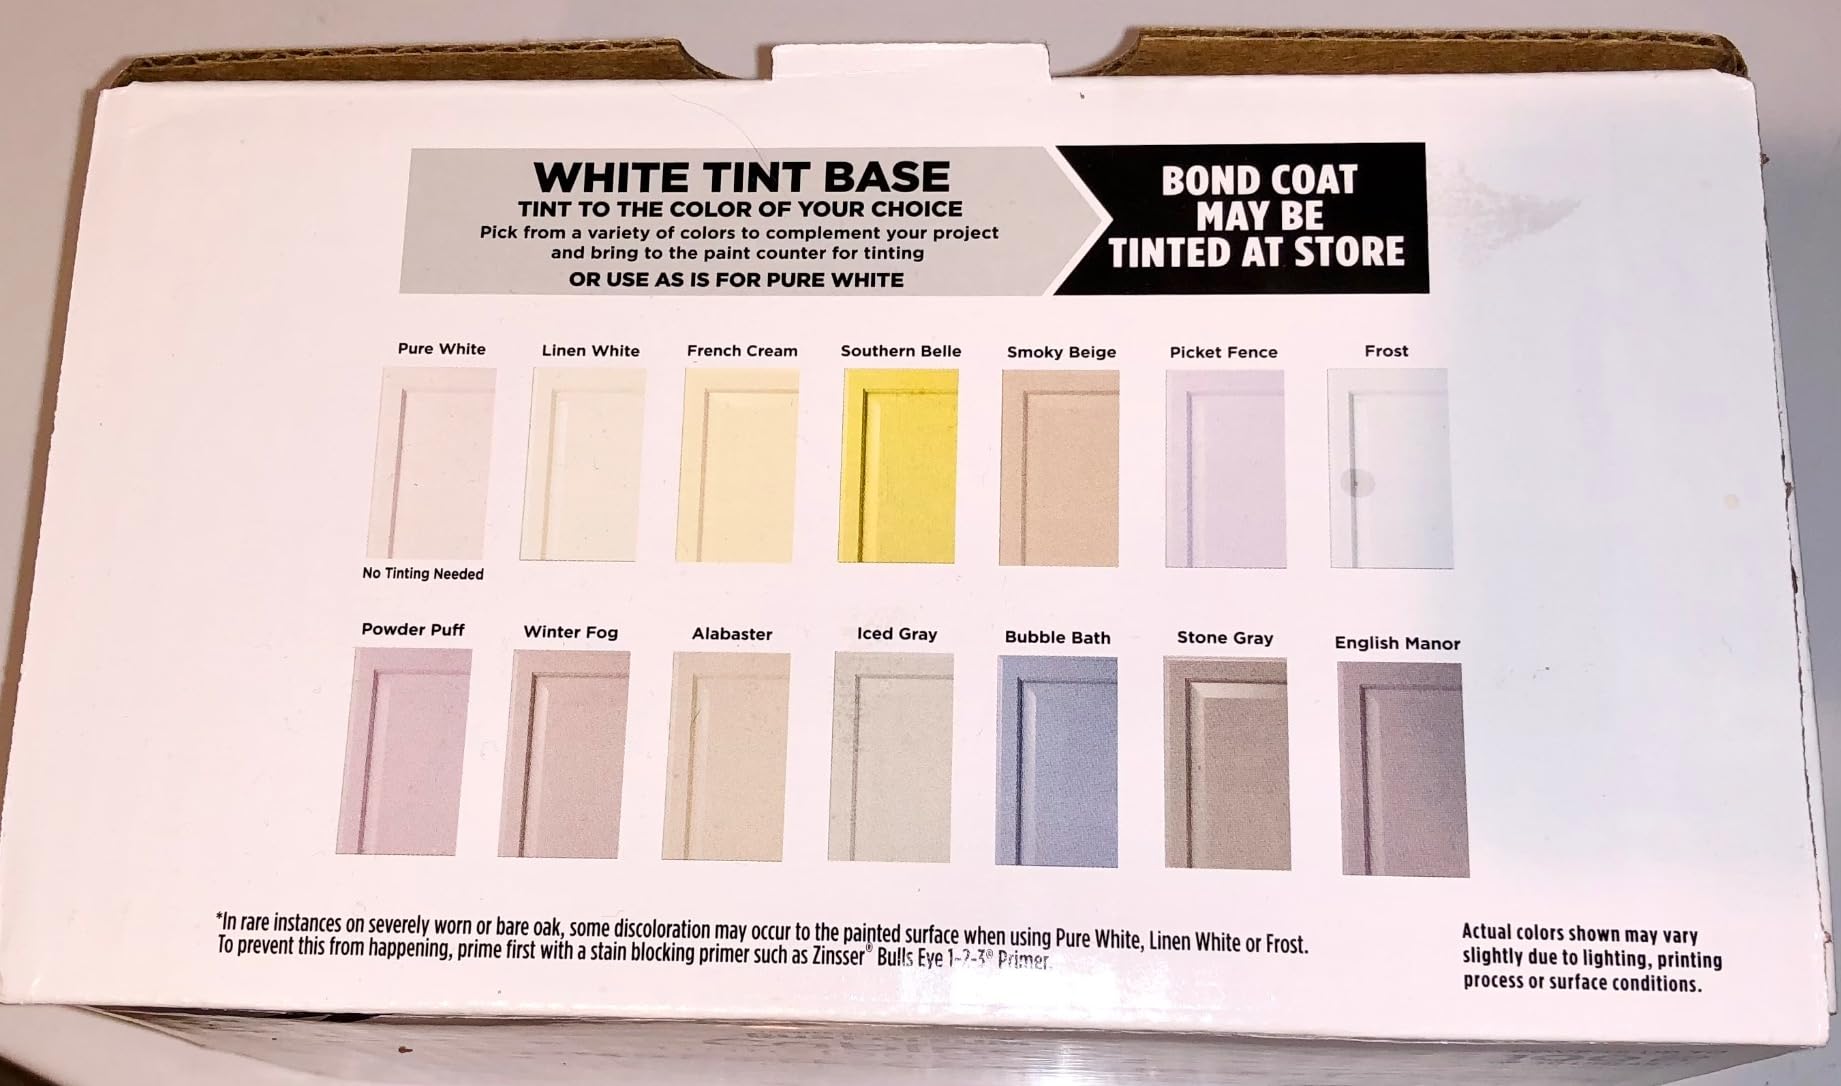
Multi-surface adhesion is the arcade-relevant spec, since it lists wood, laminate, melamine, and metal. That covers cabinet boxes, laminate sides, and steel coin doors from one system. Surfaces are ready for normal handling after 24 hours, with a full cure at seven days.
The protective top coat is what separates this system from single-can paint jobs, adding scratch and stain resistance that matters on a cabinet people lean on and set drinks against. One 32 ounce kit covers up to 100 square feet, the same footprint as the Giani system, so a standard upright fits with room for extra coats on the front panel. For a first-time restorer who wants one box and one instruction sheet, that simplicity is worth a lot.
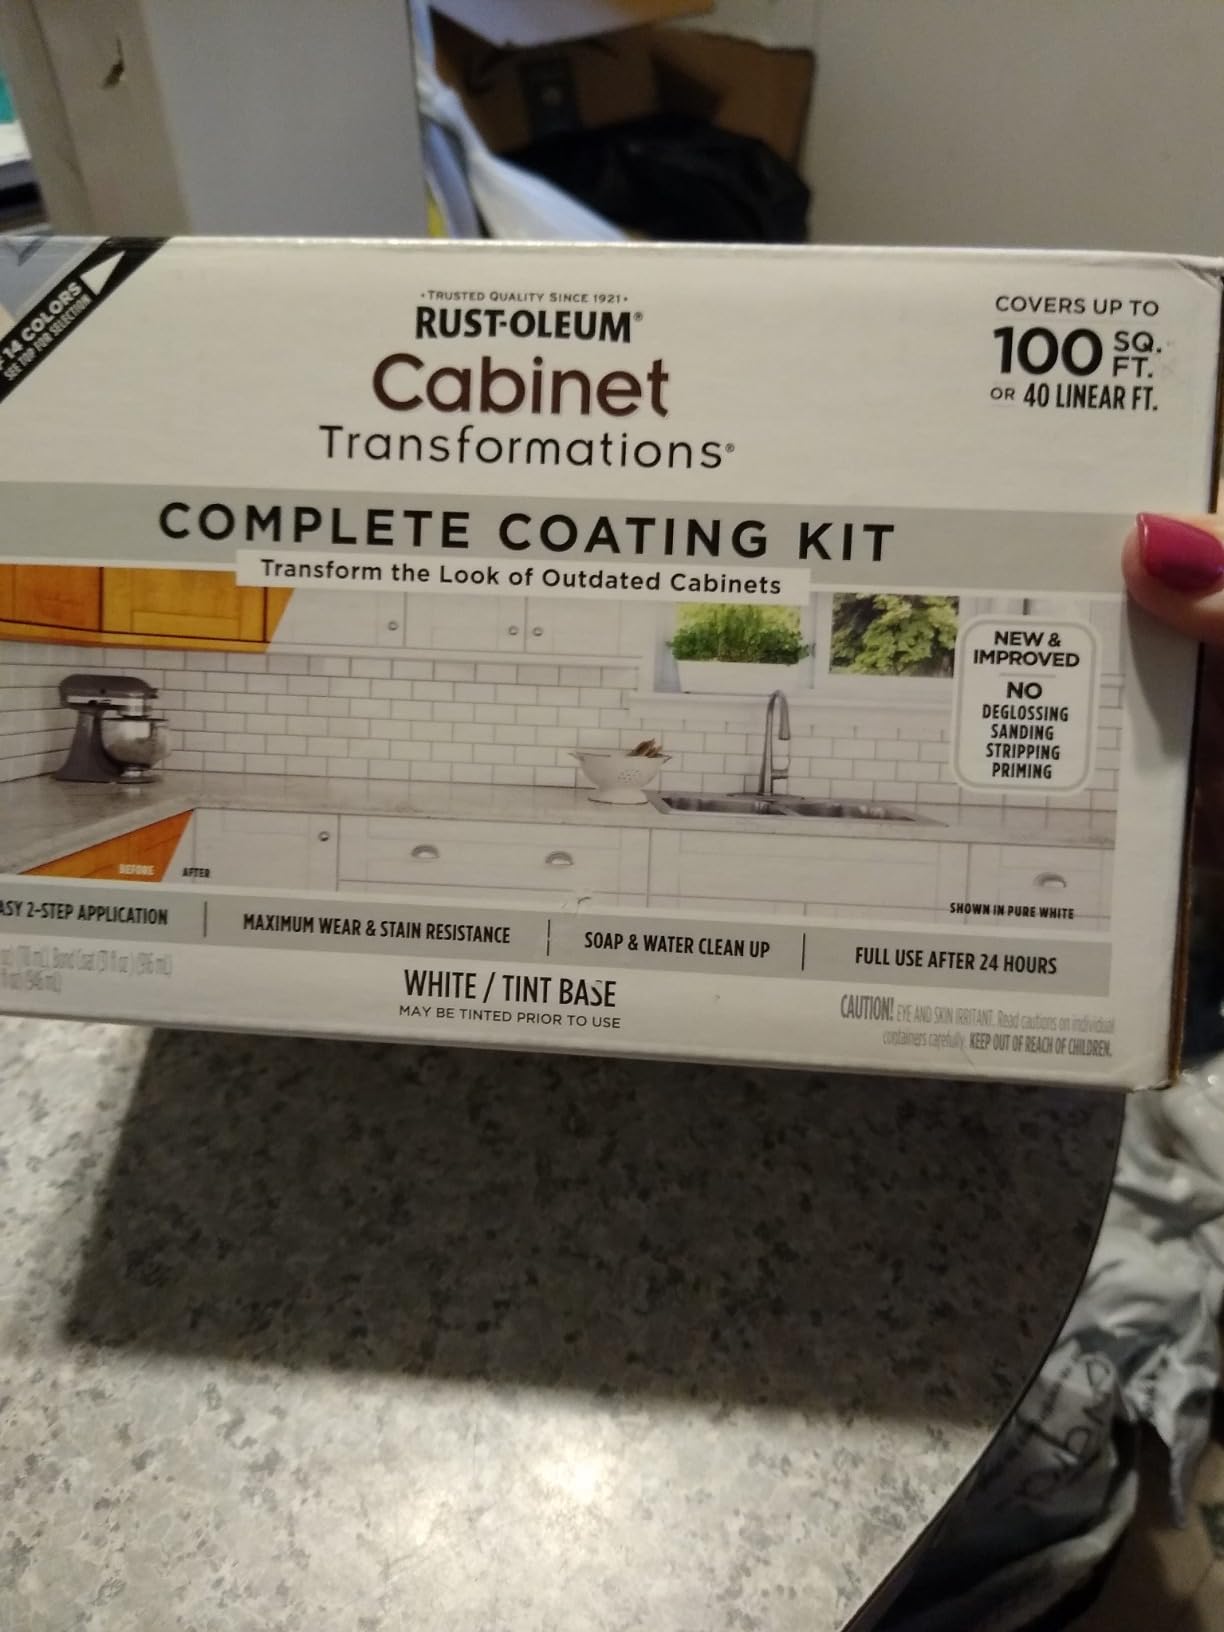
The review record is thinner here, 88 reviews at 4.1 stars, so treat this as our structured-system pick rather than a crowd-verified one. The recurring complaints are multiple coats needed over dark originals and top coat bubbling when applied too thickly.
Thin coats with a quality roller and respect the recoat window, and both issues stay manageable. Every system in this guide rewards patience the same way.
How does a boxed system compare with buying products separately?
A box trades flexibility for certainty. You give up custom color choice and the ability to buy more of just one component, and in exchange every chemical is formulated to work with the others, with instructions that match.
Buying separately wins if you want a specific arcade-matched color, plan to spray with an HVLP gun, or already own primer and degreaser. The box wins if this is your first cabinet and you want zero compatibility guesswork. Semi-gloss oil enamel from Rust-Oleum is another forum-endorsed route for classic black cabinets, and a separate topcoat system suits that path.
Is a dark Espresso finish right for an arcade cabinet?
Dark brown reads as classic wood cabinet, and Espresso specifically suits 1970s-era cabinets that were originally dark walnut or brown. It hides surface imperfections well, which helps on repaired MDF.
If the cabinet is destined for side art or vinyl graphics, a darker base makes colors pop less than a neutral or black base would, so plan artwork first. Espresso also shows dust and fingerprints more than satin black, a consideration for machines in high-traffic game rooms. The same system comes in lighter shades if brown is not the goal.
Buying Guide: What Actually Matters on an Arcade Cabinet?
Generic cabinet refinishing advice assumes solid wood doors hung in a kitchen. Arcade cabinets are built differently, moved differently, and damaged differently, so the buying decisions change too. Here is what matters, based on what we broke and fixed during testing.
Start With the Cabinet Material
The material decides everything downstream, so identify it before buying a single tool. Plywood cabinets from the late 1970s and early 80s sand like furniture, take filler well, and forgive mistakes. MDF cabinets from the mid-80s onward have a smooth face layer over a fibrous core that swells permanently at the first moisture.
Particleboard cabinets are the most fragile, with a paper-thin face over coarse chip that crumbles at the edges. Laminate and melamine overlays can be refinished but only by scuff-sanding to dull the surface, never sanding through. Thermofoil, the vinyl layer found on some home cabinets, lifts at corners near heat and generally should be removed or replaced rather than painted.
The Grit Sequence That Works
The sequence restorers keep returning to is 80 for shaping filler, 120 for removing damaged finish, then 220 for final prep before primer or paint. Jumping from 80 straight to primer leaves scratches that telegraph through the finish, and skipping 120 entirely makes the work take longer, not shorter.
Between coats, drop to 320 or 400 and scuff only enough to knock the sheen off. Wet sanding with fine grits from 800 upward polishes clear coats on control panels, but stay dry on anything MDF. Always vacuum and tack between grits, since one stray coarse particle under a fine sponge puts a scratch in work you just finished.
Body Filler or Wood Filler for Cabinet Edges
Body filler, the two-part polyester kind, is the forum standard for rebuilding missing corners and bottom edges because it cures hard, sands to a crisp edge, and does not shrink into a dip. It is the right call for anything structural or deeper than a quarter inch.
Acrylic wood filler such as the Gorilla kit is easier to mix, easier to sand, and better for shallow damage like screw holes, veneer checks, and gouges. It stays slightly softer, so it is the wrong choice for an edge that will take kicks from a vacuum cleaner. Match the filler to the damage, not to which tub is already open.
Kit or No Kit: What You Actually Need
A boxed kit makes sense for a first restoration because every component is compatible and the instructions match the contents. Buy the box if you have never refinished a cabinet and want one purchase, one plan, and one weekend.
Skip the box if you already own tools or want a specific result. The separate-purchase stack for a classic black cabinet is a degreaser, a bonding primer, a quality oil enamel, and your own abrasives, which is closer to what operators originally did. Either path works. The one that fails is buying paint before you have committed to the prep work underneath it.
Dust Control and Workspace Setup
Dust is the invisible project killer. MDF dust is fine enough to hang in the air for hours and settle back onto your tack-clothed surface between coats, which is how finish ends up textured like sandpaper.
Three habits fixed this in our shop. Sand with a vacuum-connected sander whenever possible, work in one direction from prep area to finishing area, and finish with the cabinet inside a temporary plastic tent if the space is shared.
Wearing a proper respirator matters more than comfort here, since MDF and older finishes are not dust you want in your lungs. Keep a shop vacuum and a box of tack cloths within arm’s reach, and empty the sander’s dust box outside, never over your freshly prepped panel.
Metal Cabinets, Control Panels and T-Molding
Metal parts follow different rules than wood. Coin doors and steel control panels want rust knocked down with 220 grit, a metal-specific primer, and an enamel formulated for steel, not a wood cabinet paint.
Pull t-molding before refinishing the cabinet, not after, since painting over the molding locks it in place and guarantees a ragged line when it is finally replaced. Remove control panel hardware entirely rather than masking it.
When old decals or side art must come off, warm them with a heat gun on low and peel slowly, because aggressive scraping takes the laminate face with it and turns a decal job into a filler job. Photograph every panel before you start so trim and hardware go back exactly where they came from.
Frequently Asked Questions
What is the best sander for refinishing cabinets?
A 5 inch random orbital sander is the best all-around choice for refinishing cabinets, because the random orbit action removes finish quickly without leaving swirl marks and the 5 inch pad stays flat on narrow rails and close to edges. The SKIL 5 inch random orbital sander with cyclonic dust box is our top pick. Add a detail sander for control panels and routed trim.
What is the best cabinet restorer for cabinets?
For wood cabinets with an intact original finish, Howard Restor-A-Finish is the best restorer because its wipe-on formula blends out white rings, watermarks, and oxidation without stripping. For cabinets that need new color, the Giani Nuvo All-In-One Cabinet Paint Kit is the top-rated refinishing system, with no stripping or priming required.
Do I need to sand my arcade cabinet before painting?
Yes, unless the paint system specifically says otherwise. Sanding deglosses the old surface so new paint can grip, and 120 followed by 220 grit on bare wood is the sequence arcade restorers use most. On laminate or melamine sides, scuff-sand with 220 just until the surface reads dull, then wipe with a tack cloth before painting.
What grit sandpaper should I use on an arcade cabinet?
Use 80 grit to shape filler, 120 grit to remove damaged or flaking finish, and 180 to 220 grit for final prep before primer or paint. Between coats, scuff lightly with 320 to 400 grit. On MDF and particleboard, stay at 150 grit or finer on the face so you do not cut through the surface layer into the core.
Can I refinish an arcade cabinet made of MDF or particleboard?
Yes, but keep everything dry. MDF and particleboard swell permanently if they absorb water, so vacuum dust instead of wiping with a damp rag, avoid wet sanding, and seal any exposed edges quickly. Repair damage with acrylic wood filler for shallow gouges or body filler for deep corners, then prime and paint with a water-based cabinet paint applied in thin coats.
Final Thoughts on the Best Cabinet Sanding and Refinishing Kits for Arcade Restoration
The winners are clear after months of testing. The SKIL 5 inch random orbital sander handles the flat prep work, the Giani Nuvo kit delivers the finish, and the Pukamam sponge assortment bridges every curve, groove, and between-coat scuff in between. Add the POWERTEC profile grips and the SKIL detail sander if your cabinet has routed trim or a busy control panel.
Match the extras to your cabinet’s condition. Chewed edges want the Gorilla filler, sound-but-tired original finishes want Howard Restor-A-Finish, pre-mid-80s paint jobs want the Smart ‘n Easy gel instead of sanding, and a first-time full refinish is easiest with the Rust-Oleum Cabinet Transformations box.
Whatever you buy, spend the majority of your hours on prep in 2026. Degrease first, respect the grit sequence, keep MDF dry, and the finish will take care of itself. Your cabinet survived forty years of arcade duty, and with the right sanding and refinishing kit it can look like it just rolled off the line.