

I have been collecting and repairing coin-op machines for over a decade, and the most expensive problem in my shop was never a dead monitor. It was the three identical bags of leaf switches I kept buying because my old parts were buried in unlabeled cardboard. That is exactly why I rebuilt my entire setup around proper storage solutions for arcade parts and spares, and why I tracked down the ten products that actually survive workshop life.
Here is the short answer if you are in a hurry. The best system uses three layers: a wall of clear drawer cabinets for fasteners, fuses, and connectors; a few latched organizer cases for travel kits and repair batches; and ESD-safe boxes plus anti-static bags for every bare board and chip. One product of each type beats ten random bins, because the categories stop mixing and nothing gets lost.
Our team put these ten units through real cabinet restorations, route calls, and a pinball shop purge that filled a two-car garage. I paid attention to latch survival, drawer slide feel, wall-mount hardware, and whether a bare JAMMA board was actually protected at the end of the day. I also pulled setup ideas from the Arcade Museum and Pinside forums, where 10-year members have already made every storage mistake for us.
Every pick below includes real customer photos, the specs that matter for arcade work, and a clear callout on who each one fits. If you maintain multiple machines, restore cabinets, or just want to stop buying the same 10K resistor four times, there is a build here for your space and your budget.
Table of Contents
- Top 3 Picks for Arcade Parts Storage for October 2026
- Best Storage Solutions for Arcade Parts and Spares in October 2026
- 1. Akro-Mils 10144 44-Drawer Cabinet – Best Overall Drawer Wall
- 2. IRIS USA 44-Drawer Cabinet – Best Budget Wall Cabinet
- 3. DEWALT DWST14825 Deep Pro Organizer – Most Rugged Latched Case
- 4. STANLEY Deep Professional Organizer – Best Portable Repair Kit Case
- 5. CRAFTSMAN 10-Compartment 3-Pack – Best Value Multi-Pack
- 6. Jack Boss Double-Sided 34-Compartment Box – Best Storage Density
- 7. Massca 18-Compartment 2-Pack – Best Cheap Starter Pair
- 8. AideTek BOXALL48 ESD-Safe Organizer – Best for Chips and ICs
- 9. iFixit Anti-Static Project Tray – Best Bench Tray for Board Work
- 10. LJY 75-Pack Antistatic Resealable Bags – Best PCB Bagging System
- Buying Guide: How to Choose Arcade Parts Storage?
- Frequently Asked Questions
- Final Verdict: Build Your System in Layers
Top 3 Picks for Arcade Parts Storage for October 2026
Three products cover most arcade workshops on their own. The Akro-Mils 10144 is the drawer wall I recommend first, the CRAFTSMAN 3-pack is the cheapest way to get three latched kits, and the AideTek BOXALL48 is the ESD box that protects your most expensive boards.


Best Storage Solutions for Arcade Parts and Spares in October 2026
This table maps all ten products to the part categories they hold best. Start with the row that matches your biggest pile of parts, then add a second row for the category that causes the most duplicate purchases.
| Product | Specs | Action |
|---|---|---|
| Akro-Mils 10144 44-Drawer |
|
Check Latest Price |
 IRIS USA 44-Drawer Cabinet IRIS USA 44-Drawer Cabinet |
|
Check Latest Price |
 DEWALT Deep Pro Organizer DEWALT Deep Pro Organizer |
|
Check Latest Price |
 STANLEY Deep Pro Organizer STANLEY Deep Pro Organizer |
|
Check Latest Price |
 CRAFTSMAN Organizer 3-Pack CRAFTSMAN Organizer 3-Pack |
|
Check Latest Price |
 Jack Boss 34-Compartment Box Jack Boss 34-Compartment Box |
|
Check Latest Price |
 Massca 18-Compartment 2-Pack Massca 18-Compartment 2-Pack |
|
Check Latest Price |
| AideTek BOXALL48 ESD Box |
|
Check Latest Price |
 iFixit Anti-Static Tray iFixit Anti-Static Tray |
|
Check Latest Price |
 LJY Antistatic Bag 75-Pack LJY Antistatic Bag 75-Pack |
|
Check Latest Price |
1. Akro-Mils 10144 44-Drawer Cabinet – Best Overall Drawer Wall
Akro-Mils 44-Drawer Plastic Storage Cabinet, 20″W x 6″D x 16″H, Black
44 clear drawers
20 x 6 x 16 inch
Wall-mount or stack
Two drawer sizes
Made in USA
Pros
- Drawers slide smoothly with rear stop tabs
- Clear drawers make contents visible at a glance
- Stackable and wall-mountable
- Holds heavy hardware loads for years
Cons
- Drawers can deform under heavy weight
- Small top drawers are shallow
- Stacking can sit uneven on some units
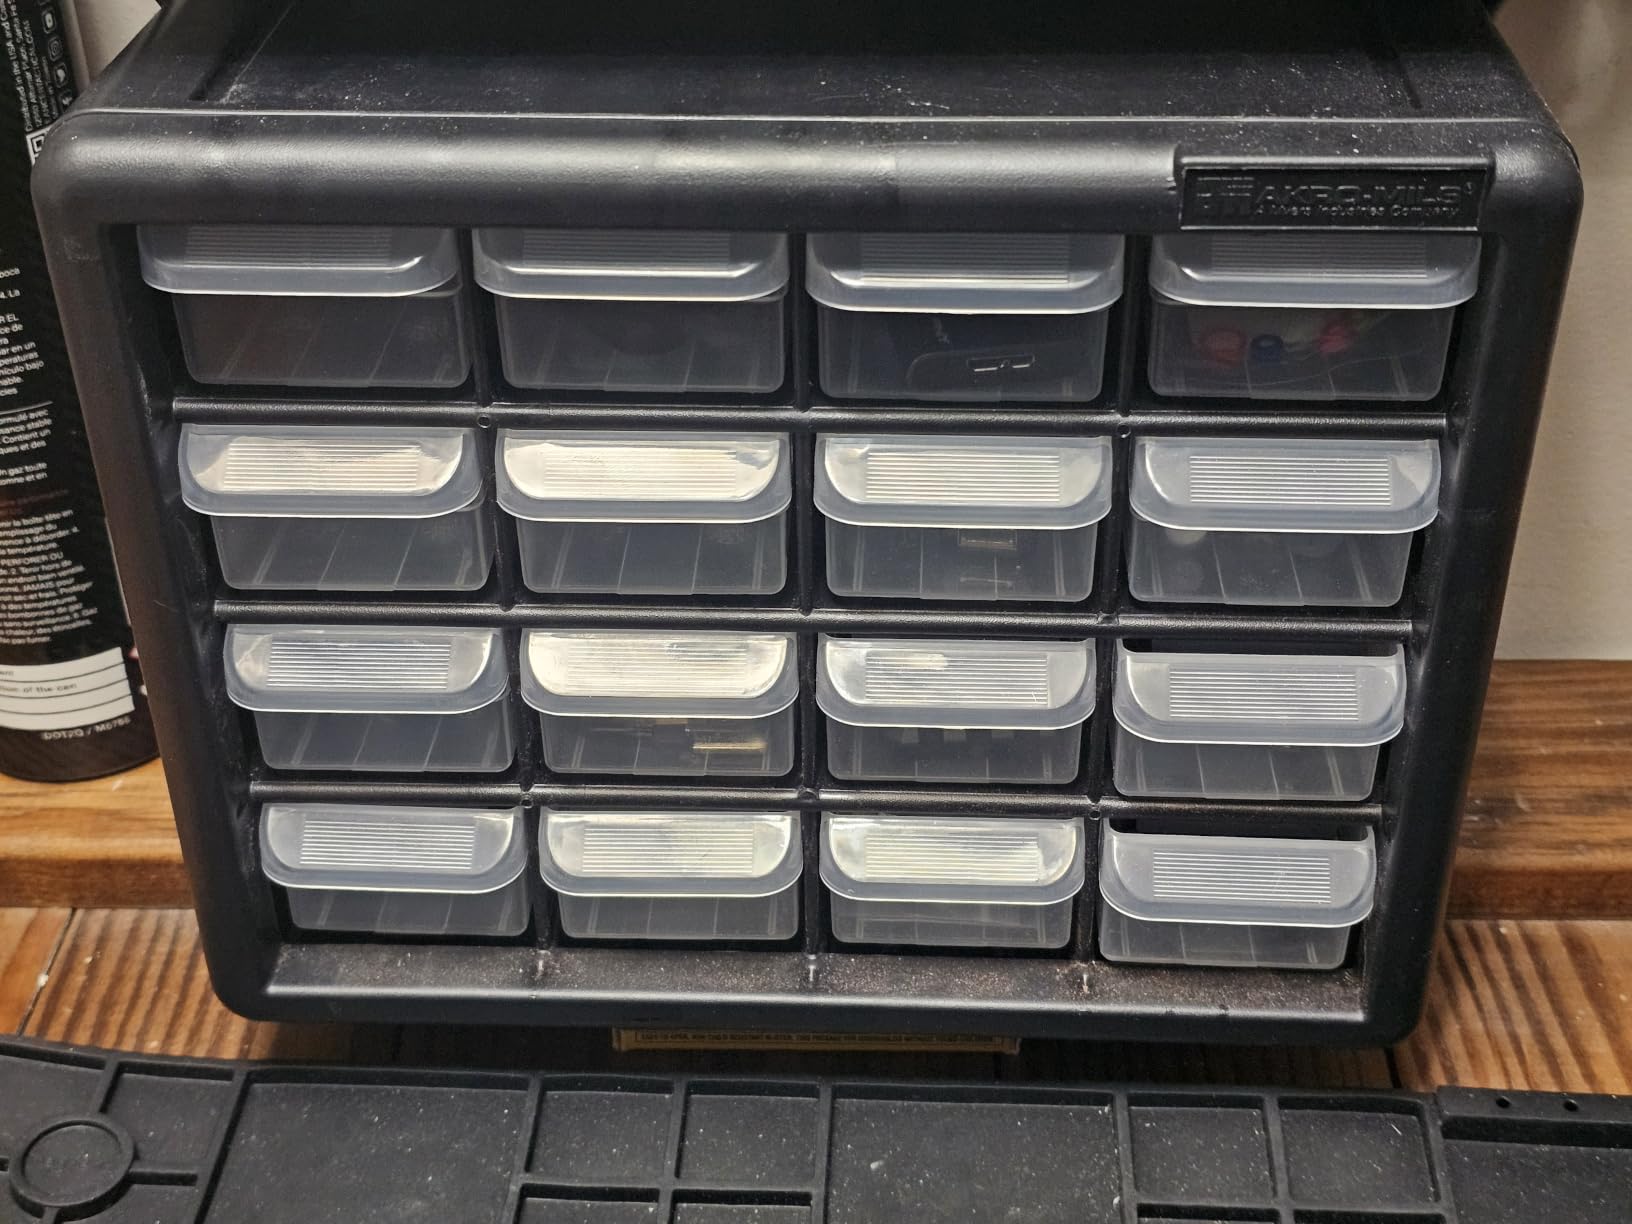
This is the cabinet that ended my duplicate-buying habit. I mounted one on the wall above my bench and loaded the 32 small drawers with fuses, molex pins, bullet connectors, .187 fastons, LEDs, and snap-in retainers, each one value to a drawer. The 12 larger drawers took microswitches, coin mech springs, lock cams, and spare cabinet keys.
What sold me is the rear stop tab on every drawer. On cheaper cabinets the drawer dumps its contents on the floor the first time you pull too hard, and any technician who has swept up 200 tiny springs knows that pain. Here the drawer stops itself, and the finger-grip pulls open cleanly even with gloved hands during a route call.
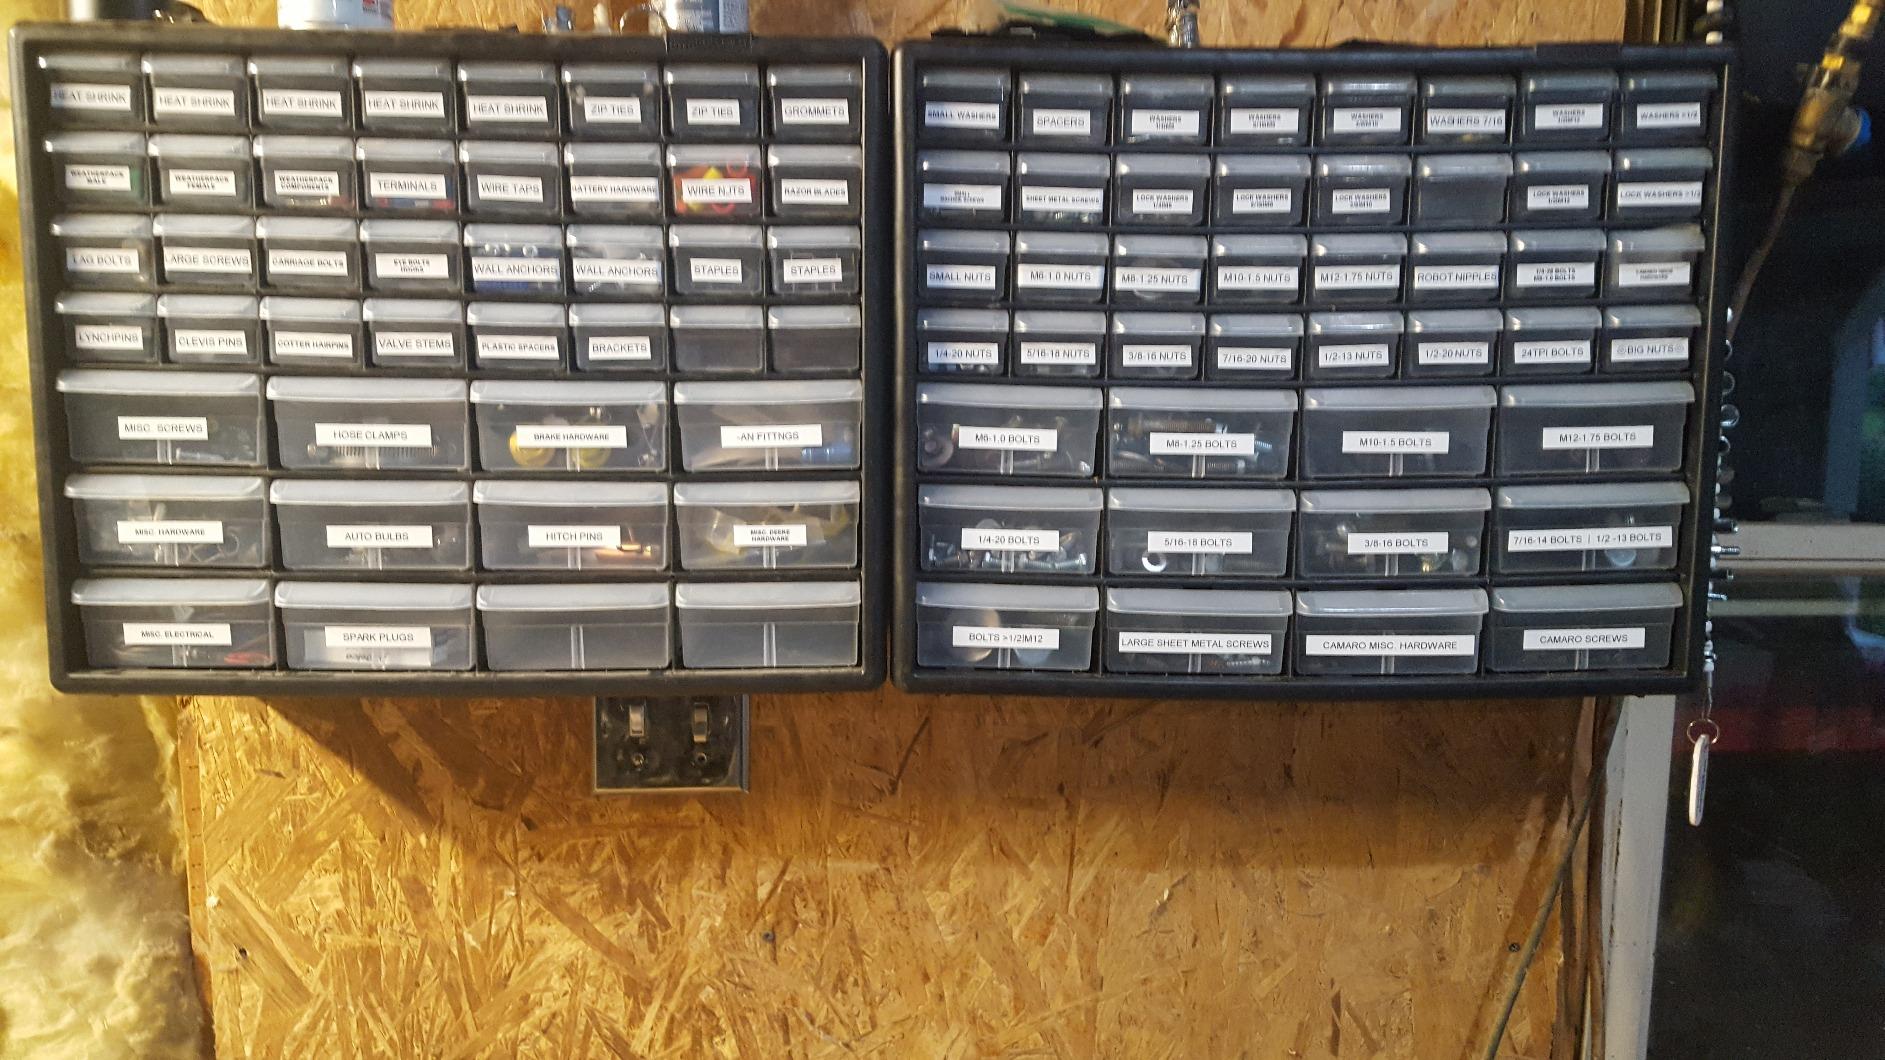
The technical details matter for planning a wall. The cabinet is 20 inches wide, 6 inches deep, and about 16 inches tall, so three of them side by side cover a standard stud bay and leave bench space free. Small drawers measure roughly 6 by 2-1/4 by 1-9/16 inches and large ones 6 by 4-9/16 by 2-3/16 inches, which fits an entire flipper rebuild kit in one large drawer.
Long-term durability is where the 55,000-plus reviews earn their keep. Mine has carried a full load of hardware for three years with no cracked frames or dropped drawers, and the high-impact polystyrene still looks new. The known weak point is drawer deformation when someone fills a drawer with all steel bolts, so I keep heavy hardware in latched cases instead.
The clear drawer fronts are the real productivity gain. I find a 4A slo-blo fuse in about five seconds without opening anything, which matters when a machine is down and a location owner is watching. It is the backbone of a storage system for arcade parts and spares because it handles the highest-volume category, small consumables, without any daily friction.
What Fits in Each Drawer Size
Plan the split before you load it. Small drawers hold fuses, LEDs, resistors, caps, pins, and clips; large drawers hold microswitches, relay sockets, potentiometers, and lock sets. Anything taller than about 2 inches, like a rebuilt coil or a chassis-mounted transformer, needs a case or a shelf instead.
One value per drawer is the rule that keeps the system honest. Mixing values forces you to dig, and digging is what sends you back to the parts catalog to reorder something you already own.
Wall Mount or Stack It on a Shelf
Wall mounting wins in a small shop because it clears the bench and puts fast-moving parts at eye level, and the keyhole slots make the install a one-person job. Stacking works fine on a steel shelving unit if you accept that the bottom cabinet is the one you open least.
If you stack, keep the heaviest contents in the lowest cabinet to lower the center of gravity. Check that the top surface is flat on your unit, since a few arrive slightly uneven and will rock when loaded.
2. IRIS USA 44-Drawer Cabinet – Best Budget Wall Cabinet
IRIS USA 44-Drawer Small Parts Storage Cabinet, Crafts, Made in USA, Black
32 small 12 large drawers
19.5 x 15.5 x 7 inch
Wall-mount or stack
No assembly
Made in USA
Pros
- Made in USA recyclable plastic
- No assembly required
- Stackable or wall-mountable
- Rear stops keep drawers in
Cons
- Drawer fronts are cloudy
- Drawers pull fully out if yanked
- Only two drawer sizes
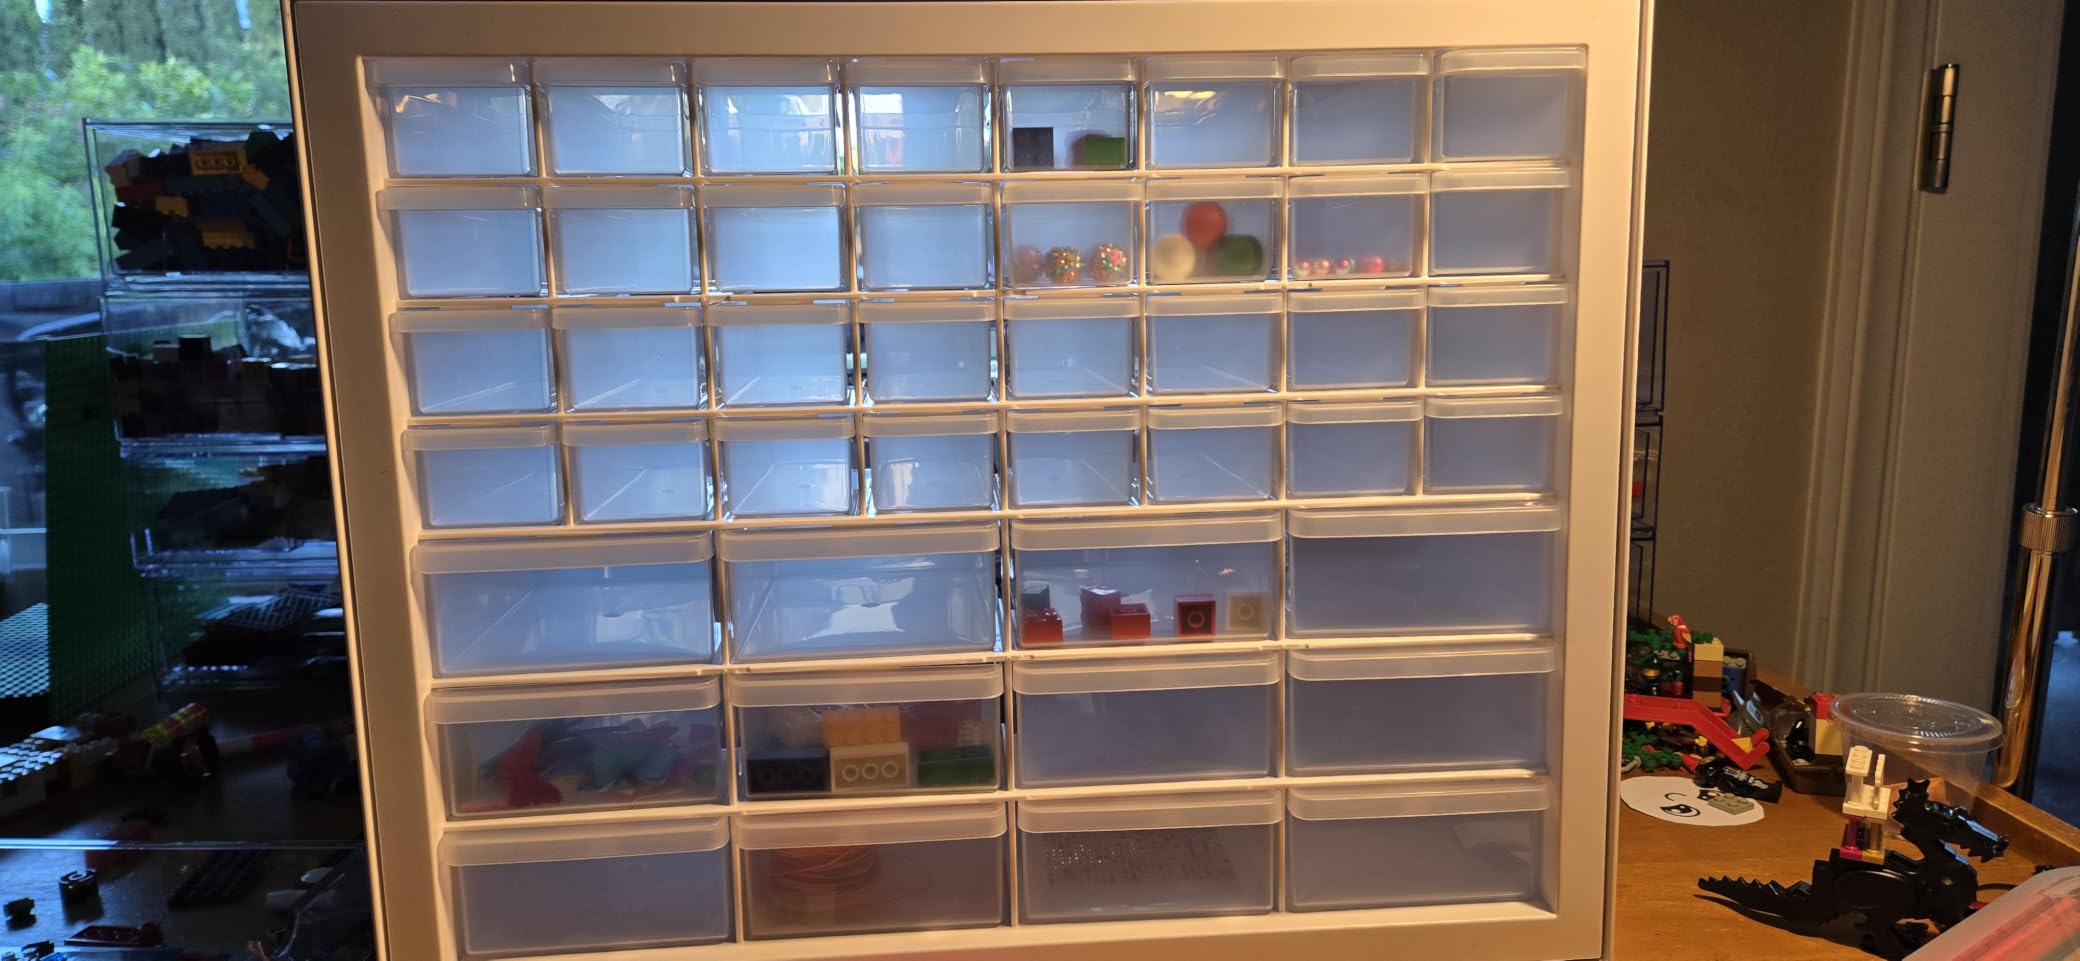
I added the IRIS cabinet when my fastener collection outgrew the Akro-Mils wall, and it now handles all my pinball rubber rings, playfield post sizes, and plastic screw sets. It arrives fully assembled, which meant I was sorting parts within ten minutes of unboxing instead of fighting packaging clips.
The layout mirrors the premium option closely: 32 small drawers and 12 large ones, with rear stops so a drawer never launches itself across the room. For playfield work it is genuinely useful, because ring kits sorted by size turn a two-hour rubber job into a 30-minute one.
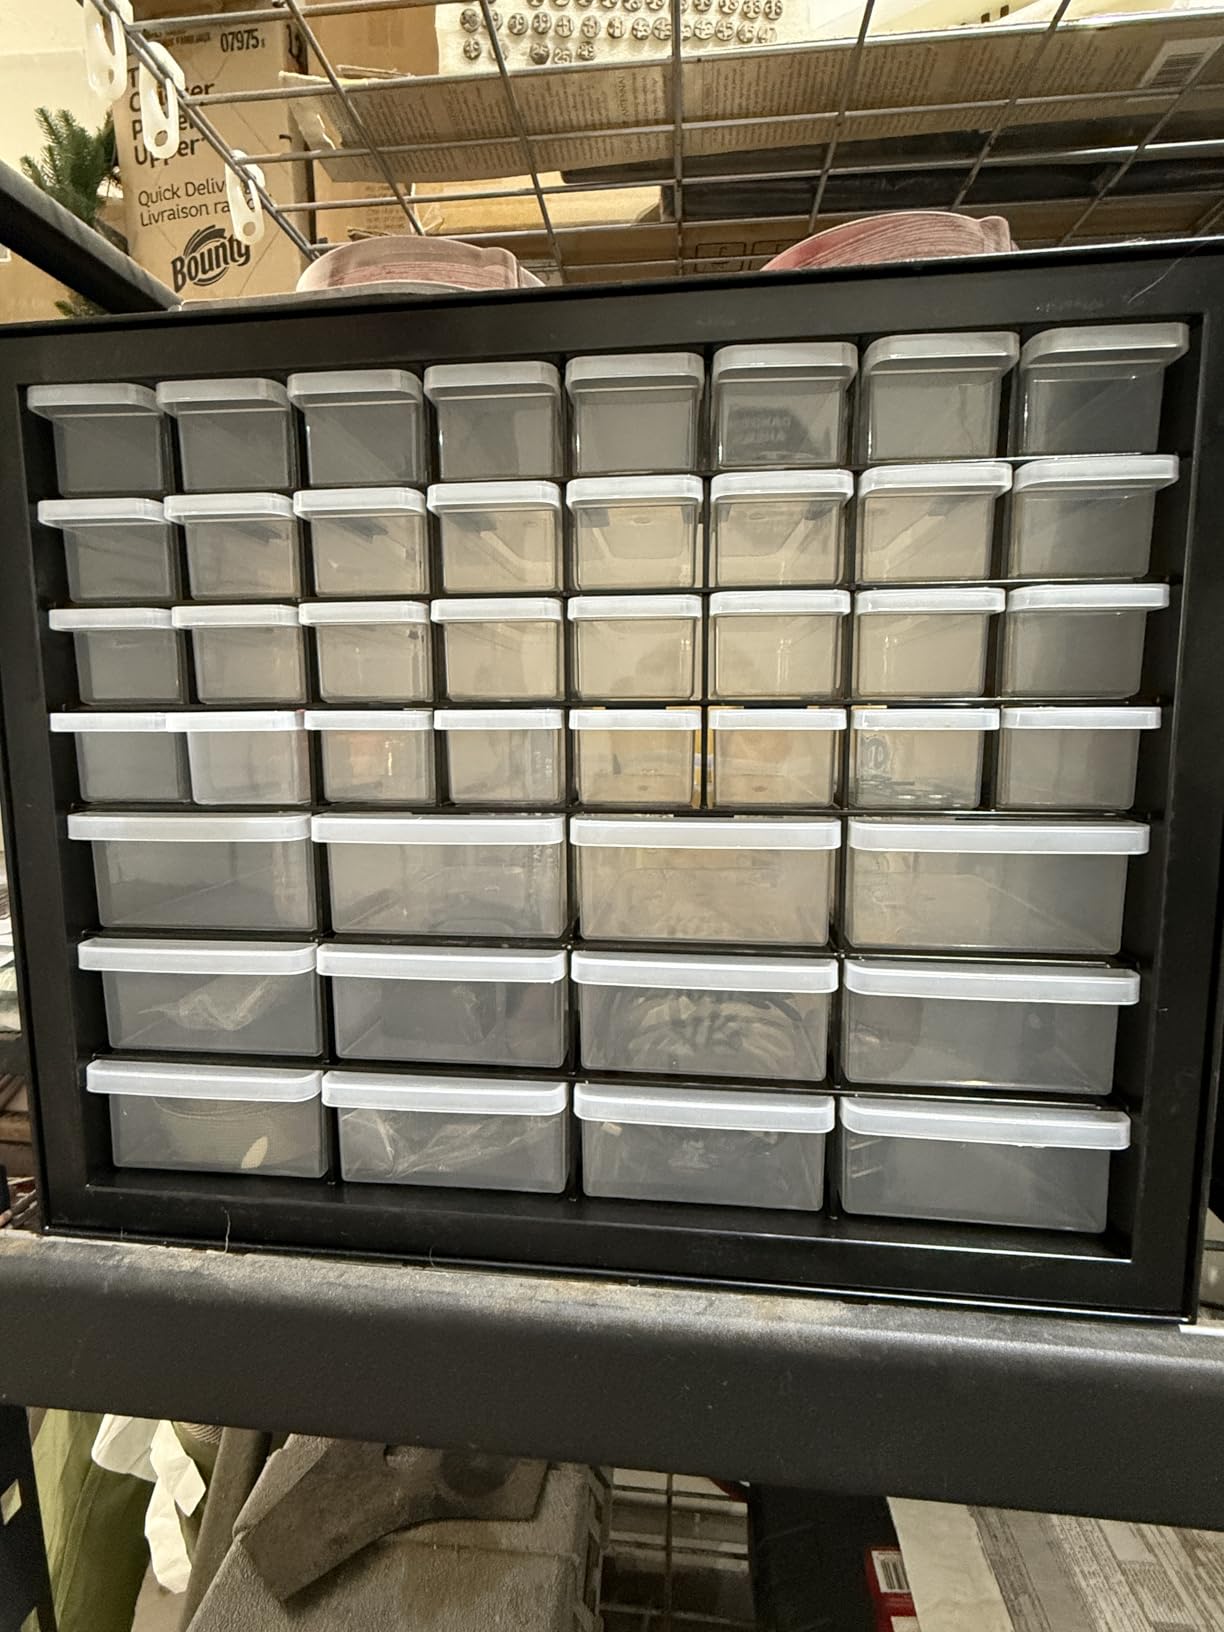
Specs are close to the Akro-Mils at 19.5 inches wide, 15.5 inches tall, and 7 inches deep, so it shares a wall cleanly. Large drawers run about 6.87 by 4.31 by 2.12 inches and small ones 6.87 by 2.12 by 1.62 inches, and the whole unit weighs 5.5 pounds, light enough that a single pair of screws holds it on drywall with an anchor.
The trade-offs are honest ones for the money. The drawer fronts are semi-transparent rather than glass-clear, so I use printed labels on the drawer fronts and do not rely on sight alone. The plastic also feels thinner, and if you yank a drawer it will come completely off its track, which my apprentice proved twice in one afternoon.
Where it earns a spot is expandability and value. It is the cheapest way to add another 44 labeled compartments to a wall, the made-in-USA recycled plastic has held up to daily shop use, and the 4.6 rating across 6,500-plus buyers is not an accident. For hobbyists building a first parts wall, buy one of these and one latched case before buying anything else.
Where It Belongs in Your Setup
Treat this as the overflow cabinet for mechanical consumables: rubbers, posts, sleeves, retainers, and hardware sorted by machine. Keep your highest-turnover electronics in the clearer premium drawers where visibility matters most.
It also works as a bench-top unit if wall space is short. The 7-inch depth means you lose a foot of bench to it, so weigh that against mounting it high on a wall you rarely use.
Labeling It So You Stop Guessing
Because the fronts are cloudy, run a label maker across every drawer edge on day one. A code plus a description, like M-11 for rubber rings size 11, keeps you working from the list instead of opening drawers.
Add quantity counts to the labels for parts you reorder. When a drawer label says three remaining, you know to add it to the next order instead of discovering the shortage mid-repair.
3. DEWALT DWST14825 Deep Pro Organizer – Most Rugged Latched Case
DEWALT Small Parts Organizer, Hardware Storage Box with Removable Dividers, 10-Compartment (DWST14825)
10 compartments
18 x 15 x 5 inch
IP53 water resistant
Anti-rust metal latches
Removable cups
Pros
- IP53 seal keeps moisture out
- Metal rust-free latches survive job sites
- Removable cups for custom loads
- Clear lid identifies contents
Cons
- Divider cups come in only two sizes
- Higher cost than basic organizers
- Factory sticker leaves residue
This is the case riding in my van for on-site arcade service. It carries the fix-it-on-first-visit kit: an assortment of fuses, spare microswitches, common molex connectors, cabinet locks, coin mech parts, and enough hardware to rebuild a control panel in a parking lot.
Two features justify the hype. The IP53-rated seal keeps road spray and garage damp out of the contents, and the anti-rust metal latches have survived being dropped on concrete more times than I want to admit. Plastic latches are the first thing to break on cheaper organizers, and a case that will not stay shut is worse than no case.
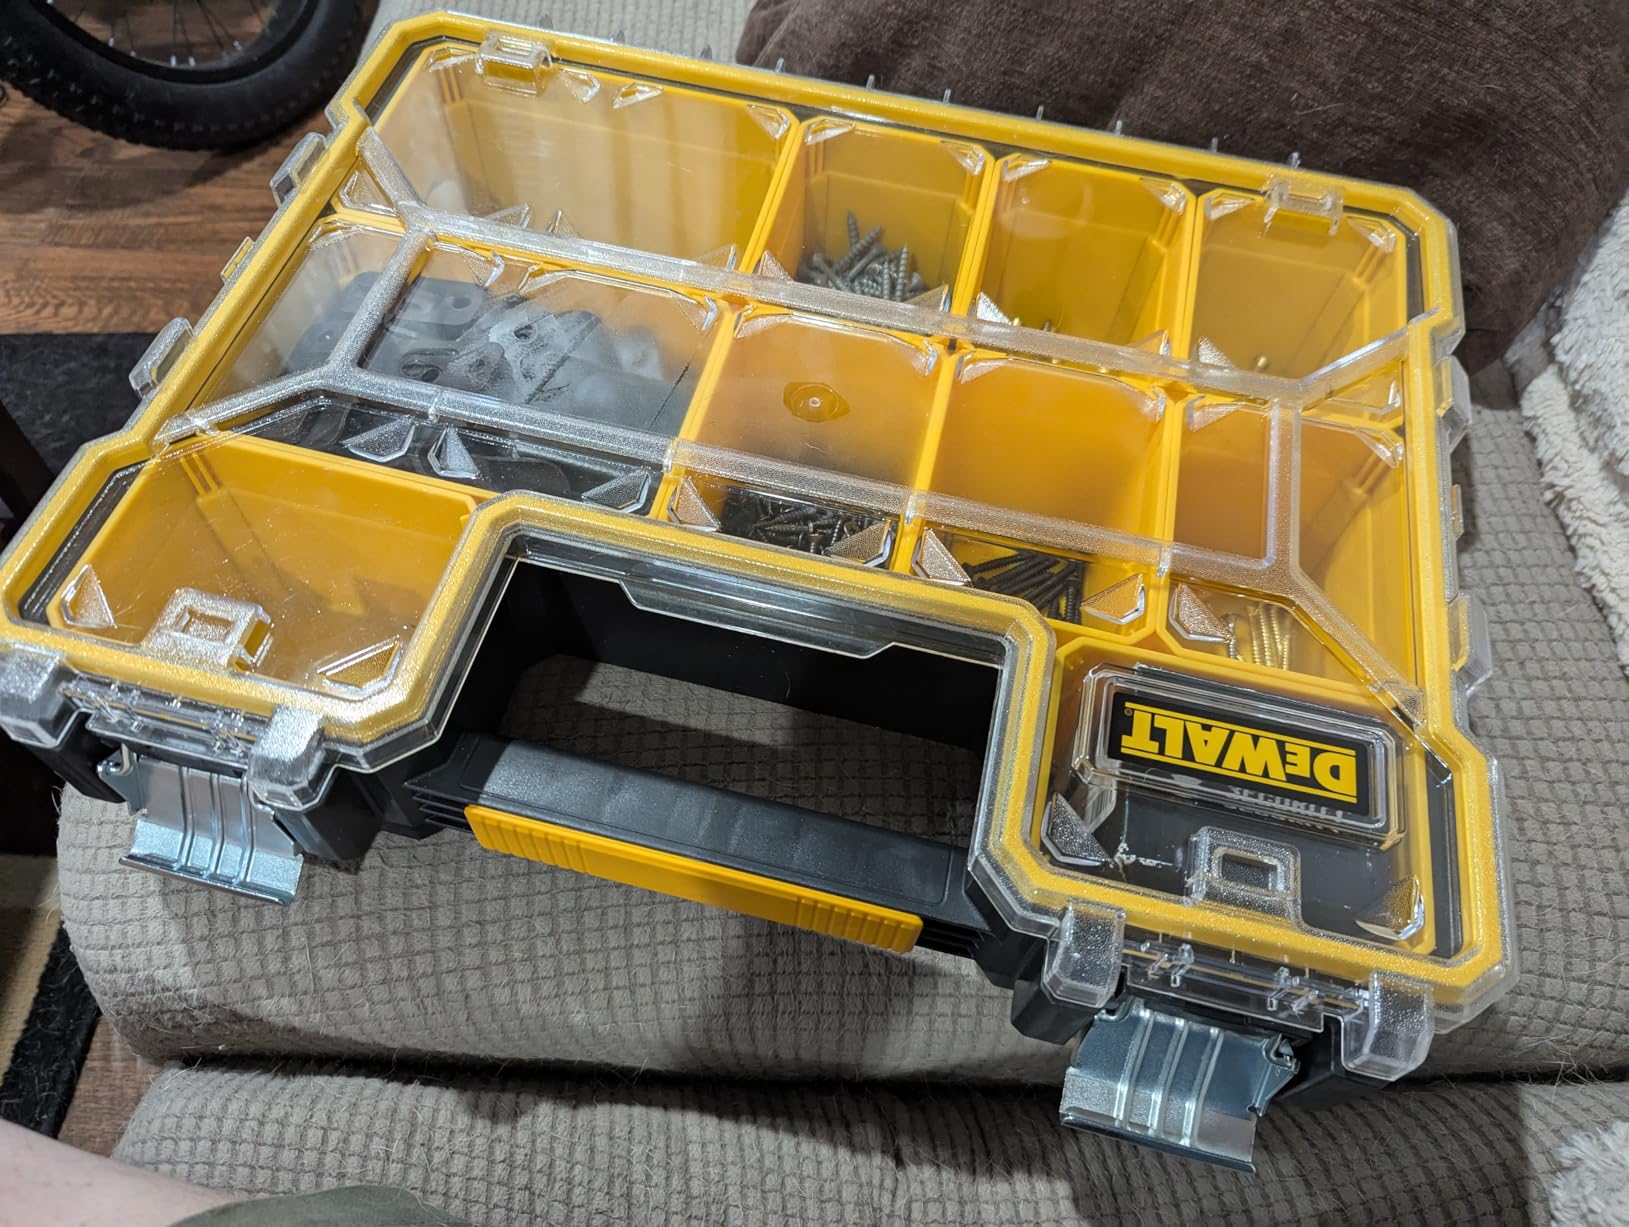
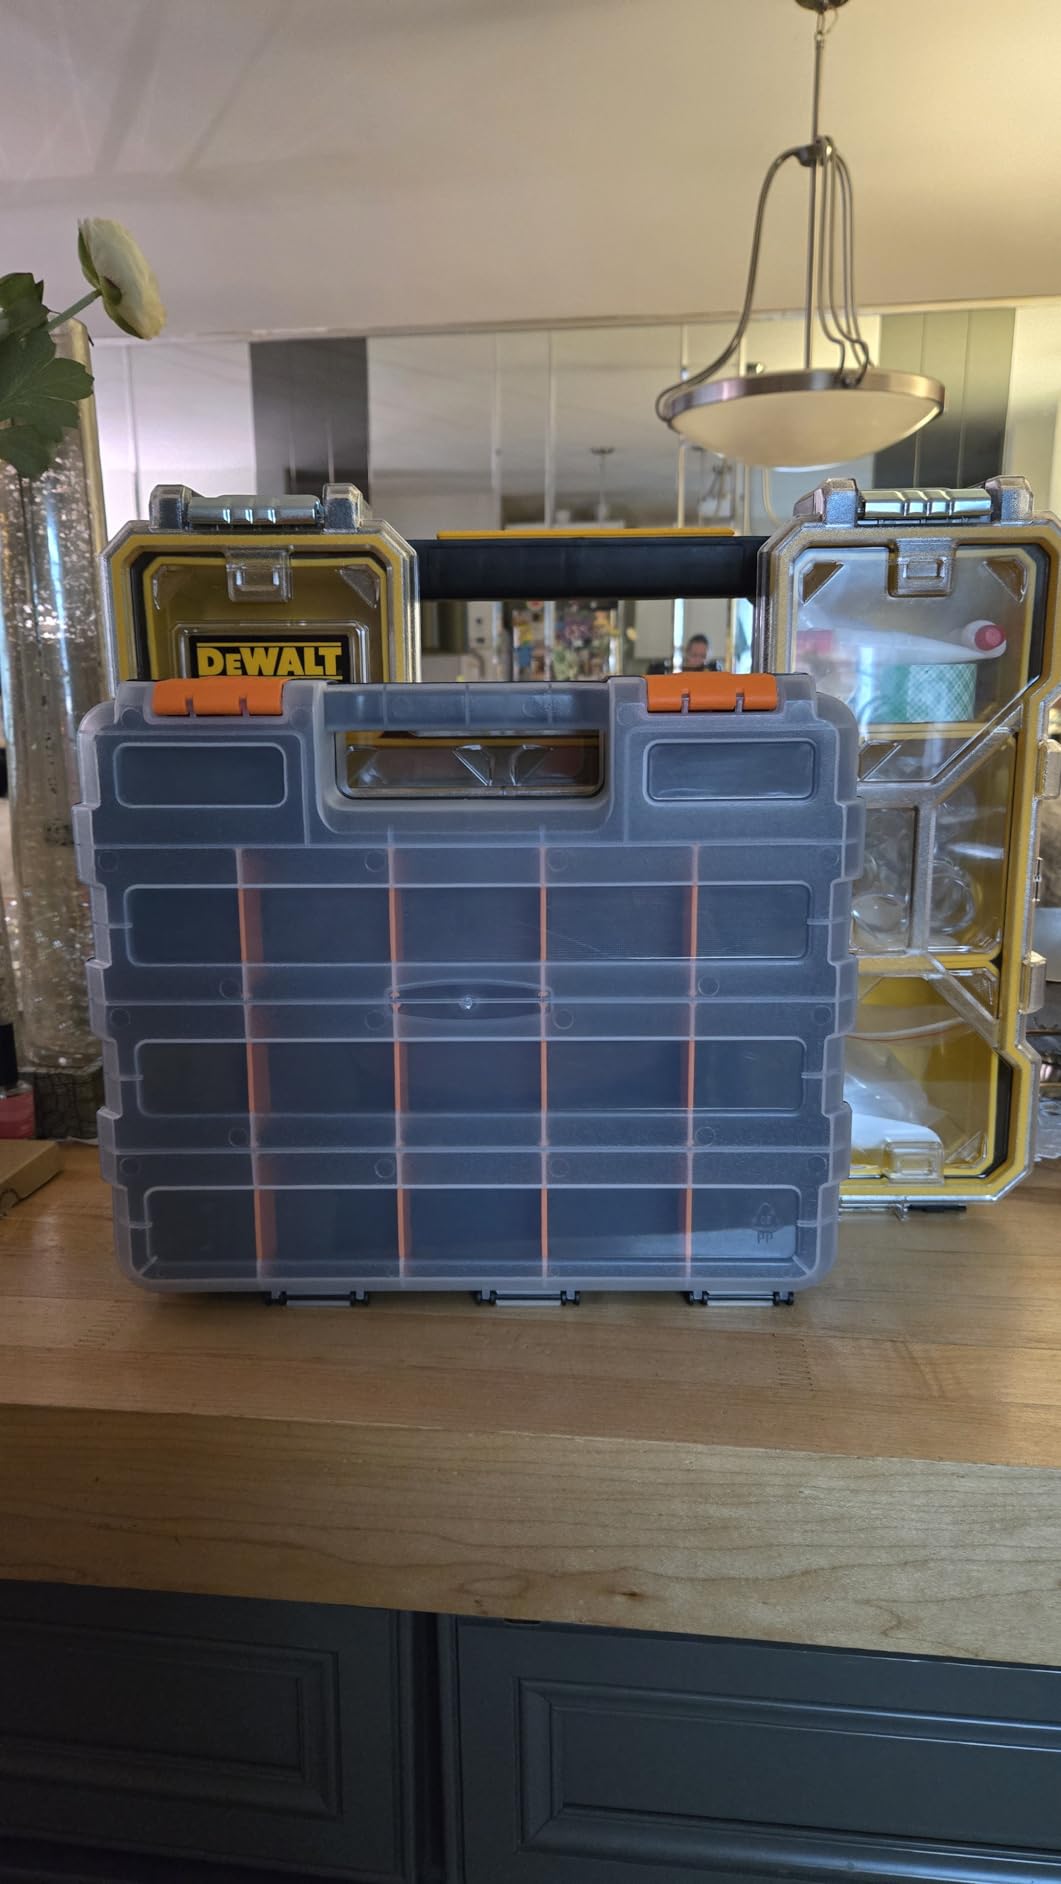
The layout is 10 deep compartments with removable cups in two sizes, in a case measuring 18 by 15 by 5 inches with a 10-pound load rating. Fasteners up to 6 inches long fit without jamming the lid, which matters for the long carriage bolts used on cabinet shells and monitor frames.
The clear lid is what makes it a service case rather than a storage box. I can see whether the spare coin mech linkage is inside before I leave the shop, which has saved me at least three return trips. Stacking is stable thanks to the molded base, so three of them ride stacked in the van without shifting.
Weak points are minor but real. The divider cups are fixed at two sizes, so oddly shaped parts like a wico joystick shaft sit in the big cups with wasted space. The factory sticker on the lid also leaves adhesive that needs solvent, a strange miss on an otherwise overbuilt product.
Using It as a Mobile Service Kit
Load it by repair type, not by part type. A coin-door kit, a control-panel kit, and a power kit each in one case means you grab one box per service call instead of unpacking the van on location.
Keep an inventory card inside the lid listing what belongs in each compartment. Restock the moment you return, because an empty compartment discovered at a customer site costs you an hour.
How It Handles Water and Dust
The IP53 rating means it shrugs off splashes and dust, not submersion. That is plenty for van transport and damp garage shelves, but do not store it where a floor might flood.
If you work in coastal humidity, the sealed lid plus a rechargeable silica gel pack inside keeps connectors from oxidizing between calls. It is a cheap habit that protects a full case of parts.
4. STANLEY Deep Professional Organizer – Best Portable Repair Kit Case
STANLEY Deep Pro Small Parts Organizer, 10 Compartments (STST14710)
10 removable cup compartments
16.5 x 13.3 x 4.2 inch
Lid locks cups in place
Clear impact lid
Made in USA
Pros
- Lid design locks cups so they never shift
- Crystal clear break-resistant lid
- Removable cups in mixed sizes
- Limited lifetime warranty
Cons
- Latches can loosen with heavy use
- Lid clips may crack over years
- Slightly smaller than rivals
I keep a STANLEY organizer packed as my dedicated board-repair field kit, and it is the one I grab for house calls on other people’s games. Screwdrivers sit alongside the sockets, header pins, and heat shrink I need to fix harness damage on site.
The clever part is the lid geometry. It interlocks with the cup tops so the cups physically cannot migrate when the lid closes, which means the compartment layout you set is the layout you find. Anyone who has opened a traveled organizer to find every part mixed into one layer understands why that detail earns loyalty.
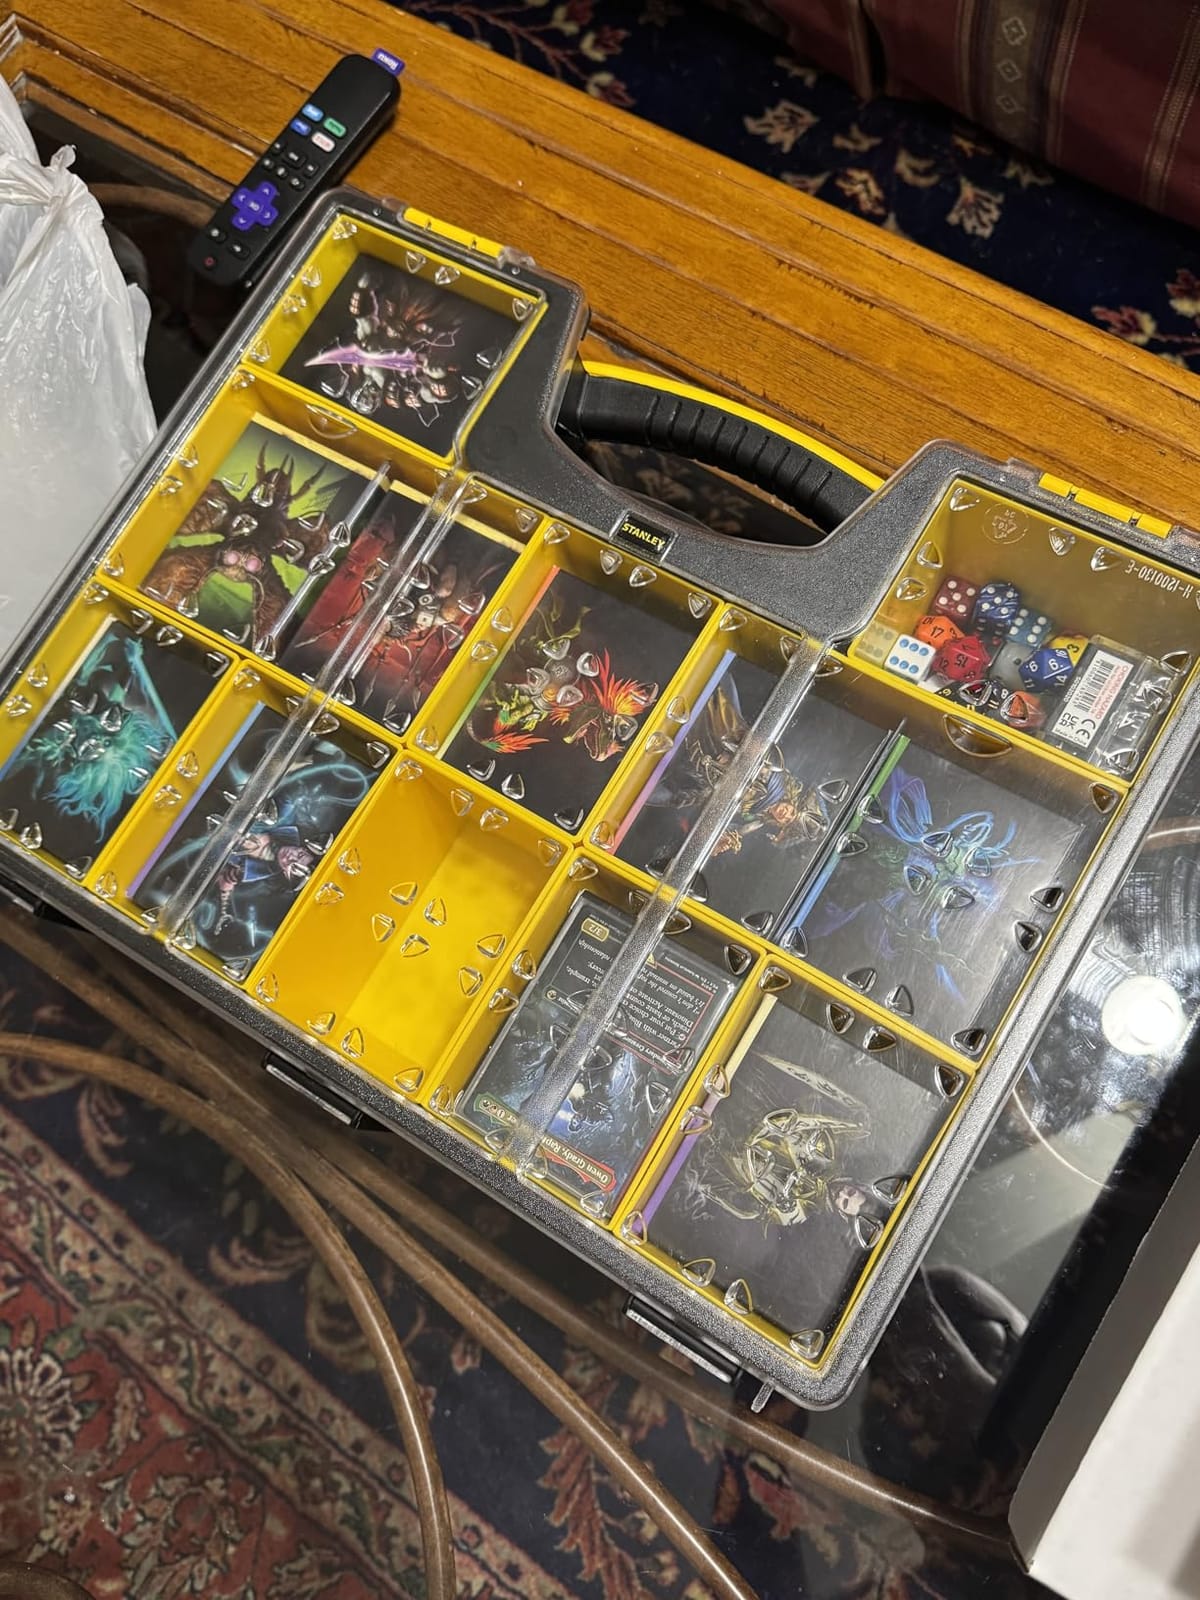
Physically it is 16.5 by 13.3 by 4.2 inches with 10 removable cups in different sizes and a 10-pound rating, made in the USA with a limited lifetime warranty. The high-impact clear lid has taken a wrench dropped from bench height without cracking, and the water-resistant body has kept contents dry through a rainy arcade show load-in.
Community history backs the choice. Pinside threads have recommended STANLEY mobile units for pinball work for years, and the brand shows up constantly in arcade technician setups because the hardware is serviceable and the warranty is real rather than marketing copy.
The concerns are long-term rather than day one. The latches can feel loose after a few years of hard use, and the lid clips are the component most likely to eventually crack. Mine is three years in and still latching positively, but I do not toss it into the truck bed.

Packing It for Machine-Specific Work
Use one case per machine family, such as one for classic woodrails and early solid states, one for modern sterns. Label the cups by assembly: flipper parts, opto boards, ball trough hardware, drop target mechanisms.
That assembly-grouped approach mirrors what veteran pinball techs recommend, because a repair usually needs five related parts, not five identical ones. Grouping by assembly puts all five in one grab.
Travel and Show Transport
The slim 4.2-inch height lets two of these fit where one deep case would not, which matters when the van is full of show stock. The handle is comfortable for carrying across a show floor all day.
For flights or long hauls, add a strap around the case. The latches are sturdy, but a dropped case landing on its latch edge is the failure mode every technician eventually meets.
5. CRAFTSMAN 10-Compartment 3-Pack – Best Value Multi-Pack
CRAFTSMAN Storage Organizer, Small Parts Organizer, 3-Packs with 10-Compartments, Lid Includes Secure Latch (CMST60964M)
3 organizers, 10 compartments each
Removable dividers
Interlocking stack
Dual side latches
11.5 x 8.5 x 2.5 inch
Pros
- Removable dividers give custom layouts
- Dual latches hold tight when dropped
- Interlocking design links units together
- Thick plastic for the price
Cons
- Not ESD safe without added bags
- Compartments small for bulky parts
- Not water tight
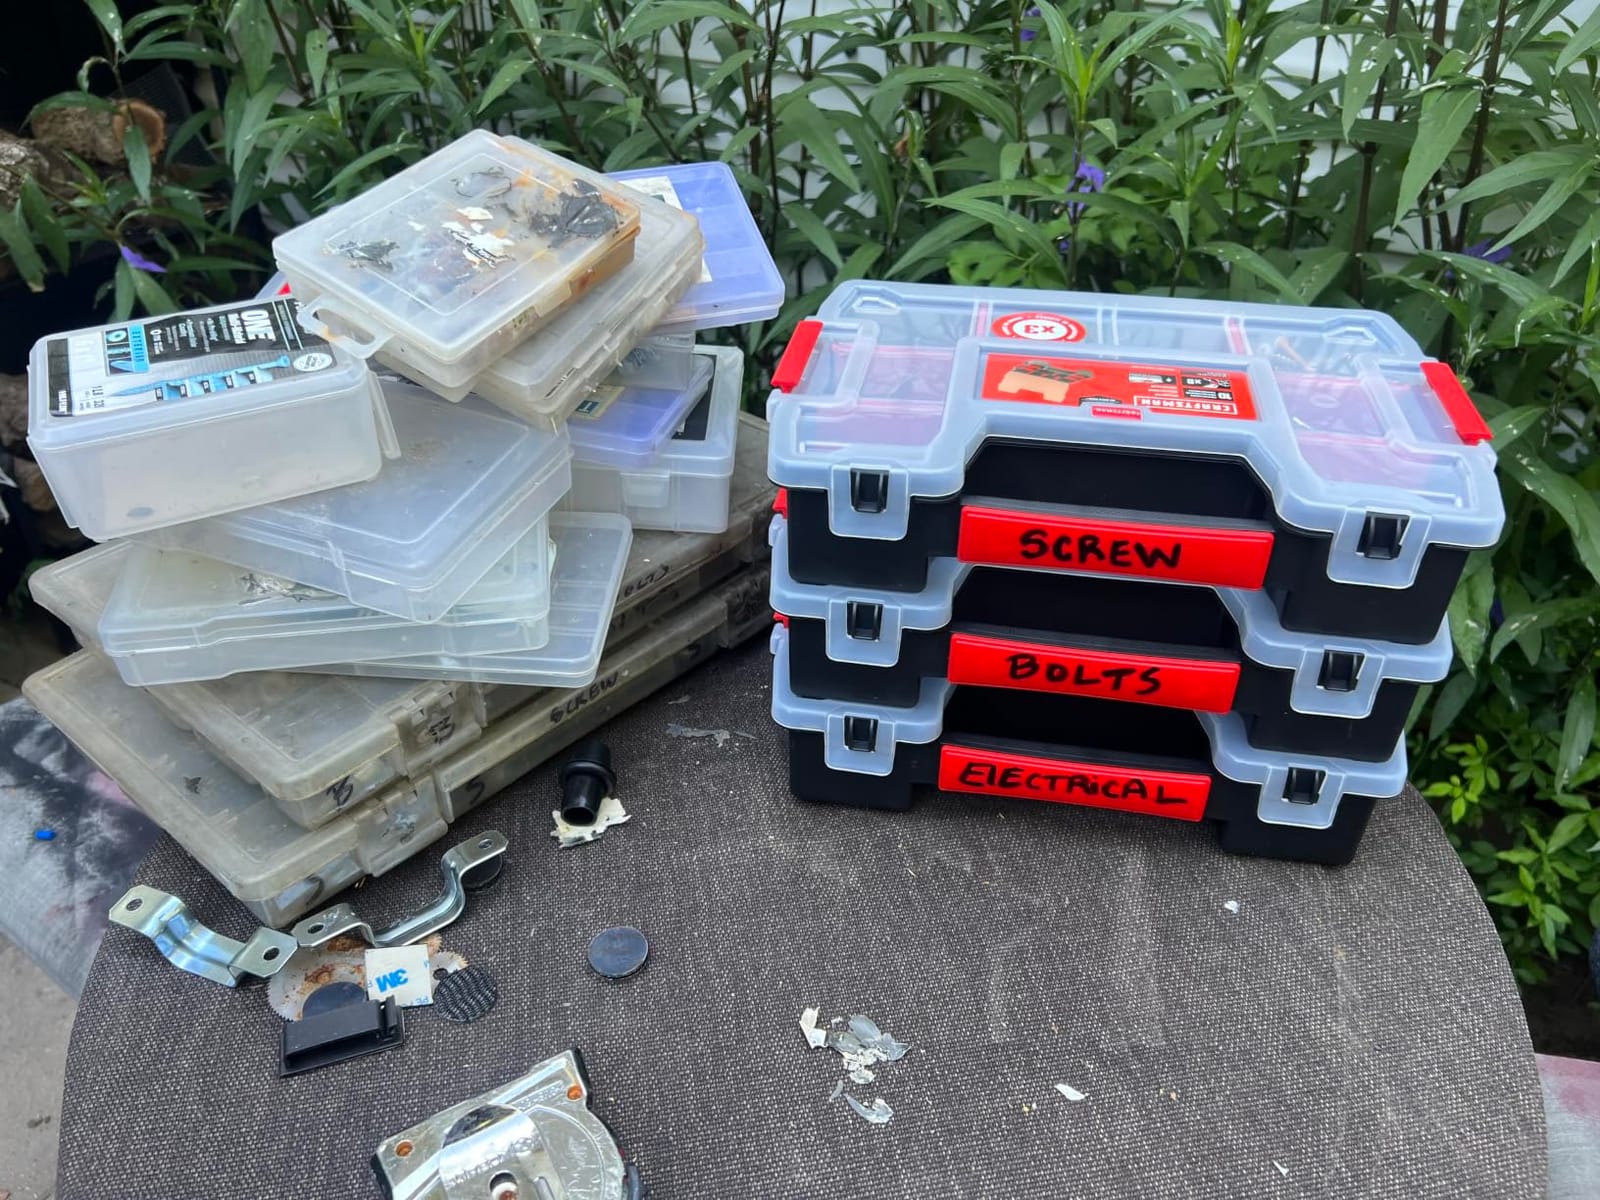
Three latched organizers for less than the cost of one premium case changed how I stage restorations. Each cabinet project gets its own labeled case, so every screw, bracket, and clip removed from a stripped cab lives in one place until reassembly, and nothing walks off the bench.
Restoration people know the real risk: a machine comes apart over three months, and the hardware from the coin door ends up in a coffee can that gets knocked over. Assigning one case per project ended that, and the interlocking design lets the cases click together into a stable block on the shelf.
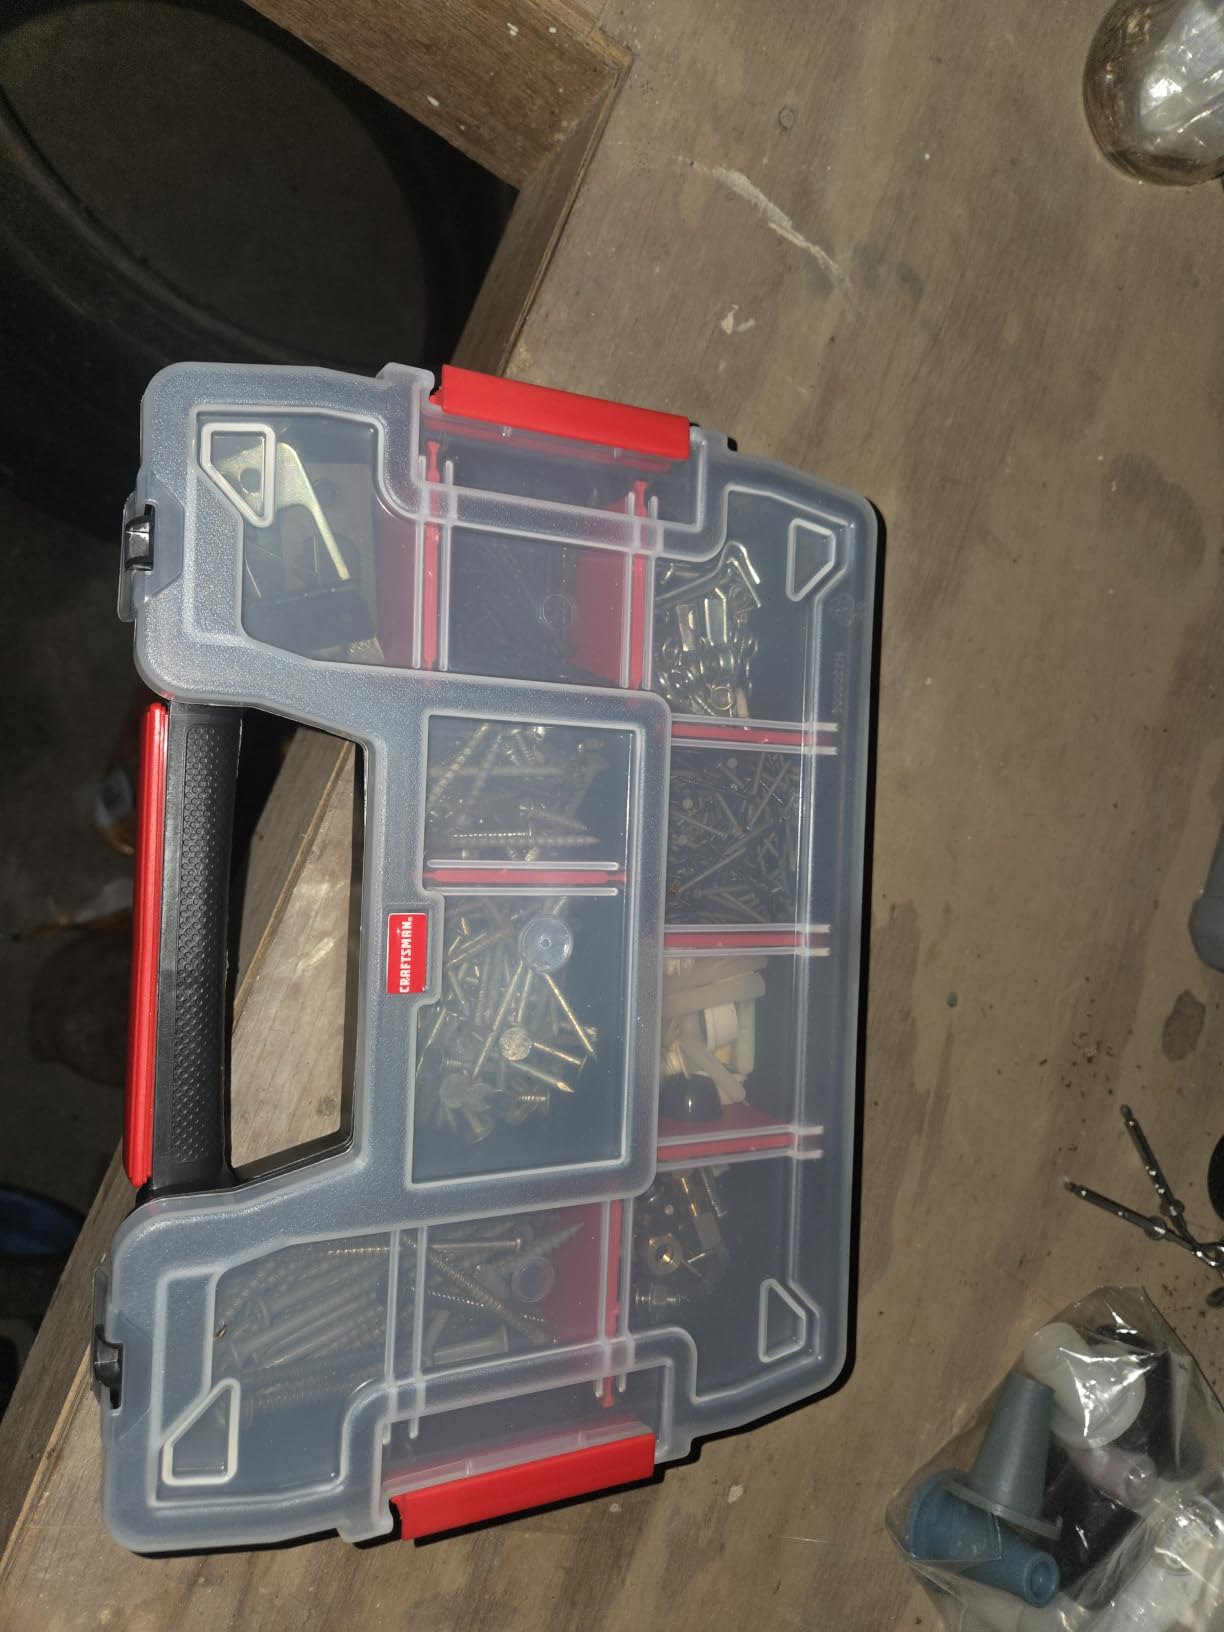
Each unit is 11.5 by 8.5 by 2.5 inches with 10 compartments and removable dividers, so you set the layout per project. The lid interlocks with the dividers to stop cross-compartment migration, and the two side latches held shut when I dropped a loaded case onto concrete during a garage shuffle.
The divider flexibility is the headline feature for arcade work. One case carried an entire control panel teardown with wide compartments for joystick adapters and narrow ones for the microswitch screws, something fixed-cup organizers cannot do without wasting space.
Two limits to respect. These are not ESD safe, so any bare PCB goes into an anti-static bag first and the bag into the case. They are also water-repellent rather than sealed, so they live on indoor shelves, not in a damp outbuilding.
Setting Up a Project Case System
Number the cases and log each one in your inventory sheet as an active project. When a restoration stalls for a month, the case number tells you exactly where every part went instead of relying on memory.
Tape a contents card inside each lid listing the assemblies inside. At reassembly you can confirm nothing is missing before the back panel goes on.
Expanding Beyond Three Cases
The same model ships in 2-pack and 6-pack configurations, so scale in batches as your project count grows. The interlocking design means a growing stack stays rigid rather than sliding apart.
Keep one case permanently reserved as a universal hardware loaner for odd screws and standoffs. Having a dedicated junk case stops random parts from contaminating your sorted drawers.
6. Jack Boss Double-Sided 34-Compartment Box – Best Storage Density
Jack Boss Tool Box with Transparent Lid, Double Side 34-Compartments Organizer Box with Removable Dividers for Hardware, Screws, Bolts, Nails, Beads, Jewelry and Fishing Accessories, Orange, 2 Pack
34 compartments
24 removable dividers
Double-sided
12.8 x 11 x 3.15 inch
2-pack
Pros
- Double-sided design doubles capacity in a slim box
- Dividers fit tightly with no wiggle
- Sturdy latches and hinges
- Transparent lid on both sides
Cons
- Tiny washers can slip between compartments
- Occasional quality control miss
- Not water resistant
When I ran out of shelf space, this double-sided box bought me back a full shelf. Two storage faces in a 3-inch-thick case means 34 compartments in the footprint other organizers use for 15, and the 2-pack gives you 68 compartments total.
Mine holds the small mechanical inventory that used to scatter everywhere: t-molding clips, playfield screws, cabinet bolts, lane guide spacers, and wire form hardware. I flip it over the way you flip a VHS tape, and both sides stay clearly visible through the transparent lids.
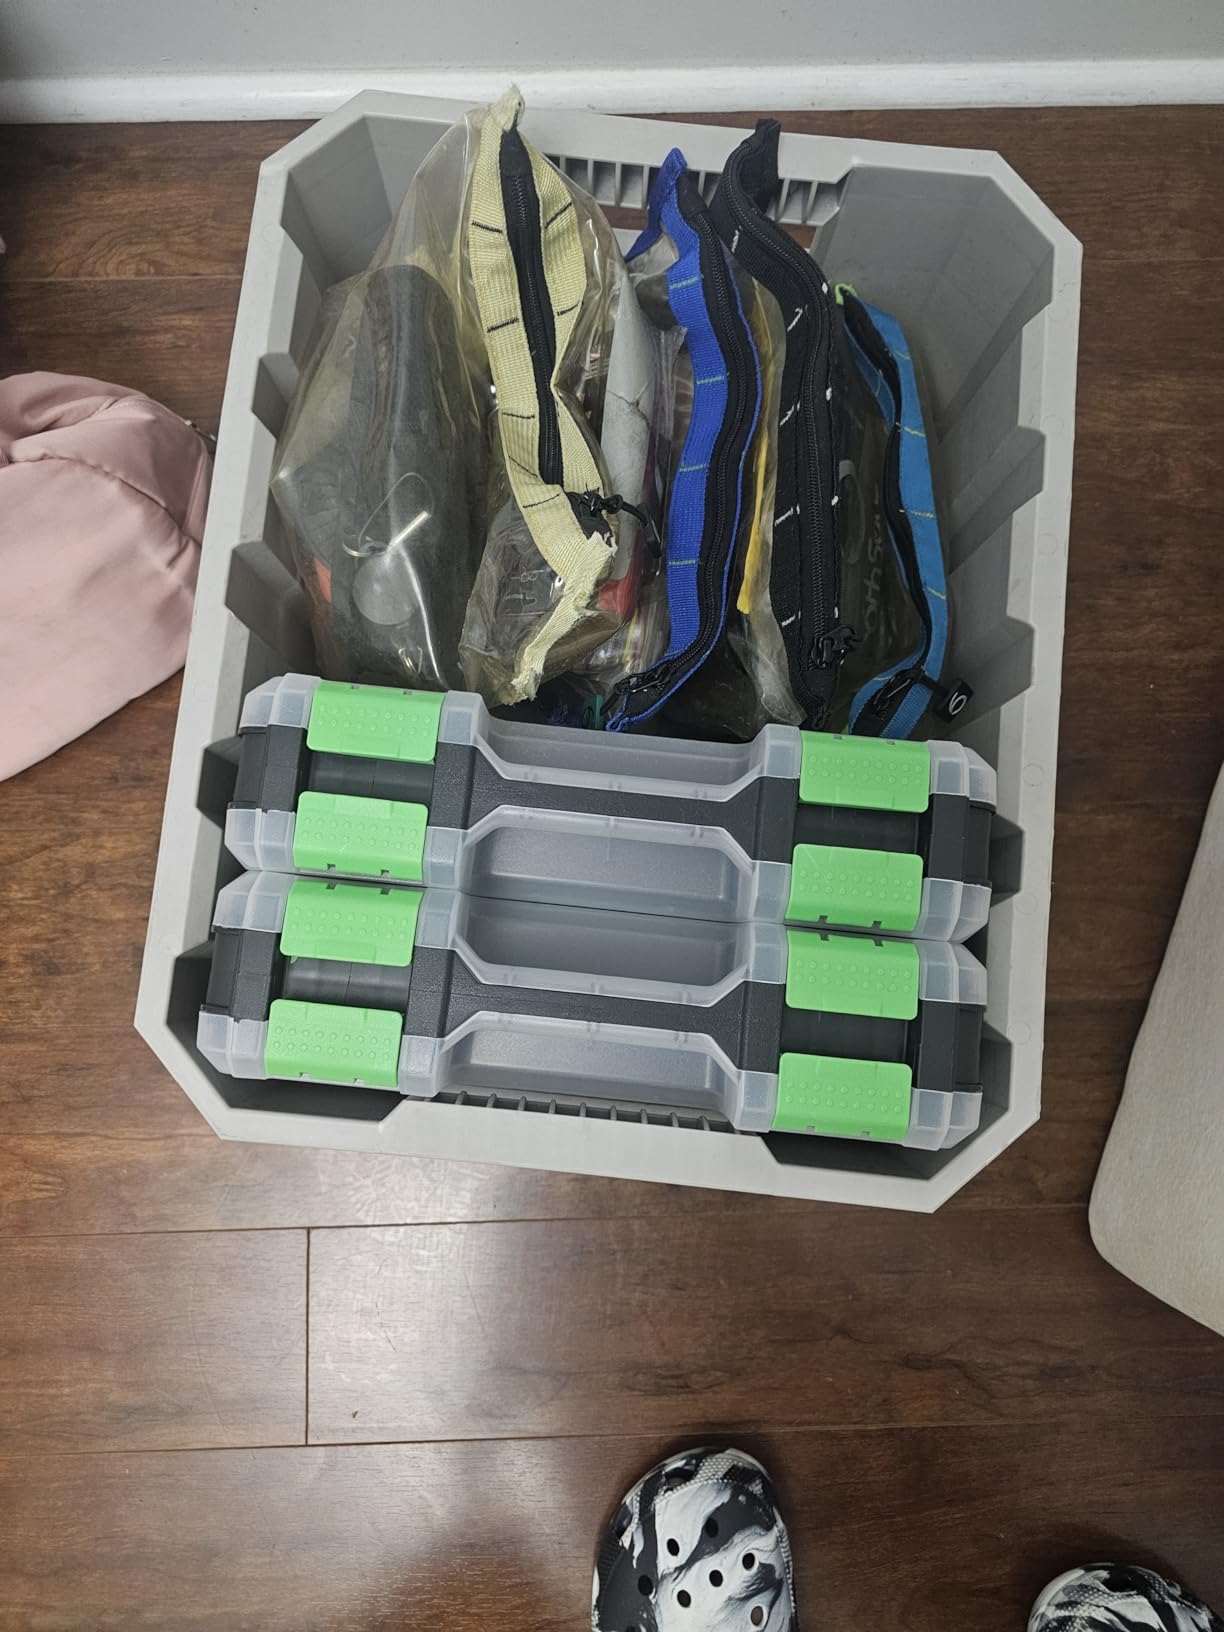
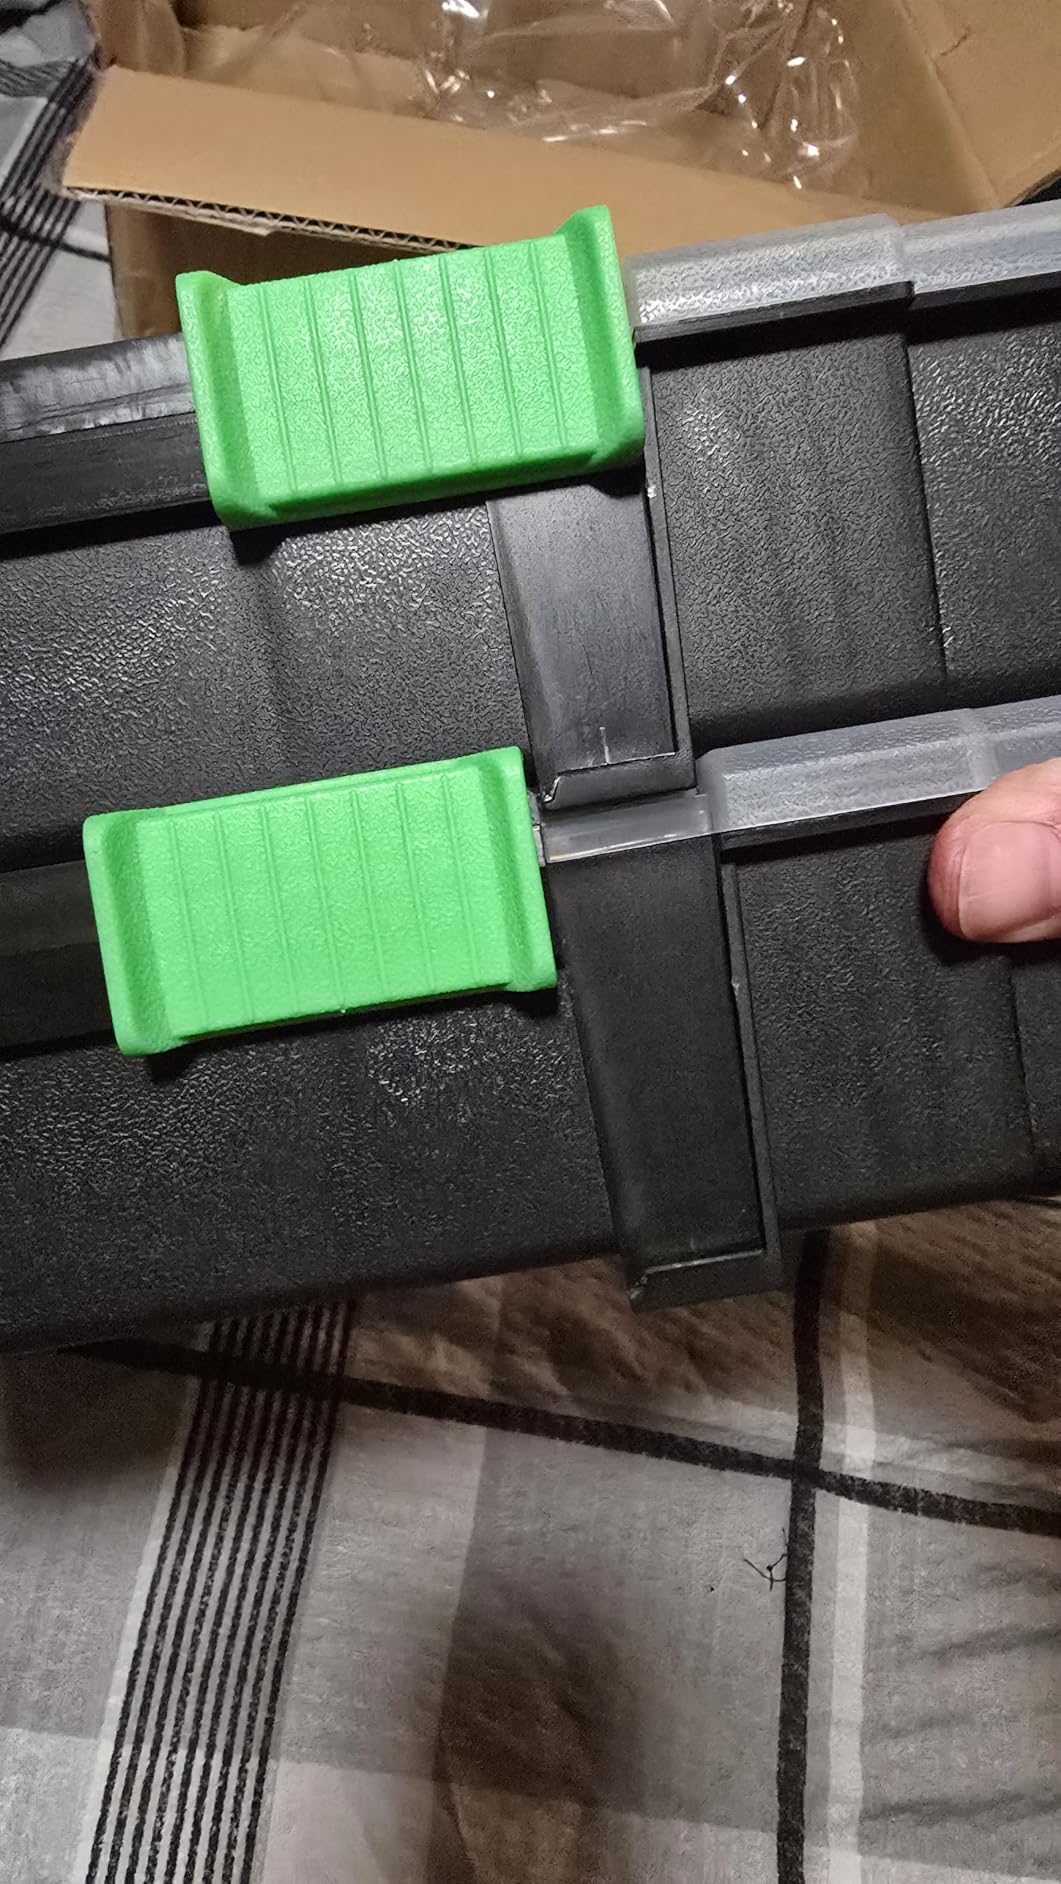
Each case measures about 12.8 by 11 by 3.15 inches outside with 24 removable dividers and a minimum compartment of roughly 2.56 by 2.36 inches. The dividers slide into channels with no wiggle, which is the difference between a layout that survives and one that sags into a mixed pile after a month.
The 4.8 rating across more than 1,100 buyers reflects the build quality. Latches snap positively, hinges are screwed rather than glued, and the plastic has the thick feel of a box meant to be handled daily rather than admired on a shelf.
Its one genuine flaw is sub-millimeter hardware. Very small washers and e-clips can slip past the divider channels and cross into the next compartment, so I keep those in labeled bags inside the compartments or move them to a drawer cabinet.
What Belongs in a Double-Sided Layout
Use one side for a single category, such as all cabinet hardware, and the other for a second category such as playfield hardware. Never split a category across both faces, or every retrieval becomes a flip-and-search.
The slim profile also makes these ideal for overhead shelf storage where a deep case would not fit between the shelf and the ceiling.
Divider Layout Tips for Arcade Hardware
Keep compartments at full width for long items like lock bars and molding trim, and subdivide for screws and spacers. Removing dividers to create one wide bay takes seconds and no tools.
Print a small label for the case spine, not just the lid. You will be sliding these off a shelf sideways, and spine labels are what you actually read.
7. Massca 18-Compartment 2-Pack – Best Cheap Starter Pair
Massca Small Parts Organizer Box, Organize Screw, Hardware Case and Storage
18 compartments per box
2 x 2 inch cells
12.75 x 10 x 1.75 inch
Hinged clear lid
2-pack
Pros
- Sturdy build with locking latches
- Transparent lid shows contents
- Removable dividers
- Low cost for a 2-pack
Cons
- Some units arrive warped
- Plastic cracks if mishandled
- Not for large items
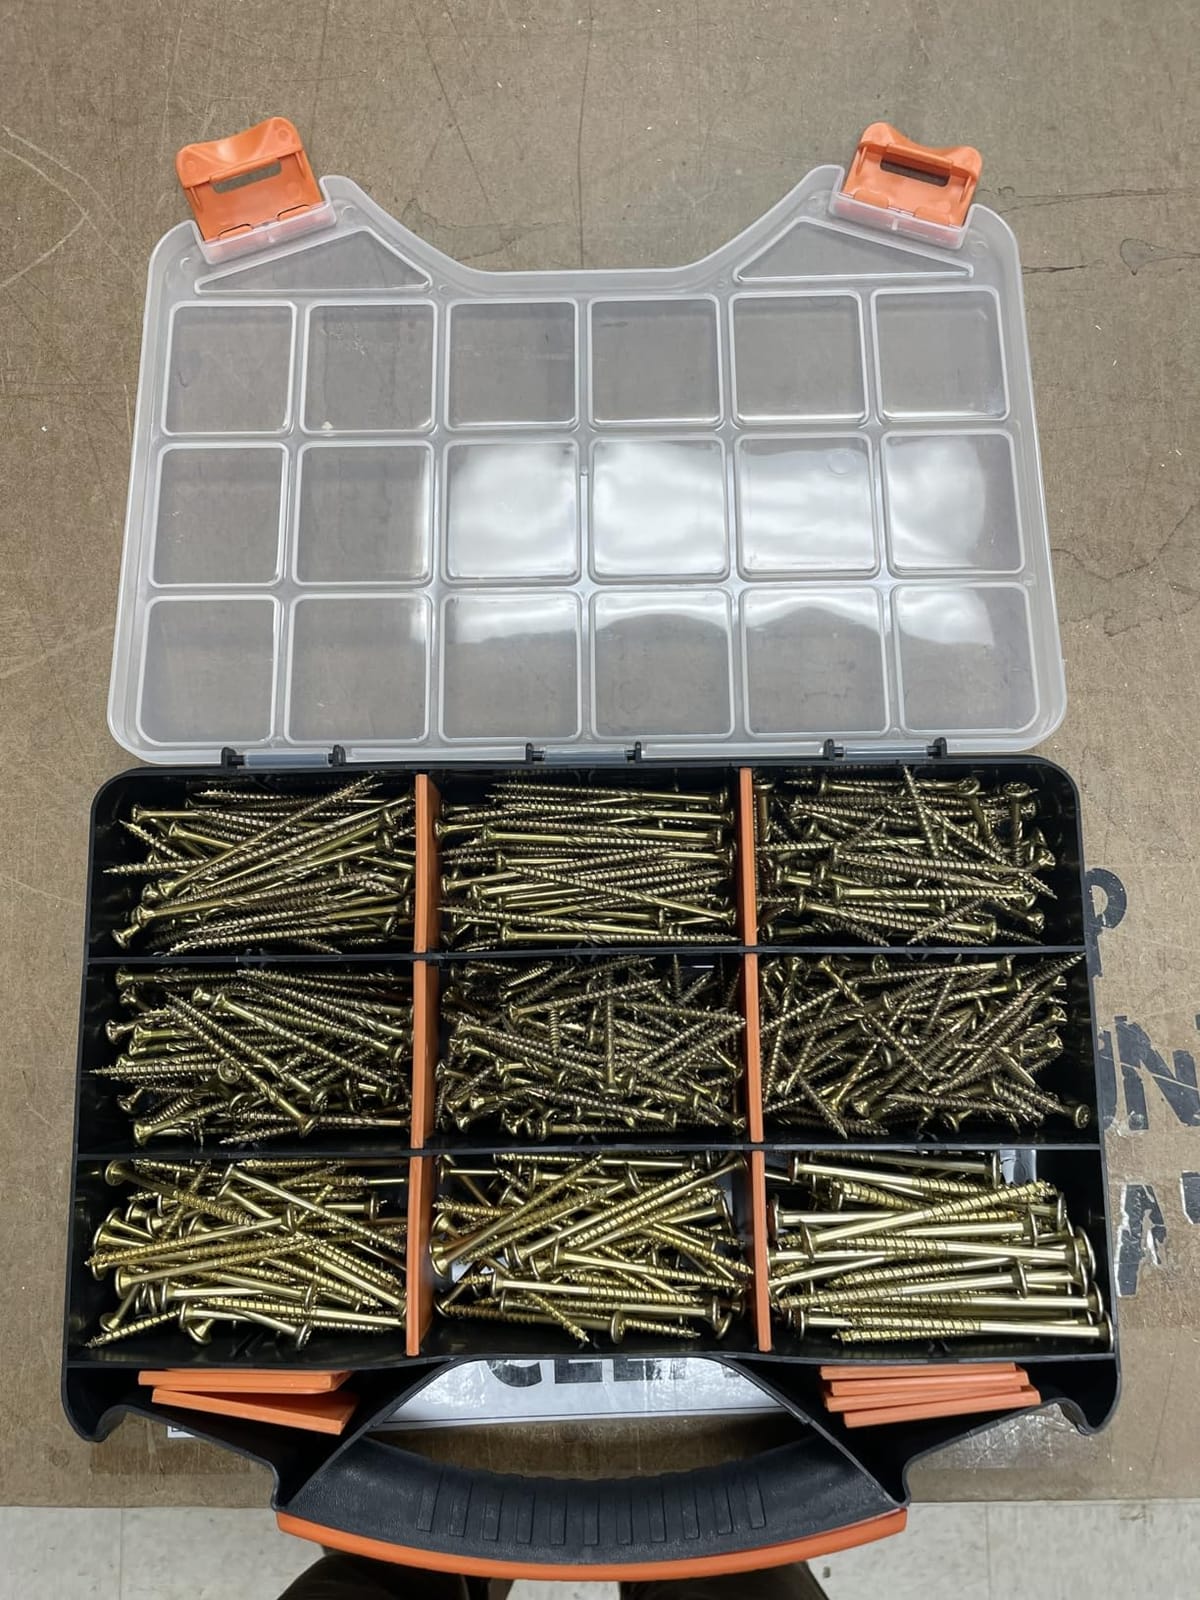
This is the pair I recommend to someone organizing their first arcade cabinet or their first pinball machine. You get 36 uniform 2-by-2-inch compartments, which is enough to hold every fastener and clip a single machine produces during a full teardown.
I use my set as the intake station. Parts come off a machine, get photographed, then get sorted into these shallow trays by assembly before anything moves to permanent storage. The 1.75-inch depth keeps everything in one visible layer, which is exactly what forum veterans mean when they say never store parts more than one or two layers deep.
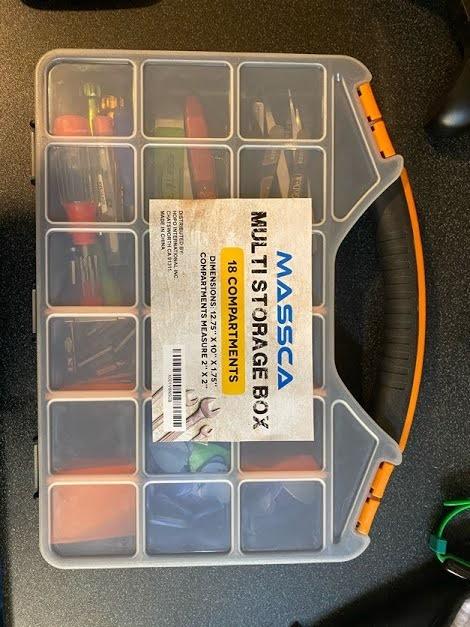
Each tray is 12.75 by 10 by 1.75 inches with a hinged transparent lid and locking latches on both sides. At roughly 4 pounds loaded they are easy to carry to a bench, and the flat profile stacks neatly on a shelf without consuming vertical space.
With more than 3,600 reviews at 4.6, the value story is well proven. Hobbyists use these for LEGO and model kits as much as hardware, and the uniform cell size is genuinely good for arcade work because most removed hardware is small and uniform.
Manage your expectations on toughness. These are light-duty compared to the DEWALT, a few buyers report slight warping out of the box, and the plastic can crack if you drop a loaded tray. They are organizers, not job-site equipment, and treating them gently keeps them alive for years.
Best Use as a Teardown and Sort Station
Keep one tray per machine during disassembly and label the lid with the machine name and date. Photograph the loaded tray before parts move anywhere, and you have a free reference record of what the machine contained.
Once the restoration ends, wash the trays and start the next project. They are cheap enough to dedicate to long projects without guilt.
When to Upgrade Past These
Move up to metal-latch cases when you start traveling with parts or loading cases into a vehicle. The hinge and latch plastics here are the components that fail first under transport vibration.
Also upgrade once your collection outgrows about two machines. Past that point, a drawer cabinet plus a proper inventory list saves more time than adding more shallow trays.
8. AideTek BOXALL48 ESD-Safe Organizer – Best for Chips and ICs
AideTek BOXALL48 48 ESD Safe anti-statics bins Enclosure for Surface Mount Components IC chips diode transistor Tweezers
48 ESD-safe bins
Conductive black plastic
24 small 24 large
Labels and tweezers
8.7 x 5.7 x 1.5 inch
Pros
- Verified ESD protection for sensitive chips
- Right-sized bins for SMD parts
- Includes labels and tweezers
- Doors stay shut when stored sideways
Cons
- Black interior hides tiny parts
- Clasp can be finicky
- Small review base
This is the box that finally got my loose ICs, RAM chips, diodes, and transistors out of a shoebox of unlabeled anti-static bags. If you repair arcade PCBs, this is the single most important storage purchase you can make, and no mainstream competitor in this niche even mentions ESD storage.
The reason it matters is electrostatic discharge. Walking across carpet can build a charge of several thousand volts, and CMOS parts on arcade boards can be degraded or killed by a fraction of that. The BOXALL48 is molded from conductive black polystyrene with a surface resistivity of 10^2 to 10^5 ohms per square centimeter, so any charge on a part bleeds away instead of punching through a gate.
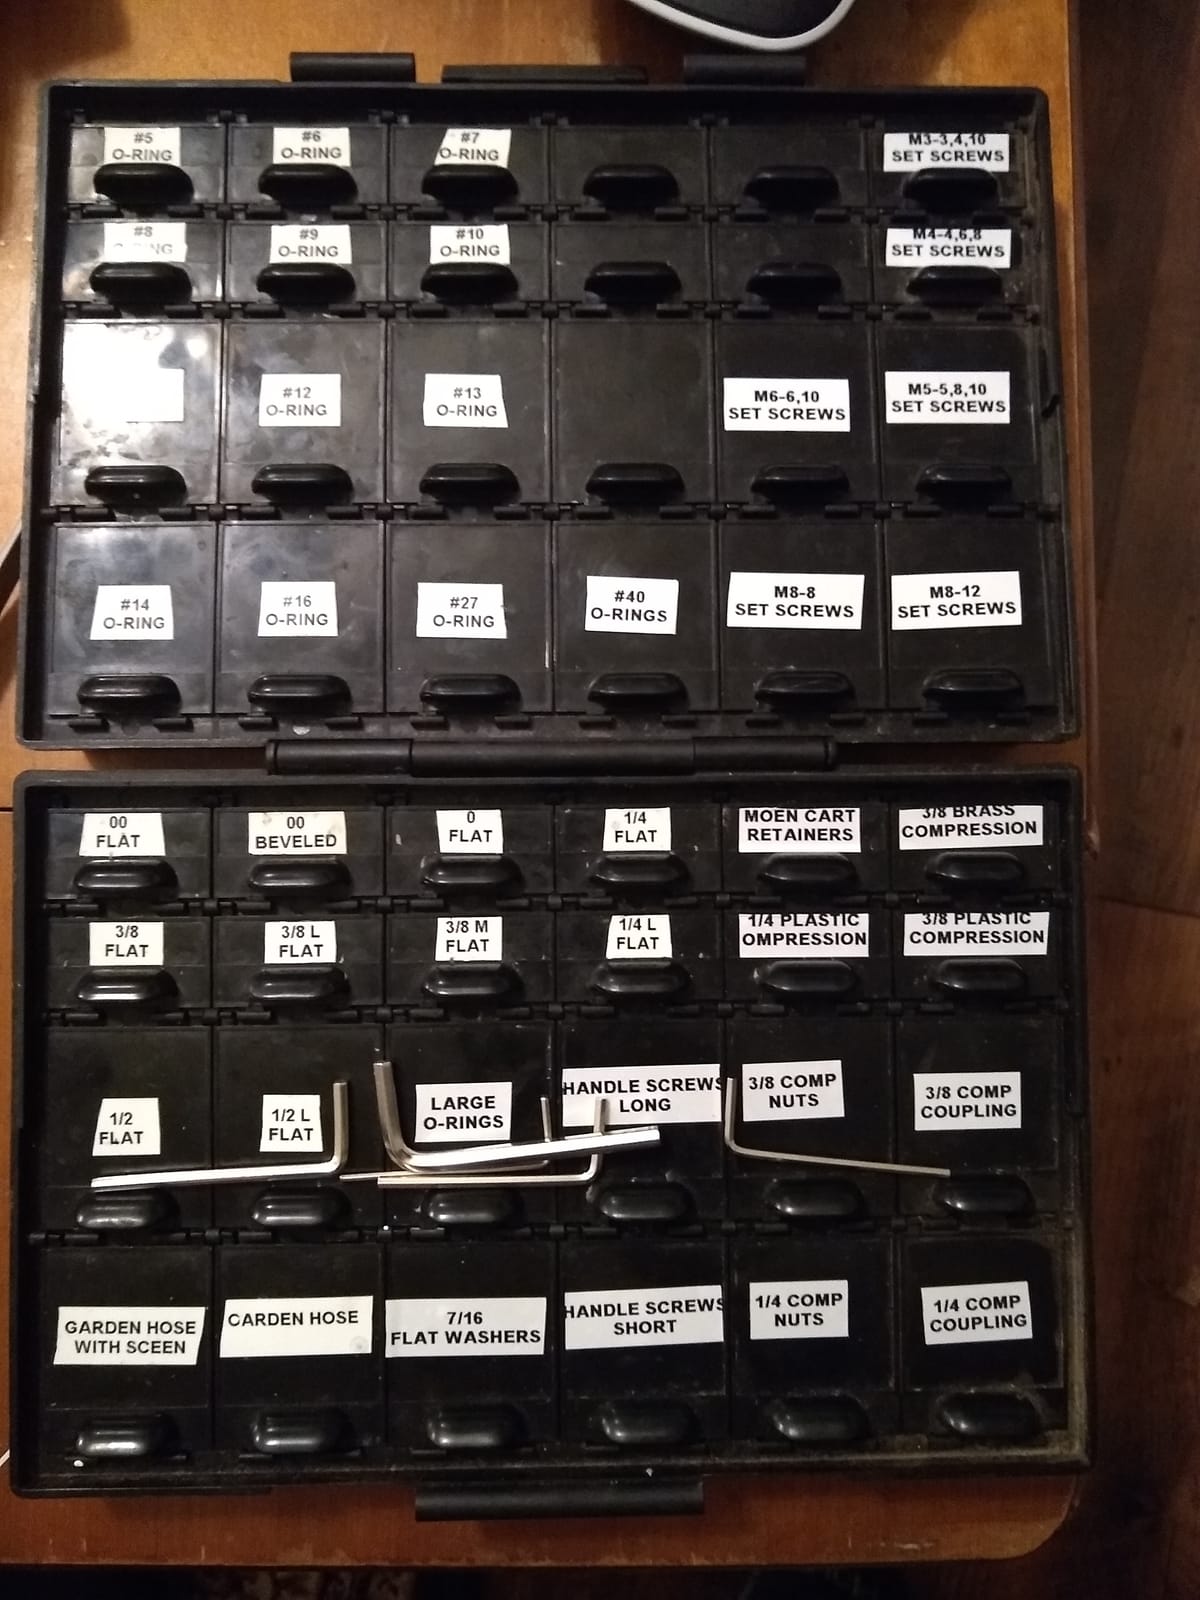
Inside are 48 bins, 24 small at roughly 0.78 by 1.37 by 0.78 inches and 24 large at 1.65 by 1.37 by 0.78 inches. The small bins each hold around 500 pieces of 1206-size passives, and the large ones around 1,000, which means one box consolidates a huge loose-component inventory.
Two thoughtful inclusions are the two sheets of printed labels and a pair of tweezers. The tweezers matter more than they sound, because handling ESD-sensitive parts with bare fingers is both a static risk and a corrosion risk from skin oils.
The 4.9 rating comes from only 22 reviews, so treat the score as a strong signal from a small group rather than mass validation. The box itself is well made, the lift-off lid stays closed when the case is stored on its side, and it replaced a drawer full of individual bags with one shelf-friendly unit.
Which Parts Belong in ESD Bins
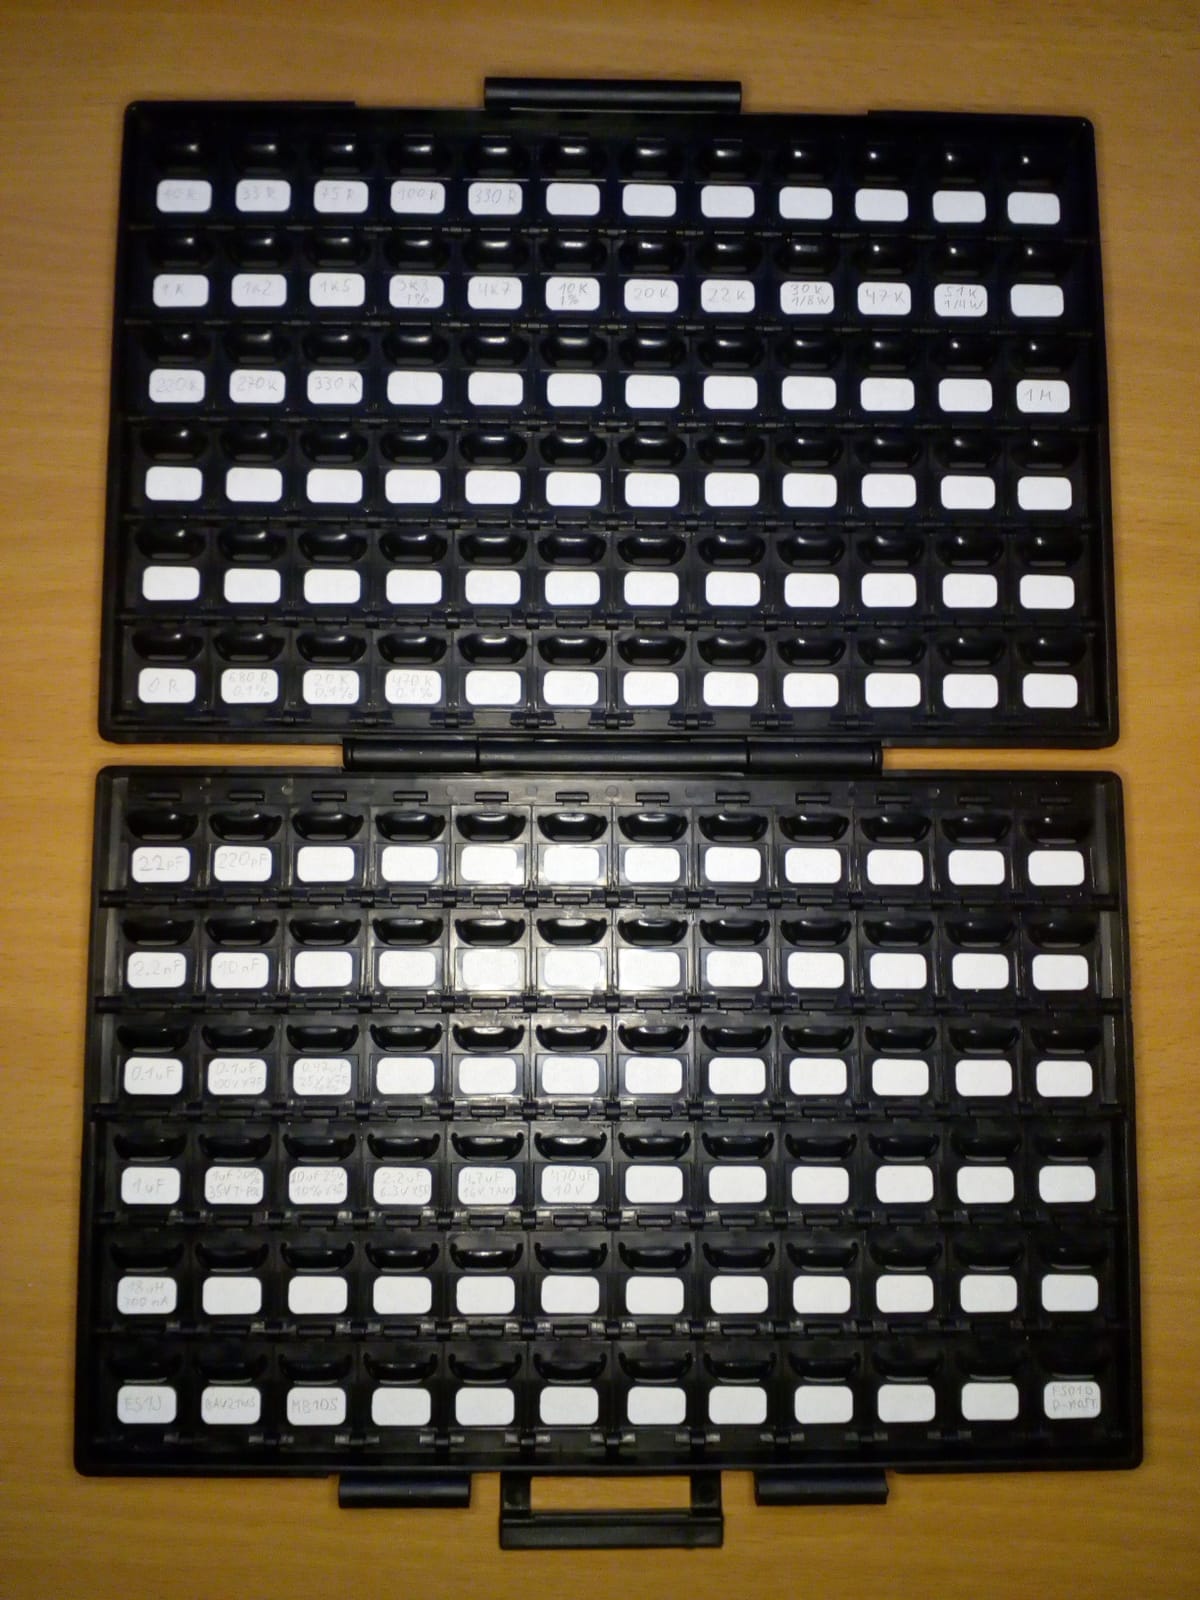
Anything that comes in a black or pink anti-static bag belongs here: RAM, ROMs, PALs, processors, TTL logic, voltage regulators, and surface-mount passives. Also include spare EPROMs programmed for specific games, since losing one to a static event can be irreplaceable.
Keep mechanical parts elsewhere. Mixing steel springs into a conductive box adds nothing and takes space from the parts that need the protection.
How to Keep Chip Labels Readable
Bin labels should carry the part number, quantity, and the machines that use it. When you pull two 6116 RAMs for a board repair, the label tells you whether you have enough for the next one.
Use the included tweezers and note the date on programmed parts. Older UV EPROMs can lose data over decades, so a re-verification schedule for your rarest stock is worth the ten minutes a year.
9. iFixit Anti-Static Project Tray – Best Bench Tray for Board Work
iFixit Anti-Static Project Tray – Small Parts and Screws Organizer
20 small 2 large compartments
11 x 8.5 inch
Anti-static PET
Letter-size labels
Lifetime warranty
Pros
- Anti-static plastic safe for board work
- 20 small plus 2 large compartments
- Sized for letter paper labels
- Lifetime warranty
Cons
- No lid included
- Thin flexible plastic
- Can crack if twisted
Every board repair session at my bench starts with this tray. Screws come out of a chassis in order, drop into the compartments left to right, and go back in reverse order at reassembly. That single habit has eliminated the leftover-screws problem that used to end every monitor recap.
The anti-static PET construction is the reason this tray and not a random ice cube tray. During a chassis repair you handle the board repeatedly, and a static-safe surface means you are not risking the very components you are replacing.

It measures 11 by 8.5 inches with 20 small compartments and 2 large ones, sized deliberately to fit a sheet of letter paper under it as a printed labeling template. That is a quiet piece of genius: you print a grid matching your repair stages, slide it beneath the clear tray, and every screw position is documented by location.
The lifetime warranty from iFixit reflects a company that stands behind repair culture, and the 4.6 rating across nearly 1,900 reviews shows how many technicians use these daily. Moisture resistance is adequate for bench work.
The obvious limitation is the missing lid. This is a workstation tool, not a transport container, so parts live in it only for the duration of a job. The plastic is also thin and will crack if you twist it or stack heavy tools on top.

Using It During Monitor and Chassis Repairs
Assign compartments by stage, so screws from the back cover, chassis frame, anode cap, and board mounts never mix. Photograph the loaded tray before you walk away from a multi-day repair.
For CRT work, keep the two large compartments for the anode discharge tool and the suction cup hardware so high-voltage parts stay separate from general screws.
Pairing It With Permanent Storage
When the repair closes, leftover parts move to the drawer cabinet or ESD box and the tray gets emptied. The tray is a flow stage, not a home, and keeping that distinction is what stops it from becoming a junk drawer.
Buy two if you run concurrent repairs. Interleaving two machines into one tray is how hybrid reassembly mistakes happen.
10. LJY 75-Pack Antistatic Resealable Bags – Best PCB Bagging System
LJY 75 Antistatic Resealable Bags, 3 Sizes for Memory Modules
75 resealable bags
3 sizes
Anti-static ESD protection
Zipper closure
Transparent
Pros
- 75 bags in three sizes
- Thick tear-resistant material
- Reliable zipper closures
- Transparent enough to read labels
Cons
- Sizes run smaller than expected
- Will not fit full motherboards
- Reflective finish under bright light
Before every bare board goes into a drawer or case at my shop, it goes into one of these bags. Seventy-five anti-static bags in three sizes is roughly a year of bagging for an active collector, and it is the cheapest insurance in the entire storage system.
My workflow is simple. A board gets bagged, the bag gets a label with the game, board revision, and working status, then the bag goes into a latched case or a shelf slot logged in the spreadsheet. Pulling a known-working spare in thirty seconds during a route emergency is worth the sixty seconds of bagging.

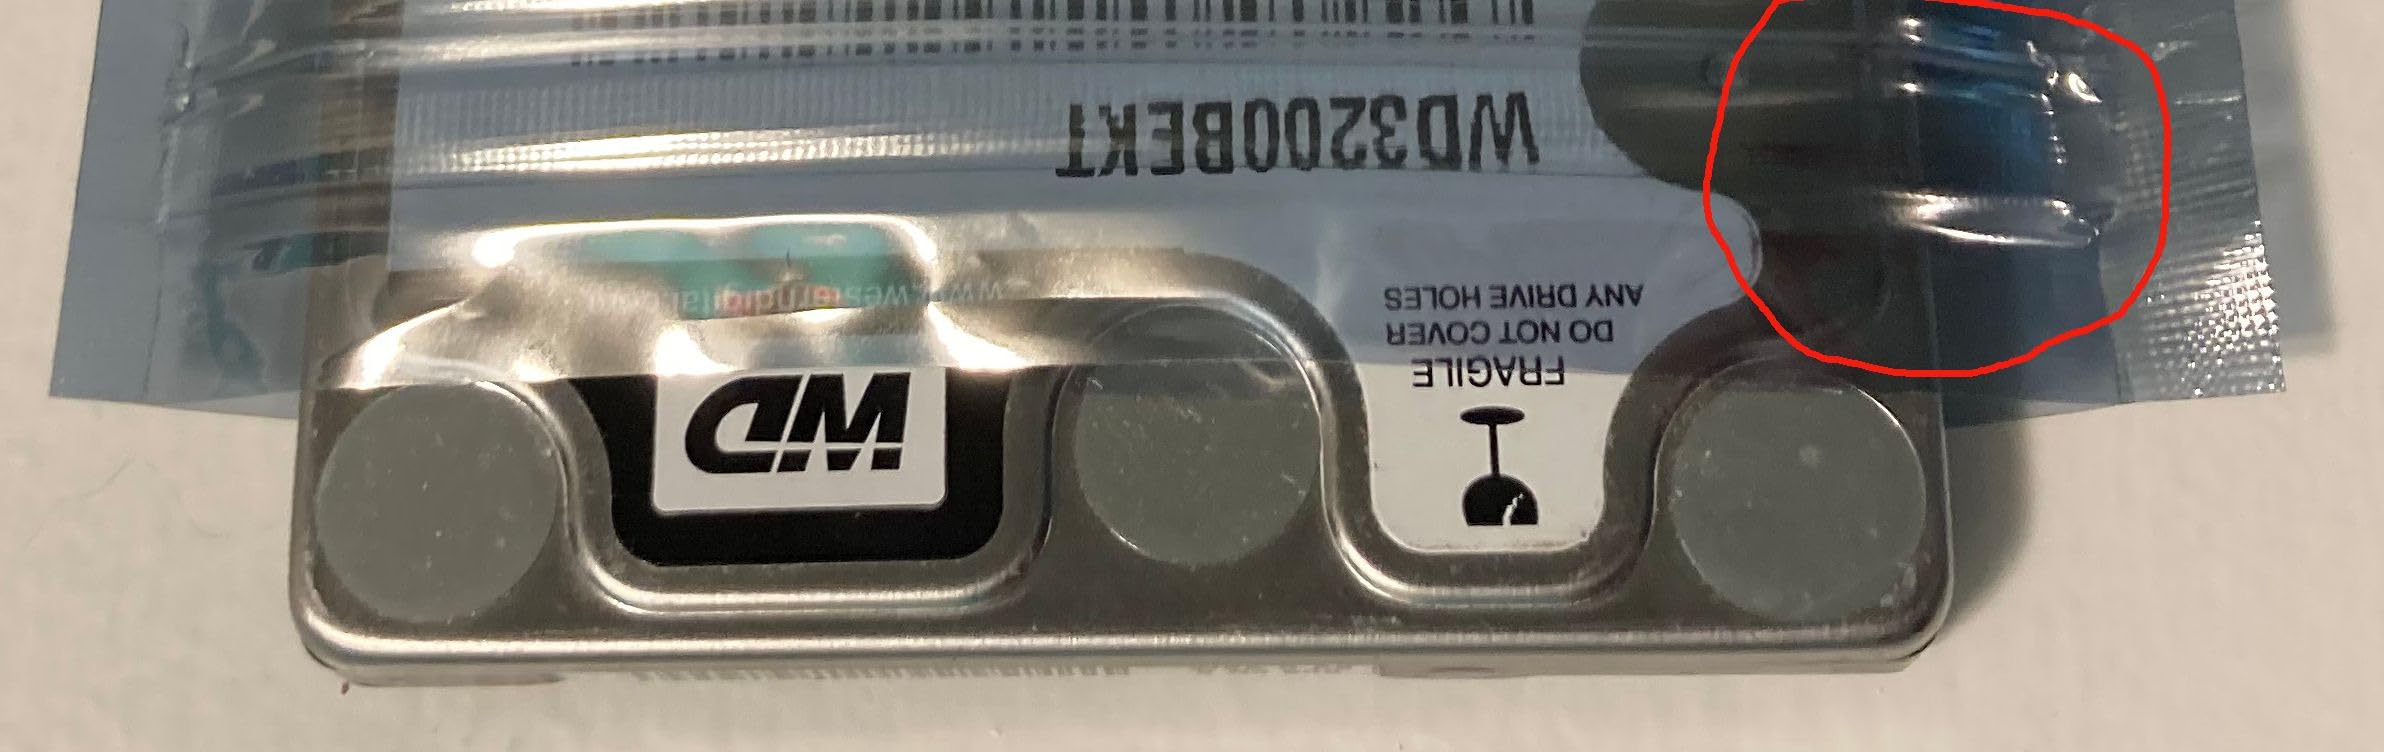
The assortment covers small bags around 7.9 by 5.9 inches, plus medium and large sizes in the 15-inch range. The large bags swallow 3.5-inch hard drives, control panel interface boards, and mid-size arcade PCBs, while the small ones suit daughterboards, power filter boards, and coin door interface cards.
Build quality is better than the price suggests. The plastic is thick and tear-resistant, the zippers close with a definite stop rather than the mushy feel of cheap resealables, and the material is transparent enough to read a handwritten label or a board silkscreen without opening.
Verify sizes against your boards before ordering. These will not fit a full desktop motherboard or a large graphics card, and buyers expecting to bag oversized boards report the fit runs small. For arcade-sized boards and drives, the range is well chosen.
Labeling Bags So Boards Stay Identified
Label the bag, never the board, with game title, board revision, tested status, and the date. A working spare and an untested pull look identical after six months on a shelf.
Add the shelf or case location to the label and mirror it in your inventory list. Finding a bag by location beats digging through every shelf in the shop.
Storing Bagged Boards Long Term
Stand bagged boards on edge in a latched case rather than flat-stacking them, so no board bears the weight of the pile. Add a silica gel pack to the case in any space with seasonal humidity swings.
Keep the storage area away from attic heat and garage floor damp. Stable room temperature and dry air do more for board longevity than any container can.
Buying Guide: How to Choose Arcade Parts Storage?
Choosing arcade parts storage comes down to matching container type to part category, then protecting the parts that damage easily. Here is how I would plan a system from scratch after a decade of getting it wrong first.
Start With a Categorization System
Every serious forum thread on this topic agrees on one thing: group parts by machine subsystem before you buy a single bin. The five categories I use are electronics, mechanical, power, displays, and hardware, and each maps to a container type.
Electronics and small components go in clear drawer cabinets and ESD-safe boxes. Mechanical assemblies like flipper mechs and joysticks go in deep latched cases. Power supplies and transformers go on shelving where weight is not a problem. Display parts and CRT spares need padded, dedicated shelf space away from traffic. Hardware and fasteners spread across drawer cabinets by size and machine family.
Betson’s operator guidance adds the downtime angle: the parts you stock should match what actually fails, including joysticks, buttons, power supplies, coin mechs, and LED replacements. Your storage should make those fastest-moving parts the easiest to reach.
ESD-Safe Storage for Boards and Chips
ESD stands for electrostatic discharge, the sudden flow of electricity between two objects at different potentials. An unprotected arcade PCB has no defense against it, and damage can be immediate or latent, meaning a chip passes a test then fails weeks later.
A few habits cover most of the risk:
Use conductive containers with a surface resistivity in the static-dissipative range for all bare ICs and SMD parts.
Bag every bare board before it enters a case, drawer, or shelf.
Ground yourself at the bench with a strap when handling boards, not just when you remember.
Keep conventional plastic bins away from bare electronics, since they generate and hold charge.
Handle chips with tweezers to avoid both static and corrosion from skin oils.
Humidity, Temperature, and Corrosion Control
No competitor in this space covers environmental control, yet it decides whether your spares still work in ten years. The safe band for storing electronics is roughly 30 to 50 percent relative humidity and a stable room temperature.
Below about 30 percent humidity, static risk climbs sharply. Above about 60 percent, connectors tarnish, edge connectors oxidize, and steel cabinet hardware rusts. A basic hygrometer on the shelf tells you where you stand, and rechargeable silica gel packs in closed cases correct minor damp problems.
Avoid three locations for valuable parts: attics that swing from freezing to furnace-hot, garage floors that flood and stay damp, and unheated sheds with condensation cycles. A closet inside conditioned space beats a bigger space without climate control.
Labeling and Inventory Tracking
The gold standard in the arcade community is still a spreadsheet, and the reason is simple: it prevents duplicate purchases. One Arcade Museum member I read maintains an Excel file with part photos, box numbers, and locations across a dozen storage spots, and swears it has paid for itself many times over in avoided reorders.
A workable label convention has three parts: a category letter, a container number, and a short description. E-04 might be electronics drawer four, M-02 mechanical case two. Label the container and log the same code in the spreadsheet, and any part becomes findable in seconds.
Digital options beat spreadsheets once your inventory gets large. A shared Google Sheet with a photo column is the easiest upgrade, and free QR code generators can link a printed label on each bin to its spreadsheet row so a phone scan opens the exact part list.
Budget Setups That Actually Work
You do not need to spend much. Forum users have built functional systems from Harbor Freight shelving with 3D-printed four-way dividers for chips, and free USPS Priority Mail boxes stored flat as board protectors. A stack of those shelves plus a label maker is a legitimate starting point that costs less than one premium drawer cabinet.
The community-vetted budget stack looks like this:
Steel shelving units for bulk and oversized parts.
One or two 44-drawer cabinets for small consumables.
Plano-style tackle boxes for portable small-parts kits, the most commonly recommended cheap starting point.
Anti-static bags for every board, regardless of what else you own.
A printed or spreadsheet inventory with photos.
What separates a useful budget setup from a cheap one is labels and depth discipline. Parts stored more than two layers deep become invisible, and invisible parts get repurchased.
Frequently Asked Questions
How do you store spare parts?
Sort parts into categories like electronics, mechanical, power, displays, and hardware, then give each category one container type. Use clear drawers for small components, latched cases for assemblies, and anti-static bags for bare boards. Label every container with a code, log the code in a spreadsheet, and store nothing more than two layers deep.
How do you properly store PC parts and arcade boards?
Put every bare board in an anti-static bag first, then store it on edge in a closed case away from heat and damp. Keep humidity between 30 and 50 percent, use conductive bins for loose chips, and ground yourself with a wrist strap before handling. Never store bare PCBs loose in ordinary plastic bins.
What is a good storage bin for board games?
A deep latched organizer with removable cups, like the DEWALT DWST14825 or STANLEY Deep Pro Organizer, works well for board game pieces and small arcade components alike. The clear lid lets you see contents without opening, and removable dividers let you resize compartments to the pieces you have.
How do you arrange a spare parts store?
Group parts by subsystem, assign each group a fixed zone, and place the fastest-moving parts closest to your bench. Use vertical wall cabinets for small parts, shelving for bulk items, and one labeled case per active project. Finish with a spreadsheet listing every container code so nothing gets lost or repurchased.
Do I need ESD-safe storage for arcade boards?
Yes for bare boards and loose chips. Static discharge you cannot even feel can degrade or kill CMOS logic on arcade PCBs, and damage is often latent. Use conductive bins with static-dissipative surface resistivity for ICs and anti-static bags for boards, and skip ordinary plastic for bare electronics.
How do I keep track of spare arcade parts?
Maintain a spreadsheet with part name, quantity, container code, and a photo, and update it whenever you add or use a part. Label every bin and case with the same code used in the sheet. Scannable QR codes linking bin labels to spreadsheet rows make lookup instant on a phone.
Final Verdict: Build Your System in Layers
The best storage solutions for arcade parts and spares in 2026 are not one product but three working together: a clear drawer cabinet for small consumables, a latched organizer for travel and project kits, and ESD-safe bins plus anti-static bags for every board and chip you cannot afford to lose.
If you buy only one thing, get the Akro-Mils 10144 drawer cabinet and label every drawer on day one. Add the CRAFTSMAN 3-pack when you start juggling multiple projects, and add the AideTek ESD box the moment you own more than a handful of loose chips. Pair all of it with a simple spreadsheet, and the duplicate-purchase problem that costs every collector real money simply disappears.
Start with your worst category, the one that makes you reorder parts you already own. Sort it, label it, log it, and the rest of the system builds itself from there.