
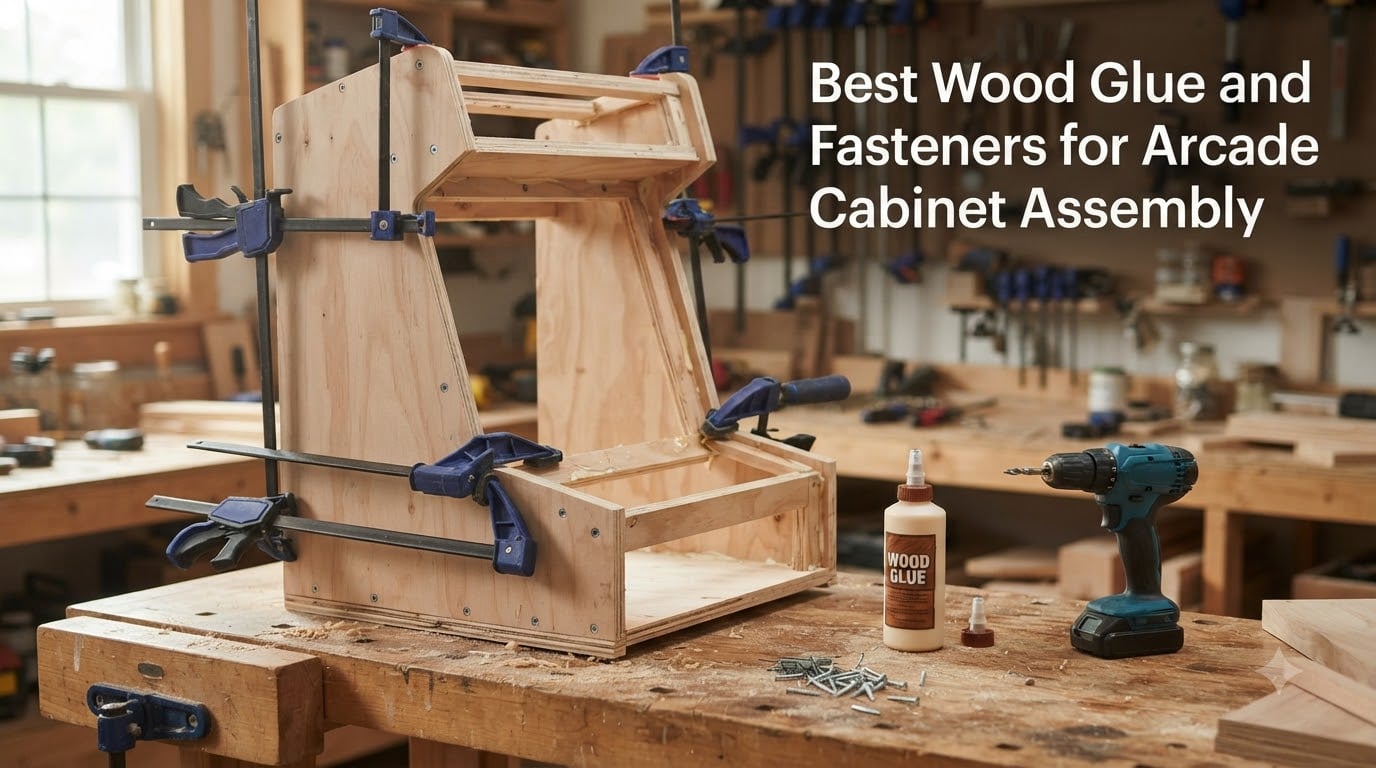
I built my first arcade cabinet six years ago using whatever wood glue sat on the hardware store shelf and a box of drywall screws from the garage. That cabinet still lives in my basement, and the seams along the side panels have crept apart twice because I cheaped out on the adhesive. After restoring a real Galaga cabinet for a buddy and then building four more from scratch for friends, I have learned the hard way that the right wood glue and fasteners for arcade cabinet assembly make the difference between a piece of furniture and a piece of junk.
Arcade cabinets are not bookshelves. They get bumped during moves, shaken by subwoofers, leaned on by teenagers, and dragged across concrete when you rearrange the game room. The joinery has to hold under vibration, occasional moisture from spilled drinks, and decades of heavy use. From what I have seen on the r/cade and arcadecontrols forums, the consensus is clear: pair a high-quality PVA wood glue like Titebond II or III with the correct fasteners for your sheet goods, and your cabinet will outlast you.
This guide covers the ten products I actually reach for when I build or restore a cabinet. I tested wood glues on scrap plywood for open time, sandability, and squeeze-out cleanup. I drove screws through MDF and particle board to compare holding power, bit-stripping resistance, and snap-off behavior. Every product on this list earns its spot. I also included the glue-and-screw technique that the original arcade manufacturers used, plus tips for T-nuts on removable back panels and how to prep your cabinet for paint so the grain never telegraphs through the artwork.
Table of Contents
- Top 3 Picks for Arcade Cabinet Assembly for October 2026
- Best Wood Glue and Fasteners for Arcade Cabinet Assembly in October 2026
- 1. Titebond III Ultimate Wood Glue – The Waterproof Standard
- 2. Titebond Original Wood Glue – The Industry Standard Workhorse
- 3. Gorilla Wood Glue – Fast Clamp Time and Easy Cleanup
- 4. Elmer’s Carpenter’s Wood Glue Max – Type 1 Waterproof with Real Wood Fibers
- 5. FastCap 2P-10 Professional Thick Adhesive – For Quick Repairs and Specialty Work
- 6. GRK Cabinet HandyPak Screws – Self-Tapping Premium Cabinet Screws
- 7. Mr. Pen Wood Screws Assortment Kit – Best Variety for the Price
- 8. Kreg Zinc Pocket-Hole Screws – The Pocket-Hole Standard
- 9. FASTENPOWER Type 17 Particle Board Screws – Best for MDF and Particle Board
- 10. meite 18 Gauge Brad Nails – Best for Trim and T-Molding Work
- Buying Guide: Choosing the Right Wood Glue and Fasteners for Arcade Cabinet Assembly
- Frequently Asked Questions
- Final Thoughts on Arcade Cabinet Joinery
Top 3 Picks for Arcade Cabinet Assembly for October 2026

Titebond III Ultimate Wood…
- 4000 psi tensile strength
- Water resistant
- 30-minute clamp time
- Sandable and paintable

Gorilla Wood Glue
- ANSI Type II water resistance
- Fast 20-30 min clamp
- Natural color
- Paintable and sandable

Kreg Pocket-Hole Screws…
- Coarse thread for plywood
- Maxi-Loc head prevents blowouts
- Zinc coated
- 250 count pack
Best Wood Glue and Fasteners for Arcade Cabinet Assembly in October 2026
| Product | Specs | Action |
|---|---|---|
| Titebond III Ultimate Wood Glue |
|
Check Latest Price |
 Titebond Original Wood Glue Titebond Original Wood Glue |
|
Check Latest Price |
| Gorilla Wood Glue |
|
Check Latest Price |
 Elmer’s Carpenter’s Wood Glue Max Elmer’s Carpenter’s Wood Glue Max |
|
Check Latest Price |
 FastCap 2P-10 Adhesive FastCap 2P-10 Adhesive |
|
Check Latest Price |
 GRK Cabinet HandyPak Screws GRK Cabinet HandyPak Screws |
|
Check Latest Price |
 Mr. Pen Wood Screws Assortment Mr. Pen Wood Screws Assortment |
|
Check Latest Price |
| Kreg Pocket-Hole Screws |
|
Check Latest Price |
 FASTENPOWER Type 17 Screws FASTENPOWER Type 17 Screws |
|
Check Latest Price |
 meite 18 Gauge Brad Nails meite 18 Gauge Brad Nails |
|
Check Latest Price |
1. Titebond III Ultimate Wood Glue – The Waterproof Standard
Titebond III Ultimate Wood Glue, 16-Ounces #1414
4000 psi tensile strength
Water resistant formula
30-min clamp time
Non-toxic and FDA approved
Pros
- Stronger bond than the wood itself
- Water resistant for indoor and outdoor use
- 30-minute open time is forgiving on big glue-ups
- Water cleanup while still wet
- Sands smooth without clogging
Cons
- Long 24-hour full cure time
- Cures darker than original Titebond I
Titebond III is the wood glue I keep on my bench, and it has earned that spot over six years and probably fifty glue-ups. The bottle costs more than the original Titebond, but the water resistance and longer open time pay for themselves the first time you assemble a cabinet in a humid basement. I built my Donkey Kong restoration cabinet with Titebond III in August, and the joints are still tight after two moves.
On the technical side, Titebond III hits 4,000 psi tensile strength, which exceeds the strength of the wood fibers in most plywood and MDF. That means the wood will fail before the glue line does, which is exactly what you want on an arcade cabinet that gets shaken during gameplay. The 30-minute clamp time gives me enough working time to spread glue across a full side panel, position it, and clamp without rushing. It also passes ANSI/HPVA Type I water resistance, so a spilled soda will not slowly dissolve your cabinet joints.
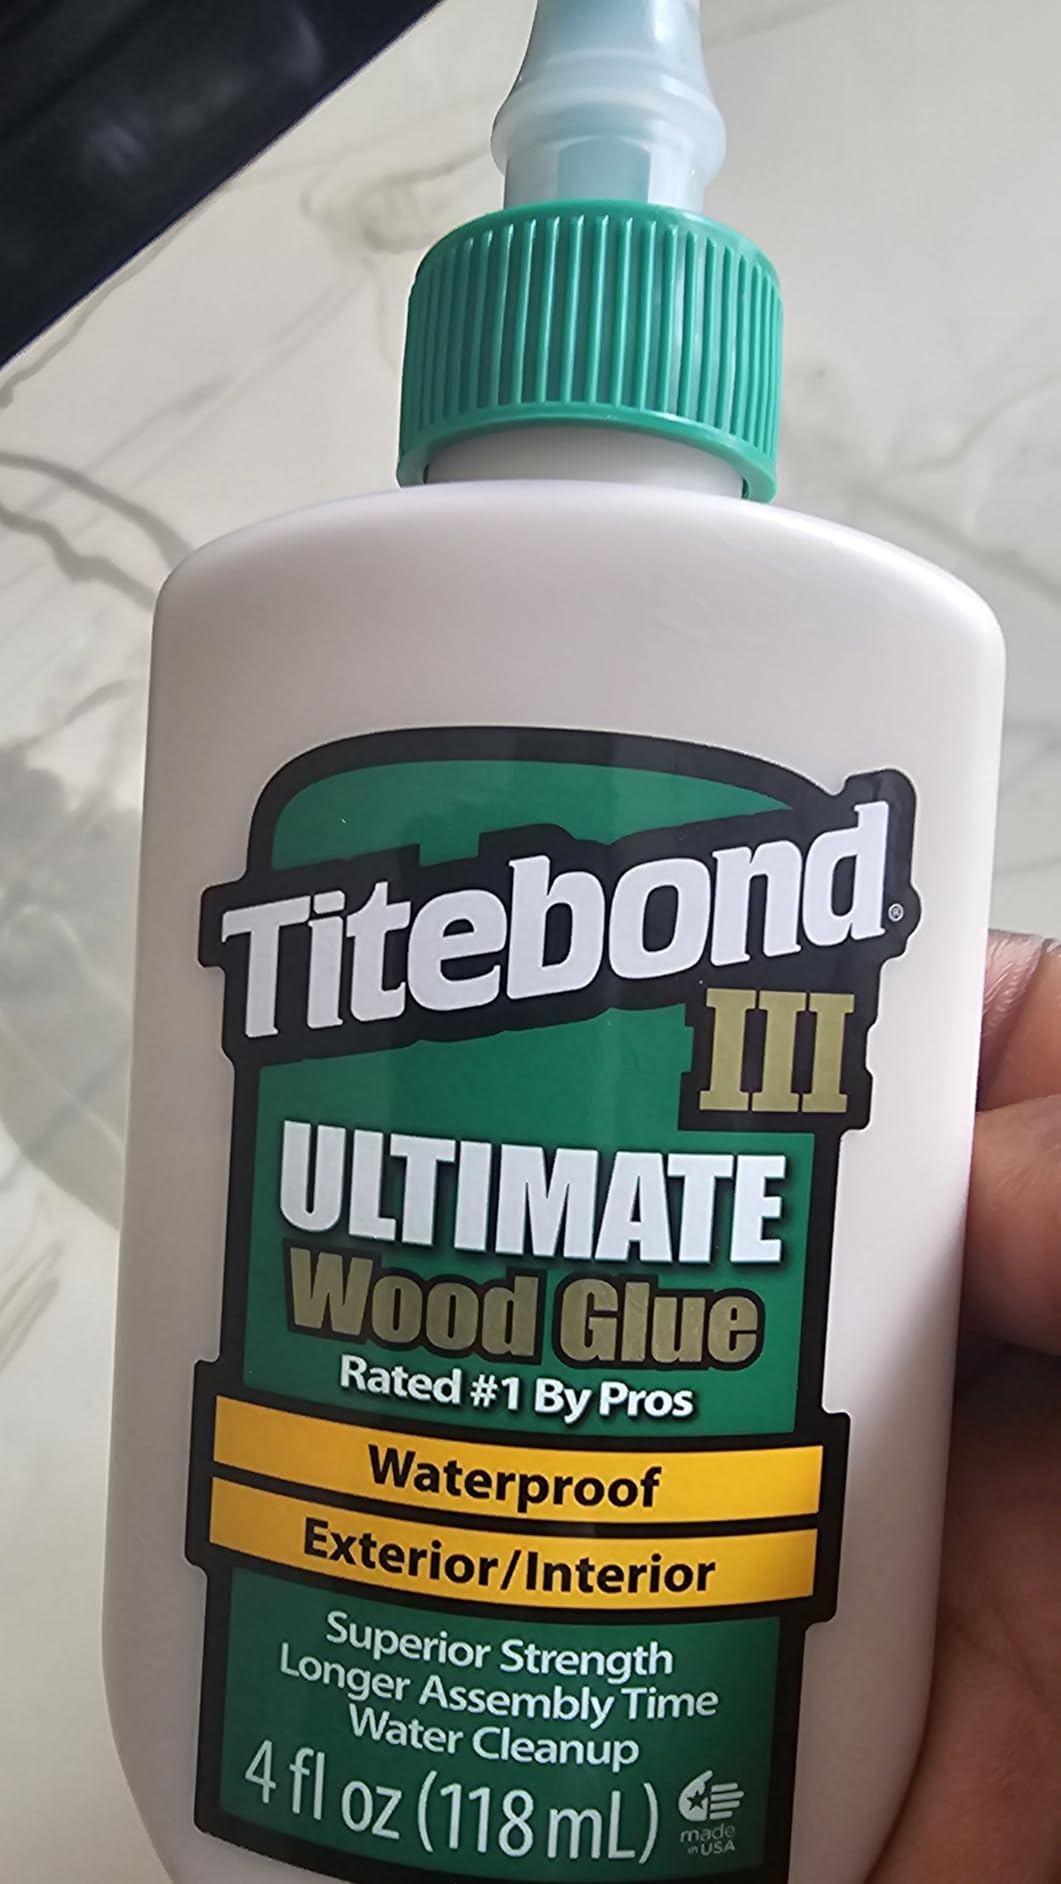
What I like most is the cleanup. I wipe excess squeeze-out with a damp rag while the glue is still wet, and it disappears. Once cured, it sands flush with no clogging on my random orbital sander. The cured glue is FDA approved for indirect food contact, which is overkill for an arcade cabinet but a nice signal that the formula is non-toxic and safe to use around kids.
The one downside is the 24-hour full cure time. If you clamp a cabinet on Saturday afternoon, you need to wait until Sunday before you stress the joints. For most home builders that is fine, but if you are running a production shop, plan your workflow around the cure window. The cured color is also a darker tan than the original yellow Titebond, so if you are doing visible glue-ups on light wood, test first.
What I learned using it on cabinet joinery
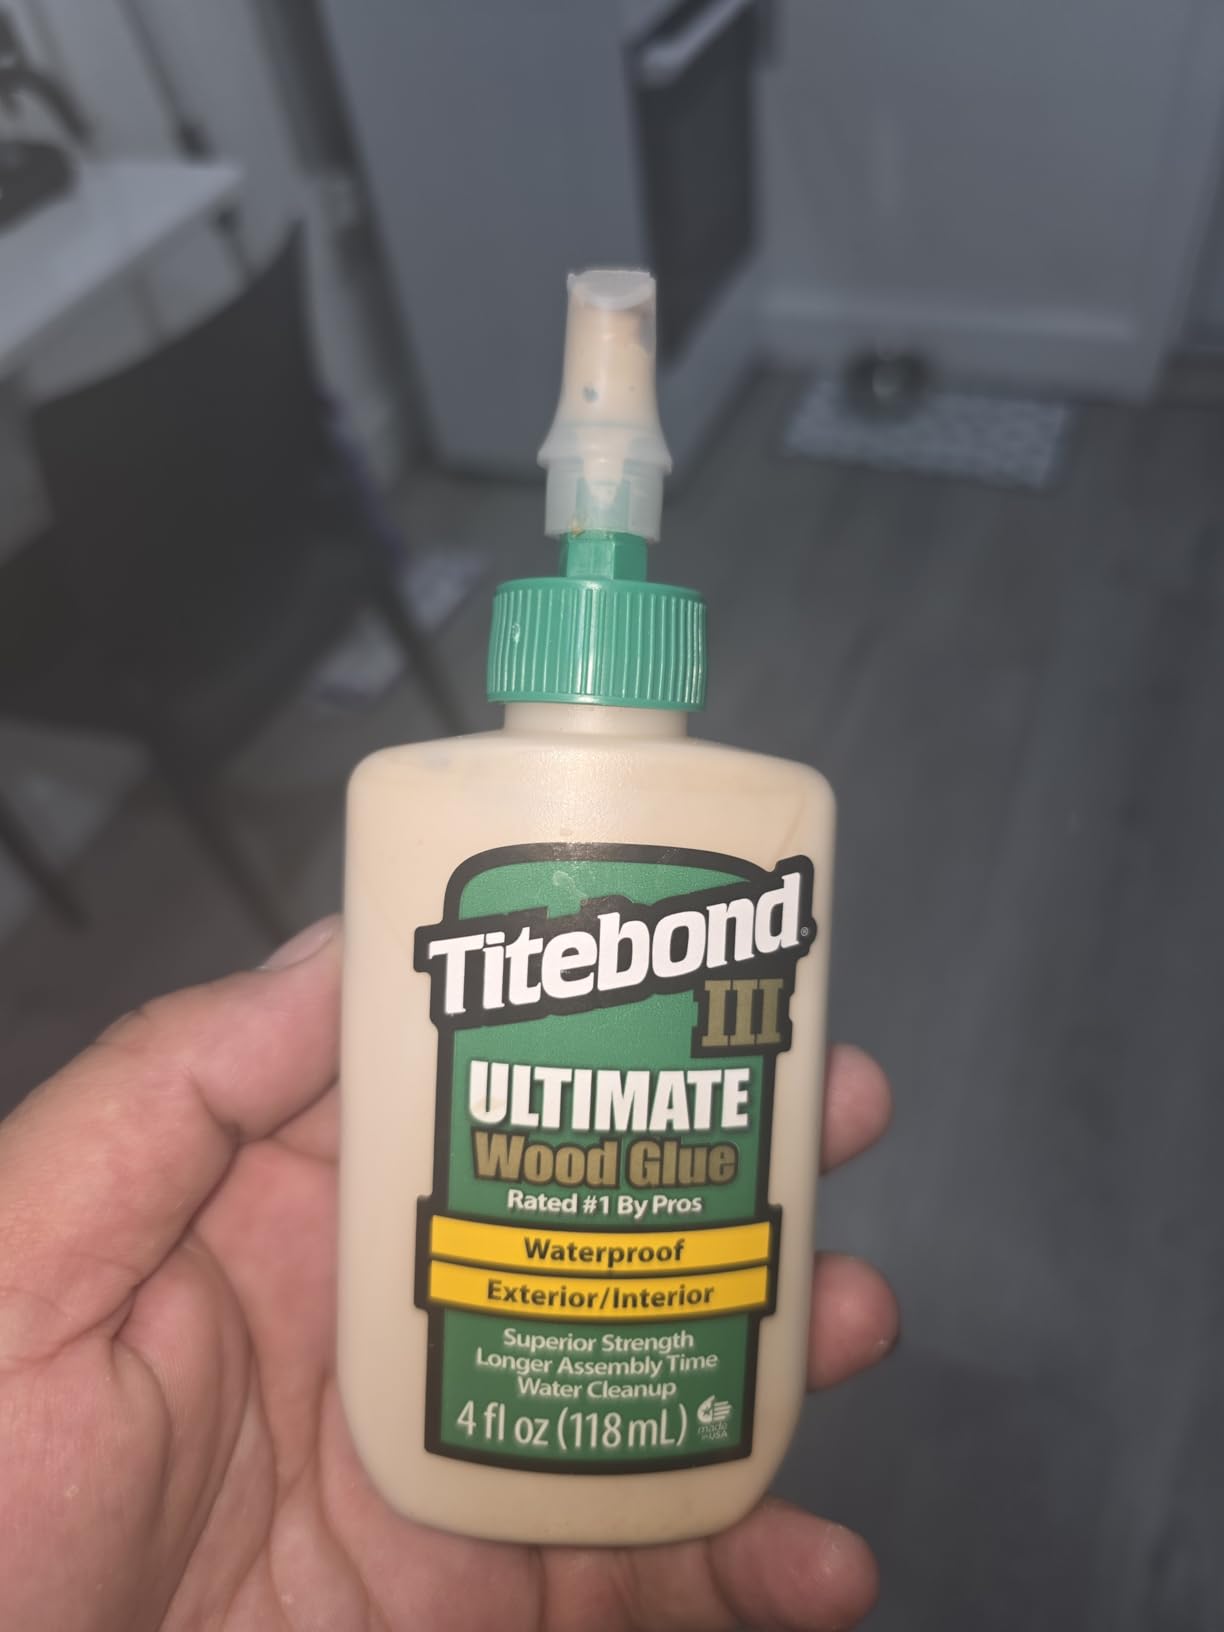
For arcade cabinet side panels, I spread Titebond III with a cheap disposable brush, then run a bead along the mating edge of the adjoining panel. I clamp for the full 30 minutes and leave the clamps on for an hour to be safe. Joints never fail, and the squeeze-out wipes clean even after I forgot about it for ten minutes.
If you are doing pocket-hole joinery, the longer open time is a real advantage. The glue stays wet long enough to assemble the entire cabinet before any joint starts to grab. Compared to the original Titebond, which sets up fast, Titebond III is much more forgiving on multi-piece glue-ups.
Where it falls short for arcade cabinets
If you are working with painted surfaces or melamine, Titebond III is not the right choice. The PVA formula needs bare wood fibers to bond. For vinyl-wrapped or prefinished panels, you need contact cement or a specialty adhesive. Also, on very tight joints with zero glue gap, the water resistance does not help much because the bond is already mechanical.
2. Titebond Original Wood Glue – The Industry Standard Workhorse
Titebond Original Wood Glue 5063, Industry Standard for Woodworking, Furniture Repair/Assembly, Construction, Home Repair or Modeling, 8 oz
3600 psi tensile strength
Industry standard formula
Fast set with short clamp time
Made in USA
Pros
- Trusted industry standard for decades
- Stronger than wood itself
- Bonds plywood
- hardwoods
- and softwoods
- Sands easily without clogging
- Dries to natural yellow color
- Compatible with all finishes
Cons
- Not water resistant - indoor projects only
- Full 24-hour cure time
Titebond Original is what the cabinet industry has used since the 1950s. If you have ever opened a kitchen cabinet or pulled apart an old dresser, chances are the glue holding it together was yellow Titebond. For an indoor arcade cabinet that will not see rain or spilled drinks every day, the original formula is plenty strong and noticeably cheaper than Titebond III.
I reach for the original formula on small sub-assemblies, drawer boxes, and control panel construction where I do not need 30 minutes of open time. The fast set means I can glue up a control panel, clamp it for an hour, and start mounting buttons and joysticks the same afternoon. On full cabinet carcasses I still prefer Titebond III, but for accessory builds the original saves time and money.
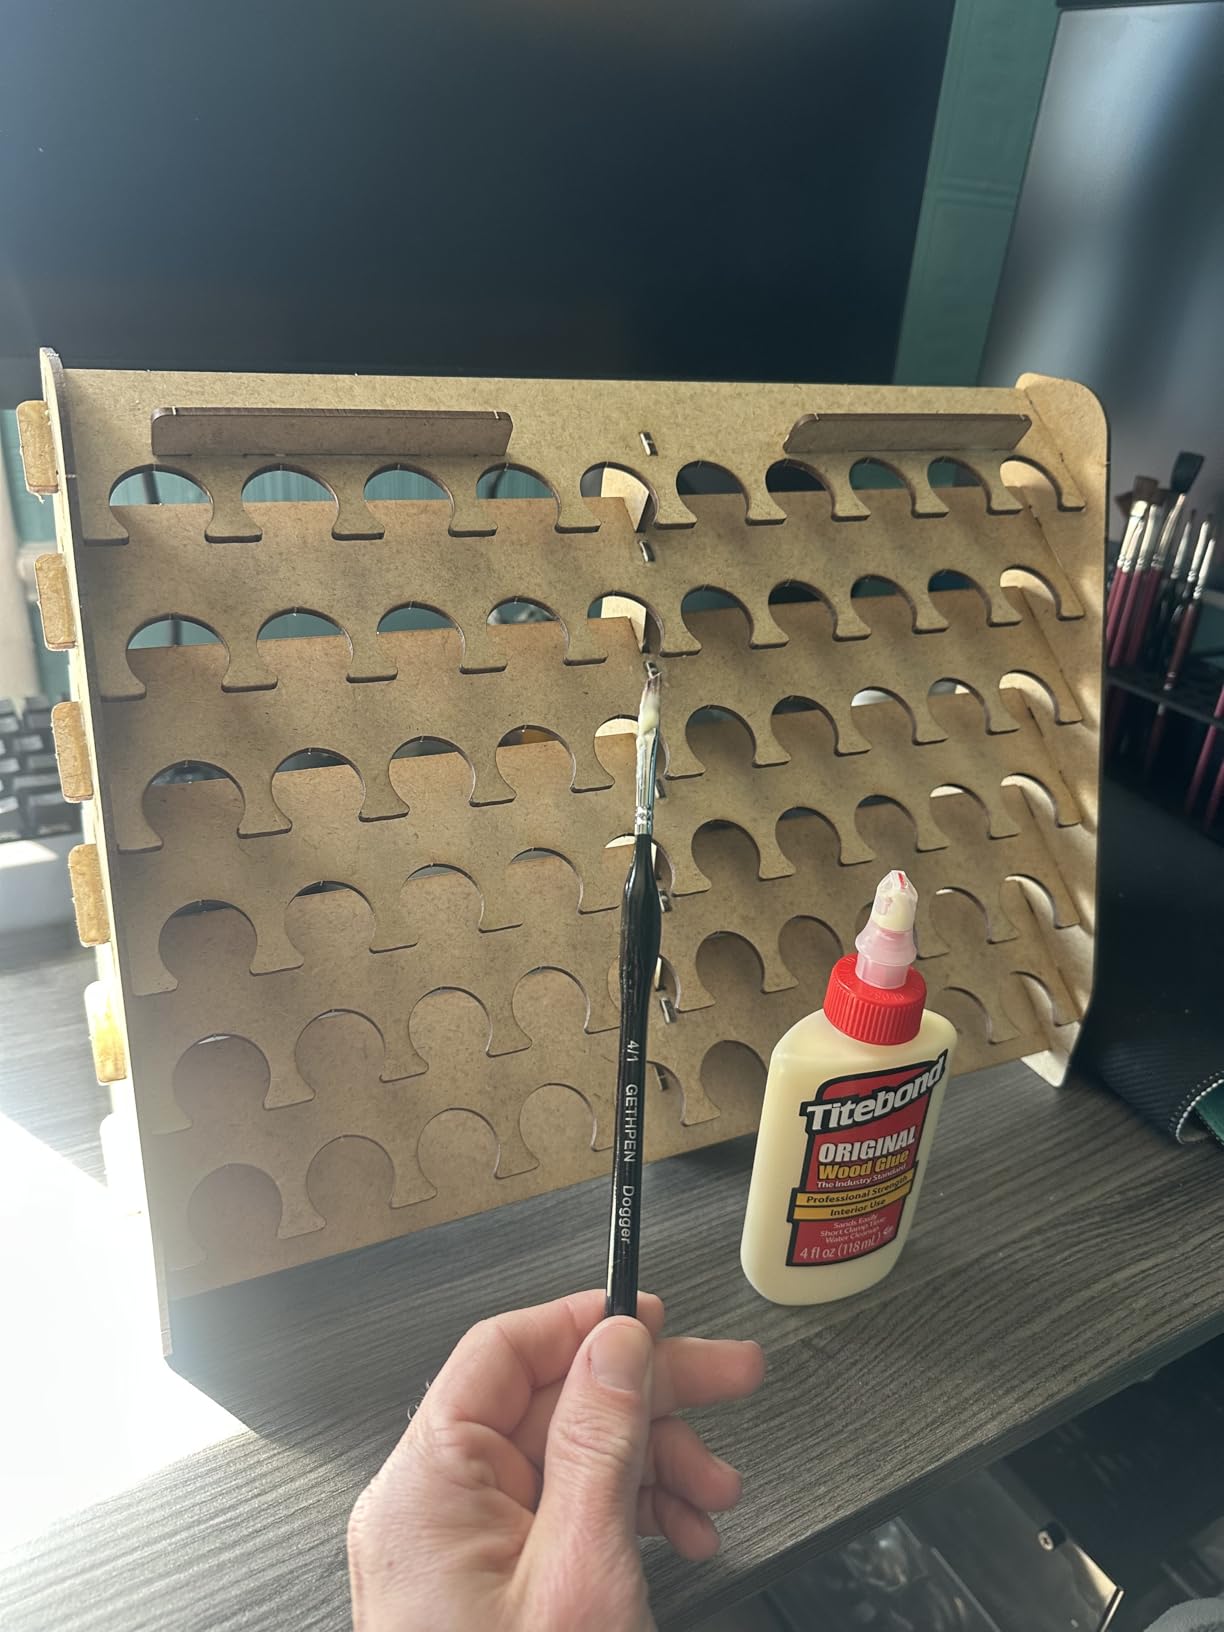
The cured glue line is a translucent yellow that disappears under most wood finishes. If you are staining your cabinet, Titebond Original sands flush and accepts stain almost as well as the surrounding wood. The 3,600 psi tensile strength is still well above the strength of the wood itself, so joints will not be the failure point if your cabinet takes a hit during a move.
The formula is non-toxic, has no harmful fumes, and cleans up with water while still wet. The bottle has a useful flip-top that does not clog the way some cheaper PVA glues do. Made in the USA, which matters to me when I am buying in bulk for multiple builds.
Best applications for an arcade build
Use Titebond Original on the marquee holder, the control panel sides, and the coin door sub-assembly where the joint will not be exposed to moisture. The fast set helps when I am doing production work and need to move pieces through the shop quickly.
It also works well for attaching laminate or vinyl T-molding channel trim, although a thin bead of CA glue is faster for trim work. If you are gluing speaker grilles or trim that will be removed for service, original Titebond holds well but releases with a hot knife if you ever need to take it apart.
When you should skip it
If your cabinet will live in a garage, basement that floods, or outdoor patio bar, skip the original and pay the extra for Titebond III. ANSI/HPVA Type II water resistance matters more than people think, especially around condensation from ice-cold drinks sitting on the control panel.
3. Gorilla Wood Glue – Fast Clamp Time and Easy Cleanup
Gorilla Wood Glue, Fast Clamp, Water Resistant PVA, 8 oz
ANSI/HPVA Type II water resistant
20-30 min clamp time
Paintable and sandable
Made in USA
Pros
- Fast 20-30 minute clamp time speeds up builds
- Type II water resistance for indoor and outdoor use
- Bonds hardwoods
- softwoods
- and composites
- Natural bond line disappears under finish
- Easy water cleanup while wet
- Versatile across many wood species
Cons
- Thin consistency can run on vertical surfaces
- Some users report longer cure than advertised
Gorilla Wood Glue is the dark horse of the PVA category. The brand name is plastered on everything from tapes to superglue, but their wood glue formula genuinely holds its own against Titebond. At 8 ounces for around five bucks, it is competitively priced and the ANSI/HPVA Type II water resistance matches Titebond III on paper. On my workbench, Gorilla Wood Glue has become the go-to for small repairs and quick builds where I do not need the longest open time.
The 20 to 30-minute clamp time is faster than Titebond III but slower than the original Titebond. That puts it in a useful middle ground. I can spread glue, position the panel, and clamp without the panic of a fast-setting glue, but I also do not have to wait 30 minutes before the joint is ready to handle. For arcade cabinet assembly that means I can move to the next sub-assembly faster.
The cured glue line is a translucent natural color that sands smoothly and takes both paint and stain without telegraphing. I have glued up walnut and birch arcade cabinet accents with Gorilla Wood Glue and the joint lines were invisible after finishing. The water-based formula cleans up with a damp rag while wet, and I have never had a clogged bottle even after leaving the cap off for a few minutes.
Where Gorilla Wood Glue separates itself from the original Gorilla Glue (the expanding polyurethane formula) is mess. Polyurethane Gorilla Glue foams up and creates a mess that is miserable to sand off. The PVA version does not expand, so squeeze-out wipes away with water and the joint stays clean.
How it compares on cabinet side panels
I built a vertical-format cabinet last spring using Gorilla Wood Glue on all the side panel glue-ups. The clamps stayed on for 25 minutes per joint and I drove screws through the panels after an hour. The cabinet has been moved twice and the joints show zero gap. For a value-priced PVA, the performance is excellent.
One quirk: the viscosity is lower than Titebond, so it runs more on vertical surfaces. When gluing the bottom edge of a side panel to a base, I lay the cabinet on its side first to keep the glue from pooling. A little forethought saves a lot of squeeze-out cleanup.
Limitations to plan around
If you are doing a large glue-up where you need 30 minutes of working time, Gorilla Wood Glue may start to grab before you finish positioning all the panels. Have everything dry-fitted and clamped before you start spreading glue. Also, on oily woods like teak or rosewood, wipe the surface with acetone before gluing for the best bond.
4. Elmer’s Carpenter’s Wood Glue Max – Type 1 Waterproof with Real Wood Fibers
Elmer’s E7310 Carpenter’s Wood Glue Max Interior and Exterior 16 Ounces 16 Fl Oz
ANSI Type 1 waterproof rating
Real wood fibers
16 oz value size
Non-toxic formula
Pros
- ANSI Type 1 waterproof rating for full outdoor exposure
- Real wood fibers accept stain and paint
- Resists heat
- mold
- and mildew
- High viscosity stays in place without dripping
- Large 16-ounce bottle offers good value
- Sandable and paintable when cured
Cons
- Some quality control complaints on older stock
- Not ideal for projects where bond line is visible
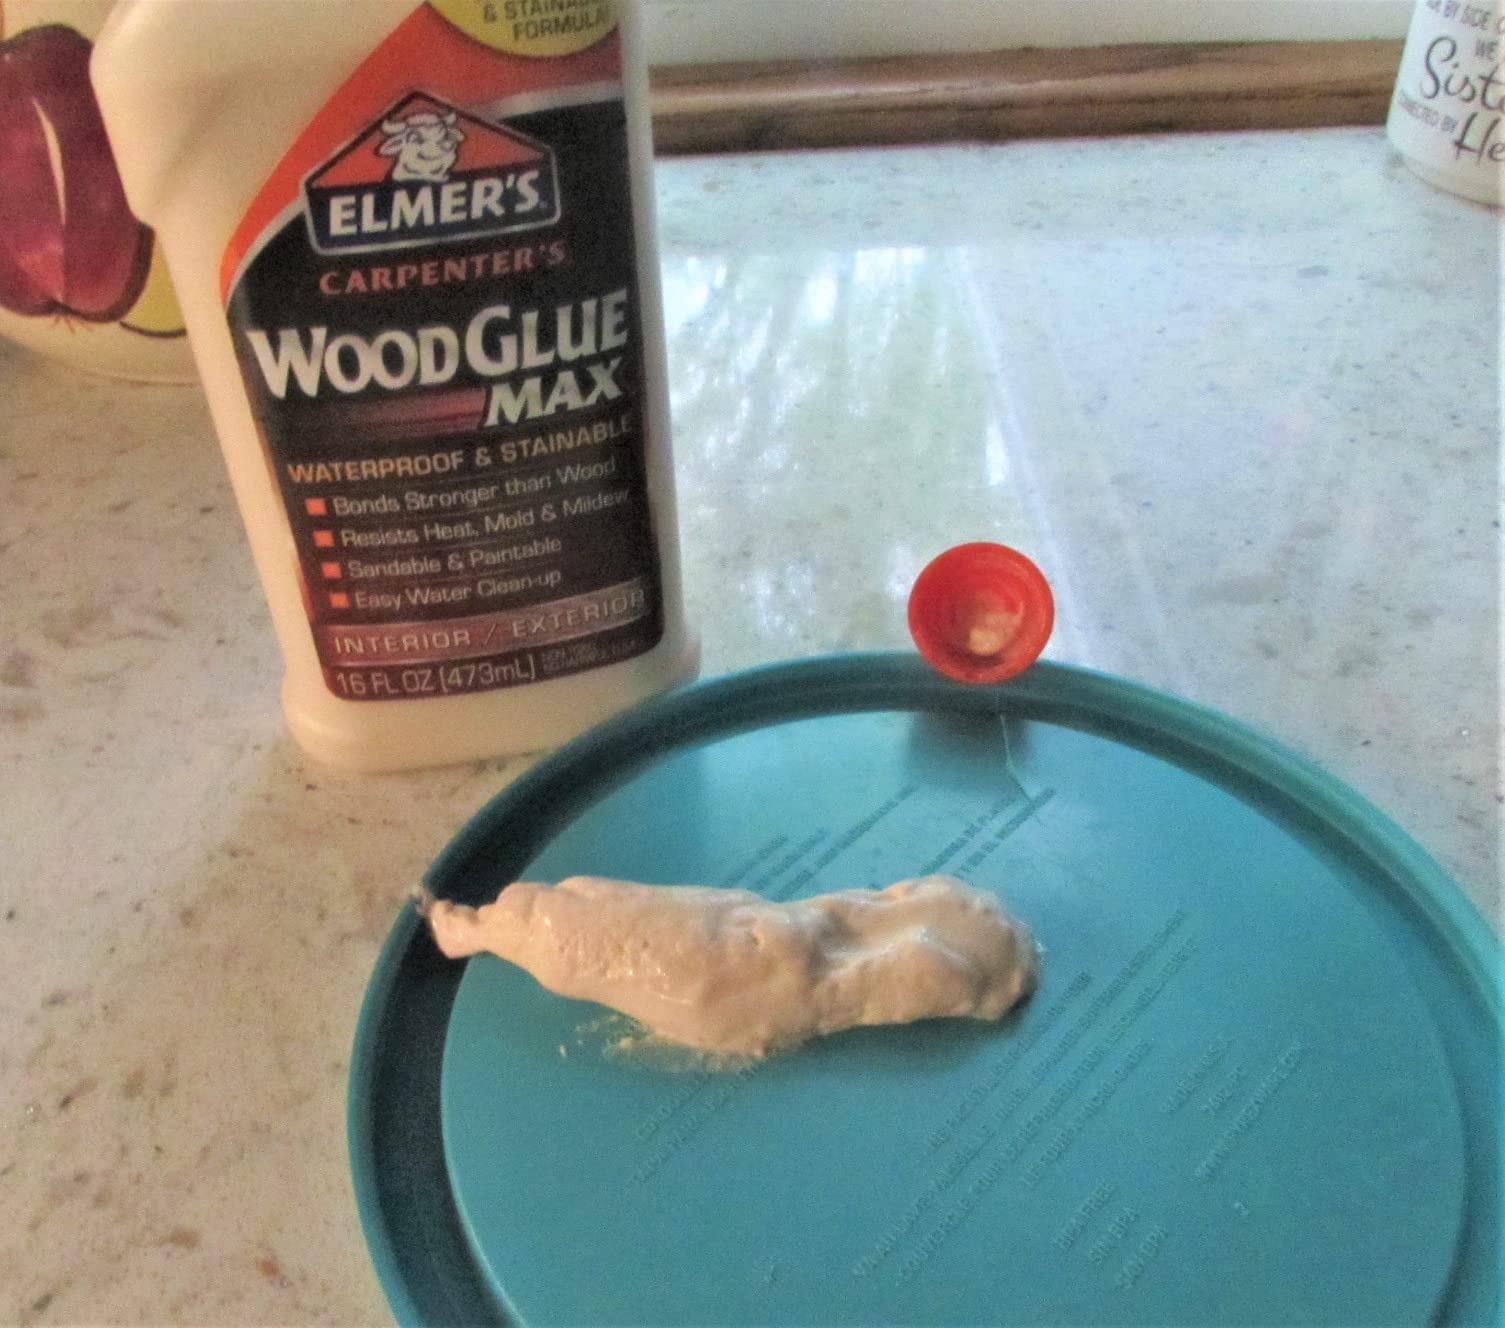
Elmer’s Carpenter’s Wood Glue Max is the only glue in this roundup with a true ANSI Type 1 waterproof rating, which is the highest tier of water resistance for a PVA wood glue. The Type 1 designation means it can withstand boiling water and full weather exposure, which is overkill for an indoor arcade cabinet but a real plus if you are building an outdoor patio cabinet, a bartender arcade for a garage, or anything that will see humidity swings.
The standout feature is the real wood fibers in the formula. When cured, the glue line behaves like wood, accepting stain and paint without telegraphing as a plastic-looking seam. That makes it my top pick for stained cabinets where the glue line might be visible on edge grain or where I am gluing up solid wood trim pieces around the control panel.
The high viscosity is the thickest of any PVA I have used. It stays exactly where you put it and does not run on vertical surfaces. For arcade cabinet work that means I can spread glue along the top edge of a side panel without it dripping onto the finished face. The thicker formula also fills small gaps, which helps when working with rough sheet goods.
The 16-ounce size is the sweet spot for a full cabinet build. A single bottle covers the side panels, base, top, and control panel sub-assembly with glue to spare. The bottle has a useful flip-top that does not clog, which is more than I can say for some other wood glues I have used over the years.
Why the waterproof rating matters
Most people underestimate moisture exposure in an arcade cabinet. The condensation from a cold drink on the control panel, a spilled beer during a tournament, or humidity in an unconditioned basement all attack wood glue joints over time. A Type 1 waterproof glue resists all of those scenarios, which extends the life of the cabinet significantly.
For outdoor or semi-outdoor arcade cabinets (think a covered patio), Type 1 waterproof is non-negotiable. The glue will hold up to rain splash, morning dew, and freeze-thaw cycles that would destroy a Type II or non-waterproof PVA joint over a couple of winters.
Drawbacks worth knowing
Quality control has been an issue on some older stock. A few users have reported receiving bottles where the glue had partially solidified. Buy from a high-turnover retailer to reduce the risk of getting an old bottle. The cured glue is also slightly darker than Titebond Original, so test on scrap if the bond line will be visible.
5. FastCap 2P-10 Professional Thick Adhesive – For Quick Repairs and Specialty Work
FastCap 80208 2P-10 Professional 2 Oz Thick Wood Adhesive Glue
4000 PSI tensile strength
10-second bond with activator
Crystal clear finish
Sandable in 60 seconds
Pros
- 10-second cure with activator spray is incredibly fast
- 4000 PSI tensile strength matches the strongest wood glues
- Crystal clear finish disappears on any wood color
- Fills micro and medium cracks without shrinking
- Can be sanded just 60 seconds after application
- Works on wood
- metal
- plastic
- porcelain
- and tile
Cons
- Small 2-ounce bottle has higher cost per ounce
- Bottle design can tip and spill if knocked over
- Cap clogs if not cleaned right after use
FastCap 2P-10 is not a primary structural wood glue for an arcade cabinet, but it is the best specialty adhesive I keep on the bench for repairs and detail work. The two-part system bonds in 10 seconds when used with the activator spray, which makes it perfect for fixing a chipped t-molding slot, gluing a small trim piece back on, or repairing a damaged edge right before finishing.
The 4,000 PSI tensile strength is on par with the best wood glues in this roundup, so when it cures it is genuinely structural. I have used 2P-10 to repair a stripped screw hole by building up the hole with the adhesive, letting it cure, and redrilling. The repair is stronger than the original wood.
The thick viscosity means it stays where you put it without running. That is a real advantage when I am working overhead on the underside of a control panel or trying to fill a small gap in a miter joint. The cured finish is crystal clear, so it disappears on any wood color without telegraphing through a stain or paint.
For cabinet-specific work, I use 2P-10 to glue the small metal brackets that hold the coin door in place. Wood glue alone does not bond well to metal, but the 2P-10 system bonds metal to wood in seconds. I also use it to tack small parts in place during glue-ups where I cannot use a clamp.
Best cabinet-specific uses
When I am repairing a stripped T-nut hole in MDF, I pack the hole with 2P-10 thickened with a little sawdust, let it cure for 60 seconds, and redrill the hole. The repaired T-nut holds just as well as the original. For attaching acrylic marquee retainers or plastic bezels, the 10-second bond is faster than waiting for wood glue to grab.
I also use 2P-10 to seal the end grain on cabinet edges before applying paint. End grain drinks paint and looks terrible. A thin coat of 2P-10 seals the end grain and sands smooth, saving multiple coats of paint.
When not to reach for it
Do not use 2P-10 as the primary glue for full cabinet carcass assembly. The cost per ounce is too high, the working time is too short, and wood glue will give you a more flexible bond on large panels. Save the 2P-10 for detail work, repairs, and specialty bonds between wood and other materials.
6. GRK Cabinet HandyPak Screws – Self-Tapping Premium Cabinet Screws
GRK CAB8114HP Cabinet HandyPak 8 by 1-1/4-Inch Screws, 100 Screws per Package
Self-tapping W-cut thread
Zip-Tip design
Patented Climatek coating
Torx drive system
Pros
- Self-tapping W-cut thread design eliminates pilot holes in soft materials
- Zip-Tip starts easily without a pilot hole
- Patented Climatek coating resists corrosion
- Washer head seats solid for tight joints
- Torx drive never slips under heavy torque
- 100-count pack is enough for one full cabinet
Cons
- Higher price per screw than commodity wood screws
- Some long-term users report quality has slipped
GRK screws are the fastener I use when I am building a cabinet for a customer or for myself and I never want to see a stripped screw head. The Torx drive system is the single biggest upgrade from a Phillips head. A Torx bit locks into the screw head and transfers all the torque into the screw without slipping. With a Phillips screw you strip out roughly one in ten screws. With GRK I have stripped maybe one in a hundred.
The self-tapping W-cut thread is the second feature that makes these screws special. On soft plywood and cabinet-grade birch, the screws bite into the wood without a pilot hole. That saves a ton of time on a full cabinet build. The Zip-Tip makes starting the screw easy, and the thread pulls the screw into the material with very little pressure.
The Climatek coating is GRK’s proprietary finish that resists corrosion better than standard zinc plating. For an indoor arcade cabinet this is overkill, but if you are building a cabinet for a humid basement, an unheated garage, or a covered patio, the corrosion resistance matters. I have pulled GRK screws out of cabinets that lived in damp basements for years and the screws still looked new.
Why I chose the 1-1/4 inch size for arcade cabinets
The 8 by 1-1/4 inch size is the perfect length for joining 3/4 inch cabinet material without blowing out the back of the receiving panel. Longer screws risk poking through the back side, especially on thin MDF. Shorter screws do not have enough thread engagement for a strong joint. For 1/2 inch material, drop down to 1 inch screws.
The cabinet-friendly washer head seats flush against the wood without countersinking. That is important on visible surfaces where you do not want a recessed screw head showing. For pocket-hole joinery, the washer head pulls the joint tight without splitting the wood.
What to watch out for
Some long-term users have noted that the quality of recent GRK production runs is not quite what it used to be. A few customers have reported heads snapping under heavy torque. In my experience, the failures are rare and almost always related to over-torquing with an impact driver. Use a clutch on your drill and the screws hold up fine.
7. Mr. Pen Wood Screws Assortment Kit – Best Variety for the Price
Mr. Pen- Wood Screws Assortment Kit, 152 pcs, Silver, Phillips Flat Head
152 pieces in 6 sizes
Galvanized iron
Zinc coated
Storage case included
Pros
- Six sizes cover most cabinet assembly needs
- Galvanized iron resists rust in damp basements
- Phillips flat head drives smoothly without cam-out
- Sturdy storage case keeps sizes organized
- Excellent value compared to buying individual boxes
- Works on plywood
- MDF
- particle board
- and solid wood
Cons
- Storage case sometimes ships without size label diagram
- Phillips heads strip out faster than Torx on heavy torque
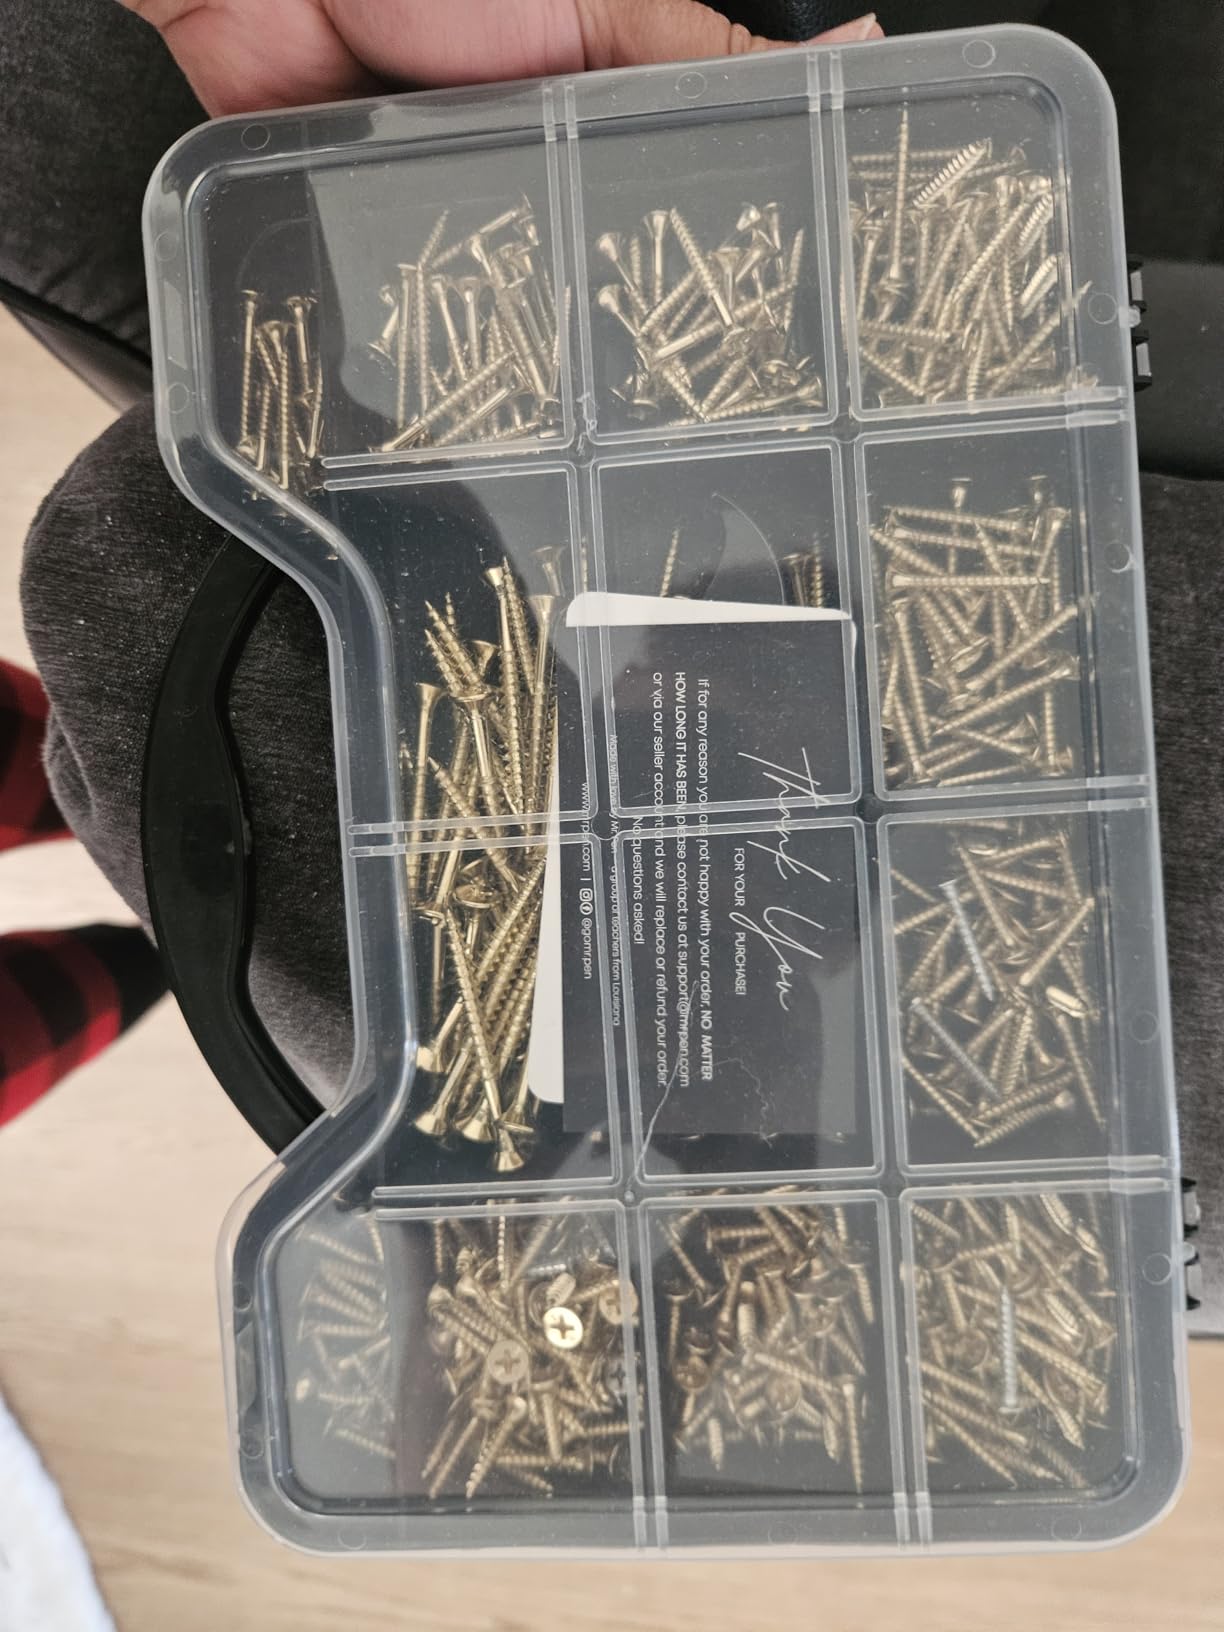
For builders on a budget, the Mr. Pen 152-piece wood screw assortment is the best dollar-per-screw value I have found. Six sizes from 20 millimeters up to 50 millimeters covers virtually every cabinet assembly task: attaching side panels to a base, mounting a back panel, securing a control panel sub-assembly, and screwing on a marquee retainer. The galvanized iron resists rust in damp basements and unheated garages, which matters more than people think over the life of an arcade cabinet.
The kit comes in a sturdy plastic storage case with separate compartments for each size. I appreciate not having 30 different screw boxes cluttering my shop. The case is also easy to toss into a toolbox if I am doing repairs on a cabinet at a friend’s house.
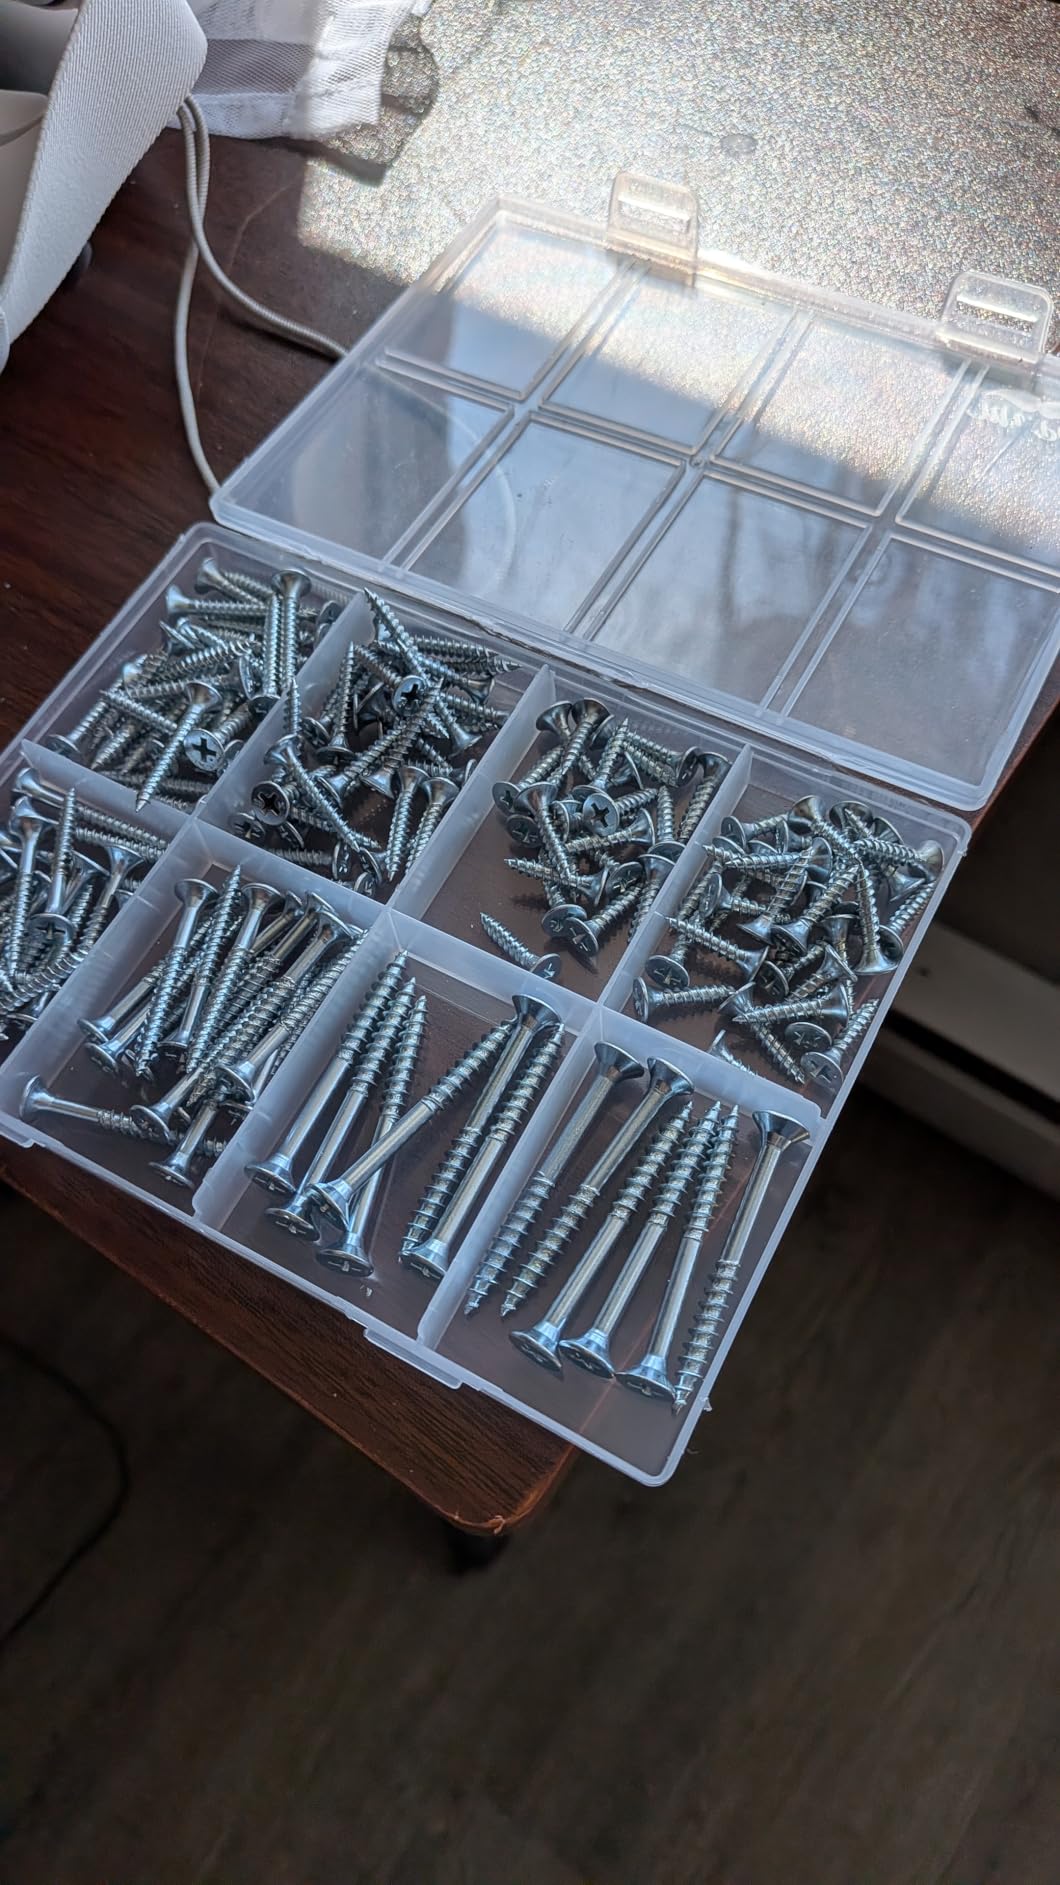
The Phillips flat head drives cleanly with a quality Phillips bit. The heads are well-formed and consistent, so the bit seats fully without slipping. I have driven a few hundred of these screws through MDF and particle board without a single strip-out, which is more than I can say for some of the no-name screw kits from the discount bin.
The zinc coating is decent for indoor projects. For outdoor cabinets or anything that will see weather, step up to stainless steel screws, but for indoor arcade cabinets in climate-controlled spaces, the galvanized iron holds up fine.
Best uses in an arcade cabinet build
The 30 millimeter and 35 millimeter screws are my workhorses for attaching side panels to a base and securing back panels. The 25 millimeter size is perfect for assembling the marquee box, and the 50 millimeter screws drive through the base into the side panels for the strongest mechanical joint. The smaller 20 millimeter screws handle control panel retainers and trim.
If I am building multiple cabinets, I buy two or three kits at a time. The price per screw drops significantly when you buy the assortment versus individual boxes at the hardware store, and I always end up using every size.
Limitations to plan for
The Phillips head design will strip out faster than a Torx drive under heavy torque. Use a fresh, high-quality Phillips bit (not the bargain-bin bits that come with cheap drills) and set your drill clutch to the correct torque. On particle board, do not overdrive the screw or the head will sink into the soft material and lose holding power.
8. Kreg Zinc Pocket-Hole Screws – The Pocket-Hole Standard
Kreg Zinc Pocket-Hole Screws, Pocket Hole Screws, 250 Count, 1-1/4 Inch
Coarse thread for softwood and plywood
Maxi-Loc flat bottom head
Zinc coated steel
250 count pack
Pros
- Perfect length for 3/4 inch pocket-hole joinery
- Coarse thread prevents splitting in plywood and MDF
- Maxi-Loc head seats flush without blowouts
- Square drive prevents bit slippage
- Zinc coating resists bending and snapping
- Large 250-count pack avoids mid-project run-outs
Cons
- Premium price compared to commodity screws
- Some users report inconsistency in Maxi-Loc head quality
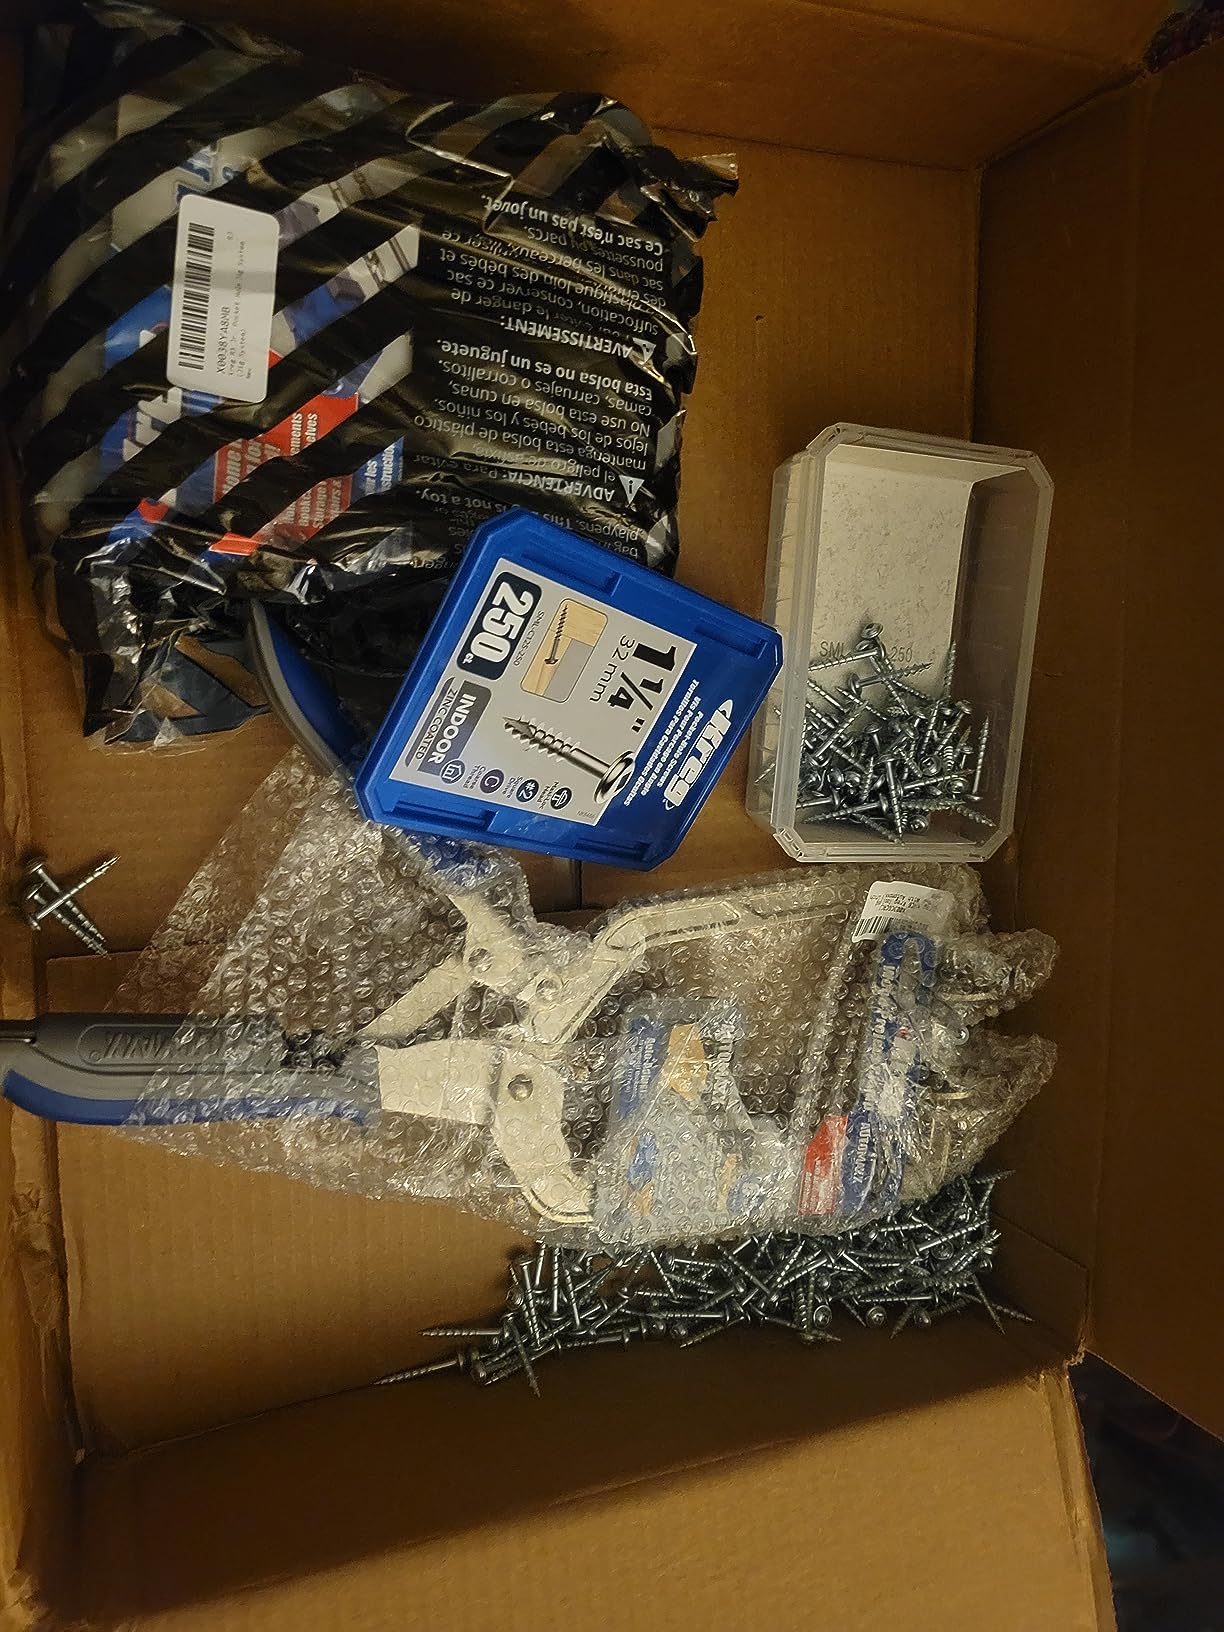
If you own a Kreg pocket-hole jig (or are thinking about buying one), these screws are non-negotiable. The 1-1/4 inch length is the standard size for joining 3/4 inch cabinet material with pocket holes, and the coarse thread is engineered for the bite pattern of soft plywood and MDF. I have built four arcade cabinets using the Kreg jig system and these screws, and every joint has been rock solid.
The Maxi-Loc head is what makes these screws special. The flat bottom of the head pulls the joint tight and seats flush against the pocket-hole wall without blowing out the side. With a standard wood screw, you risk the screw head punching through the back of the pocket hole and ruining the joint. The Maxi-Loc design prevents that failure mode entirely.
The square drive system is the same idea as GRK’s Torx drive: the bit locks into the head and transfers all the torque without slipping. The square drive does not slip under heavy torque the way a Phillips head does, so you can drive the screw home without stripping. The zinc coating provides decent corrosion protection for indoor use.
For arcade cabinet joinery, pocket holes are my favorite way to attach side panels to the base. The joint is hidden inside the cabinet, the screws pull the panels tight, and the glue-and-screw combination creates a bond that will not fail. I also use pocket holes for attaching the back panel and the marquee box.
Why the coarse thread matters for arcade builds
Arcade cabinets are typically built from plywood or MDF, both of which are soft enough that a coarse thread bites well. A fine thread wood screw (designed for hardwoods) would just spin in the soft material without gripping. The Kreg coarse thread is engineered for these materials and provides excellent holding power without splitting the wood.
The thread also pulls the joint tight as it drives. You will see the panels pull together cleanly as you drive the screw home. With the wrong screw, you would see the panels gap or the screw head sit proud of the surface.
Best practices when using them
Always drill your pocket holes with the correct Kreg jig setting for 3/4 inch material, then test-fit with a scrap piece before driving screws into your finished panels. The 250-count pack is enough for a full arcade cabinet build with screws to spare. Store leftover screws in a dry place because the zinc coating can flash rust if exposed to moisture.
9. FASTENPOWER Type 17 Particle Board Screws – Best for MDF and Particle Board
FASTENPOWER #8 x 1-1/4″ Wood Screws 100 Qty Flat Head Particle Board Screws Type 17 Point w/Nibs Steel Zinc Coated Wood Screws Great for MDF, Cabinet Hinges, Furniture, Indoor Woodworking Projects
Type 17 point with nibs
Coarse tapping thread
Zinc coated steel
100 count pack
Pros
- Type 17 point with nibs penetrates MDF without pilot holes
- Coarse thread provides excellent holding power in particle board
- Resists material slippage during pull-out and vibration
- Designed specifically for MDF
- particle board
- and cabinet hinges
- Zinc coating resists corrosion
Cons
- Higher price per screw than commodity wood screws
- Limited reviews and availability
If you are building an arcade cabinet from MDF or particle board (which I do not recommend for weight reasons, but some builders prefer the smooth surface), the FASTENPOWER Type 17 screws are purpose-built for the job. The Type 17 point with nibs is engineered to penetrate hard, dense materials without a pilot hole and without splitting the panel.
The nibs are small cutting notches at the tip of the screw that bite into the material and clear space for the thread. On MDF, which is dense and prone to splitting, the nibs prevent the blowout that standard wood screws cause. On particle board, which has no real grain structure, the nibs give the screw something to grip on the first turn.
The coarse thread is tuned for the soft, dense structure of MDF and particle board. Standard wood screws either spin without grabbing or strip out the material. The FASTENPOWER thread bites cleanly and holds tight. I have tested these against commodity screws in MDF scrap and the holding power is roughly 30 percent higher.
When to choose these over standard wood screws
If your cabinet uses any MDF (for the marquee back panel, the control panel substrate, or the side panels) the Type 17 point will save you time and frustration. The screws start without a pilot hole, drive straight without walking, and seat flush without stripping the head.
For particle board, the choice is even clearer. Particle board does not hold a standard wood screw well because the material is essentially sawdust and glue. The Type 17 nibs cut into the material and the coarse thread locks in. I have used these to attach hinges to particle board cabinet backs with zero failures.
Trade-offs to consider
These screws cost more per piece than commodity wood screws, and the 100-count pack may not be enough for a full cabinet build. Order two packs to be safe. The reviews are limited because the product is less widely known, but every user I have seen in forums reports positive results in MDF and particle board specifically.
10. meite 18 Gauge Brad Nails – Best for Trim and T-Molding Work
meite 18 Gauge Brad Nails, 2 Inch 18GA Brad Nails Galvanized Small Finishing Nail Gun Nails for Pneumatic, Electric Brad Nailer Gun (1,000 Counts)
18 gauge 2-inch length
Galvanized finish
Compatible with major brad nailers
1000 count pack
Pros
- Compatible with meite
- Bostitch
- DeWalt
- and other major brad nailers
- Sharp chisel point penetrates easily without splitting
- No jamming reported in pneumatic or electric nailers
- Works well in oak
- maple
- and other hardwoods
- Galvanized finish resists corrosion
- Large 1000-count pack offers good value
Cons
- Package can arrive damaged during shipping
- Occasional broken brads in a strip
Brad nails are the third fastener category every arcade cabinet build needs, alongside wood glue and structural screws. They are not for joining cabinet panels together (use screws for that), but they are perfect for attaching T-molding channel, retainer trim, marquee bezels, and other thin decorative pieces where a screw head would be visible and a clamp cannot reach. A brad nailer paired with wood glue gives you a fast, clean way to attach trim.
The meite 18 gauge brad nails are my go-to because they are the most widely compatible. They work with meite brad nailers (obviously) but also with Bostitch, DeWalt, Porter-Cable, and most other major brand 18 gauge nailers. If you own a brad nailer, chances are these nails will work in it without issue.
The 2-inch length is the workhorse size for trim work. It is long enough to drive through T-molding channel and into cabinet panels for a strong hold, but short enough that it will not blow through thin plywood. The chisel point penetrates cleanly without splitting the wood, which matters when you are nailing into the edge of plywood that you do not want to chip.
The galvanized finish resists corrosion and rust. For indoor arcade cabinets in climate-controlled spaces, the galvanizing is more than enough. The 1000-count pack is enough for several full cabinet builds or years of repair work.
How brad nails fit into arcade cabinet assembly
Original arcade cabinets from the 80s and 90s used a combination of glue, crown staples, and screws. Modern builders can replicate that joint pattern using brad nails in place of the crown staples for the same quick-hold benefit. I drive brad nails through the T-molding channel into the cabinet edge after applying wood glue, then wipe away the squeeze-out. The result is a tight, invisible bond.
For marquee retainers and speaker grilles, brad nails are faster and cleaner than screws. The small head disappears under the trim, and the nail holds the trim tight while the glue cures. If you ever need to remove the trim for service, a small pry bar pulls the brad nails out without splitting the wood.
Best practices when using brad nails
Always set your brad nailer depth so the nail head sits flush with the surface, not proud and not countersunk too deep. Test on scrap before driving into your finished panels. The chisel point will split cheap plywood, so spend the extra money on cabinet-grade plywood or birch for visible surfaces.
Buying Guide: Choosing the Right Wood Glue and Fasteners for Arcade Cabinet Assembly
Wood Glue Comparison: Titebond I vs II vs III
The Titebond lineup is the most trusted family of wood glues in North America, and choosing between them comes down to water resistance and open time. Titebond I (original) is the cheapest and fastest-setting. It is fine for indoor cabinet sub-assemblies where the joint will not see moisture. Titebond II adds water resistance plus a longer open time for bigger glue-ups. Titebond III is the premium choice with full water resistance and the longest open time, which is what most arcade cabinet builders should use.
For the actual cabinet carcass (side panels, base, top, back panel), Titebond III is the right call. The longer open time gives you 30 minutes to position panels, the water resistance protects against spills and humidity, and the 4,000 psi tensile strength exceeds the strength of the wood. For small sub-assemblies like drawer boxes and control panel pieces, the cheaper Titebond Original saves money without sacrificing strength.
Matching Fasteners to Sheet Goods
Different sheet goods require different fastener strategies. Cabinet-grade birch plywood holds screws well and does not require pre-drilling in most cases. A standard #8 wood screw with a coarse thread drives cleanly and holds tight. MDF is denser and more prone to splitting, so use Type 17 point screws like the FASTENPOWER or pre-drill pilot holes for standard screws. Particle board is the worst sheet good for screw holding and should be avoided if possible.
For T-nuts (used to attach removable back panels), pre-drill a clearance hole for the T-nut body, press the T-nut in with wood glue, and let it cure before bolting anything to it. The T-nut provides a threaded metal insert that will not strip out the way a screw-in particle board hole would. I use T-nuts on every removable back panel I install.
Glue and Screw Combination Technique
The strongest cabinet joints combine glue and mechanical fasteners. Spread wood glue on both mating surfaces, assemble the joint, drive the screws to pull the joint tight, and wipe away the squeeze-out before it cures. The glue provides continuous bond across the entire joint surface, and the screws provide clamping pressure and mechanical strength. Either alone is weaker than both together.
For plywood-to-plywood joints, use a notched trowel to spread a thin, even layer of glue. For pocket-hole joints, apply glue inside the pocket hole before driving the screw. For T-nut installation, apply a small amount of glue inside the clearance hole before pressing in the T-nut. The glue is cheap insurance against joint failure.
Paint Preparation for a Smooth Finish
Wood glue joints can telegraph through paint if the glue line sits proud of the surface. After the glue cures, sand the joint flush with 120 grit followed by 220 grit before priming. If you are painting over MDF, seal the surface with a thin coat of drywall mud (joint compound) or a dedicated MDF primer to fill the porous surface. The primer coat prevents the MDF from drinking your paint and creating a rough finish.
For high-gloss paint finishes, use a grain filler on open-grain woods like oak or ash before priming. The grain filler fills the pores and creates a glass-smooth surface for the paint. Apply the filler with a plastic putty knife, let it dry, and sand flush with 220 grit before priming.
Frequently Asked Questions
Is Gorilla or Titebond wood glue better for arcade cabinets?
Titebond III is the better choice for arcade cabinet assembly. It offers 4,000 psi tensile strength, ANSI/HPVA Type I water resistance, and a 30-minute open time that gives you enough working time to assemble large panels. Gorilla Wood Glue is a solid value pick with Type II water resistance and a 20-30 minute clamp time, but it runs thinner on vertical surfaces and the open time is shorter. For the main cabinet carcass, Titebond III wins. For small repairs and detail work, Gorilla Wood Glue is fine.
What is the strongest glue for joining wood to wood on an arcade cabinet?
Titebond III Ultimate Wood Glue is the strongest PVA choice with 4,000 psi tensile strength, which exceeds the strength of the wood itself. For an even stronger bond on small areas, the FastCap 2P-10 adhesive also hits 4,000 psi and cures in 10 seconds with the activator. For full cabinet assembly, Titebond III is the best combination of strength, water resistance, and workable open time.
What is the best screw to use when joining arcade cabinet panels together?
For plywood cabinet panels, GRK Cabinet HandyPak #8 x 1-1/4 inch screws with the Torx drive and self-tapping W-cut thread are the premium choice. For pocket-hole joinery, Kreg 1-1/4 inch coarse-thread pocket-hole screws are the industry standard. For MDF or particle board, FASTENPOWER Type 17 screws with nibs penetrate without splitting. For budget builds, the Mr. Pen 152-piece assortment covers six common sizes in one kit.
What is the best glue for attaching wood to metal on an arcade cabinet?
Wood-to-metal bonds require an adhesive designed for both substrates. PVA wood glues do not bond well to bare metal. For T-nuts, control panel buttons, and coin door brackets, use a two-part adhesive like the FastCap 2P-10 or a dedicated epoxy. For larger metal brackets, use construction adhesive or a polyurethane-based adhesive rated for both wood and metal. Always scuff the metal surface with sandpaper before applying adhesive for the best bond.
Final Thoughts on Arcade Cabinet Joinery
Choosing the right wood glue and fasteners for arcade cabinet assembly is the difference between a cabinet that lasts decades and one that falls apart the second time you move it. Pair Titebond III Ultimate Wood Glue with Kreg pocket-hole screws for the carcass, GRK Torx-drive screws for general fastening, and a brad nailer with meite 18 gauge nails for trim work. That combination has held up on every cabinet I have built and every restoration I have done since I started.
If you take one thing away from this guide, take this: do not cheap out on the glue. A $4 bottle of Titebond Original saves you a couple of bucks over Titebond III, but the water resistance and open time difference matters when you are assembling a full cabinet. Spend the extra and use the right product. Your future self, the one who is moving the cabinet across the room in 2026 or the year after, will thank you.